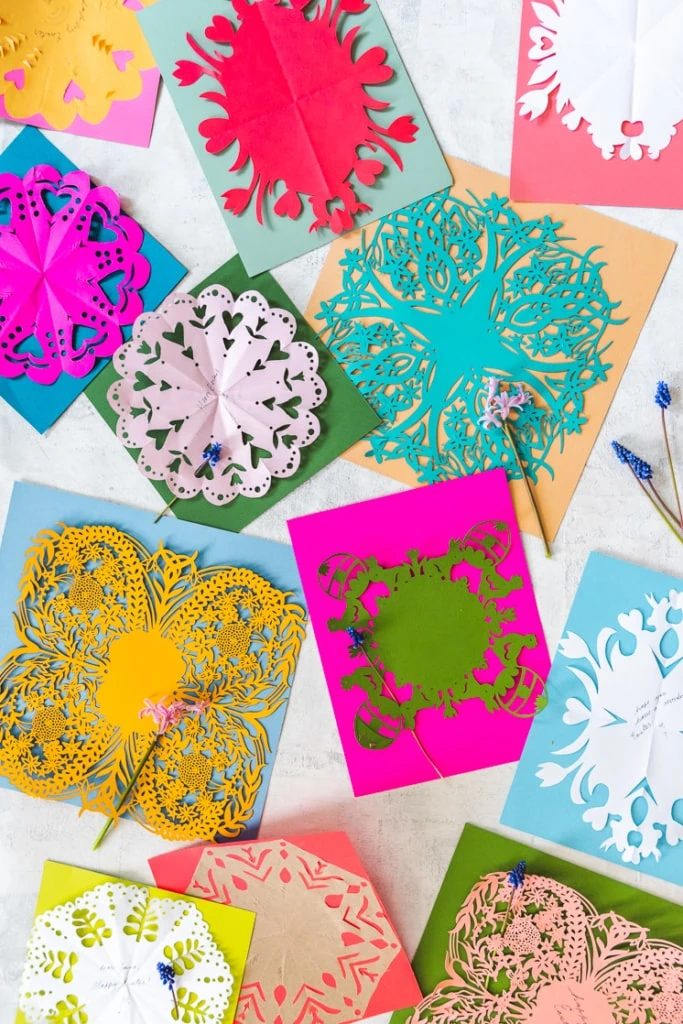
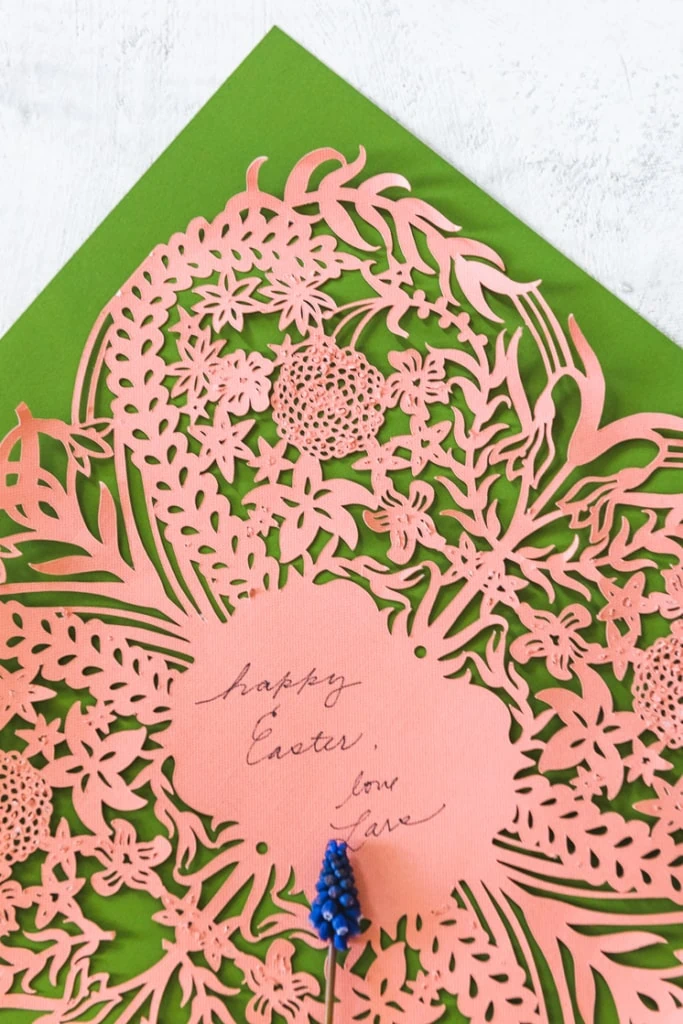
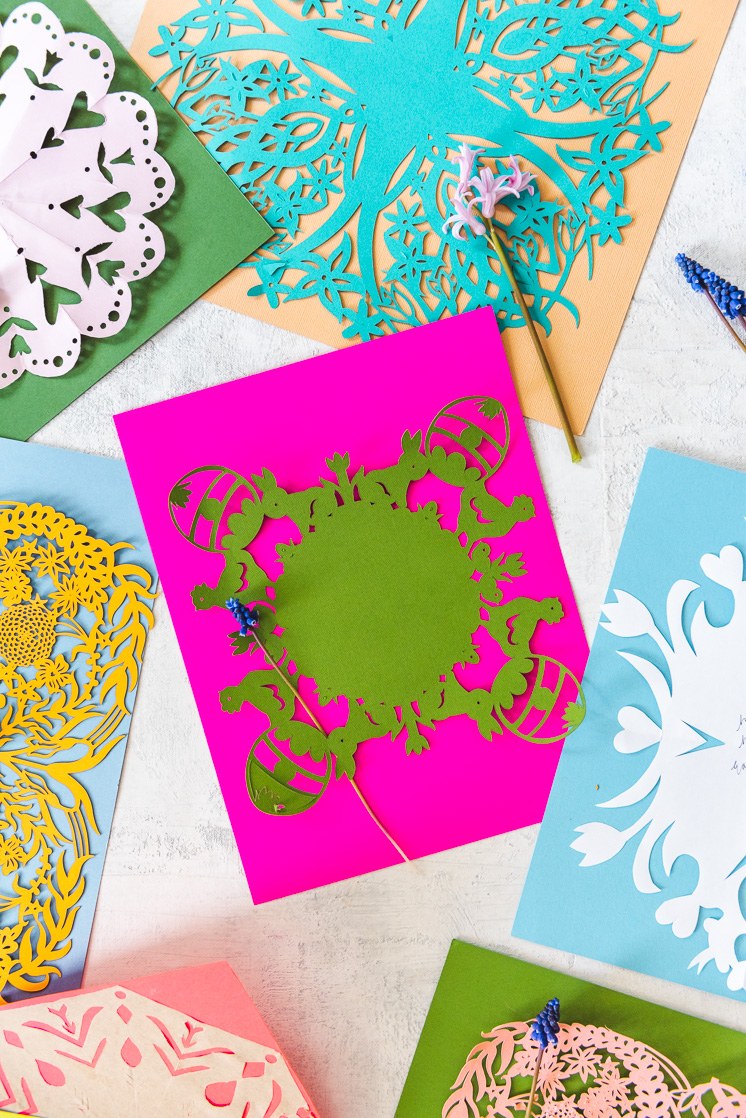
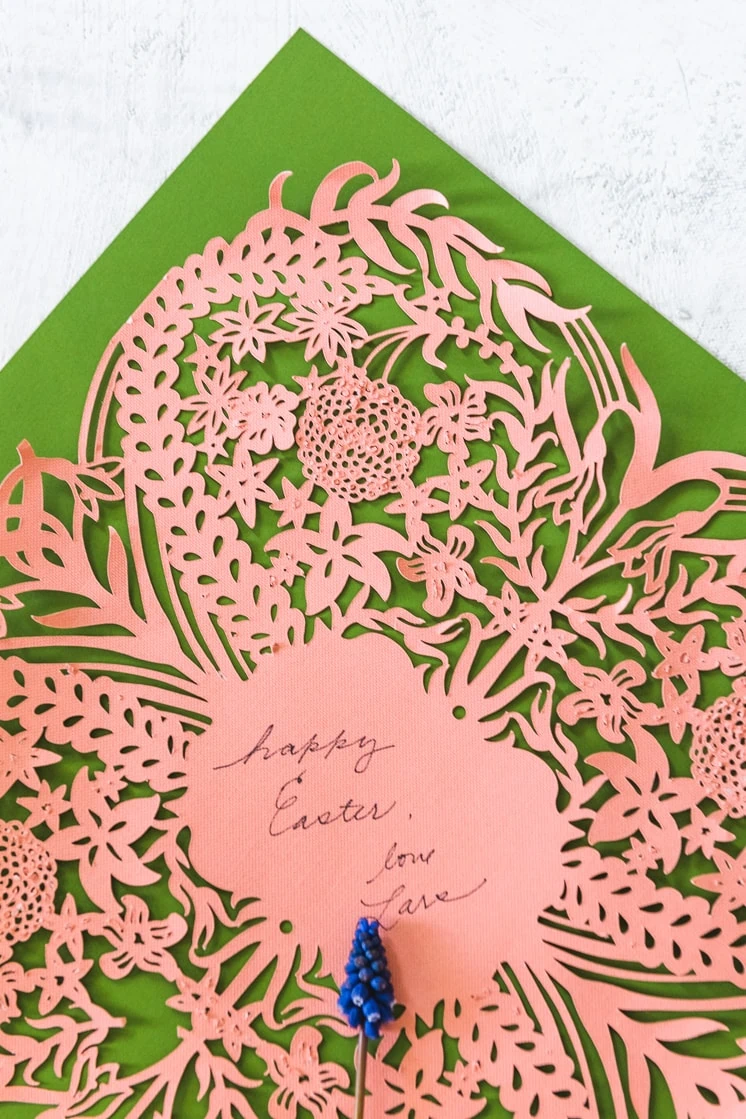
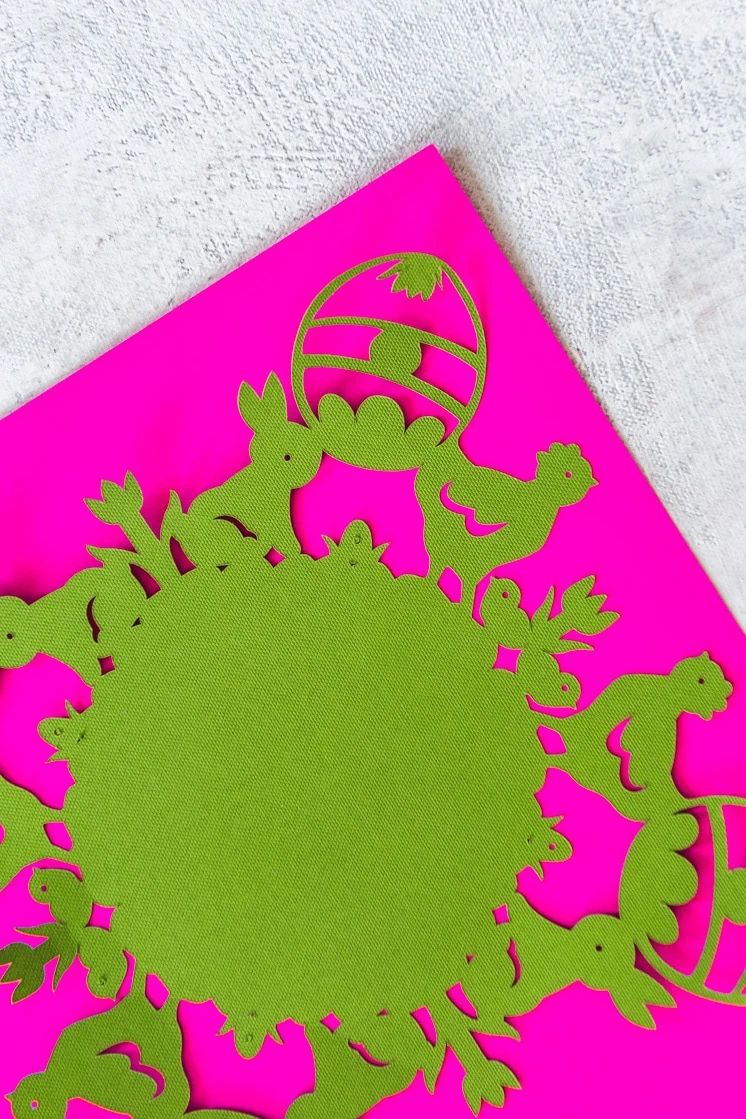
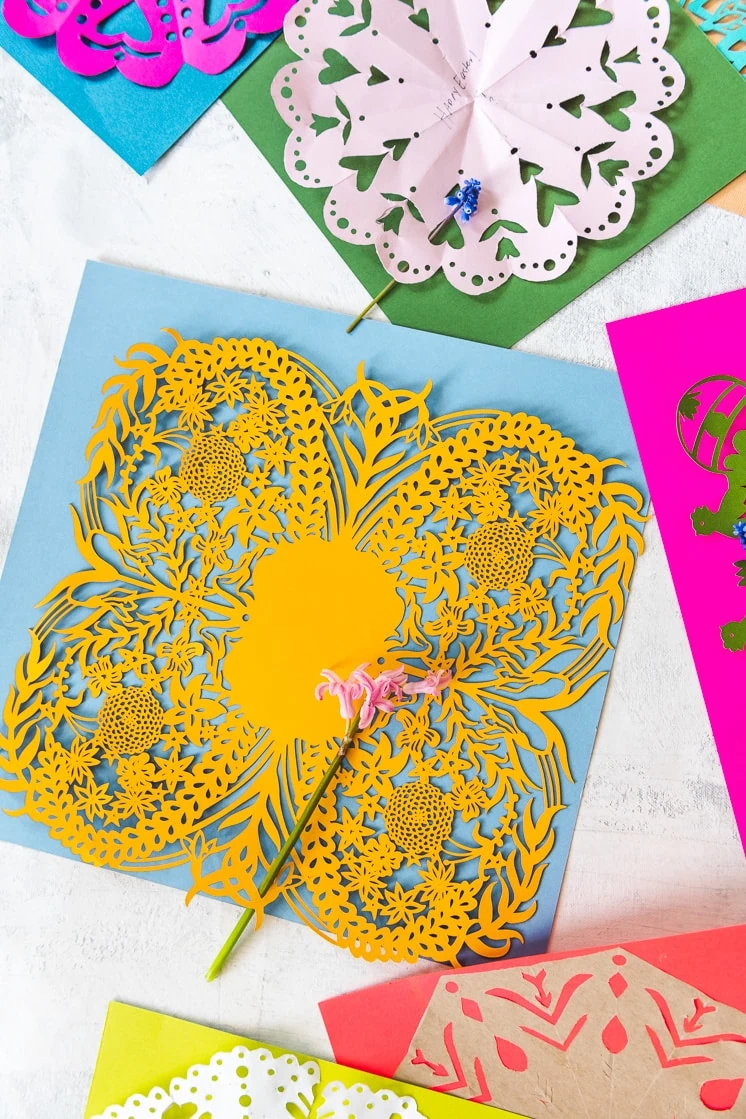
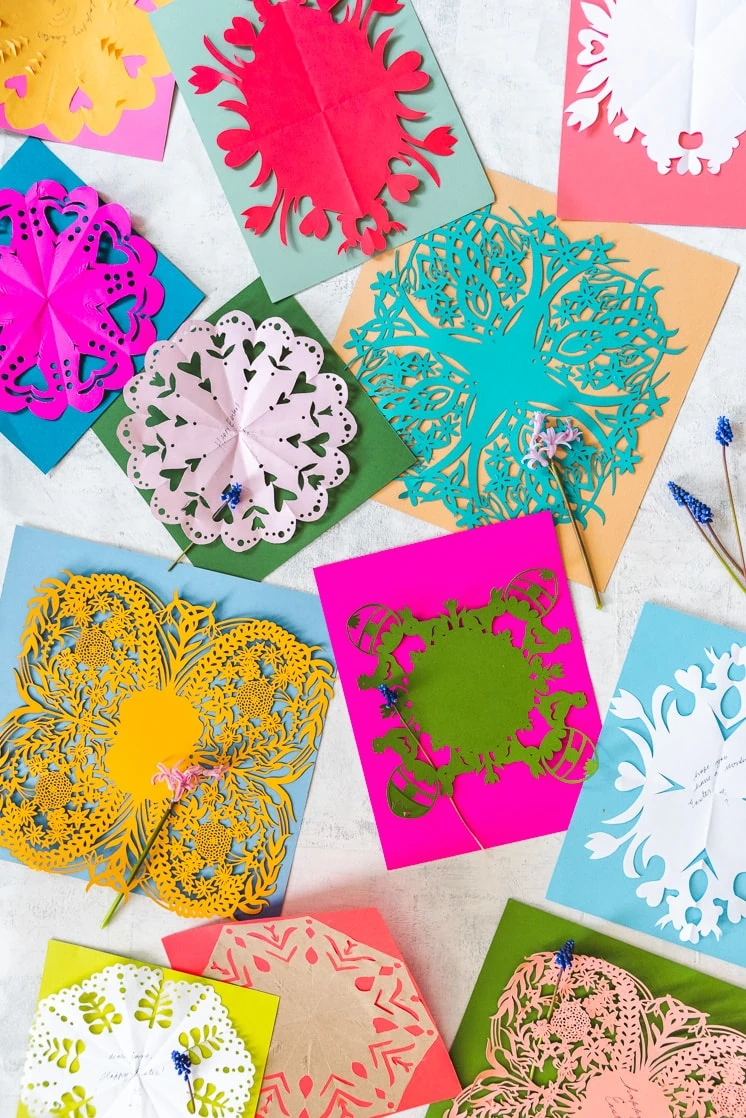
The Danish have a unique way of welcoming the Easter season, with their whimsical gækkebreve, or snowdrop letters. These beautiful Danish cards are typically made by children, and accompanied with a snowdrop flower, hence the name, since the snowdrop is considered to be the first flower of the year. I’ve been wanting to make some for ages so what better time than in quarantine?
In the days leading up to Easter, children will cut out elaborate shapes from paper to create the card, and then write a small poem inside. The poem will be signed anonymously, with a number of dots that corresponds to the number of letters in the sender’s name. For example, a card signed LARS would have 4 dots! The game is for the receiver of the card to guess who the sender is. If you guess wrong, then you owe the sender an egg. You can probably see why this would be such a fun game to play with little children! We think this is a beautiful tradition and are looking forward to creating more Danish Easter letters this week! The more elaborate the card, the better, and more cards equal more eggs to give and receive!
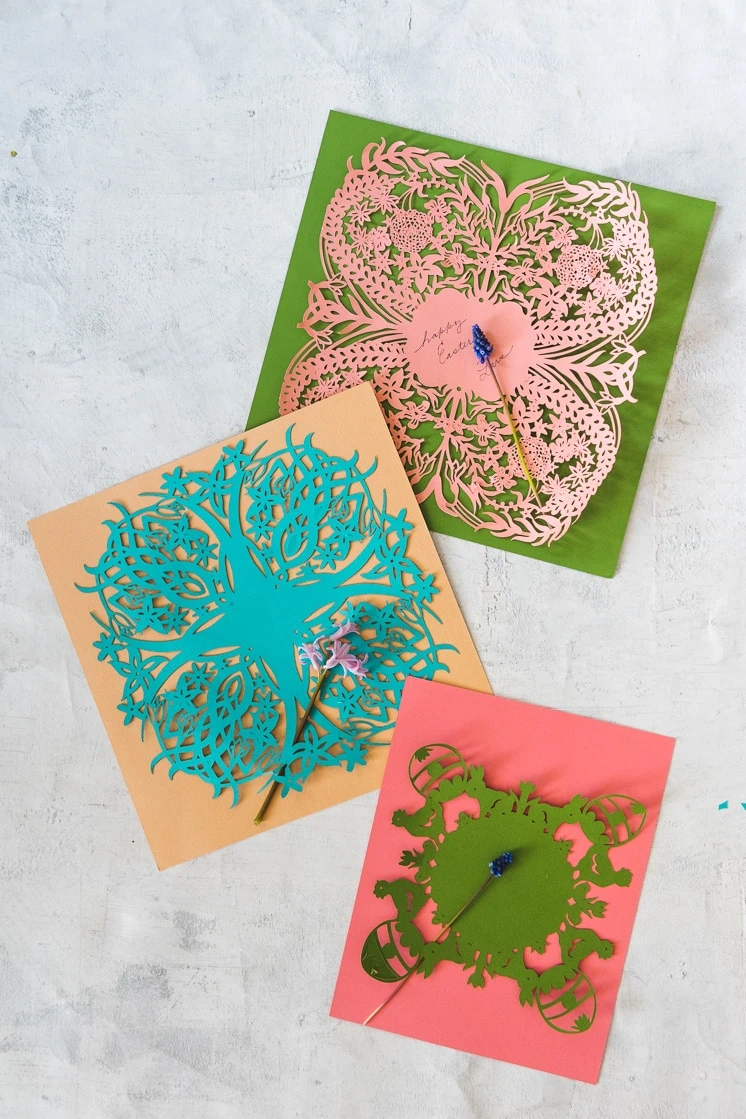
We made three templates that you can use for some pretty elaborate patterns or you can go to town experimenting on your own!
Materials:
Danish Easter Letters – Gækkebreve
While you have your kids home from school, you can teach them about the symbolism of the snowdrop flower. As the first flower to pop up through the cold winter ground and signify spring is finally coming, snowdrops symbolize hope! We loved the way Kelsey Garrity Riley included snowdrops in her coloring page entry for our Picture Hope: The Social Distancing Coloring Book!
Though these Danish letters are often delivered leading up to Easter, they represent the entire spring season. Include a note explaining this fun tradition and you can start swapping notes and eggs with your neighbors!
How to make Danish Easter Letter patterns
The traditional way of making Danish Easter letters is similar to the technique of making snowflakes during the winter. But we decided to make a few more elaborate ones in case you wanted a challenge. We even made a couple so that you can put it into your craft cutting machine (Silhouette or Cricut machines work great!).
Materials:
See above
Instructions:
Elaborate Templates
To make the elaborate cut ones seen here, download our templates (you can find them here).
Handcut: Use our PDF template to print out and trace onto your piece of paper. Use a craft cutting knife if you’d like to hand cut it using a cutting mat underneath.
Craft Cutting Machine: You can cut it out on your craft cutting machine using our SVG files (also found here.
For simpler designs
Like making paper snowflakes you can use a few techniques to get the look you’re going for. Here are some tips:
- Fold your paper in quarters. Draw your pattern onto one of the corners and cut out.
- Turn your paper into a square by folding one corner to the opposite side of the paper. Cut off the excess. This technique is if you want yours to be more circular in nature.
- Think chicks, bunnies, eggs, hearts to get into the spirit of the season!
Add in a snowdrop flower
Traditionally you would add in a snowdrop flower into your letter to send off, but we didn’t have one handy so we added a hyacinth from our yard as well as some wild grape hyacinth.
We’d love to see your versions. Tag us with #LarsMakes.


