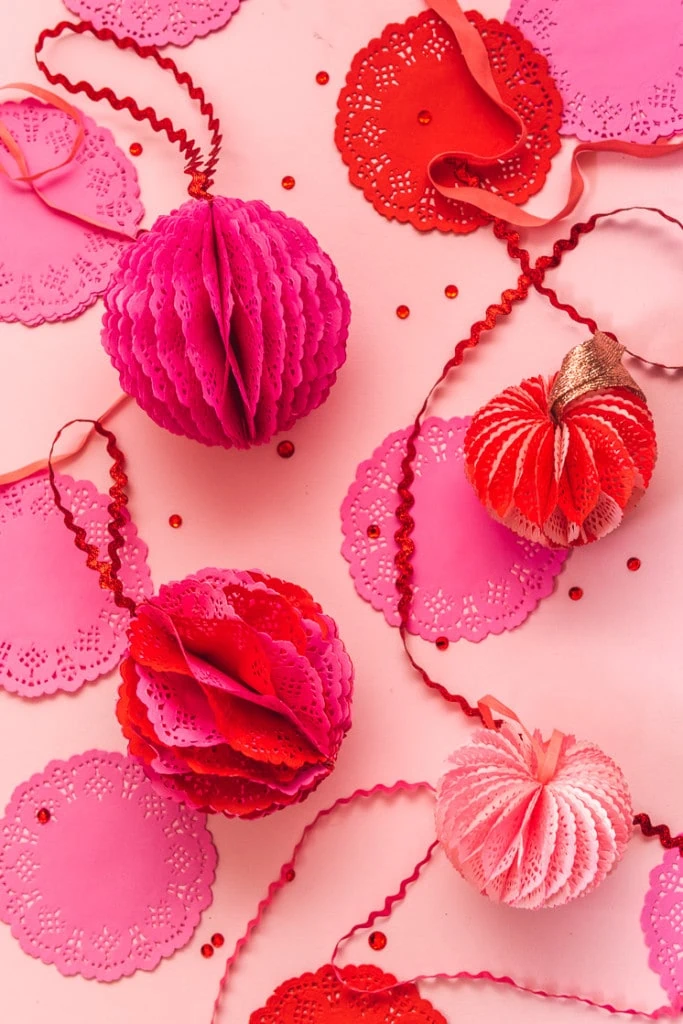
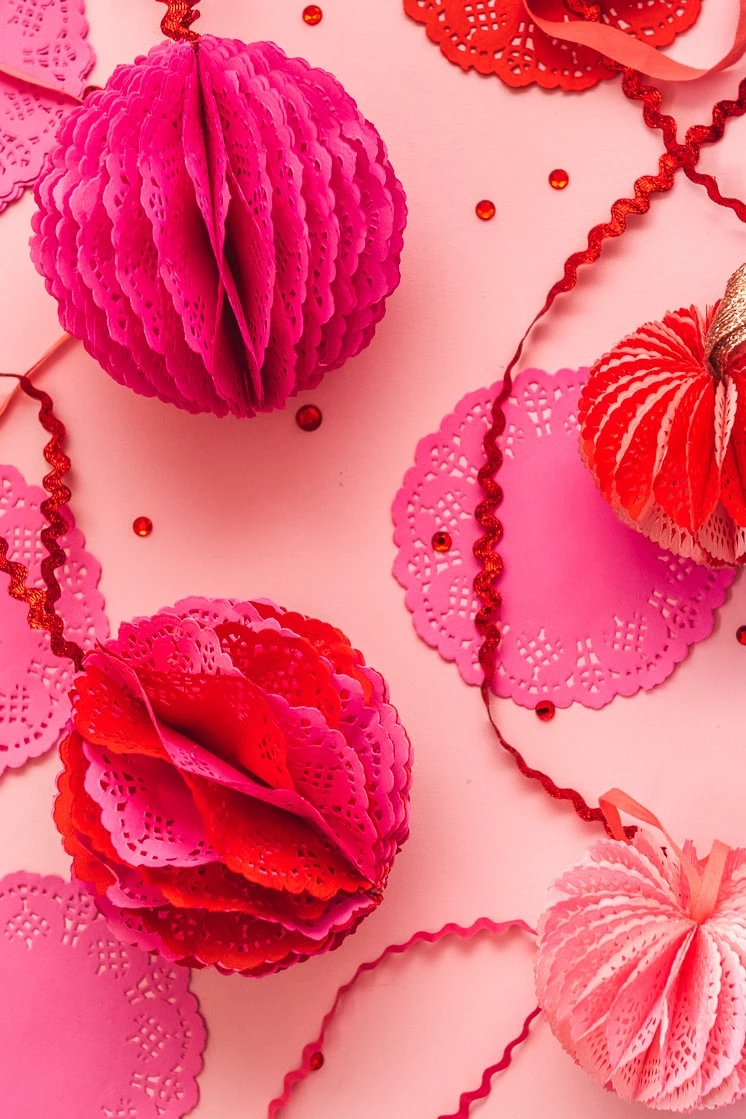
Never thought I’d have a conversation about paper doilies, but it’s 2021 and all things are possible these days. The pretty placemat with the silly name…what do you really do with them? I remember using them for decorations for Valentine’s Day and that’s about it. You? I mean, they really are so pretty so this year we challenged the team to come up with a clever way to use them and the answer was…honeycomb decorations! I think it’s a hole in one! (holes…get it? A stretch?)
Materials:
DIY Paper Doily Honeycomb Decorations
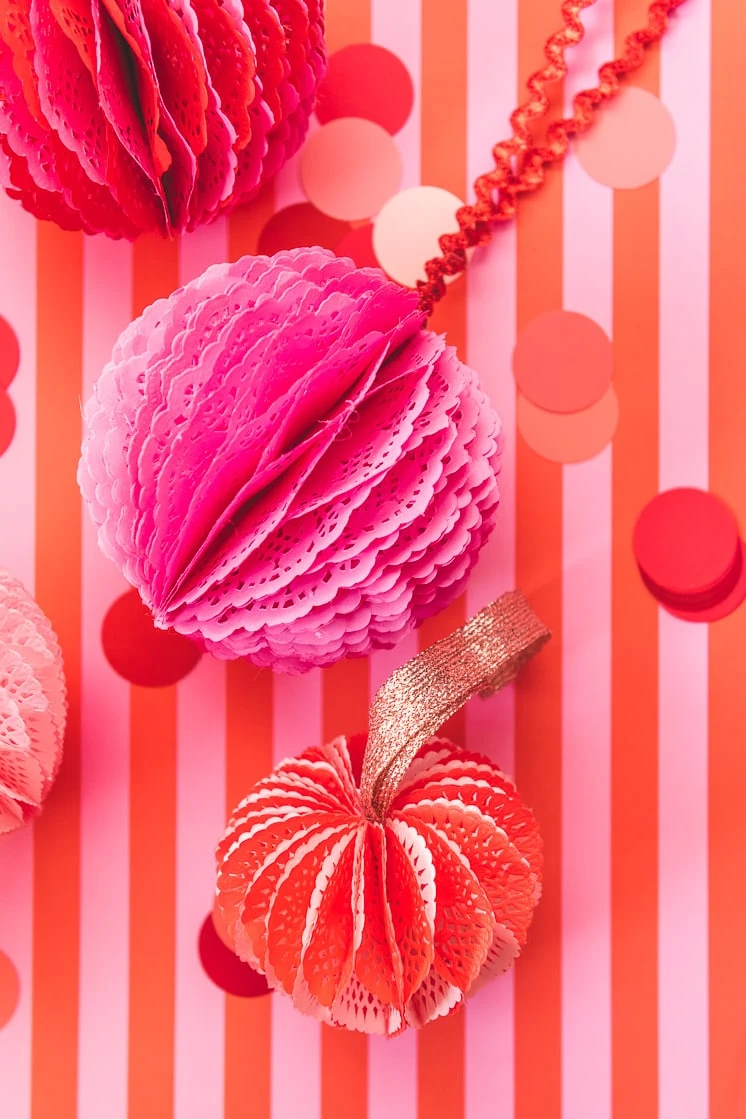
You might recall that we made these custom Honeycomb Christmas decorations from templates that we designed, but we wanted it to be a bit easier. Turns out, doilies are great because the shape is created for you and all you have to do is cut them down the middle and assemble. Plus, the doilies create that beautiful lace effect.
The More You Know
I had to do a bit of digging to find out more about what a doily is and why we have them. Turns out, the term doily came from the last name “Doily”, a London firm of linen merchants who made fringed napkins in the 1700’s. Then, from 1711, a doily was a small ornamental napkin used at dessert. THEN, they were placed on the backs of chairs to protect them from the oil that men used on their hair. Nowadays, some people use them to protect surfaces of tables from decorative objects.
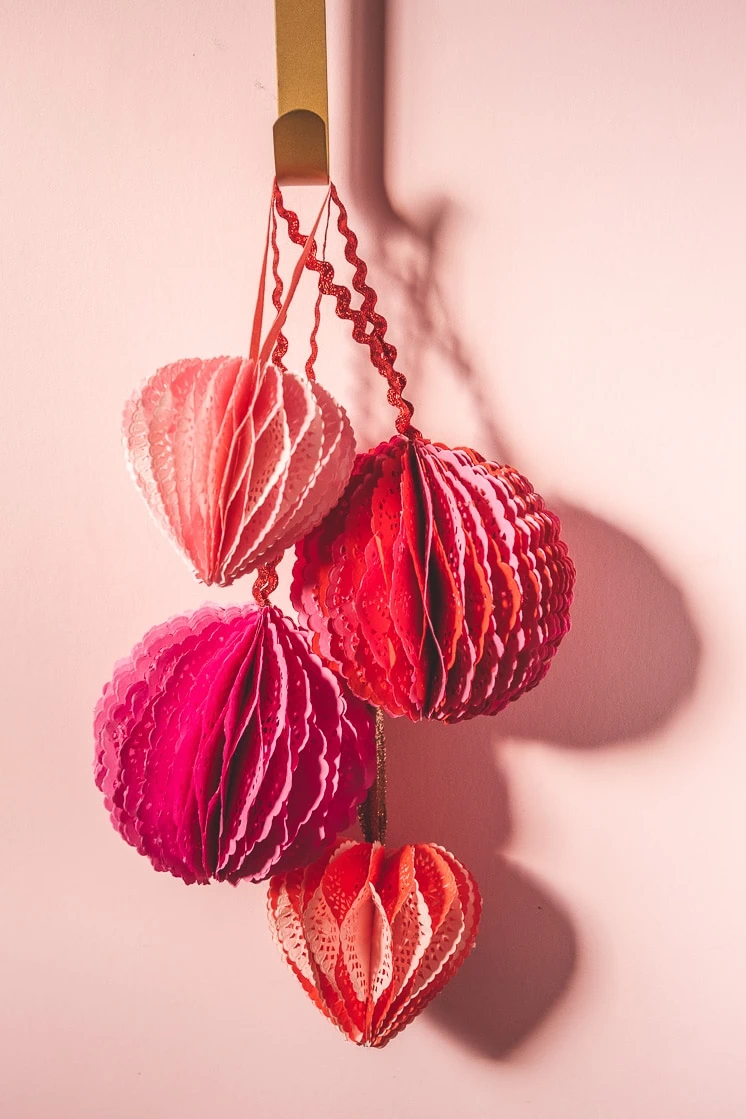
Ok, so now that we know the history of doilies, let’s get to learning how to make these honeycomb decorations. I’m thinking they would be lovely to give as a Valentine or adorn a branch tree (you know we love a decorative tree!) or taking the place of a wreath.
DIY Honeycomb Valentine ornament
Materials:
- See above for where to get the doilies
- Glue gun
- Scissors or paper cutter
Instructions:
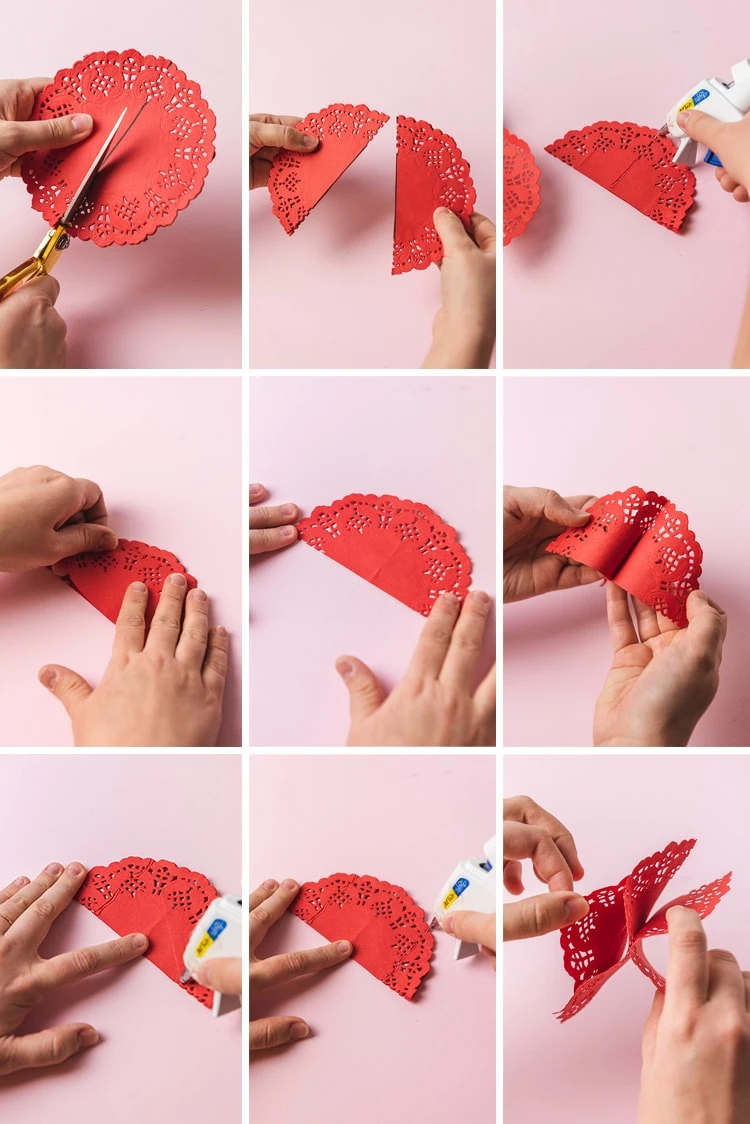
- Measure a line down the middle of the doily to create an axis of symmetry
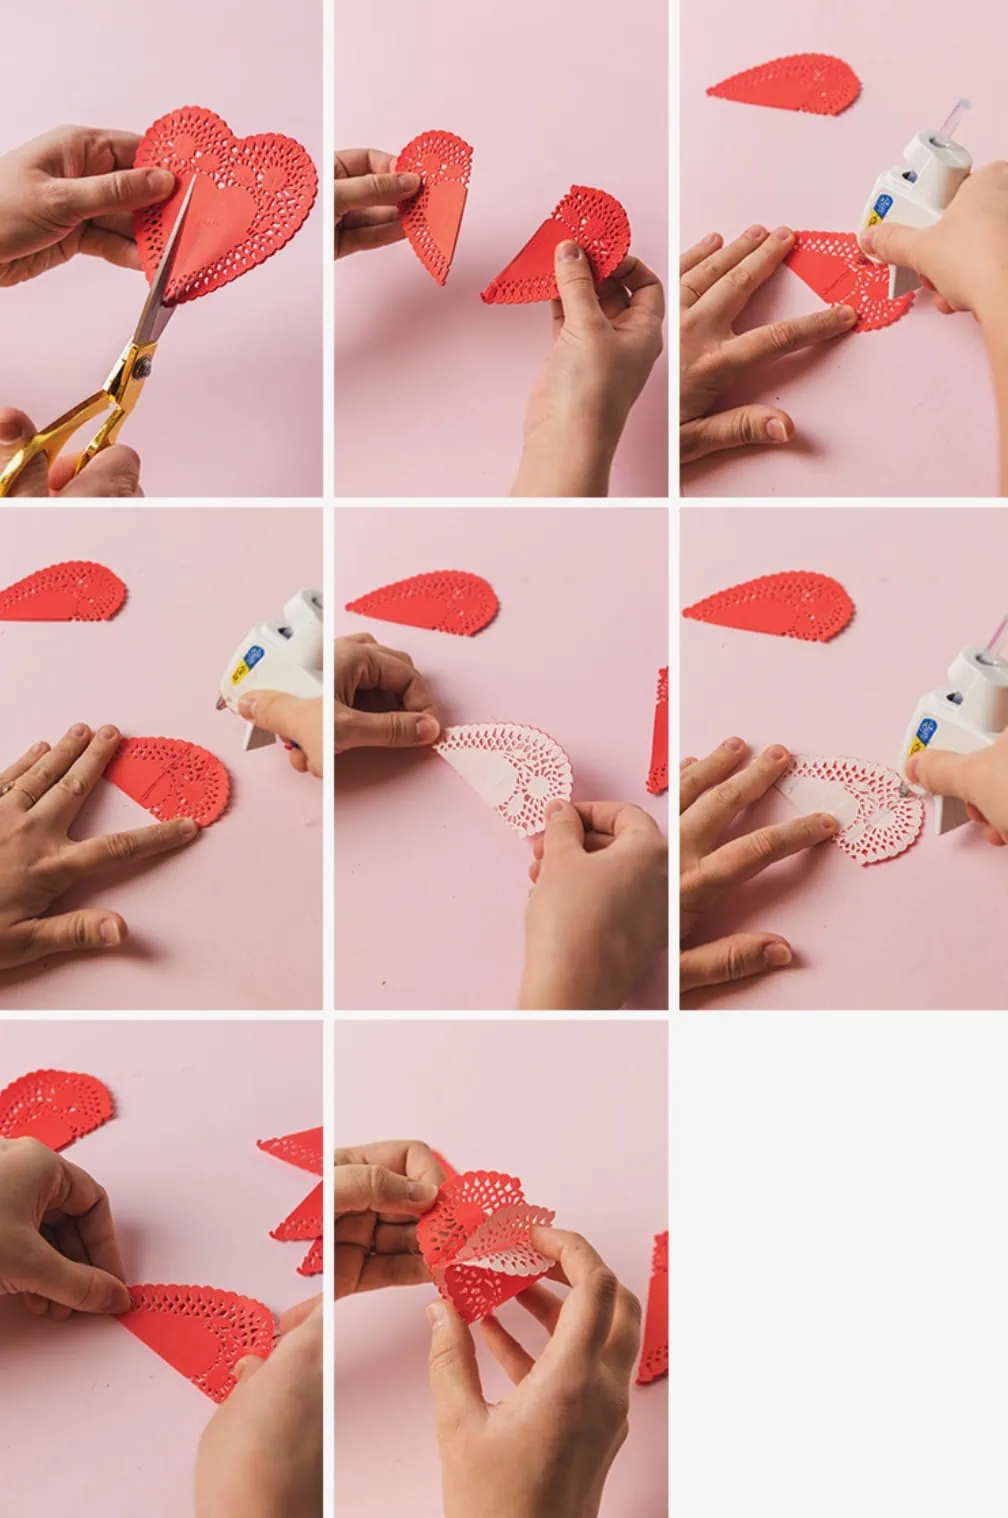
- Cut doilies in half. If your doilies are heart-shaped and have different colors on each side (ours are white on the back) keep the right-sided halves separated from the left-sided ones. You will alternate gluing left and right sides of the heart.
- Glue a line down the middle of one half-doily (starting at the axis and moving to the edge.
- Place another doily on top. For heart-shaped doilies or ones with different colors on each side, glue the same colors together. The contrasting color/blank side will now be facing up.
- Glue two lines down the sides of the doily on the top of the stack.
- Place another doily on top, again gluing the same colors together.
- Carefully separate the layers where glue may have escaped to lower layers through the holes in the doily.
- Repeat steps 4-8 until the stack is tall enough to open up and wrap back around so that the first and last layers meet. This will be about 50 layers or 25 whole doilies.
- While pressing down the layers of doilies, glue a line down the spine of the stack and even it out with the warm tip of the glue gun. Make sure that all the layers are adhered together with this glue.
- Glue a loop of ribbon to the top of the spine.
- Fan open the ornament, carefully separating any layers that may still be stuck together, and glue the first and last layers together. You’re finished!
How to make a circle doily honeycomb decoration
And the tutorial is a bit different if you’re doing a heart. Here’s how to make it:
Would love to see how you put them to use. What will you do with them? Tag us when you make yours with #LarsLovesLove #LarsMakes.
Like these? You’ll also love these:
Honeycomb Ornaments
Lunch sack honeycomb decorations
Printable honeycomb cards


Comments