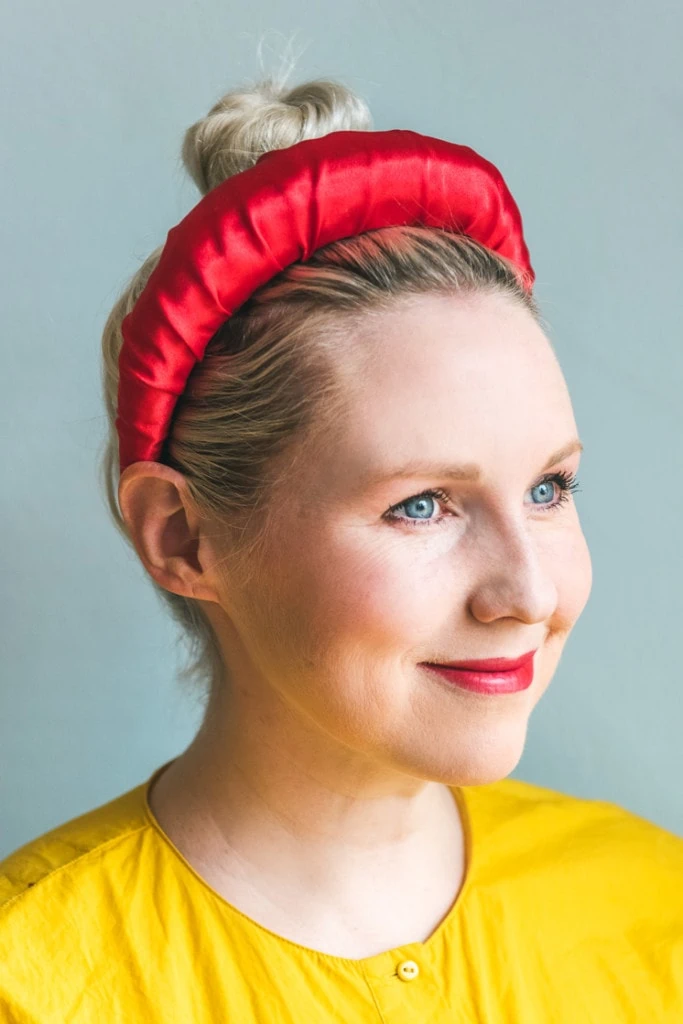
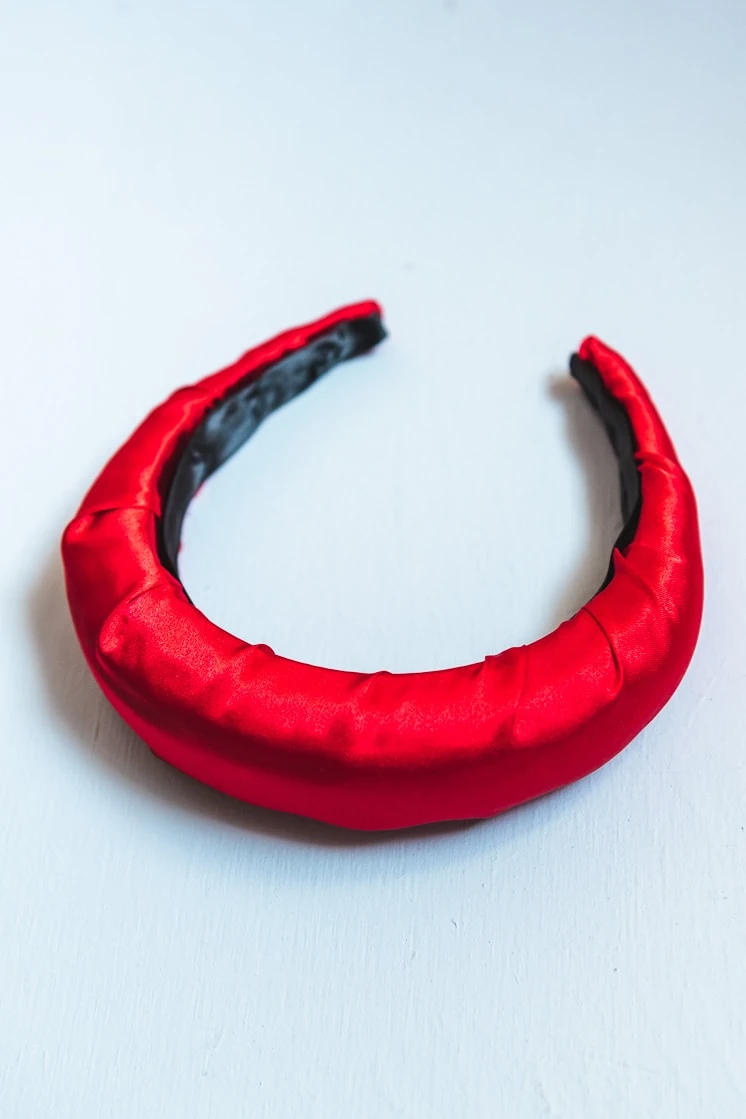
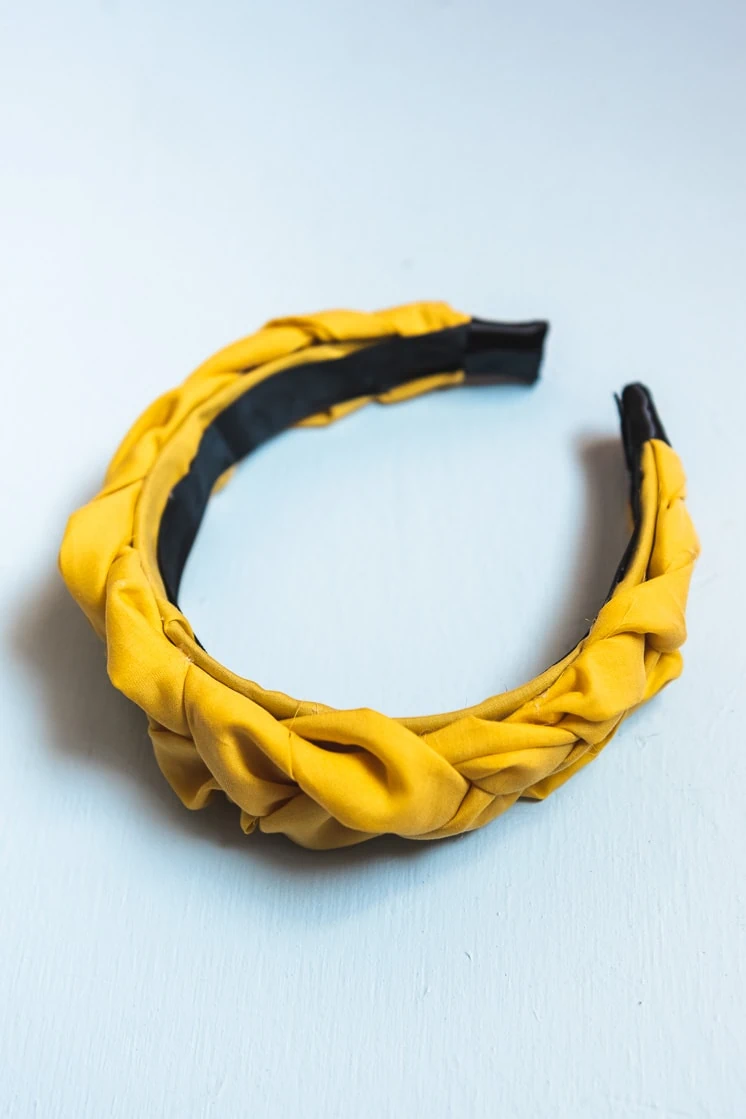
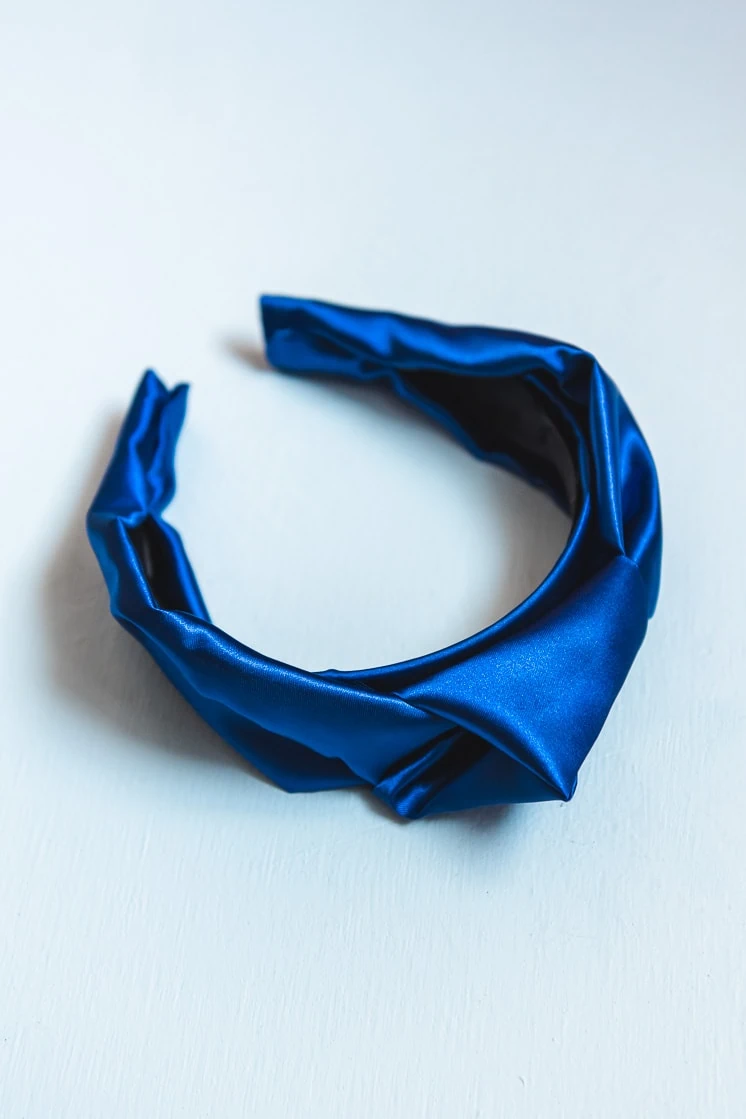
This is the DIY we’ve all been waiting for. The moment Amanda Gorman began reciting her inaugural poem on Capitol Hill, we witnessed an iconic moment in history. And one mustn’t deny that her fashion choices were part of it too. Even The New York Times dedicated an article to her hairband and called it an “empowering exclamation point.” We wanted to recreate this statement headband that Amanda Gorman so powerfully displayed.
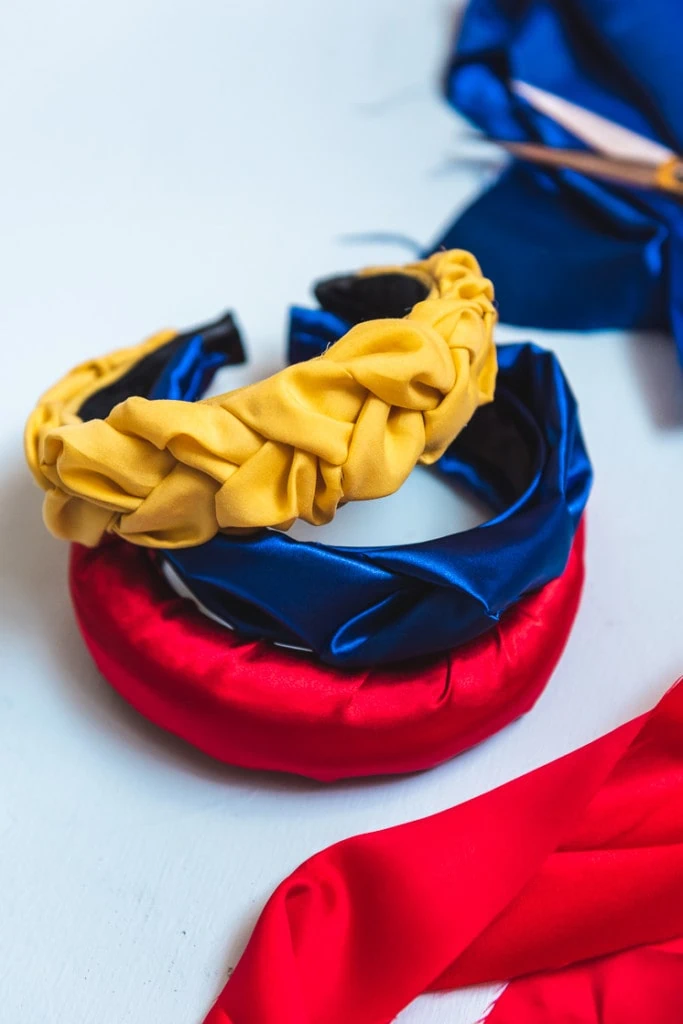
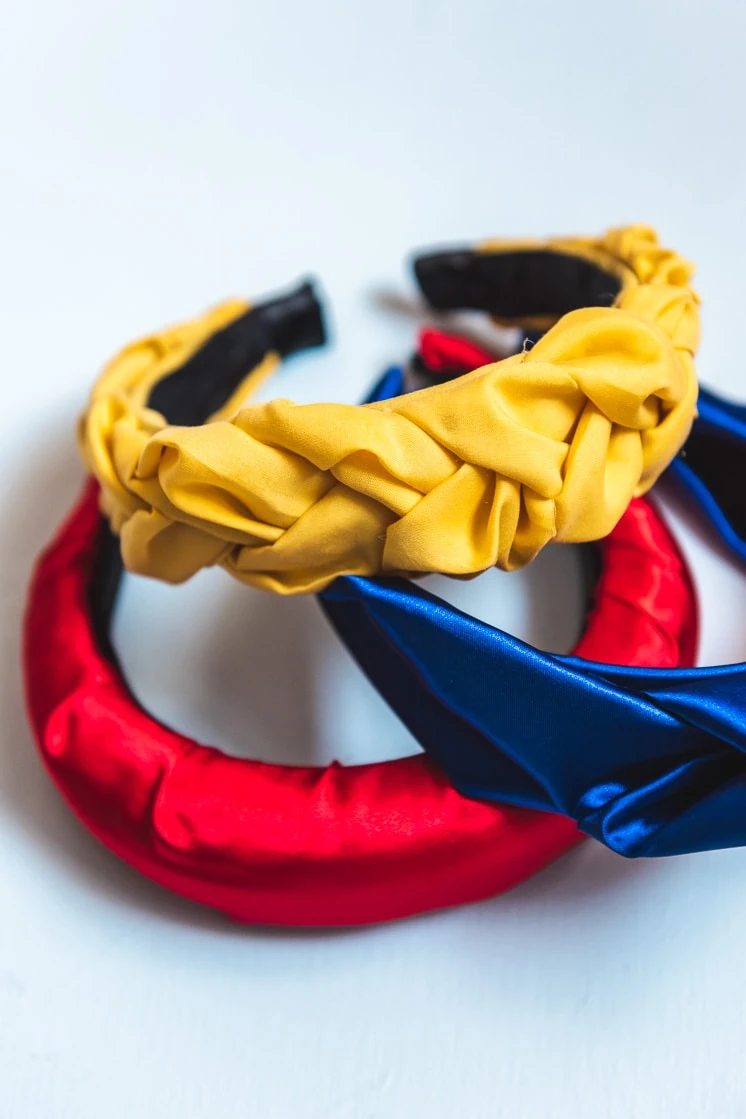
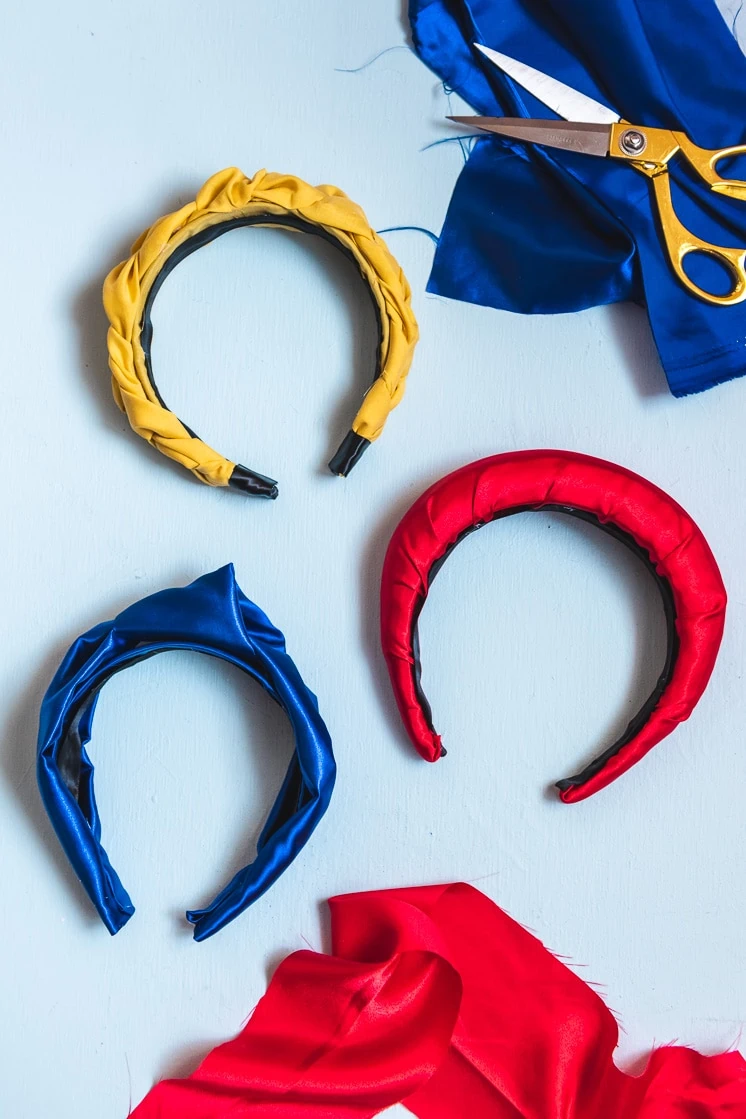
Keep reading to find out how to make 3 different statement headbands inspired by Amanda Gorman’s inauguration look!
Statement headbands have been trending over the past few years and they are here to stay for 2021, thanks to Amanda Gorman! We’ve seen a resurgence of headband designs made with velvet and satin, embellished with pearls, rhinestones, and beads. They almost resemble Renaissance and medieval headwear that adorned the hair like a tangible halo glow. On Inauguration Day, Amanda Gorman glowed as she read her poem, “The Hill We Climb,” and her red headband simply accentuated her shine. Gorman’s “fiery red” headband by Prada quickly sold out since her speech, so we wanted to recreate the look by making our own headbands.
How to Make Your Own Statement Headbands
Supplies:
Plain 1.5 inch wide headbands (without teeth), 1/4 yard upholstery foam (½ inch thick), a permanent marker, scissors, a glue gun and glue, 1/3 yard fabric, a satin ribbon to finish.
Puffy Amanda Gorman Headband:
- With your permanent marker, trace the outline of your headband onto the foam. Cut it out outside the lines, giving about half an inch of ease on each end (as the foam bends it scrunches up a bit and loses some length). If you want your headband to be extra tall, cut two foam shapes.
- Making sure the foam and the headband are centered, glue the foam to the top of the headband. It’s easiest to keep it centered if you start with the two ends, then glue the top and sides.
- If you are making yours extra tall, glue another layer of foam on top
- Trim the foam to create a smooth silhouette. It’s especially helpful to trim down the foam by the ends of the headband so that it tapers. Take your time on this step.
- Cut an oval of fabric 24 inches long and six inches wide.
- Center the headband on the fabric and wrap the fabric up and over the foam. Glue the fabric to the underside of the headband. Repeat on the other side. It’s best if you keep the glue on the center of the underside of the headband so that it can be covered with the ribbon later. If you have excess fabric, trim it off.
- Work your way around the headband, smoothing out big wrinkles along the way.
- Trim the excess fabric from the end of the headband, leaving about an inch. Fold it under the bottom and secure with glue.
- To finish your headband, cut a length of ribbon long enough to run the entirety of the inside of the headband with about an inch to spare. Glue the ribbon to the underside of the headband, covering any raw edges. Fold the end of the ribbon under to create a clean edge and secure with glue. Where the headband tapers fold both sides of the ribbon under so that the ribbon doesn’t extend beyond the sides of the headband. Glue down and repeat on the other side.
Braided Headband:
- Cover the headband in fabric. To do this, cut a three inch wide strip of fabric just longer than the headband is. Center the headband on the fabric and glue it down so that it covers the top, and fold the ends under the headband. Secure with hot glue and press down to avoid pesky bumps. Trim away excess fabric.
- Cut three four-inch-wide strips of fabric and fold them over so that they form a hollow tube. Dot hot glue along the side of each and secure the fabric tubes.
- Stack the three tubes and glue them together. Loosely braid the three strands together, taking care to keep the glued seam down. It can help to tape the strands to a table here. Secure the end of the braid with hot glue so that it doesn’t unravel.
- Starting in the middle of the braid, attach it to the top of the headband, with a dot of hot glue. Plump up the braid as desired and glue the braid down across the length of the headband. We pulled the braid a little bit tighter at the ends so that it would have more dimension at the top and taper at the sides. Trim any excess braid where the headband stops and add a dot of hot glue to the strands to keep them from unraveling.
- To finish your headband, cut a length of ribbon long enough to run the entirety of the inside of the headband with a few inches to spare. Glue the ribbon to the underside of the headband, covering any raw edges. Starting on one side, trim the ribbon so it extends just beyond the end of the headband and fold it up over the bottom. Secure it with glue. Cut a three inch piece of ribbon and glue it to the inside bottom of the headband. Fold and glue the end of the ribbon to create a clean edge, and wrap it around the base. Secure with glue and repeat on the other side.
Knotted headband:
- Cover the headband in fabric. To do this, cut a three inch wide strip of fabric just longer than the headband is. Center the headband on the fabric and glue it down so that it covers the top, and fold the ends under the headband. Secure with hot glue and press down to avoid pesky bumps. Trim away excess fabric. Cut the fabric so that it ends right where the headband ends.
- Cover the raw edges of the fabric with a strip of ribbon. Cut a length of ribbon long enough to run the entirety of the length of the headband and glue it down, covering any raw edges. Don’t worry about the ends of the headband; we will finish those later.
- Cut a strip of fabric six inches wide and about 30 inches long. Fold it over so that it forms a hollow tube. Dot hot glue along the side and secure the fabric tube.
- Tie a loose knot in the center of the fabric tube. Make sure that the seam side isn’t up in the knot or on the top of the strips coming off the knot on either side.
- With a dot of hot glue, secure the knot. Use another dot of glue to adhere the knot to the top of the headband.
- With the seams down, glue the strips of fabric to the headband. Fold up the ends and fold in the sides, and wrap these around the bottom of the headband. Secure with hot glue.
As Amanda Gorman stated within the last lines of “The Hill We Climb,” may we be brave enough to be the light, in our country and our world.
We want to see how your style your Amanda Gorman headband! Tag us on instagram so we can see your iconic looks.


