It’s important to me that some of our crafts are easy enough that kids can do them, and I came up with a super simple clay necklace that is perfect for Mother’s day. Polymer clay is a great material for kids to work with because it is forgiving and oh so tactile–even the most energetic tots can roll a ball of clay!
Materials:
Clay Projects with Kids
A clay necklace is a great Mother’s Day project to do with kids, and it’s so easy with polymer clay! Polymer clay is a plastic-based clay that cures at low temperatures so you can bake it in your home oven. It’s great for jewelry and figurines, but the sky’s the limit with this. Keychains, mobiles, or buttons would all be great polymer clay projects to make with kids.
Make Your Own Mother’s Day Clay Necklace
Supplies:
Polymer clay in a few colors, a baking sheet, a piece of scrap paper, black embroidery floss, a drill and 3/16 drillbit (for very neat holes) or a toothpick (which is a bit more kid-friendly and also works just fine, but will end up being a bit less neat), a needle, and your home oven
Instructions:
- Mix your clay to get the colors you want. I mixed mine thoroughly to get solid colors, but you can also leave it marbled depending on the look you’re going for.
- Separate your clay into smallish sections of various sizes.
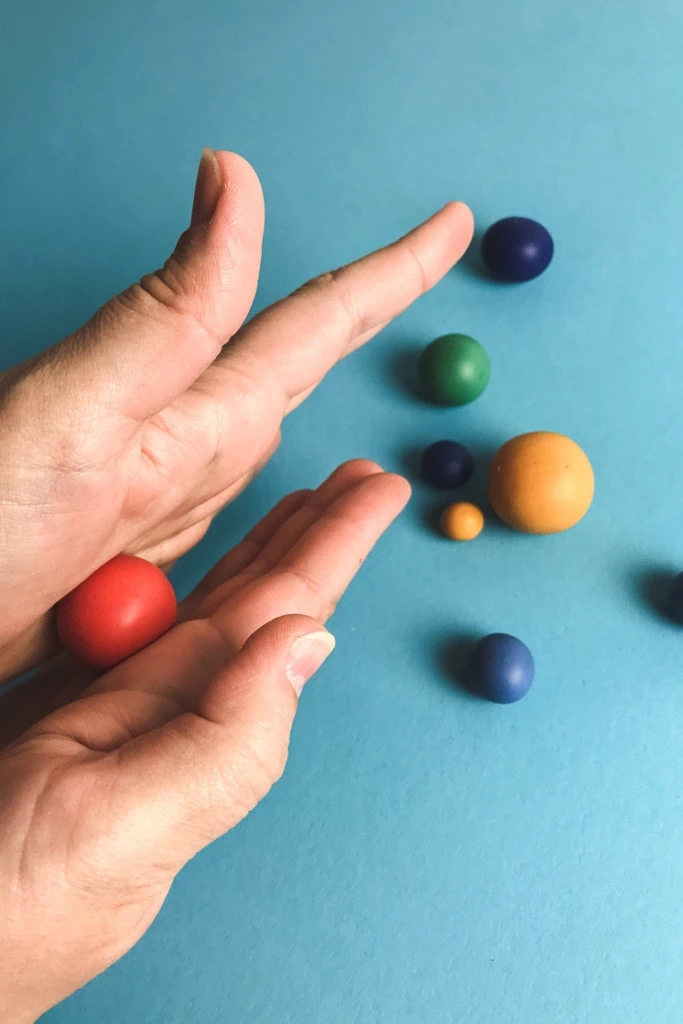
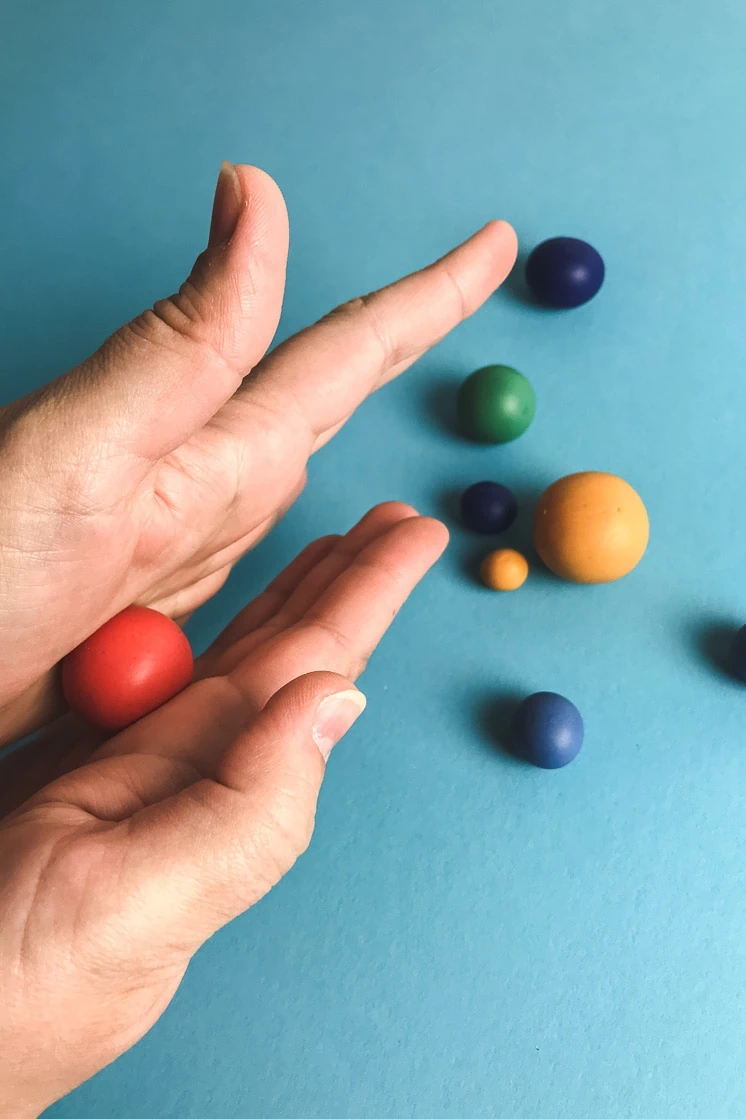
- Roll each section into a ball, trying to get it as smooth as you can.
- If you don’t have a drill, now’s when you’ll make the holes for your clay beads. Pierce a hole through each bead with a toothpick. I have found that it helps keep the bead as round as possible if you mimic the twisting motion of a drill rather than just punching through. If you do have a drill, skip this step.
- Preheat your oven according to the clay manufacturer’s instructions. Some brands bake differently, so make sure you read the package.
- Fold your piece of paper into an accordion shape so that it has ridges. Unfold it and place it on the baking sheet.
- Put your beads on the paper. This setup keeps the beads from rolling all over the place.
- Bake your beads according to the clay manufacturer’s instructions. This will smell a bit plasticky, but don’t worry–that’s normal.
- When your beads are done baking, take them out of the oven and let them cool entirely.
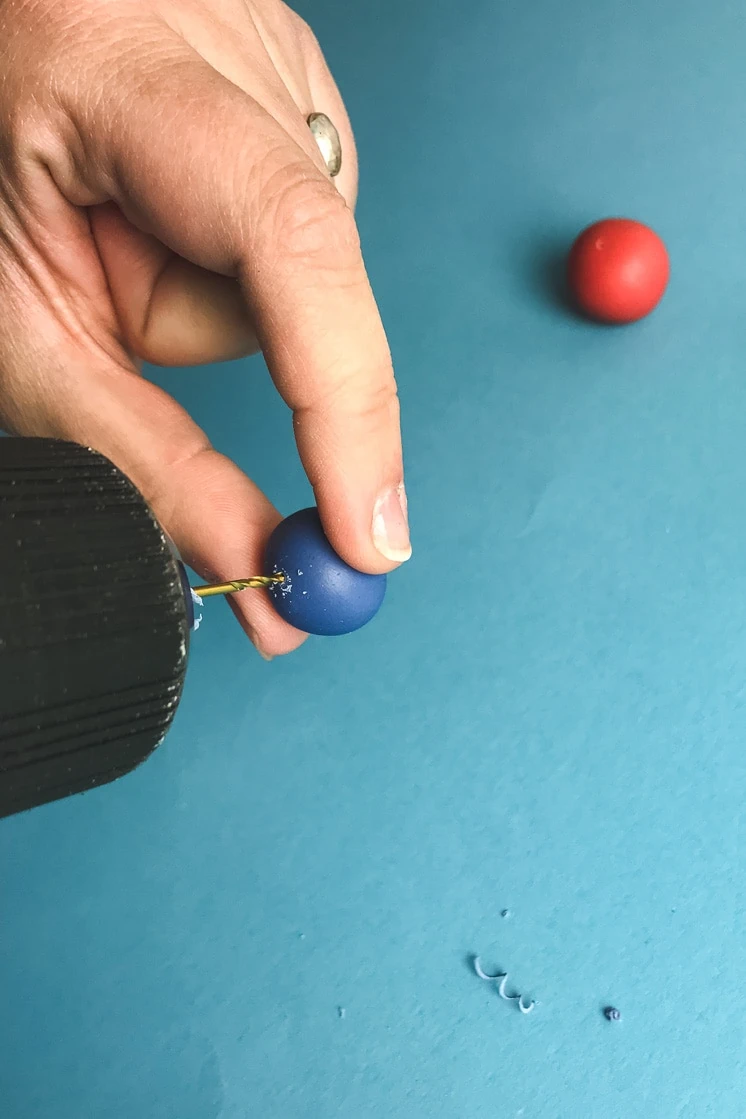
- If you didn’t make holes with a toothpick, drill holes through the center of your beads with a 5/16” drill bit or similar size. If you already made holes, move on to step 11.
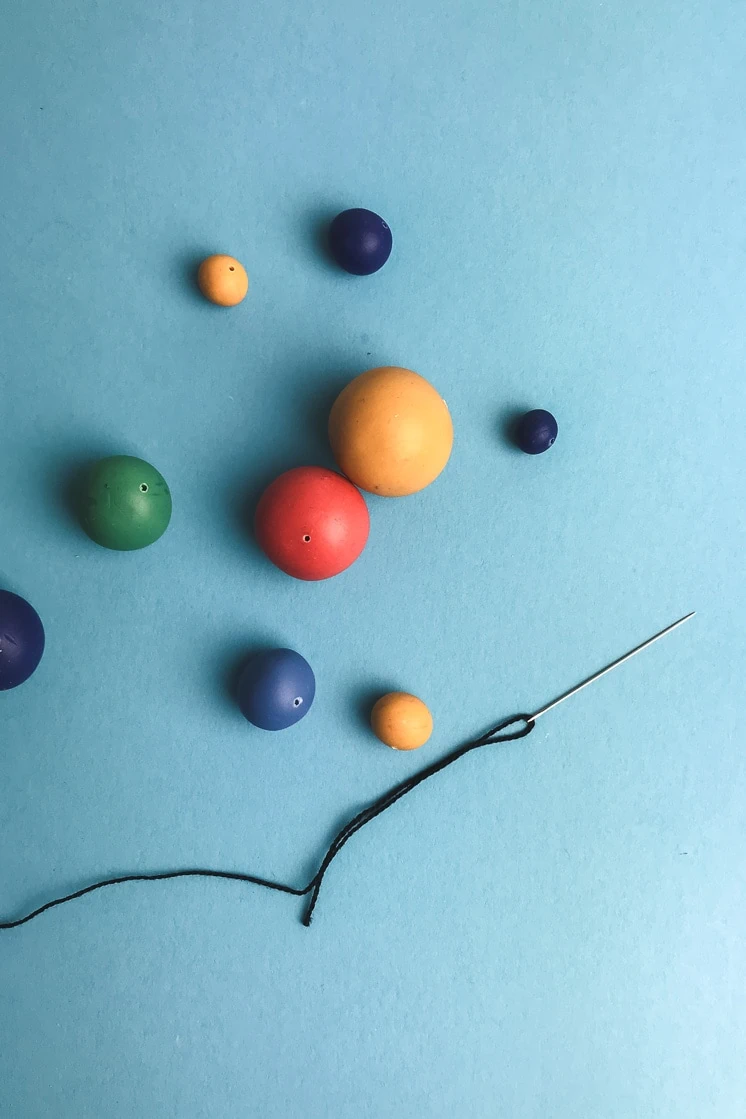
- Thread your needle with the embroidery floss and string all the beads on the necklace.
- Center the beads on your string and tie a knot on either side of them so they stay centered.
- Tie a knot in the string and your necklace is ready to give to a mom in your life (or to wear yourself)!
If you make this project we would love to see it! Tag us with #MadeWithLars


