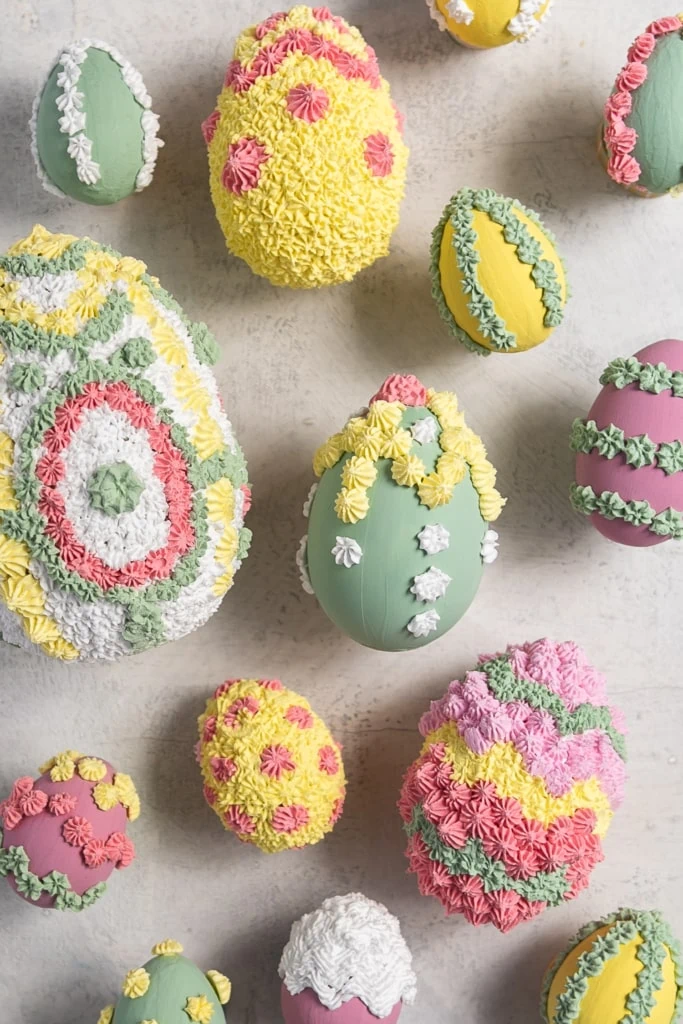
I hopped on the fake cake train and I haven’t gotten off. Anyone else? If you recall, I made twenty mini fake cakes for Valentine’s Day and found the process so soothing that I knew I wanted to try it on some Easter eggs. I had recalled the panoramic sugar Easter eggs from growing up and this was a different take on it, but with something that won’t attract any ants. I found the process a bit trickier than the round cakes because of the shape of the eggs and not having any flat surfaces. Let me tell you how I did it!
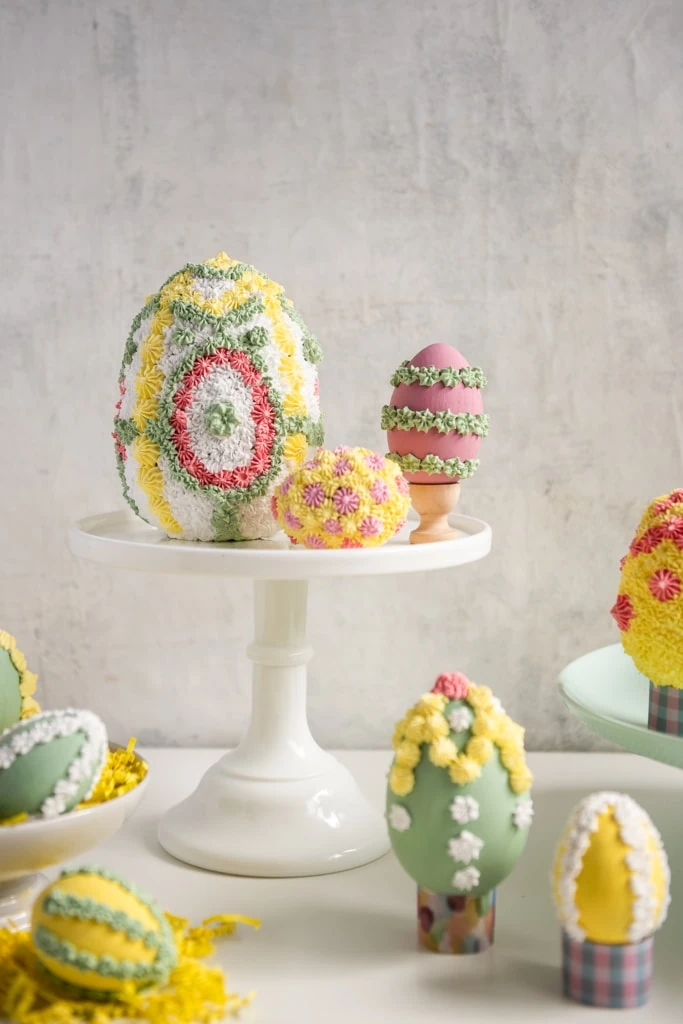
The older brother–the panoramic Easter egg
Panoramic sugar Easter eggs, intricate confections with a rich history, blend culinary artistry and creative expression. Crafted from a mixture of sugar, water, and corn syrup, these eggs boast ornate designs, meticulously piped or painted onto their delicate shells. Within their hollow interiors lies a hidden surprise—a miniature scene or diorama, revealing itself as the egg is cracked open. Evoking the spirit of Easter, these edible works of art captivate with their beauty and sweetness, embodying the essence of renewal and abundance. A timeless tradition, panoramic sugar Easter eggs continue to enchant and delight generations with their exquisite craftsmanship.
I adore these sugar Easter eggs but know I don’t have the patience right now in this time in my life to work on it, so these fake eggs are the next best thing. Plus, I can keep them from year to year and not have to worry too much about them.
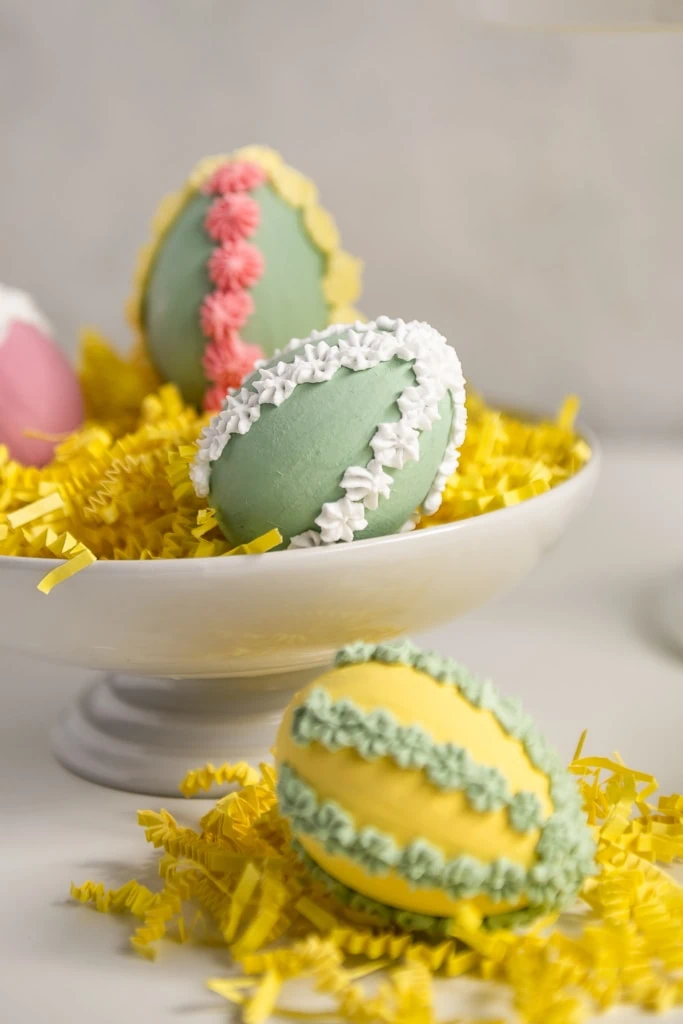
How to make a fake cake Easter egg
Difficulty:
IntermediateTime:
a few days (with drying time)Materials
- wood or papier mache eggs
- acrylic paints
- lightweight spackling
- cake piping kit
- cake piping bags
- putty knife
Instructions
Mixing icing colors and learning to pipe
- refer to our Fake Cake post to learn how to mix the colors for the icing and learning how to pipe.
Pipe the Easter eggs
- Because of the odd shape of the eggs, you’ll want to work on half of an egg at a time. I like to leave a full 24 hours for each color piping to dry before I add on the other colors. I piped in a design with one color, added in the next color on the next day, and the next color on the next day. The process is lengthy, only because of drying time.
-
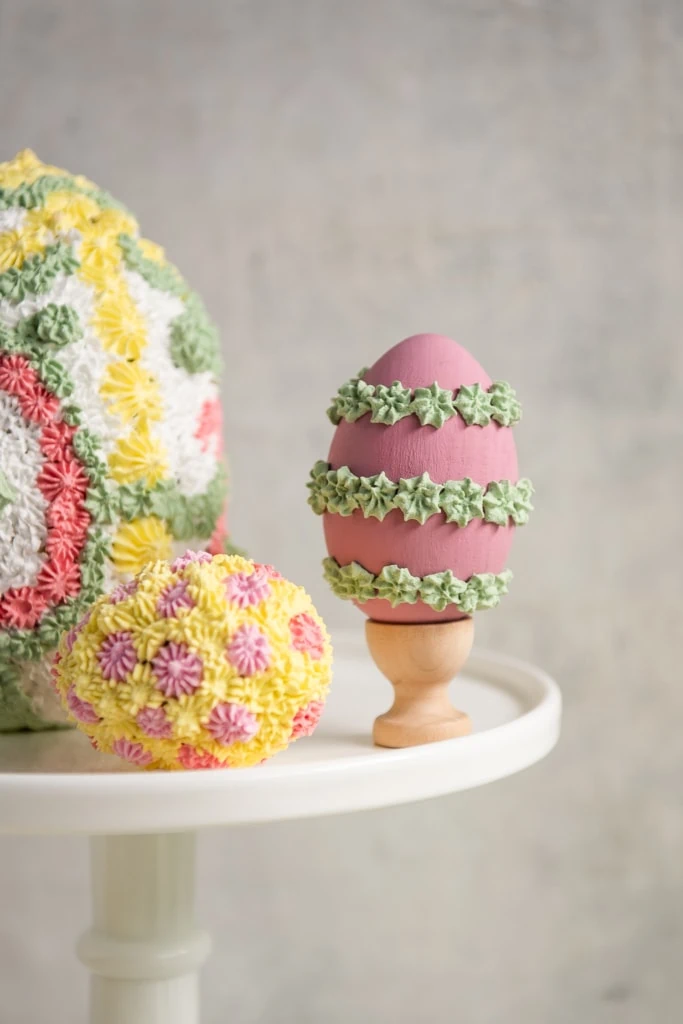
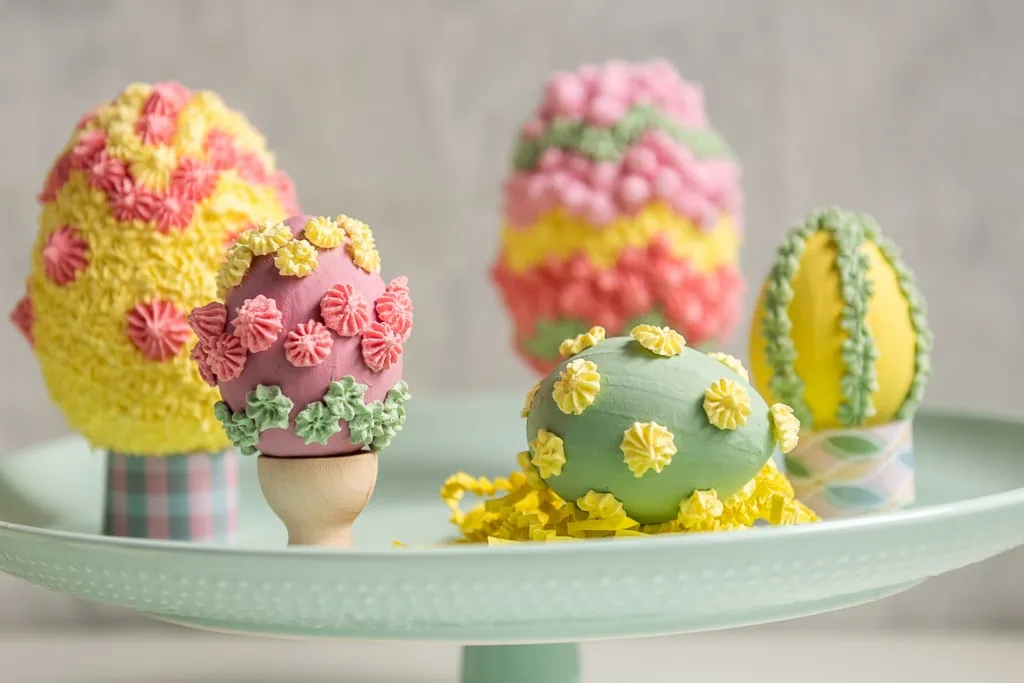
I chose to only use one icing pattern, the star, because I wanted to keep it simple and I was worried about adding too much detail onto small eggs. I also tried adding in a base coat of flat icing to cover the eggs and didn’t love how they turned out so I painted them with acrylic paint first.
- I had fun mixing colors, playing with patterns, and trying to make them look like cakes!
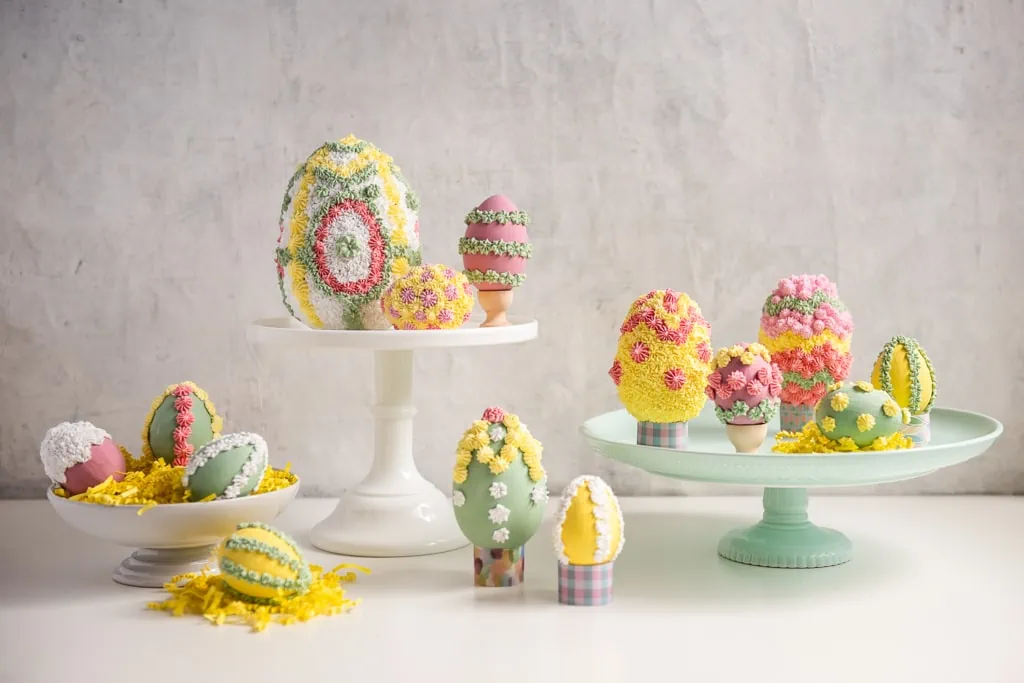
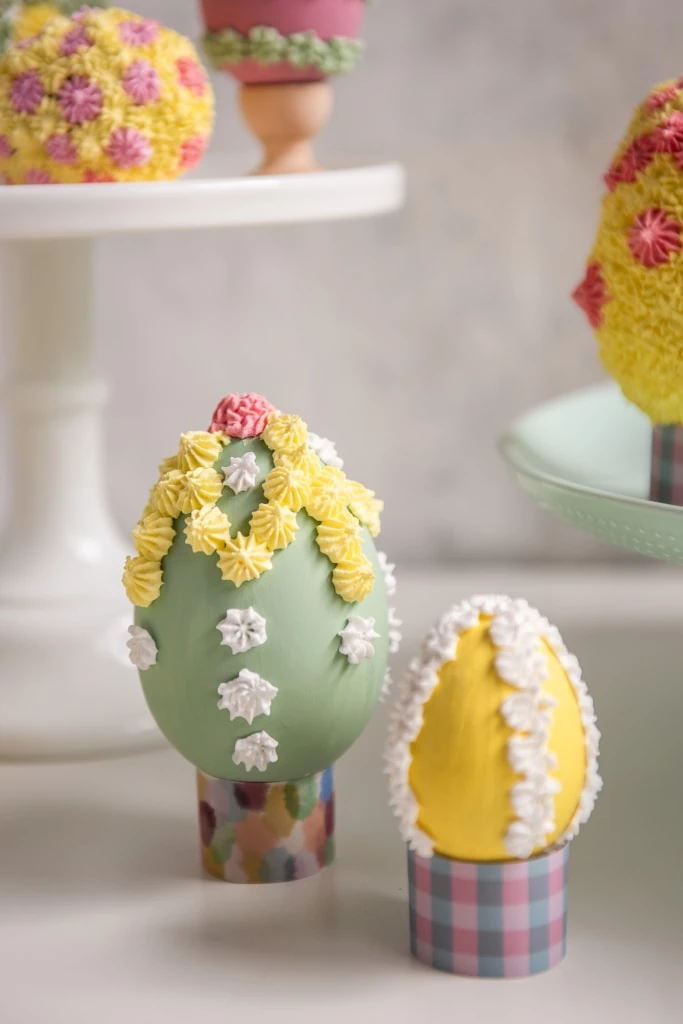
If you make some, tag us with #LarsLovesEaster so we can all see!


