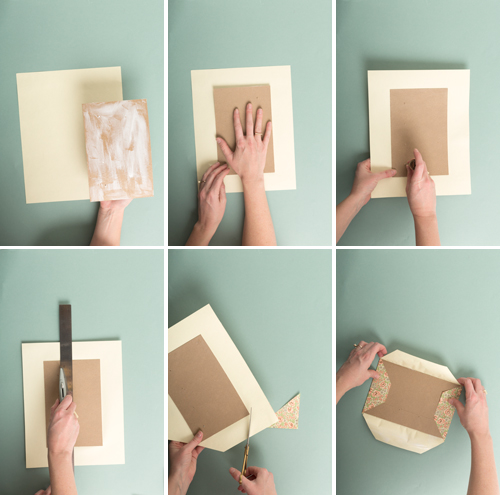
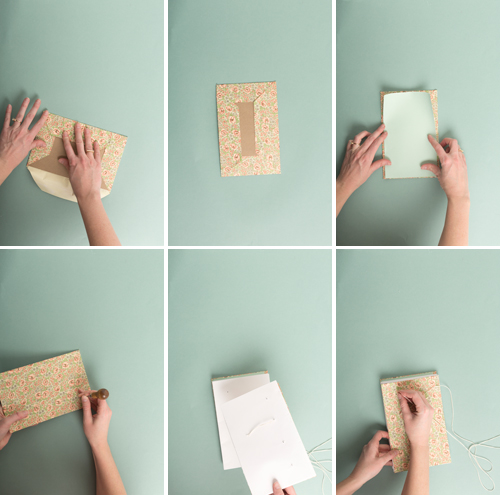
Step 8: Glue the cardboard with a paintbrush and paste it onto the cut out paper. Flatten it with your hands getting rid of any bubbles.
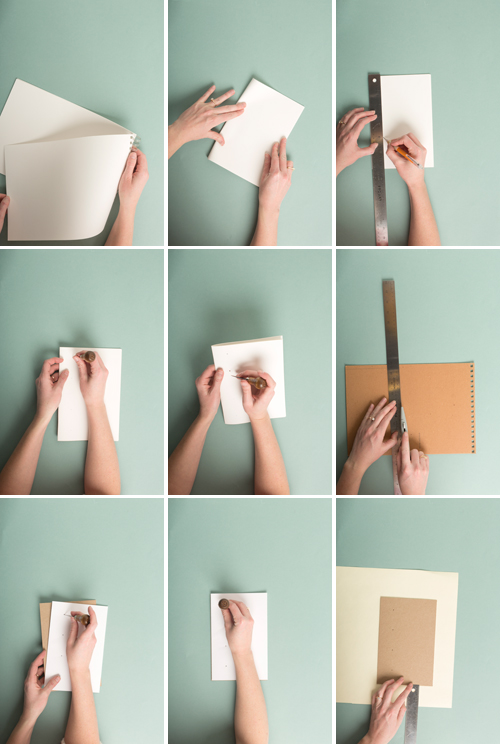
Step 9: Transfer the hole placement from the sketch pad paper onto the cardboard and bore the holes.
Step 10: On the cardboard that will be the front of the book, score (slightly cut) a line into the cardboard with your craft knife and ruler about 1 1/2″ in depth. This will allow the book to open well.
Step 11: Cut the edges of the paper off at 45 degree angles.
Step 12: Fold the patterned paper up onto the cardboard to create creases.
Step 13: Glue the paper edges and gold them onto the cardboard. Start with the short ends first and then move onto the longer edges.
Step 14: Glue the solid piece of paper with the brush and place it onto the cardboard.
photography and tutorial by Trisha Zemp for The House that Lars Built


