

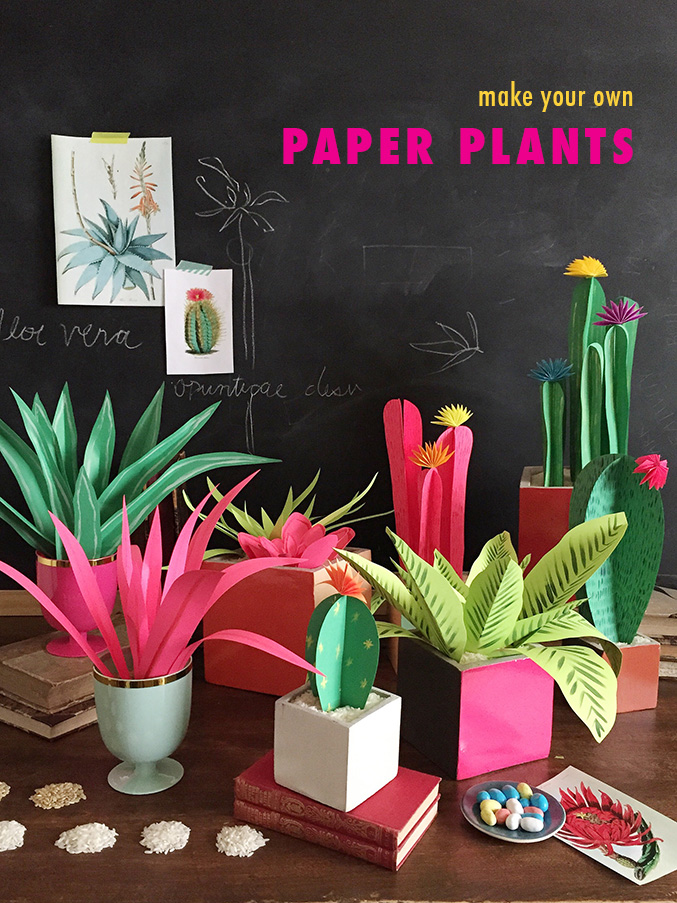
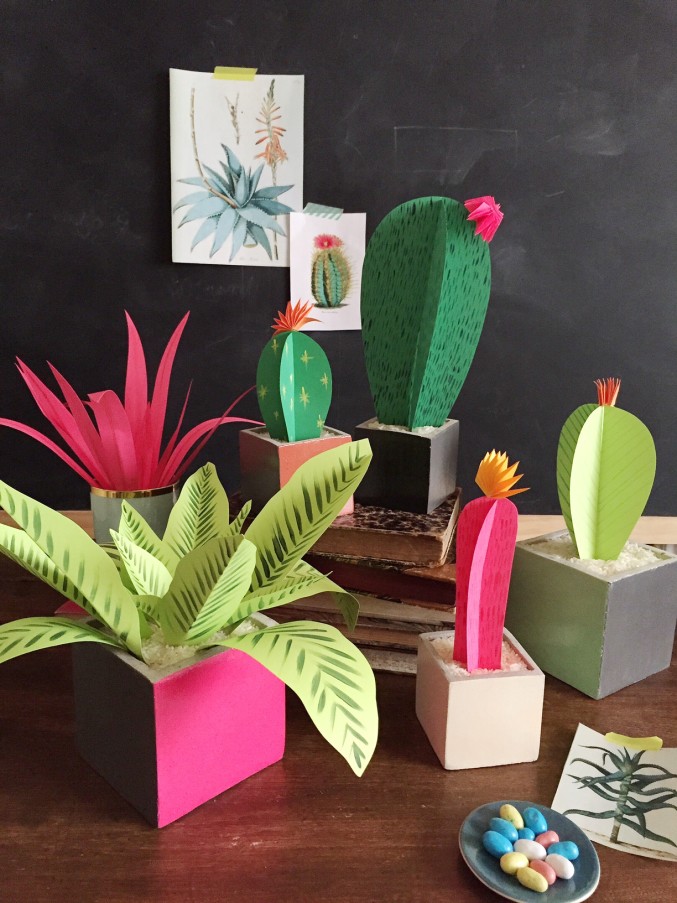
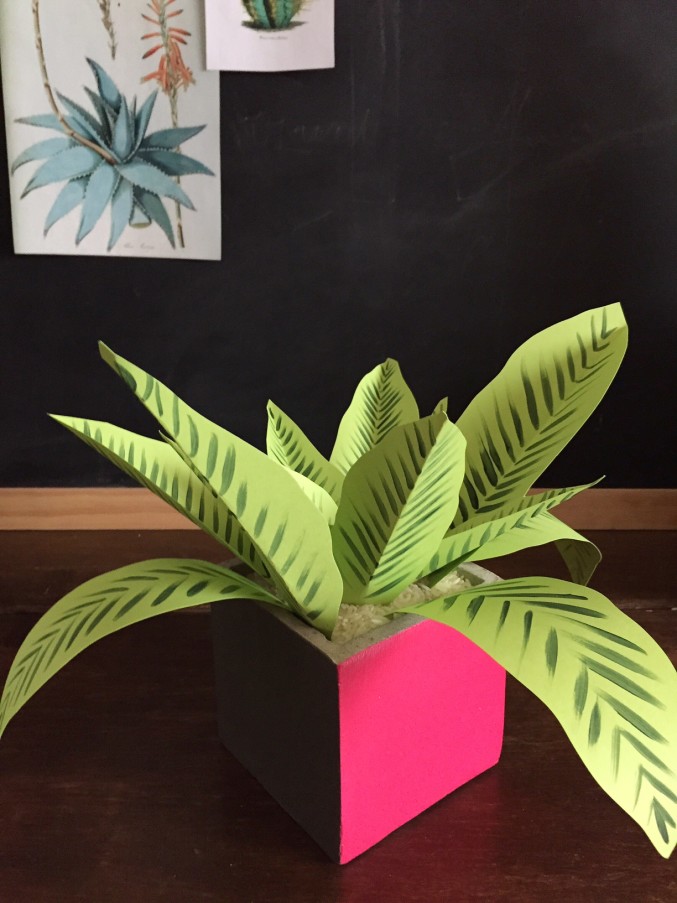
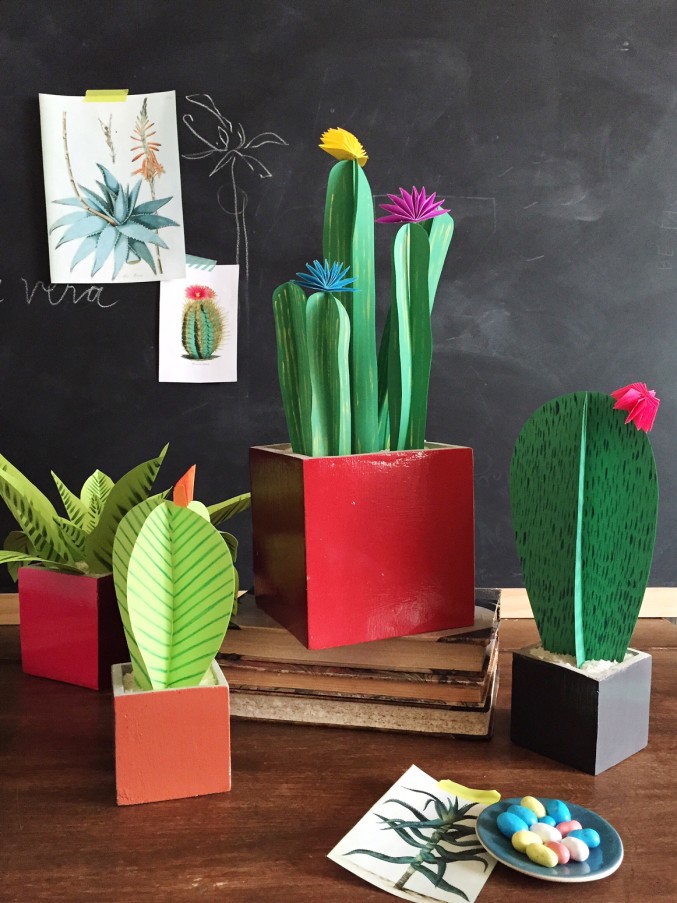
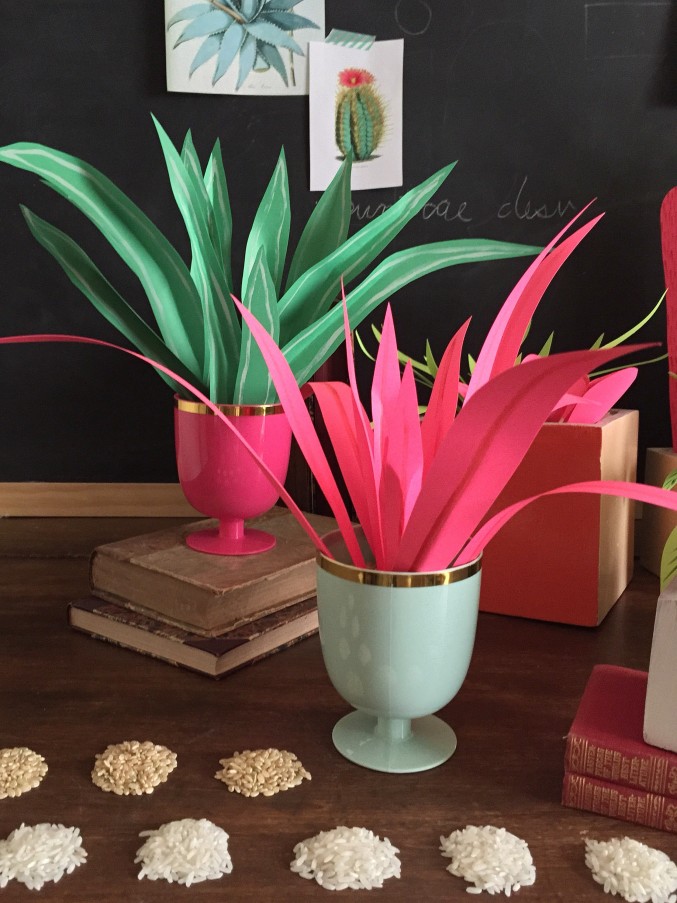
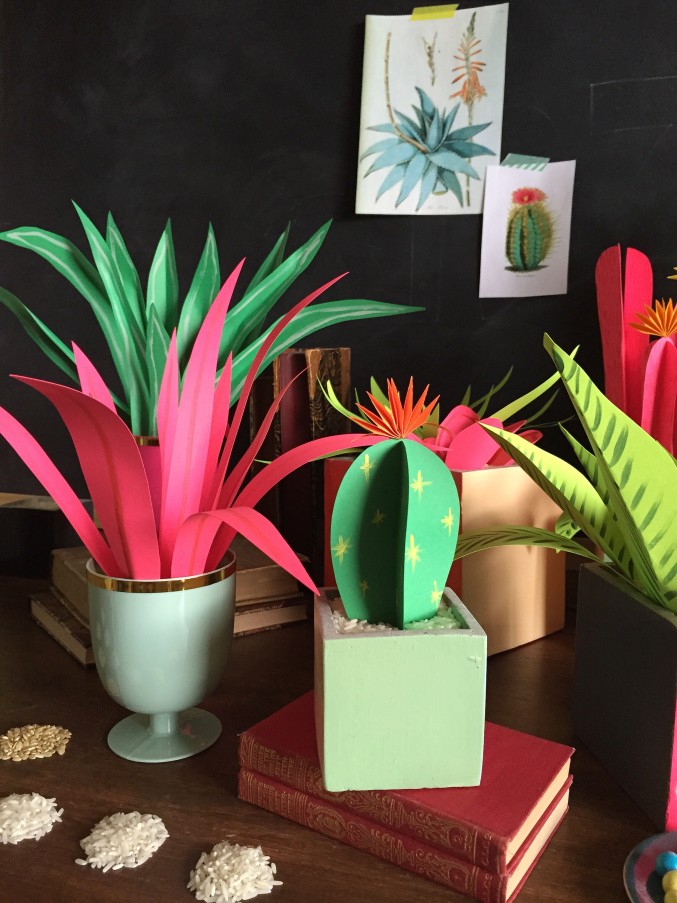
I’ve been wanting to create some paper plants for my house for ages now. You see, as much as I try and green thumb my way into cultivating gorgeous indoor plants, they just don’t feel the same way about me and I’m left with a botanical cemetary. It’s tragic really. So, I decided that the best alternative would be to create them myself with plants that don’t rely on constant watering and fertilizer. Enter ASTROBRIGHTS® Papers. They asked me to come up with a project using their gorgeous papers and I knew it was the perfect opportunity to create my paper garden especially with their line of super colorful papers. Wouldn’t it be a fun way to colorize your Mother’s Day gifts?! Just make some paper plants and put them in a gorgeous vessel and you’re set!
See the video tutorial HERE
DIY Paper plants
Materials:
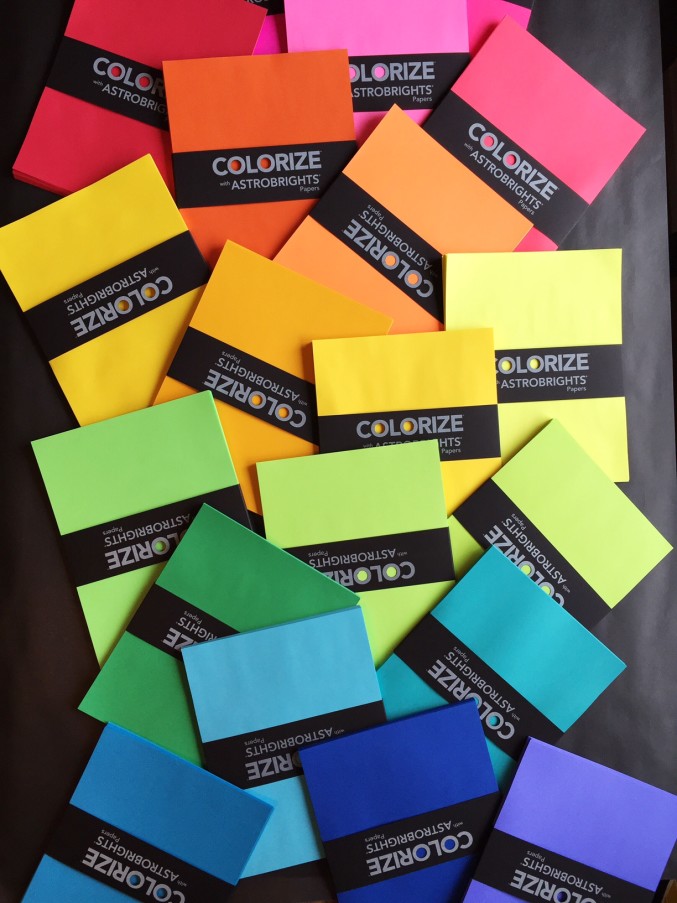
- paper (I used Colorize with ASTROBRIGHTS® Papers)
- scissors
- templates
- stapler
- vessels
- rice
- acrylic paint
- small paint brush
- glue gun
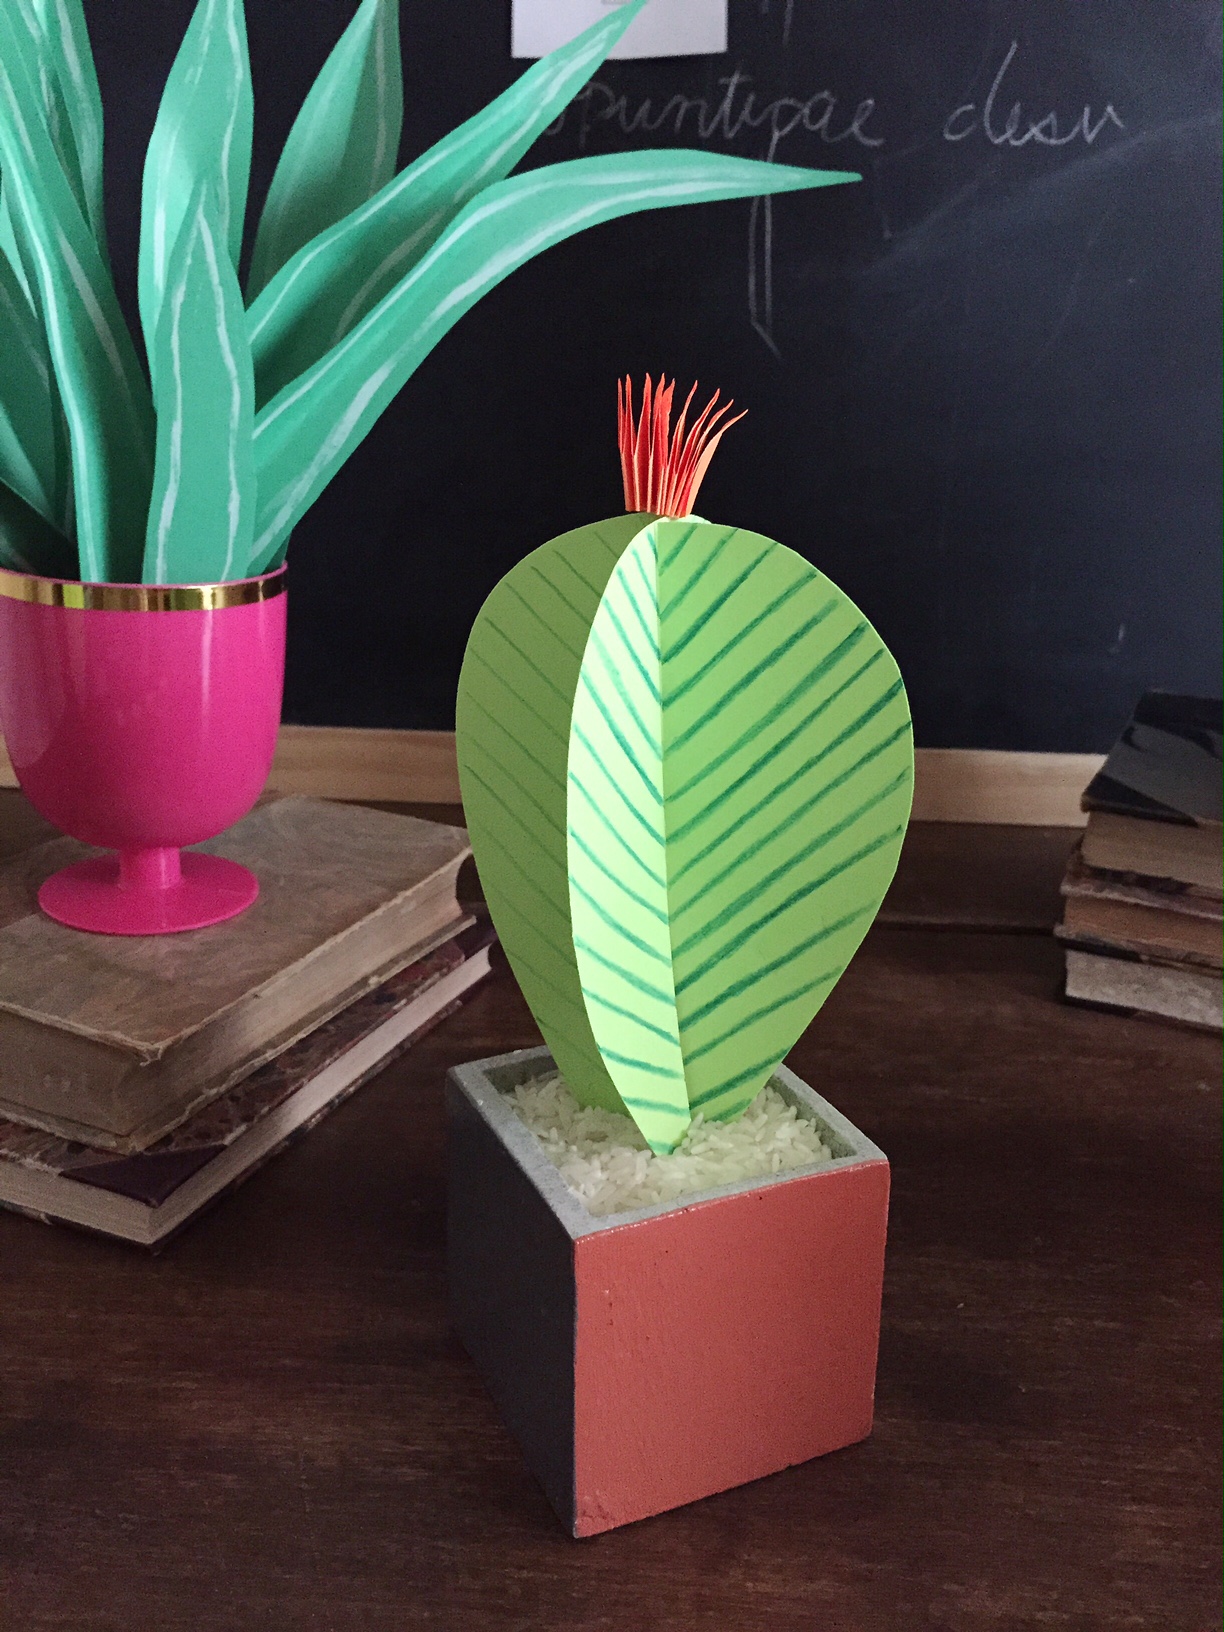
Step 2: Paint a pattern with a contrasting color. See below for some of my favorite patterns.
Step 3: Assemble the parts together.
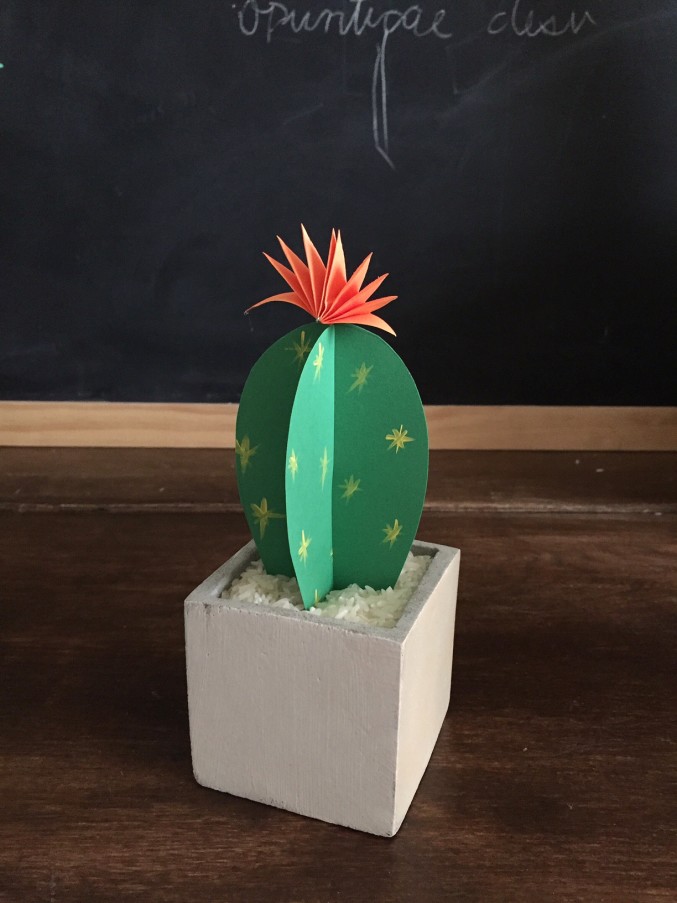
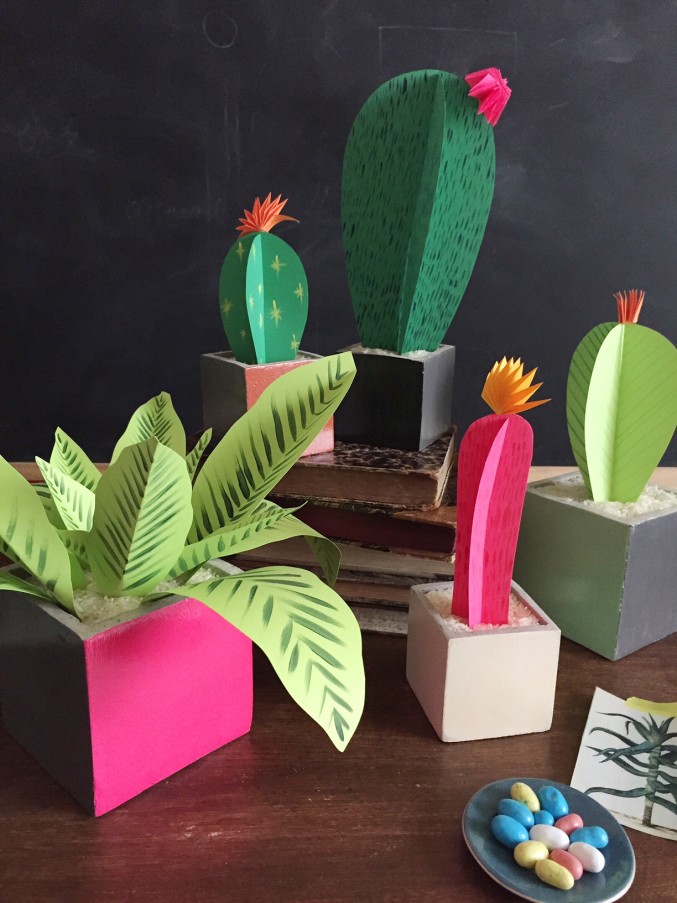
Step 4: Fill your vessel with rice or sand. I prefer rice.
Step 5: Insert your plant into the vessel. If it’s one with more leaves to it, start by inserting the middle first and working around in a circular motion.
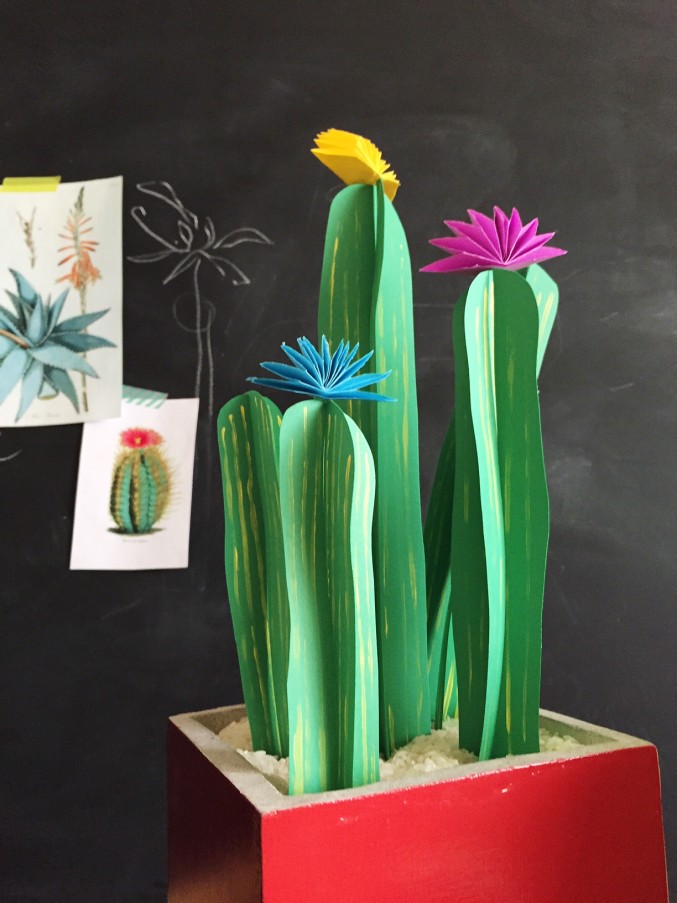
Step 6: For the colorful accessories on the cacti, use this tutorial to make a rosette only start with a piece of paper that is about 2″ wide and make your folds at about 1/4″.
Step 7: Glue the accessories onto your desired spot with a glue gun.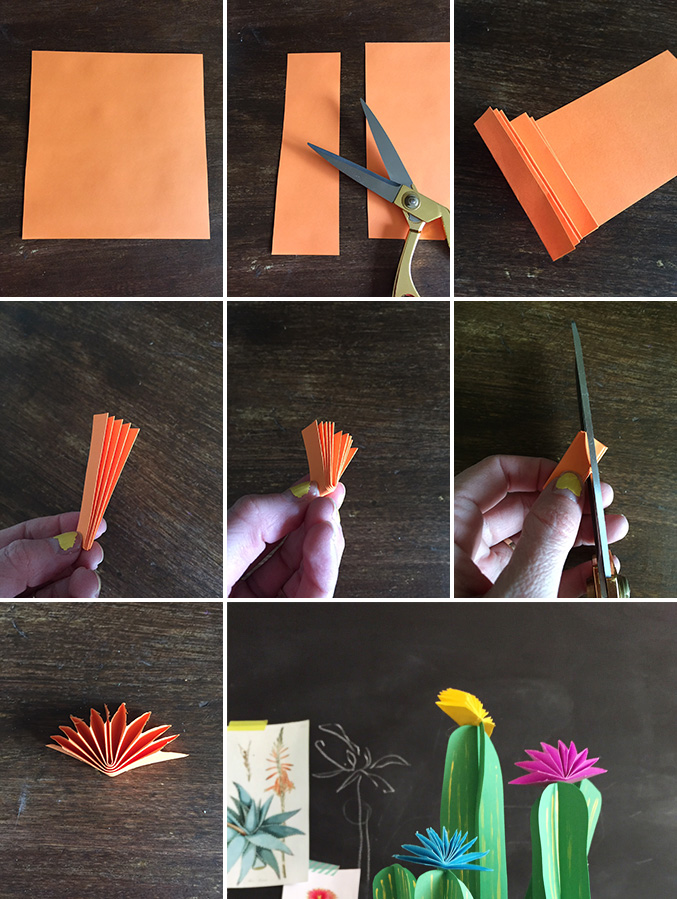
You can find more inspiration and ideas to COLORIZE your life at COLORIZE.tumblr.com
Photography and art direction by Brittany Jepsen | Styling by Jeff Butler of Chuck Butler Supplies
This post was sponsored by ASTROBRIGHTS® Papers. All content and opinions are my own. Thank you for supporting the sponsors that keep the The House That Lars Built running and colorful!
Comments