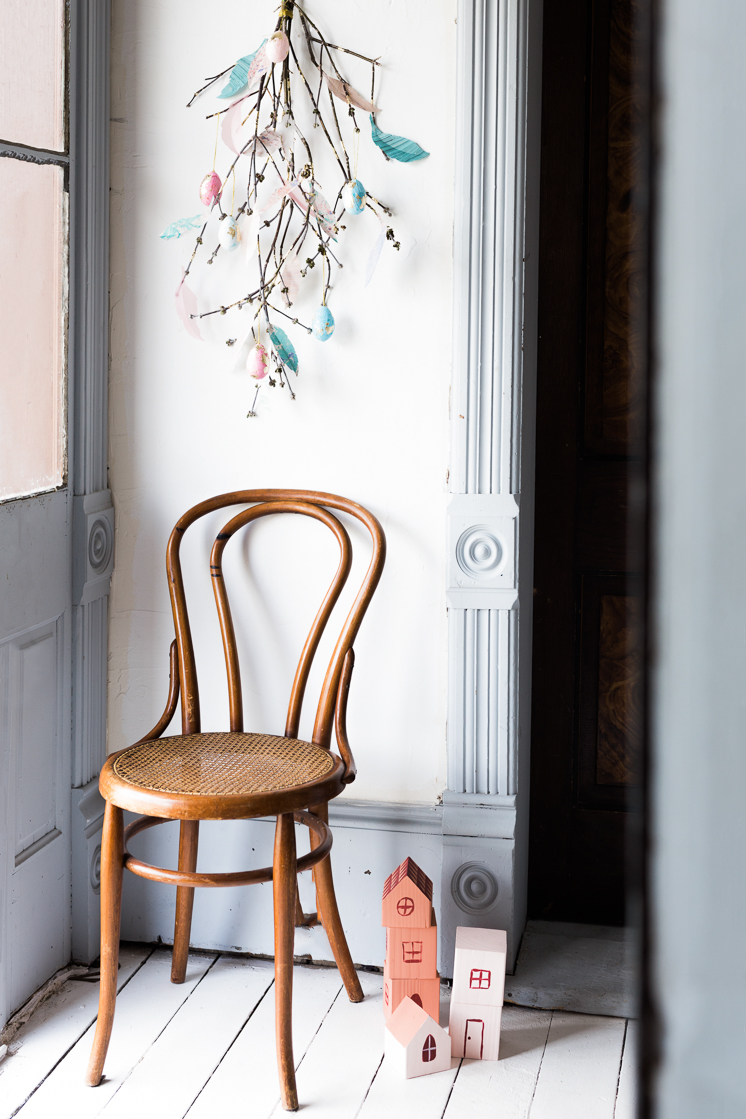
 In Scandinavia, they celebrate the Easter holiday a little different than here in the US. Children dress up as cute, not scary, witches and go door to door asking for candy. Similarly to Halloween in America. They also eat an abundance of eggs, and no, not just chocolate eggs, but real eggs. Think hard boiled eggs filled with creme fraiche, dill, shrimp, and lemon. But my favorite element of Scandinavian Easter decor? Påskris! Påskris are brightly colored feathered branches that seem to pop up everywhere in Scandinavia around spring time.
Inspired by their tradition, we made a DIY paper Swedish Easter tree last year that we absolutely loved. Consequently, we decided we needed to create another rendition! The result is a Swedish Easter Wall Hanging that features marbled paper feathers, crepe paper eggs, and gold leaf detail. Swoon! We took advantage of the mild spring weather and scavenged for branches outside to create ours, but you could buy some branches at your local craft store as well. This Swedish Easter wall hanging would look lovely on a front door, to welcome in guests for Sunday Brunch!
Continue for the how-to!
Swedish Easter Wall Hanging
Materials:
- A bundle of branches (5-8 depending on their size)
- Marbled paper in shades of pinks, blues, and creams
- Feather Templates
- Scissors
- Gold Leaf Kit
- Plastic eggs. We used 6 eggs.
- Crepe paper in shades of pinks and blues
- Gold twine
- Hot glue gun
Instructions:
- Gold leaf small sections of your branches, following the instructions included in your kit.
- Bundle your branches to create a nice full upside down bouquet. Tightly wrap gold twine around the base of the bouquet to secure.
- Cut out 10-15 feathers on the marbled paper using the templates provided. Score down the center of each feather to create a fold
- Hot glue feathers onto the branches
- Cut a few 1/2″ thick strips of crepe paper to cover your plastic eggs.
- Stretch out the crepe paper and wrap around the egg, securing with hot glue at ends, until completely covered.
- Add gold leaf to the eggs in an organic pattern. The more imperfect the better!
- Create small loops of gold twine by tying a knot and gluing to the top of the egg
- Adorn branches with the eggs.
Photography by Anna Killian | Crafting by Rebecca Young


Comments