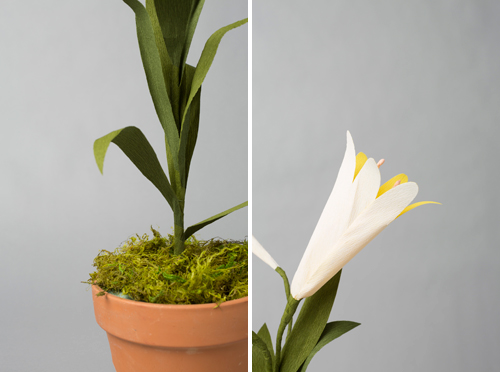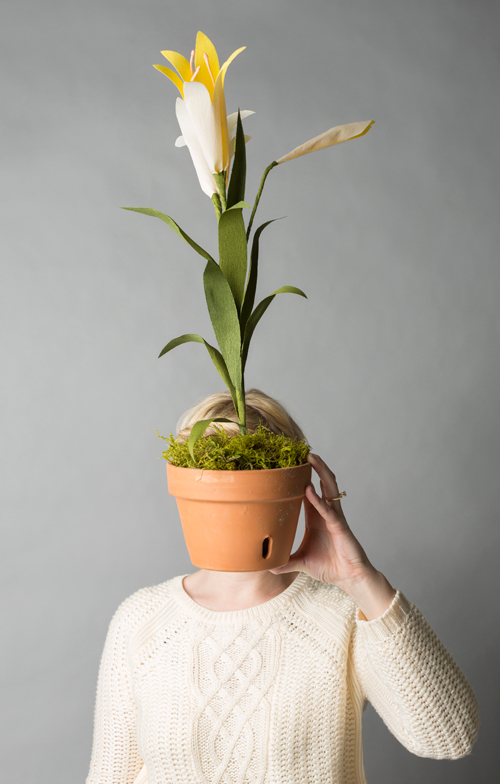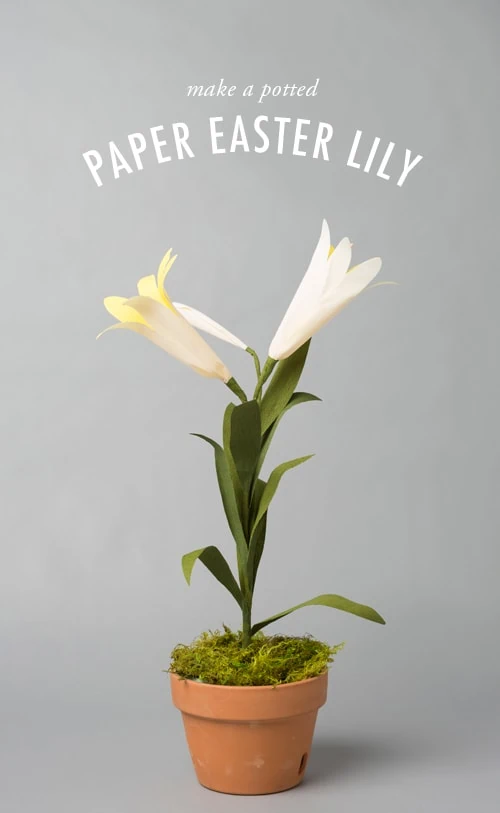
Let’s face it: flowers can be expensive. Especially around the Springtime holidays, everyone wants to buy flowers to decorate their homes. Well, we have a solution! Why not make a paper flower? It’s cheaper, and it lasts longer than a real flower! We’ve created a potted paper Easter Lily that’s perfect to display in your house, or give out as a gift!
Keep reading for the full tutorial on how to make these paper flowers.
DIY potted paper Easter Lily
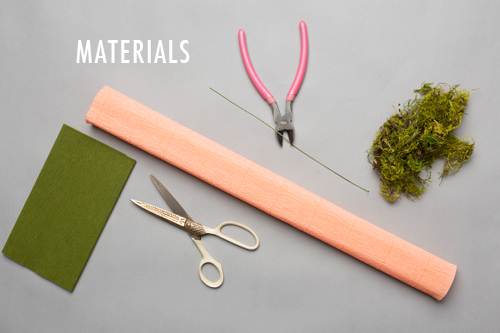
- double-sided crepe paper
- scissors
- wire
- wire cutters
- pot
- moss
- floral foam
- lily template (download here)
Instructions:
- Cut out the template here and place it on a fold with the crepe grain going vertically.
- With the edge of scissors, curl each petal out.
- Bring the two edges of the lily together to form a cylinder and glue the sides together.
- Glue a piece of wire in at the base.
- Pinch the bottom together.
- Cut out a piece of green crepe paper going against the grain. About 1/2″ wide is good and 18″ in length.
- Wrap it around the piece of wire.
- Cut out leaves with the grain going vertically and insert those periodically down the wire. Lilies have lots of leaves so go crazy!
- Make the inside stamen of the lilies by wrapping the crepe together vertically like a joint and gluing 3-5 of them inside.
- Insert a piece of floral foam into a pot.
- Cover with moss.
Floral projects for Easter
Springtime is all about florals, no? We’ve got plenty of tutorials to help you decorate your home with as many flowers as possible! Check out our list of paper flower tutorials here. Pick out your favorite paper flowers and turn them into this Spring centerpiece! Create this bunny topiary wreath for your doorstep or this Springtime paper flower garland to hang in your home. If you’re looking to give your potted paper Easter Lily as a gift, check out these 3 ways to wrap a flower. The possibilities with paper flowers are endless!
Be sure to follow our Instagram for Easter project updates and inspiration!


