


I took a beginning guitar class in college. I thought I would rock the class because I play the cello and clearly, similarly-sized stringed instruments must translate smoothly. Wrong! I came away acing “A Horse With No Name”, but only because the song has only 2 chords changes. I haven’t touched it since.
However, Carli Randolf, my sewing intern for the summer, plays a mean guitar and she came up with the coolest strap to add some pizzazz to your guitar, perfect for summer bonfires.
See below for full instructions
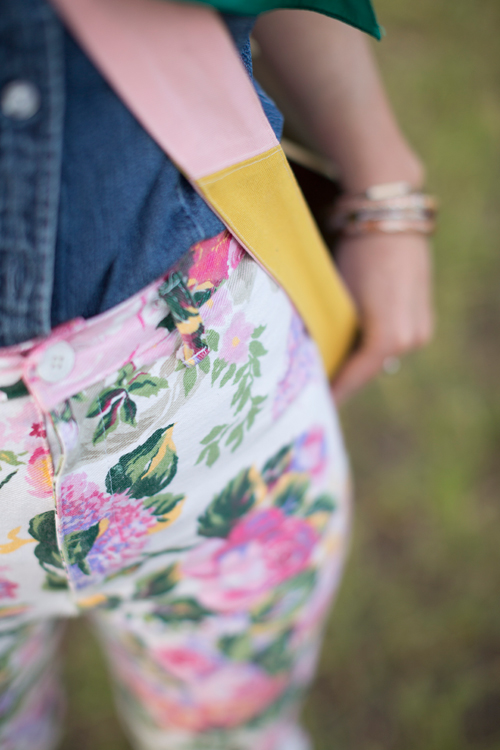
model Hillary Gallup
crafting by Carli Randolf
crafting by Carli Randolf
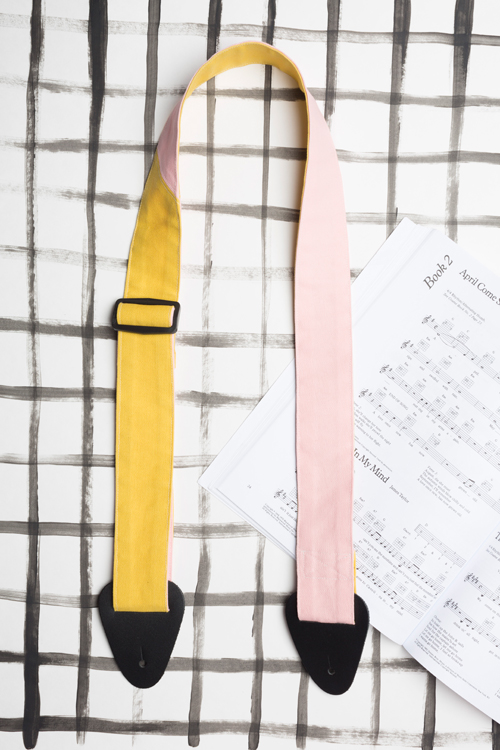
Guitar strap DIY:
Materials: Sewing machine, cheap guitar strap (from music store), heavy canvas fabric in two colors, matching thread, ruler, small and big scissors, iron
Step 1: Decide on the width you would like your strap to be. We made our strap 2 inches wide. Cut out a long strip of fabric the width you would like your strap to be, plus 1 inch for seam allowances, out of each color fabric. My strip was 3 inches wide. Your strips of fabric should be at least 64 inches long.
Step 2: Make a diagonal cut in the middle of the strips.
Step 3: Sew contrasting fabrics together at diagonal cut. Use a 3/8 inch seam allowance. Tip: to make the edges flush when sewing a diagonal seam, make the tips of the fabric hang off the edge the amount of your seam allowance. It will look a little funky when your sewing it, but once you lay it out flat, the edges will match up perfectly! Press the seams open, and edge stitch on each side of the seam.
Step 4: With right sides together, lay out the strips so that the colors are opposite on each side. Make a tube by sewing the long edges together. Leave an opening in the middle on one side (this will make it easier to turn).
Step 5: Turn the tube right side out. This may take a little work, especially if your fabric is heavy and your strap is thin.
Step 6: Press the strap flat making sure the edges are nice and flush. You do not want to see the color underneath when looking at the strap from straight above.
Step 7: Edge stitch both sides of the strap.
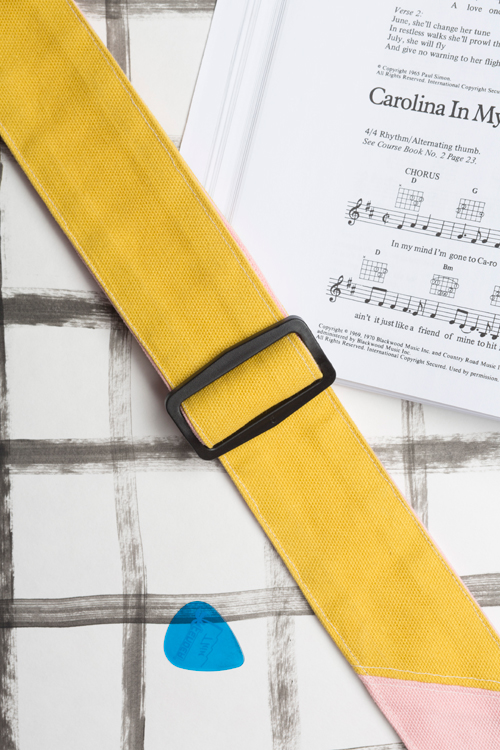
Step 8: Add the plastic and leather hardware for the strap. For this step, I took a basic guitarstrap that I got at a local guitar shop and cut off the strap. You can also make these pieces yourself using leather.
Step 9: To sew the loops that keep the hardware on, fold under the unfinished edge and then create the loop. Sew a rectangle with an “x” in the middle. This reinforces the strap.