
You know food is not my specialty…but decorating food is something I can totally get behind! So, we did what we do best and painted the town Matisse, stenciled some sugar, and dotted some pies to make some fun and memorable pies perfect for Thanksgiving. So even if they aren’t tasty, at least they’ll look good!
See how to do it below!
3 Pie Crust Design Ideas
Use a Stencil on your Pie
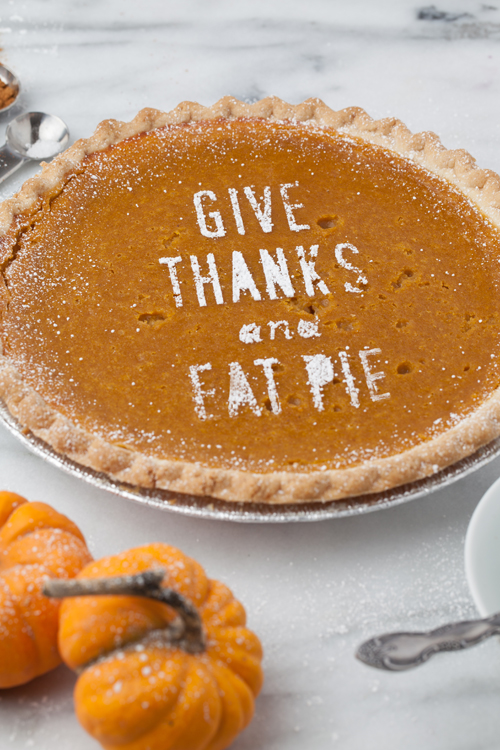
Send a cute or clever message with this stencil technique. This “Give Thanks and Eat Pie” does just that with powdered sugar. Perfect for some extra sweetness too!
I love how simple yet impactful this one is. Just grab some paper and a witty phrase and you’re golden. Ashley came up with the idea to apply a stencil to a pie and decorate with powdered sugar…genius! This one is great for the Cricut or Silhouette machine. And it’s perfect for your Thanksgiving pie!
Give Thanks and Eat Pie Stencil
Instructions:
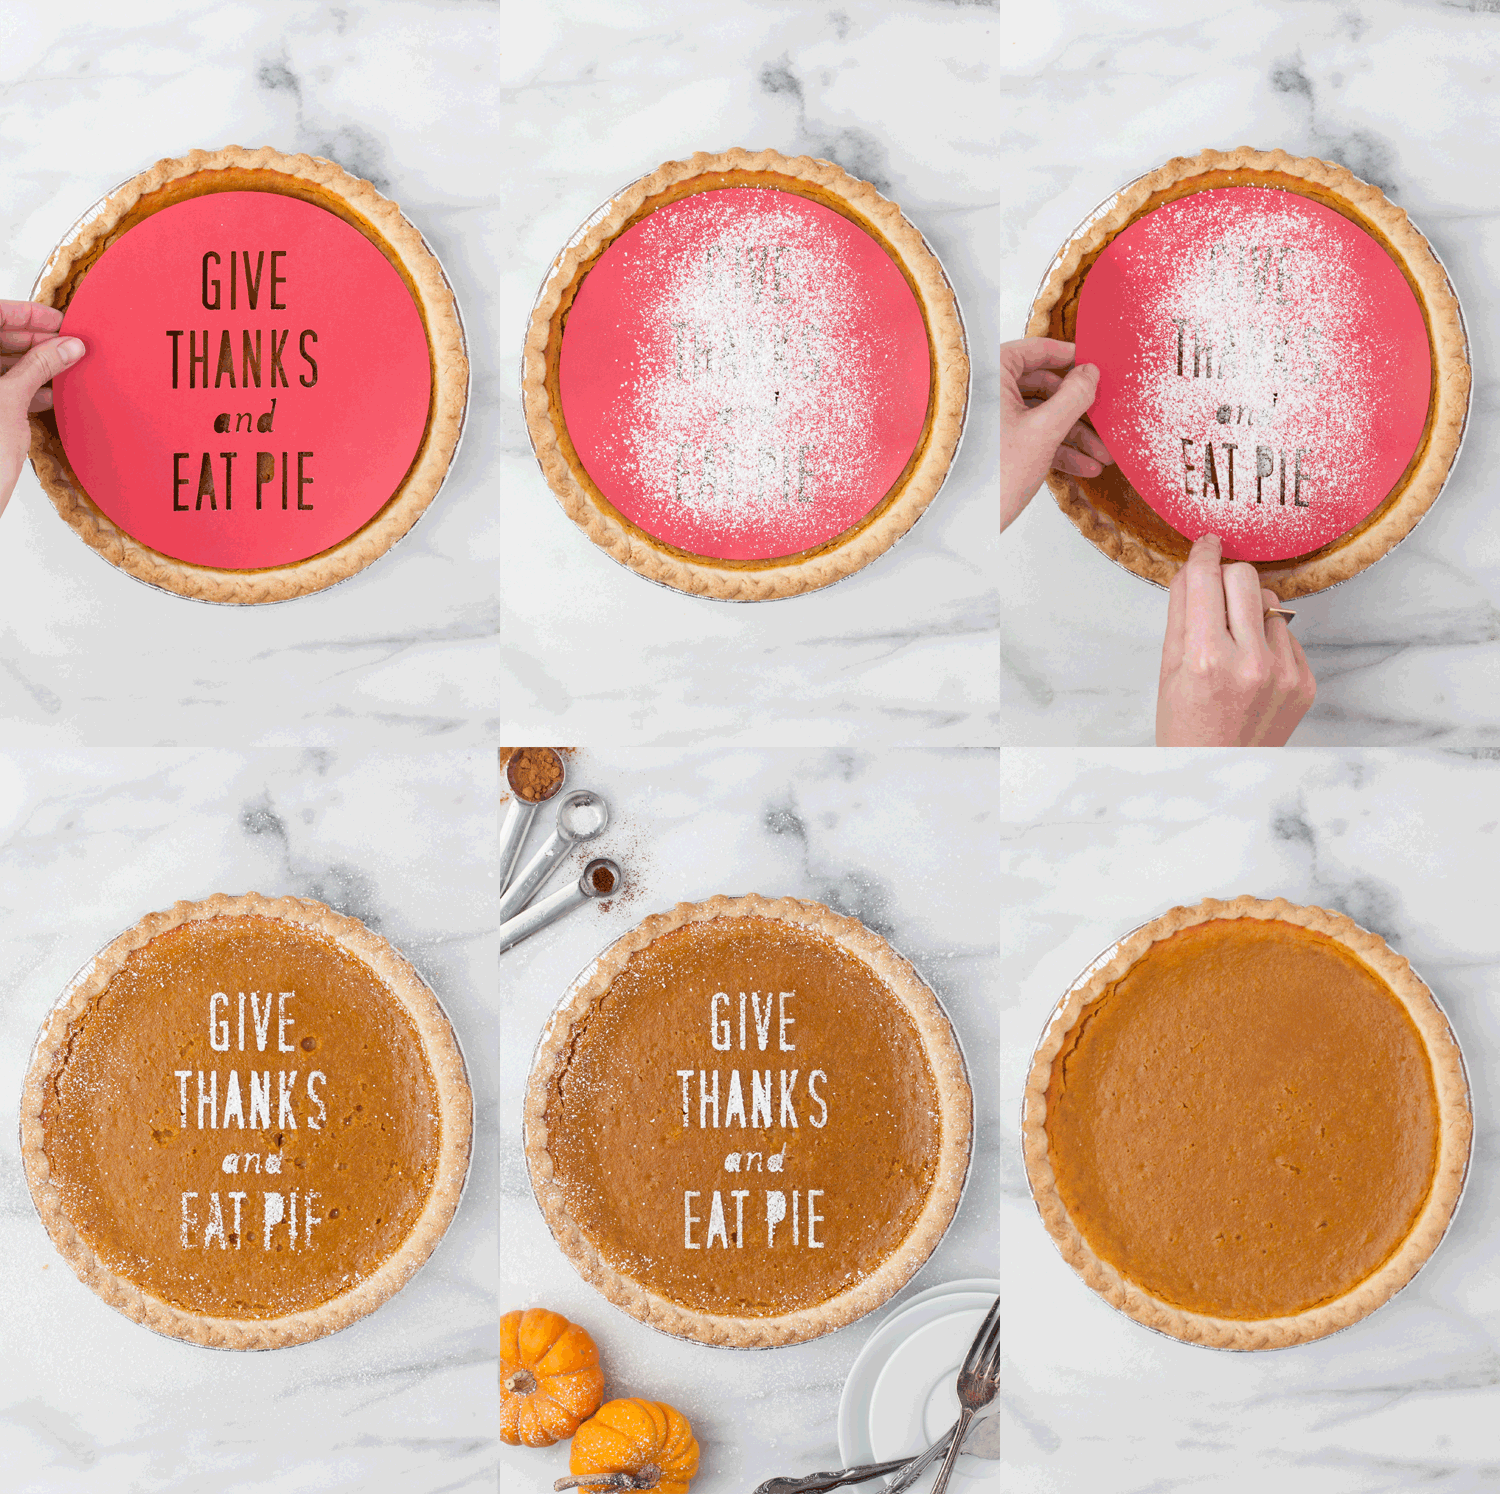
- Simply download this file and cut it out on your machine or cut it out by hand. I used a piece of scrapbook paper to create the stencil.
- Set onto the pie. Not too firmly or it might take a layer of the pie off.
- Sprinkle powdered sugar on top with a sifter.
- Gently take the stencil with hands on either side so you pull it all off at the same time.
Voila!
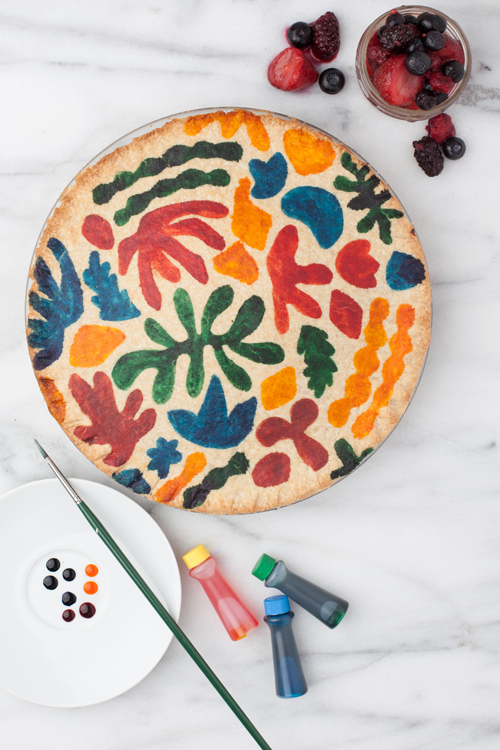
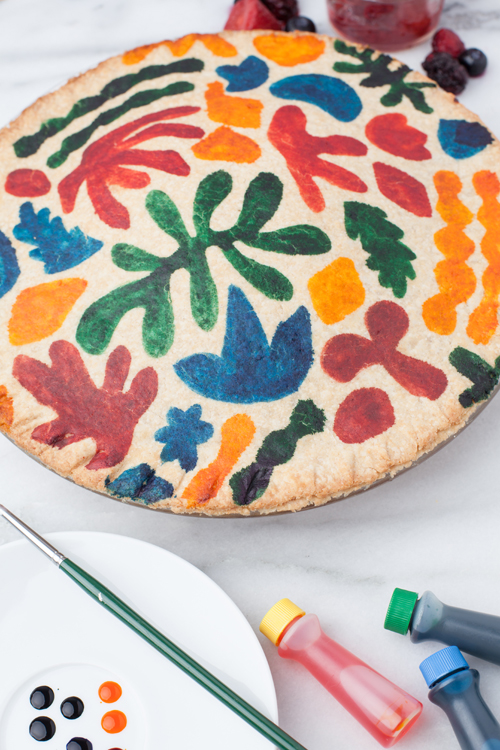
Paint your Pie Crust with Food Coloring–The Matisse Pie
Instructions:
- Cover your pie with the dough to have a large surface to work with.
- Use a paintbrush to paint on your design with food coloring. We used pure food coloring, not watered down. We looked at images from Matisses’ paper cut-outs to mimic the shapes
- Bake in the oven for 10 minutes to brown the crust (you should have already baked the pie filling).
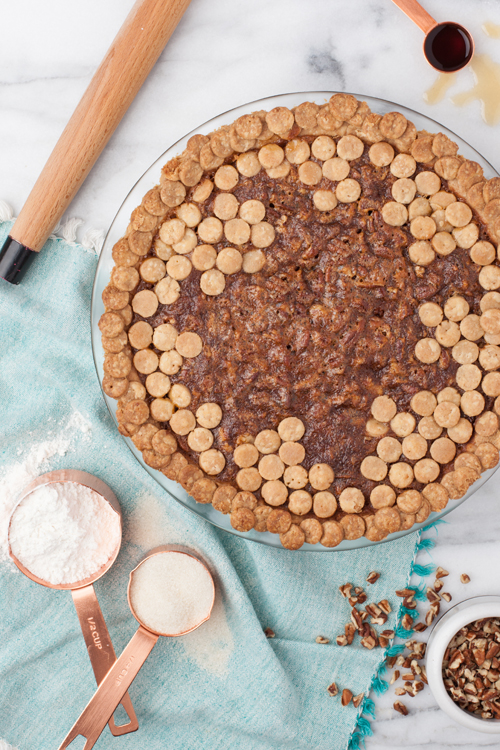
The Polka Dot Pie Crust Decoration
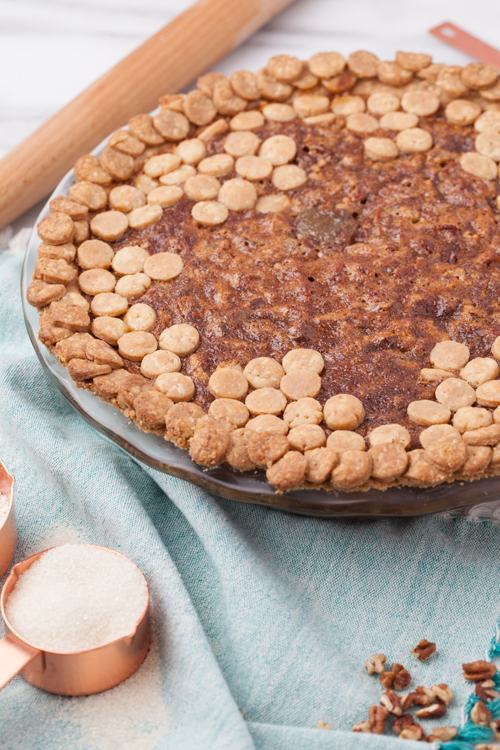
We also wanted to play around with texture on a pie and Victoria delivered. She came up with this fun and easy idea of decorating your pie crust with, well, more pie crust! Decide on a shape you want to use. We decided to go with little circles to make polka dots but I think stars would make for an excellent Fourth of July themed pie.
Instructions:
- Roll out your dough
- Use the back end of an icing tip to punch holes into the dough like a cookie cutter.
- Apply the dots to the perimeter of the pie then coming into the center of the pie filling and bake for the last 15-20 minutes of the pie cooking time.
Voila!
How will you be making your pies for the holidays? Tell me in the comments!
Have some leftover slices of pie? Check out our printable boxes for Thanksgiving pies and summer pies


Comments