Valentine’s Day accessory: Collar heart pin

Valentine's Day heart collar pin tutorial

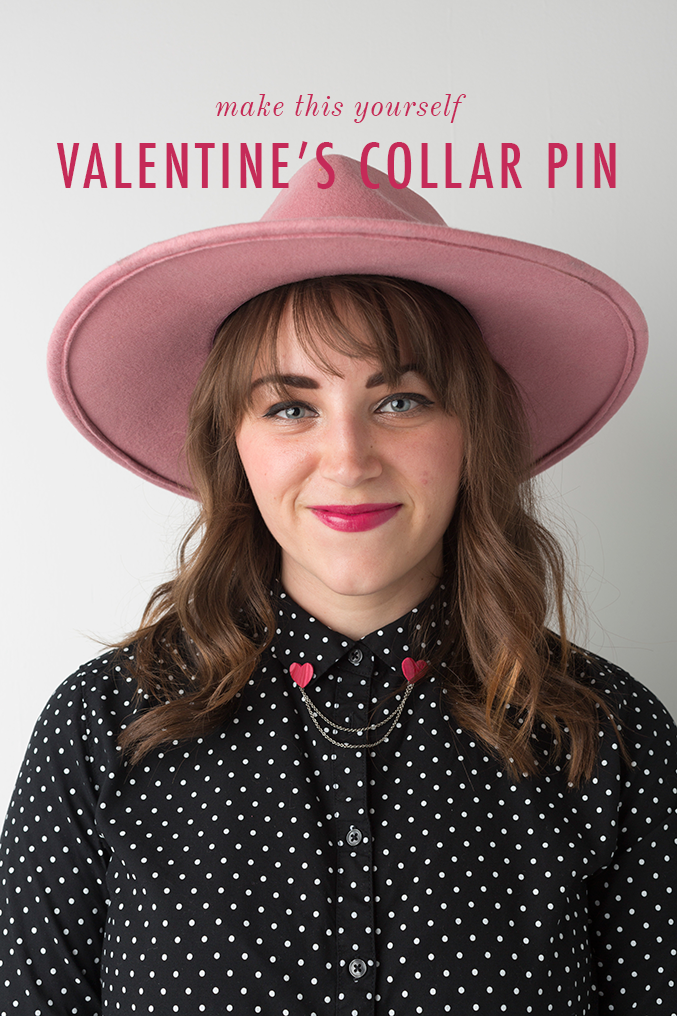
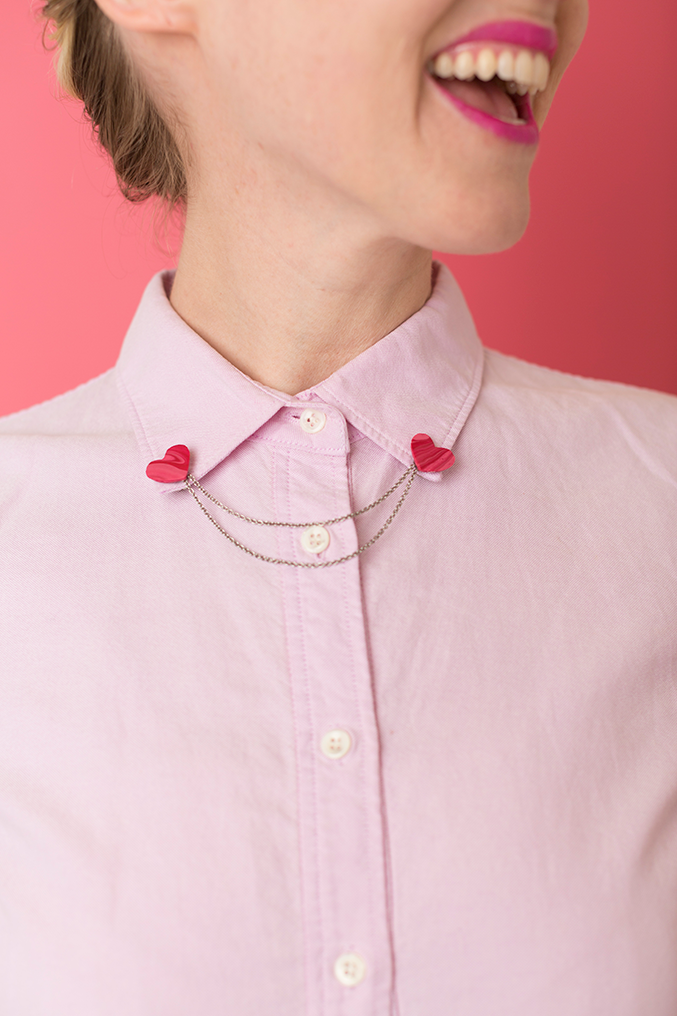
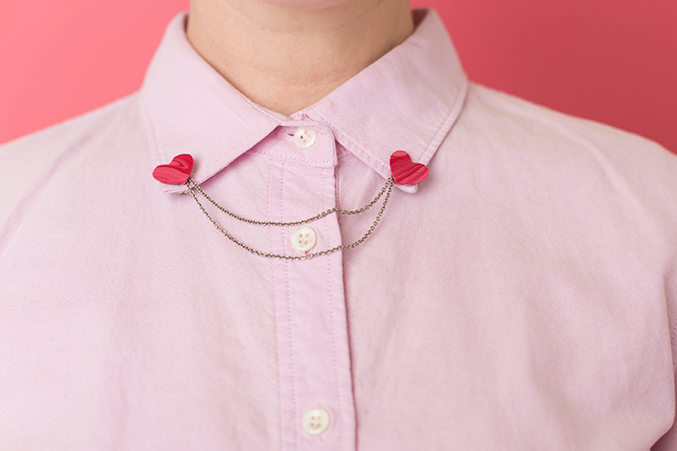
Ok, this heart collar pin I’ll be wearing not only during Valentine’s Day, but all year round. Is it not the cutest?! Ashley does it again! This one is super simple to make and as you can see, super adorable as worn by Carli above.

And I have to tell you, my skin has been the best it’s been in many many months. I hope it’s not just a trend but a long lasting solution. I’ll let you know how that goes.

DIY Valentine's Day pinkHeart collar pin DIY Man, nails Brittany! 
Materials to make heart collar pin

Valentine's Day collar
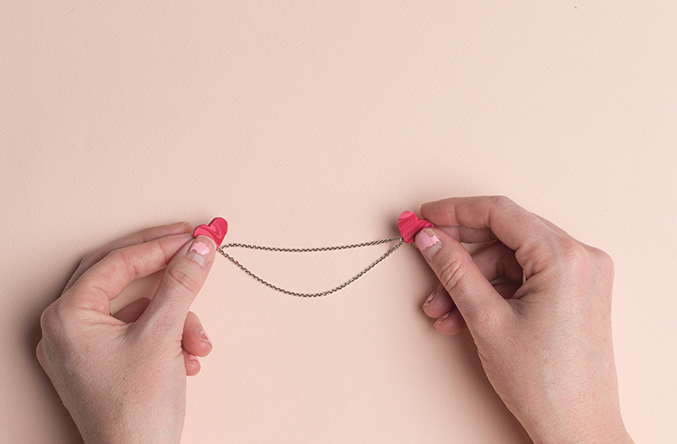
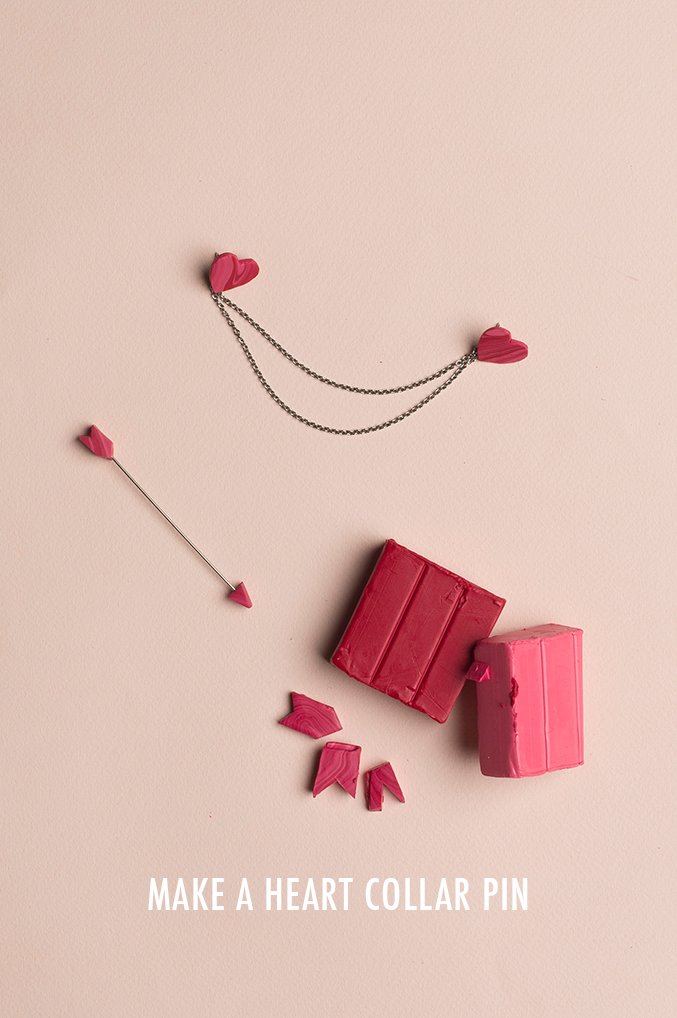
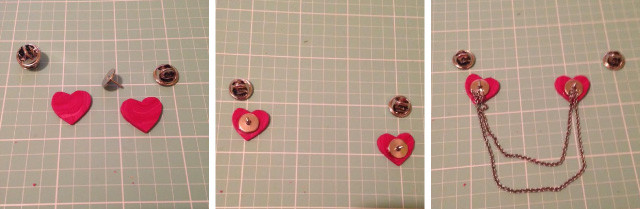
This is how easy it is! Lookie here! See the full tutorial below.

Photography by Trisha Zemp  |  Crafting by Ashley Isenhour  |  Styling by Brittany Jepsen


Materialstemplate, scissorsred polymer clay, pink polymer clay, x-acto knife, rolling pin, parchment paper or silicone mat to protect your work surface, e6000 adhesive, baking sheet, oven, silver jewelry chain, wire cutters, tie tack pins

LARS-heart-chain-collar-pin

Directions:
– Condition both colors of polymer clay (this video shows you how to do it). I found sticking the clay between two sheets of parchment paper and rolling it with a rolling pin to work well.
– Marble the pink and red polymer clay together. I used this tutorial, but instead of putting it through a pasta roller I put the clay between two sheets of parchment paper and rolled it out with a rolling pin until the clay was about .5 cm thick.
– Cut out the heart from the template. Lay the template on the marbled polymer clay and cut around the piece using an x-acto knife. You may want to practice on extra clay first until you’re confident in getting a smooth cut. Repeat for a second heart.
– Lay your clay pieces on a baking sheet and bake according to the directions on the clay packaging.
-After clay has cooled, use e6000 glue to glue a tie tack to the back of each heart.
-Use wire cutters to cut two lengths of silver jewelry chain (a 4.5″ piece and a 4″ piece). Glue one end of each chain to the back of each heart. Allow to dry.
Shop the materials below: 

2 COMMENTS

LEAVE A REPLY

Please enter your comment!
Please enter your name here

Trending Articles

DIY Beaded Chandelier

The Inspiration You've probably seen this amazing bead chandelier before, as it has made its way around the internet (others found here and here and...

DIY Family Photo Heirloom Ornaments

A Literal Family Tree This time of year always tends to be a bit nostalgic. It's a time for family, which got me thinking about...

Recent Articles

Envelope pillow case

How to make an envelope pillow case This envelope pillow case tutorial is one of the easiest ways to make a pillow case because you...

Lime Ricki launch party

Lime Ricki Launch Party! We held our launch party the day the collection debuted. The event captured the energy we've been experiencing behind the scenes....