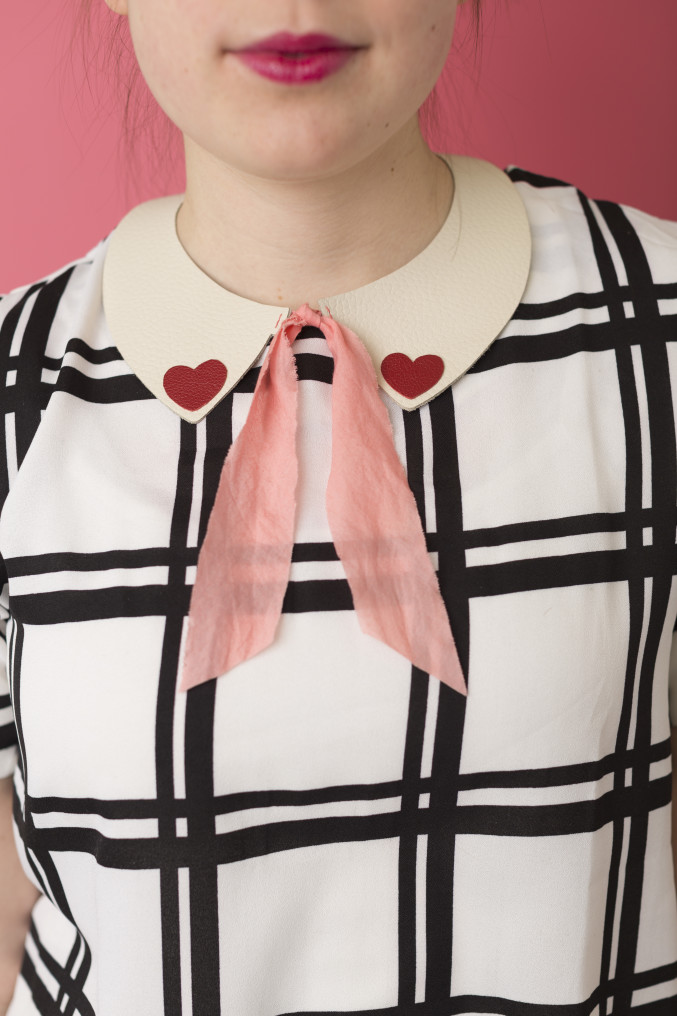
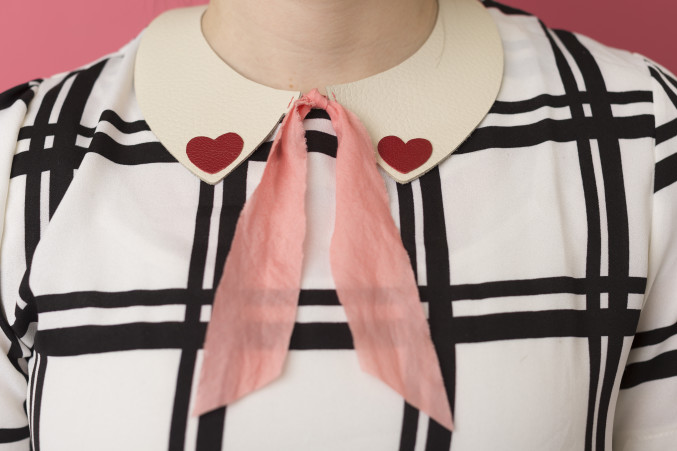
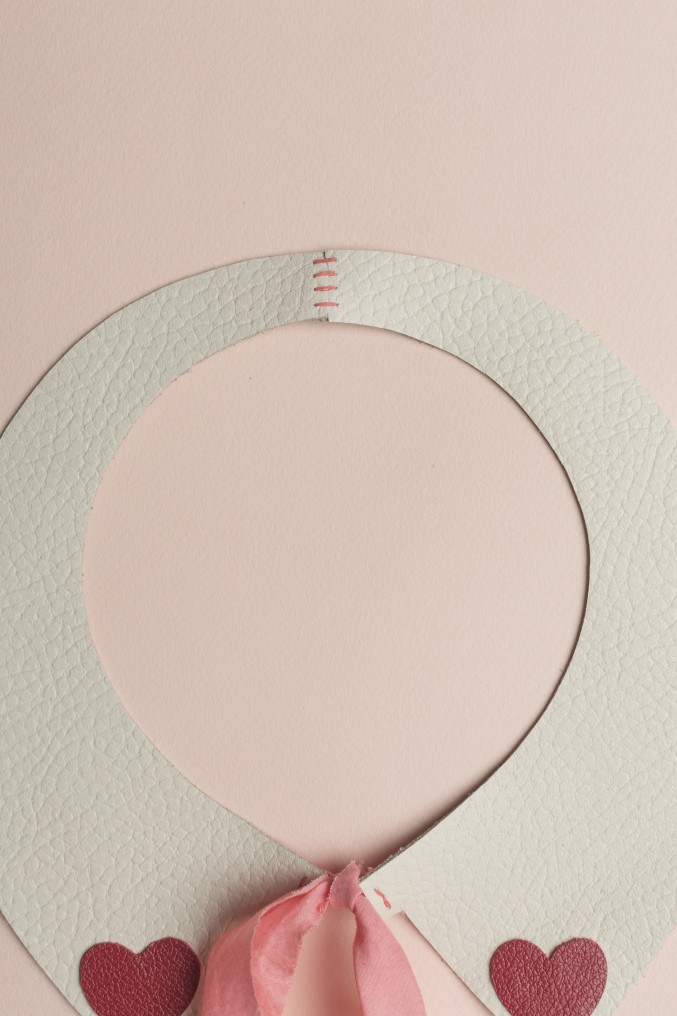
As if there wasn’t enough pink going around during this time, I’m here with yet another wearable accessory to get into the Valentine’s Day spirit! This time, Ashley stepped in with a fun leather heart Peter Pan collar, because we all know I love me some Peter Pan collars (see here, here, and here). I think it would be fun year round too with the right retro type look.
PSSST: I’m doing a rad giveaway on Instagram today! Giving away a Fuji Instax printer!
Check out the full tutorial after the jump!
Leather heart collar tutorial by Ashley Isenhour
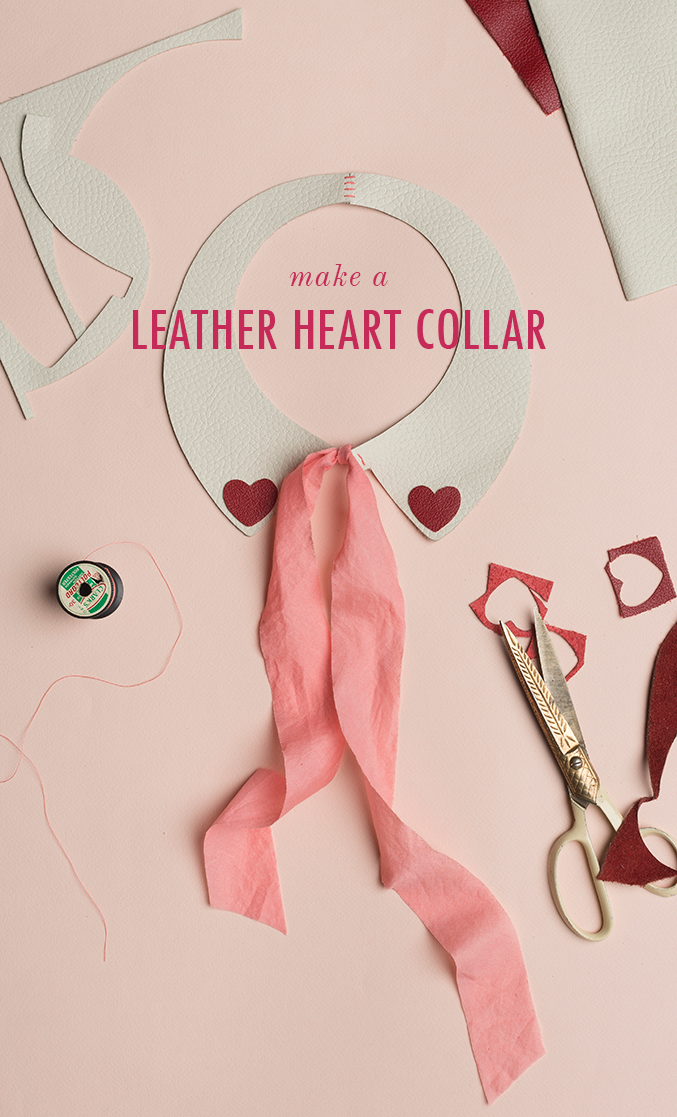
Materials: scissors, pen, template, sharp embroidery needle, pink thread, thin cream leather, thin red leather scrap (this is a good resource. Her “divine” line is a good thickness), pink ribbon (we got ours at a local shop called Harmony), E6000 glue
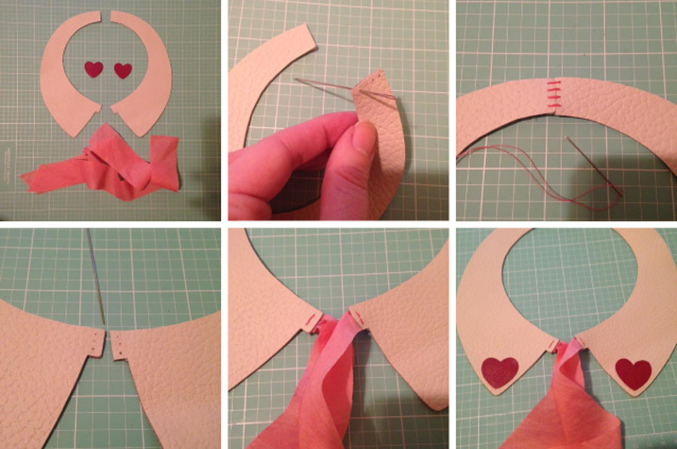
- Print and cut out template pieces (download template here). Trace collar pieces onto back of cream leather and cut out pieces. Trace heart templates onto back of red leather and cut out pieces (the hearts are shaped slightly differently to fit nicely with each corresponding collar piece). Cut 2 10 inch pieces of ribbon (you can cut it down later if you’d like.
- Use needle to pierce four holes through the leather of one collar piece where the two pieces will be joined at the back. Repeat with other collar piece.
- Join the collar pieces together by stitching through the pierced holes. Stitch twice through each set of holes.
- Pierce three holes through the leather of one collar piece where the ribbon will be attached at the front of the collar. Repeat with other collar piece.
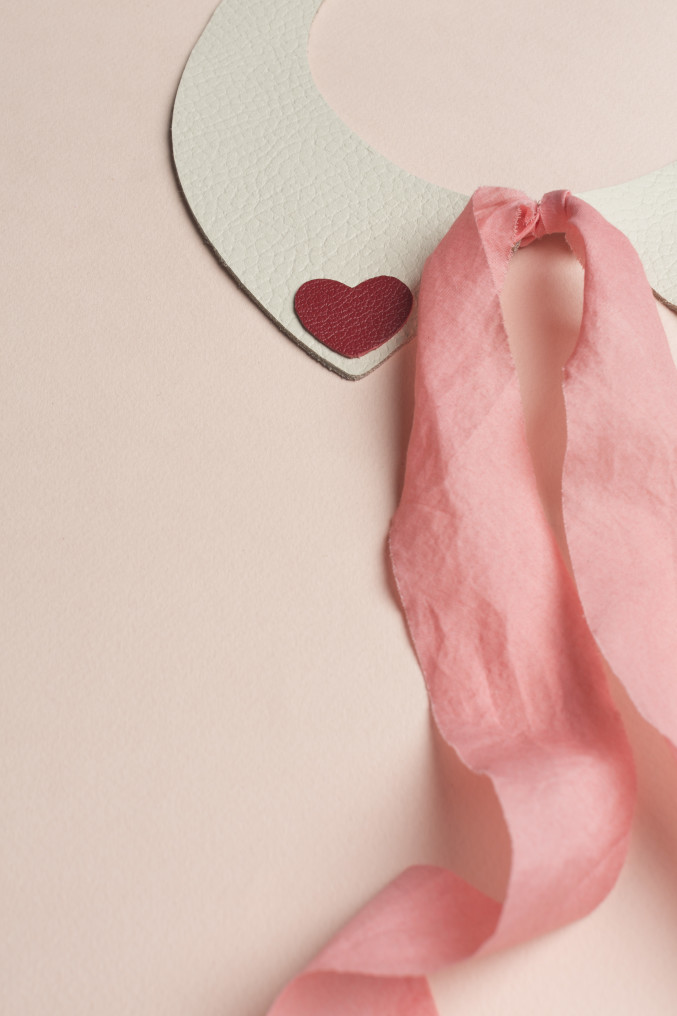
- Place one end of one piece of ribbon behind the leather collar piece (you may need to fold the end of the ribbon in half if you are using wide ribbon). Stitch the ribbon in place through the pierced holes. Repeat with other collar piece.
- Use E6000 glue to glue heart pieces in place. Let glue dry.


