Today we’ve got a DIY project created by Therese Wilkman of Miss Vintage Valentine. These ceramic bells are the cutest way to decorate for the holidays! Plus, you can paint them in whatever color or style you like (and even leave them up year-round)!
Read below for the full tutorial!
Materials:
I’ve seen a lot of ceramic bells lately, especially on Instagram at the homes of some really inspiring and creative people. So I thought that I would try to make some DIY ceramic bells. But since I don’t have access to clay or a kiln, I’ve been looking for something similar to reuse. I found these small bell-shaped ceramic cups at the flea market and I thought it would be fun to turn them into decorative bells. The cups have a bit of a pastel color but in another color scheme with some metallic paint, they would also be perfect for Christmas!
photos and project by contributor Therese Wikman of Miss Vintage Valentine
DIY ceramic bells
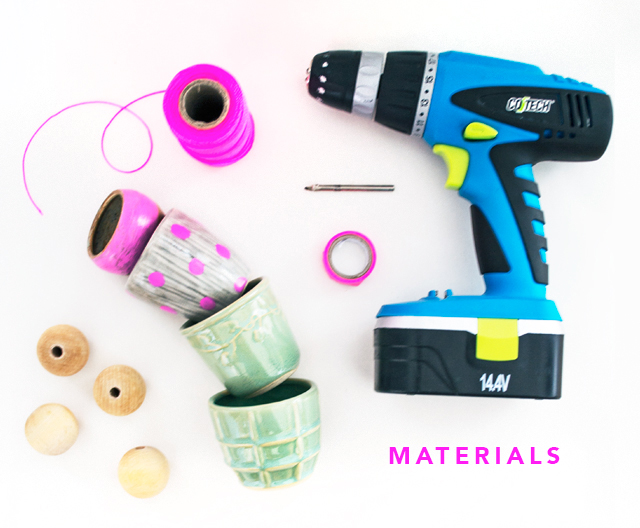
Materials:
- Ceramic cups in different colors, shapes and sizes (check your local thrift store)
- Ceramic Drill Bit 6mm ¼” (can be found at your local hardware store)
- Power drill
- Beads (wood, metal or glass works fine)
- Thin cord (approx 2mm) in leather or synthetics
- Scissors
- Masking tape
- Porcelain pen or ceramics paint to decorate (optional)
Instructions:
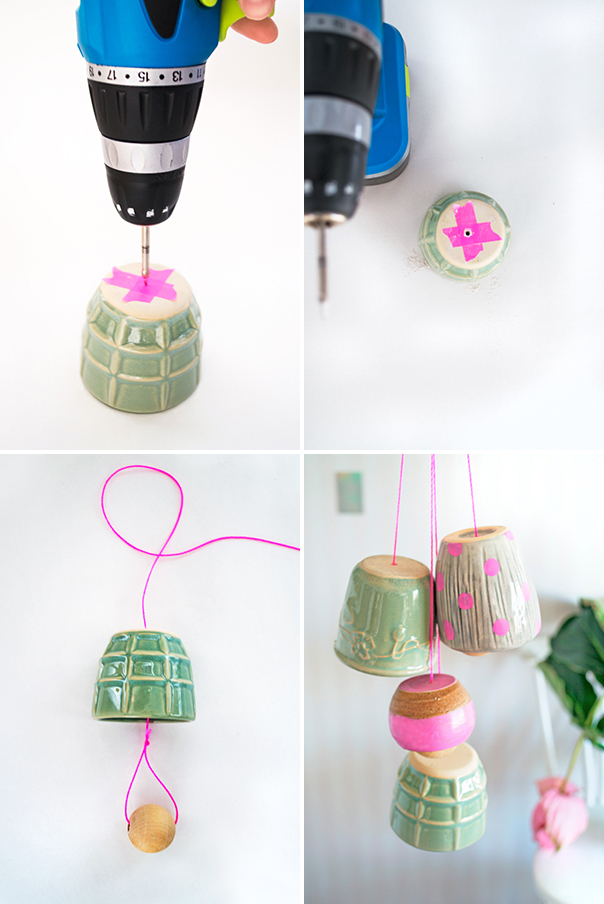
- When it comes to the drilling part you will need a little bit of patience. Measure out the center of the bottom of your ceramic. A piece of masking tape placed on the bottom of the cup will help keep the drill bit from slipping. Drilling at a slow steady pace is best and apply very little pressure. Let the drill do the work as you don’t want to crack the cup. It may take three or four minutes to finish drilling one. Wear safety glasses in case the ceramics would chip or break. Friction from drilling ceramics creates a great deal of heat, which can scorch the drill bit or even break the cup. If it gets hot, stop and wait until it cools down.
- If you want to, you can decorate your bells a bit more with a porcelain pen or ceramics pen. Feel free to paint stripes, dots, or whatever you feel like.
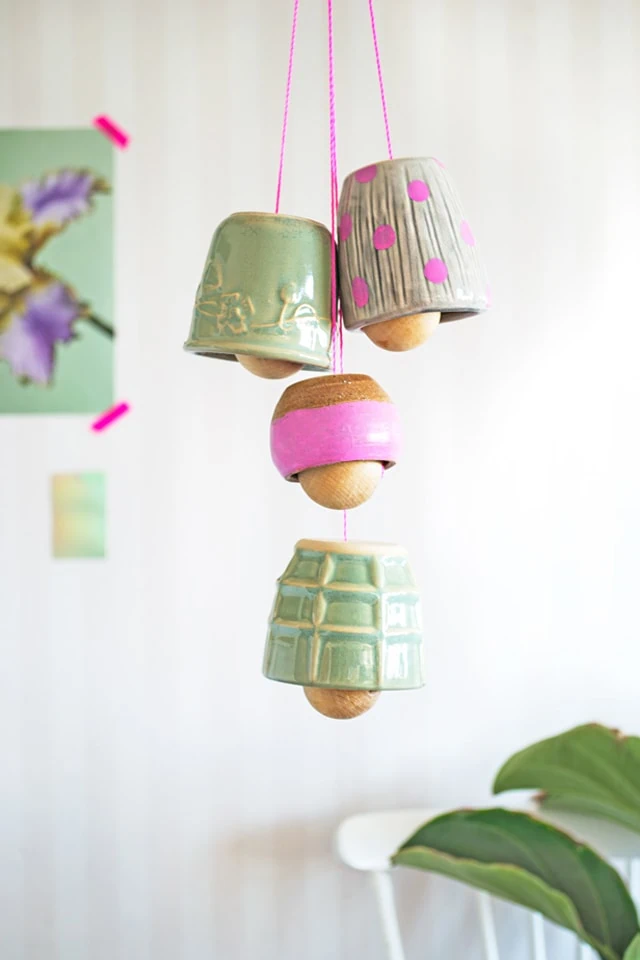
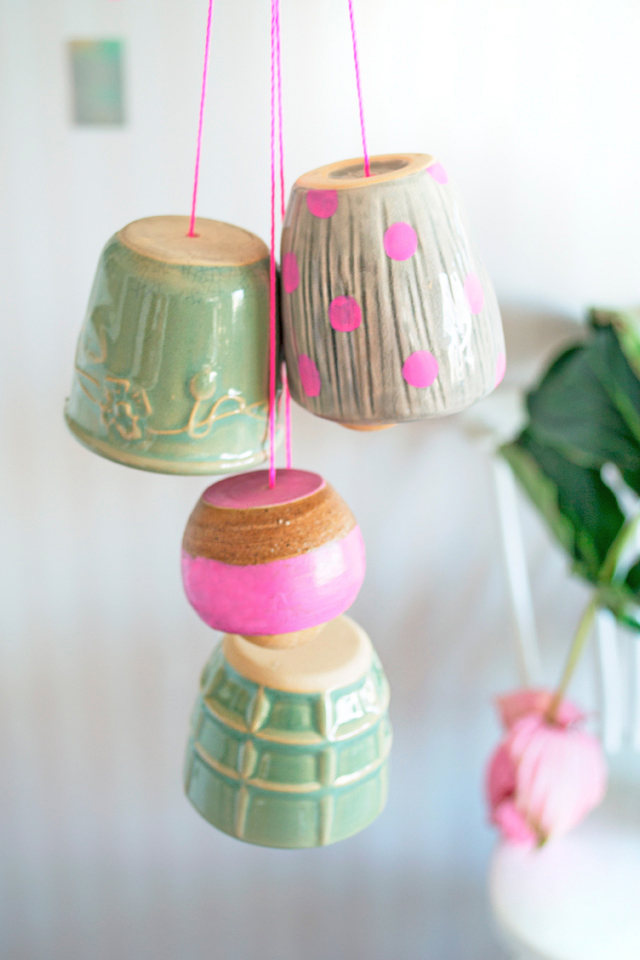
- Cut about 15″ of cord and tie a bead in a big loop at the end. String your cord up through the cup. Repeat this step until you’ve and finished your bells. Arrange them in different lengths and then tie all of the cords in one large knot together at the top and hang it up!