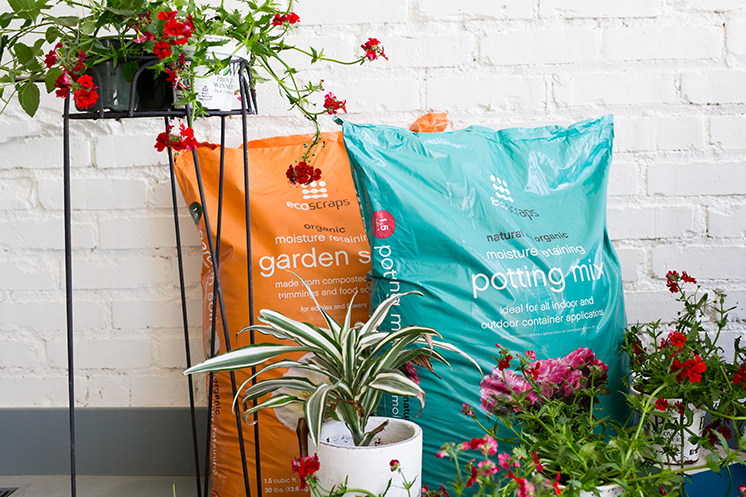
Admittedly, I’ve gone completely bonkers with spring planting this year so adding another one to the mix is only natural. And since I’m completely smitten with my new obsession, I’ve become more and more familiar with how to garden and what supplies are best for the earth. I’m so so thrilled/relieved/satisfied to come across a product that I believe in: Ecoscraps. Ecoscraps is an all natural gardening product company that takes old, wasted food scraps from stores and restaurants and recycles them into organic and sustainable lawn products (see the full process here). Their mission is to grow gardens, not landfills as landfills, which is important when you consider that 40% of the food produced in the US goes wasted. They informed me that that is enough to fill the Rose Bowl every day. It sits in landfills producing methane, which is 20X more harmful than CO2.
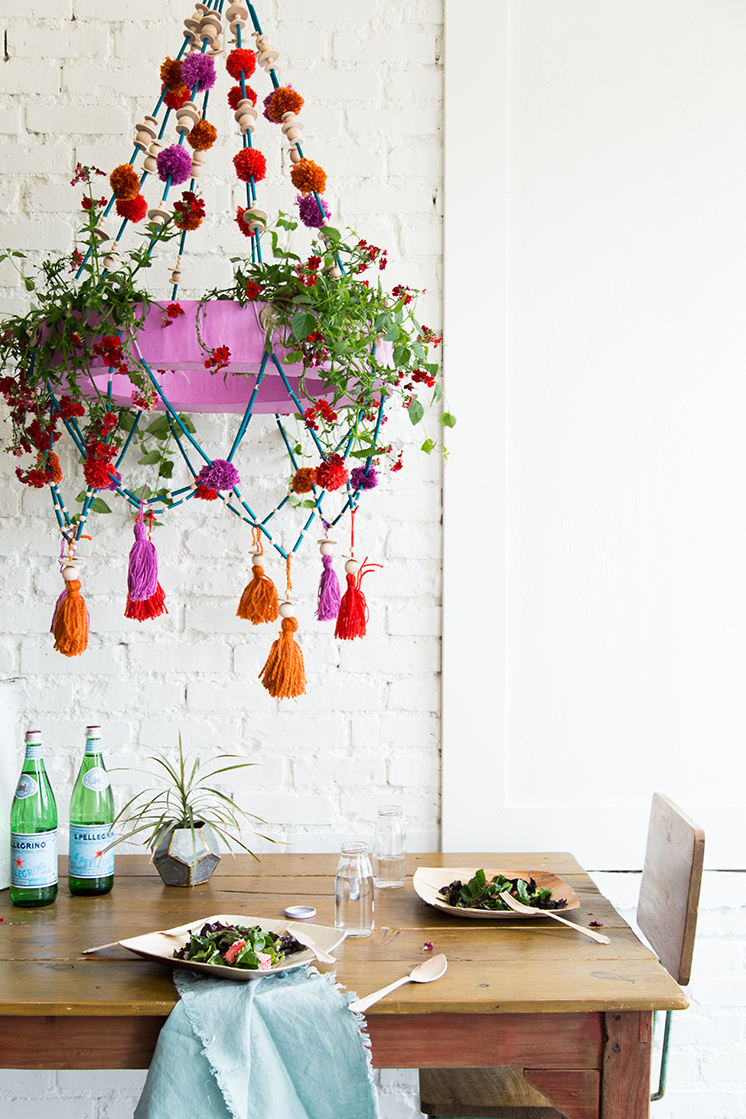
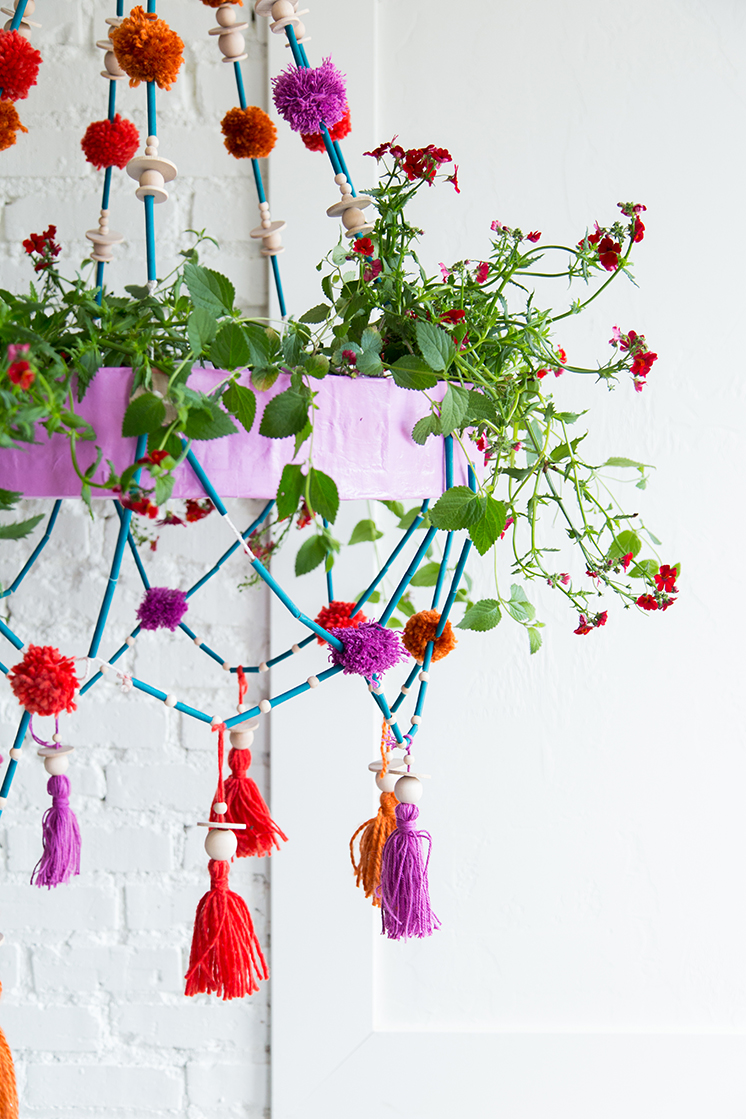
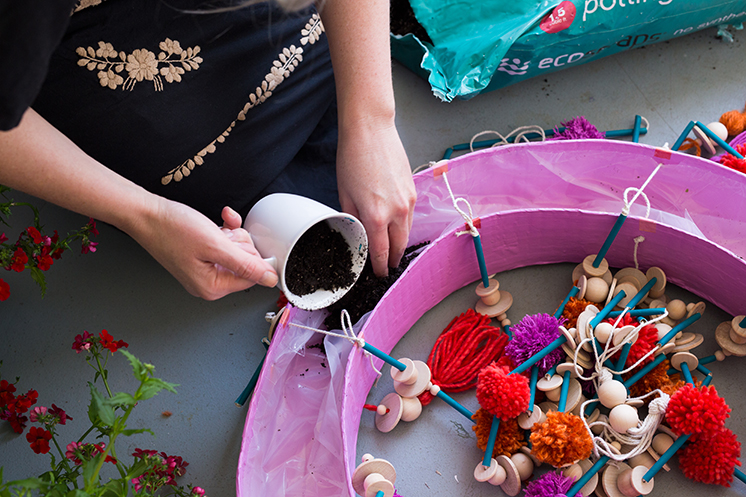
I’m genuinely stoked to learn about these products and if you’re into gardening on any level, even a small city pot garden or a wink wink Polish chandelier planter, I’d recommend making this soil happen (and so many other products!).
In addition to using the soil for all my other planting needs (take a lookie at my Snapchat where I’m constantly gushing over my plants).
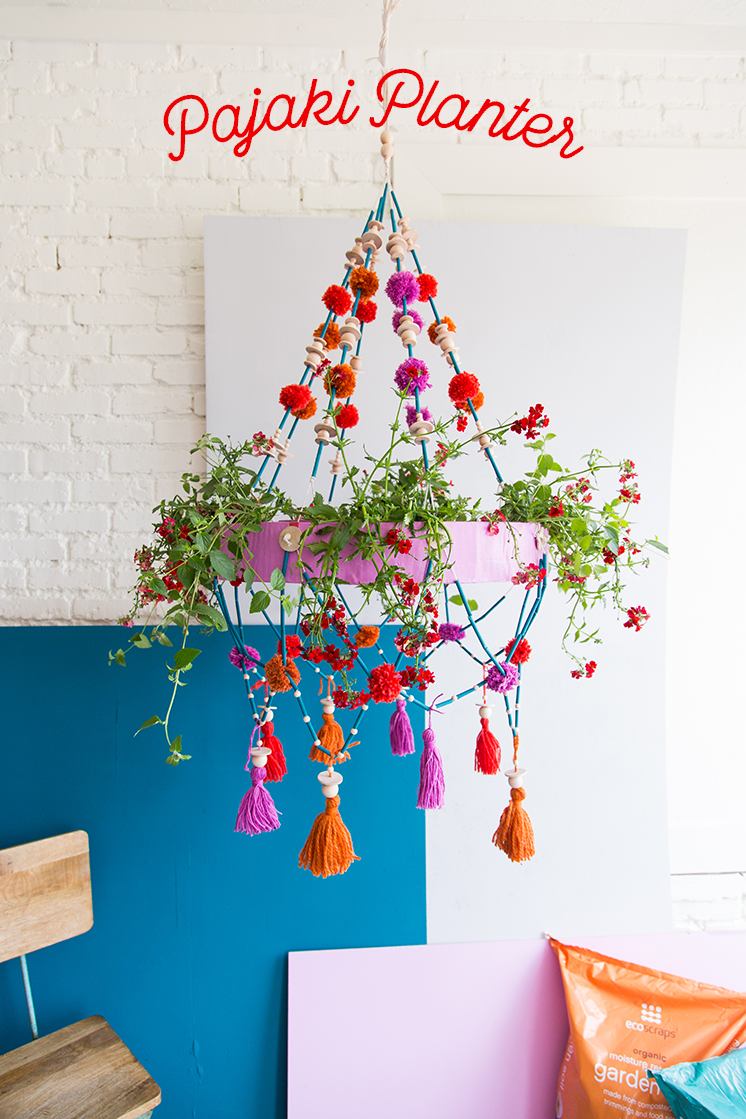
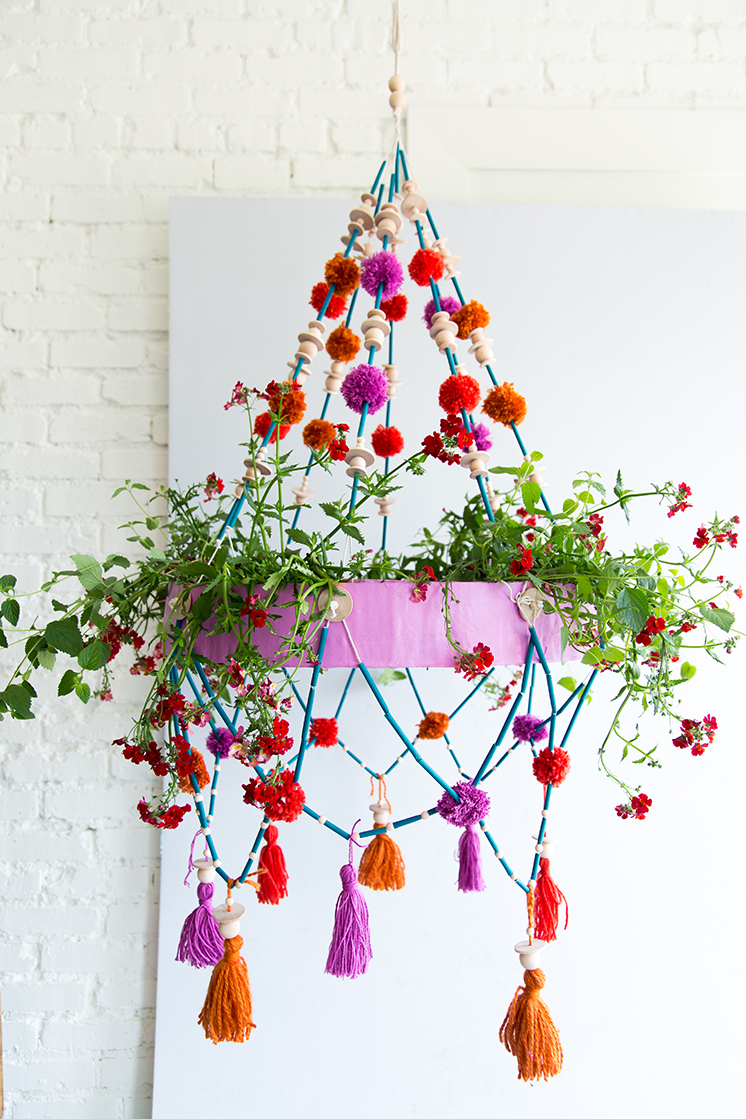
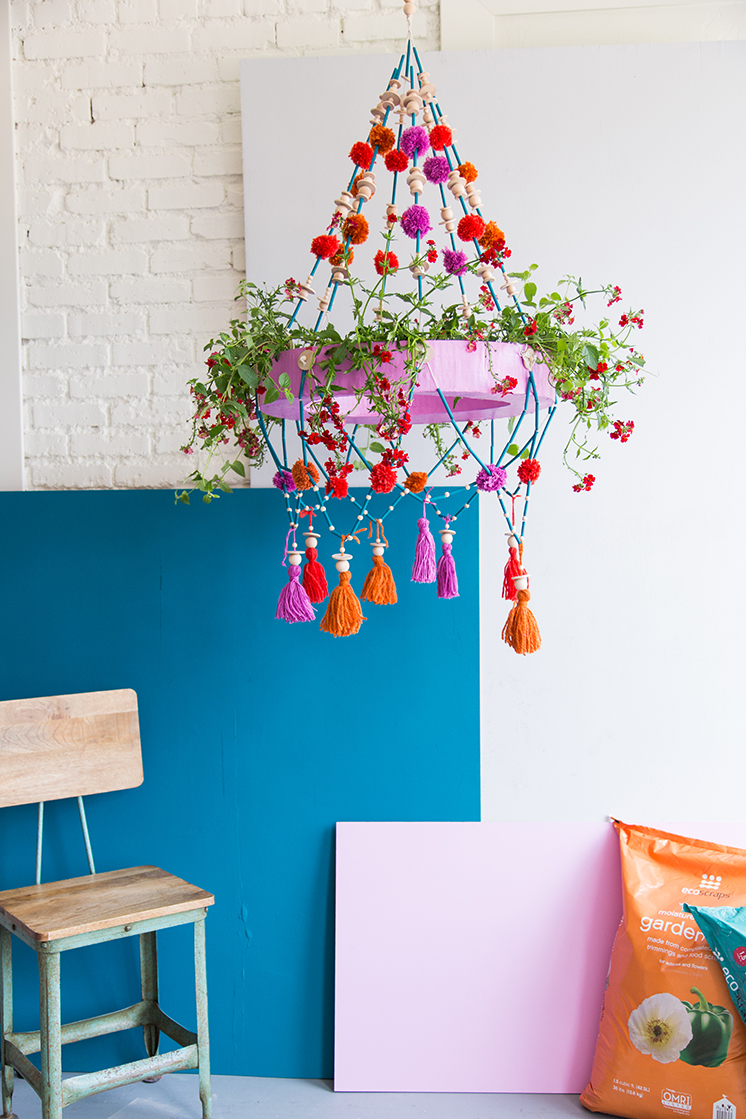
How to make a Polish Chandelier (pajaki) planter:
Materials:
- cardboard (the heavier the better!)
- pencil
- craft knife
- masking tape
- newspaper, torn into 1 inch by 5 inch strips
- baking flour
- water
- bowl
- whisk
- paint
- paint brush
Instructions for the base:
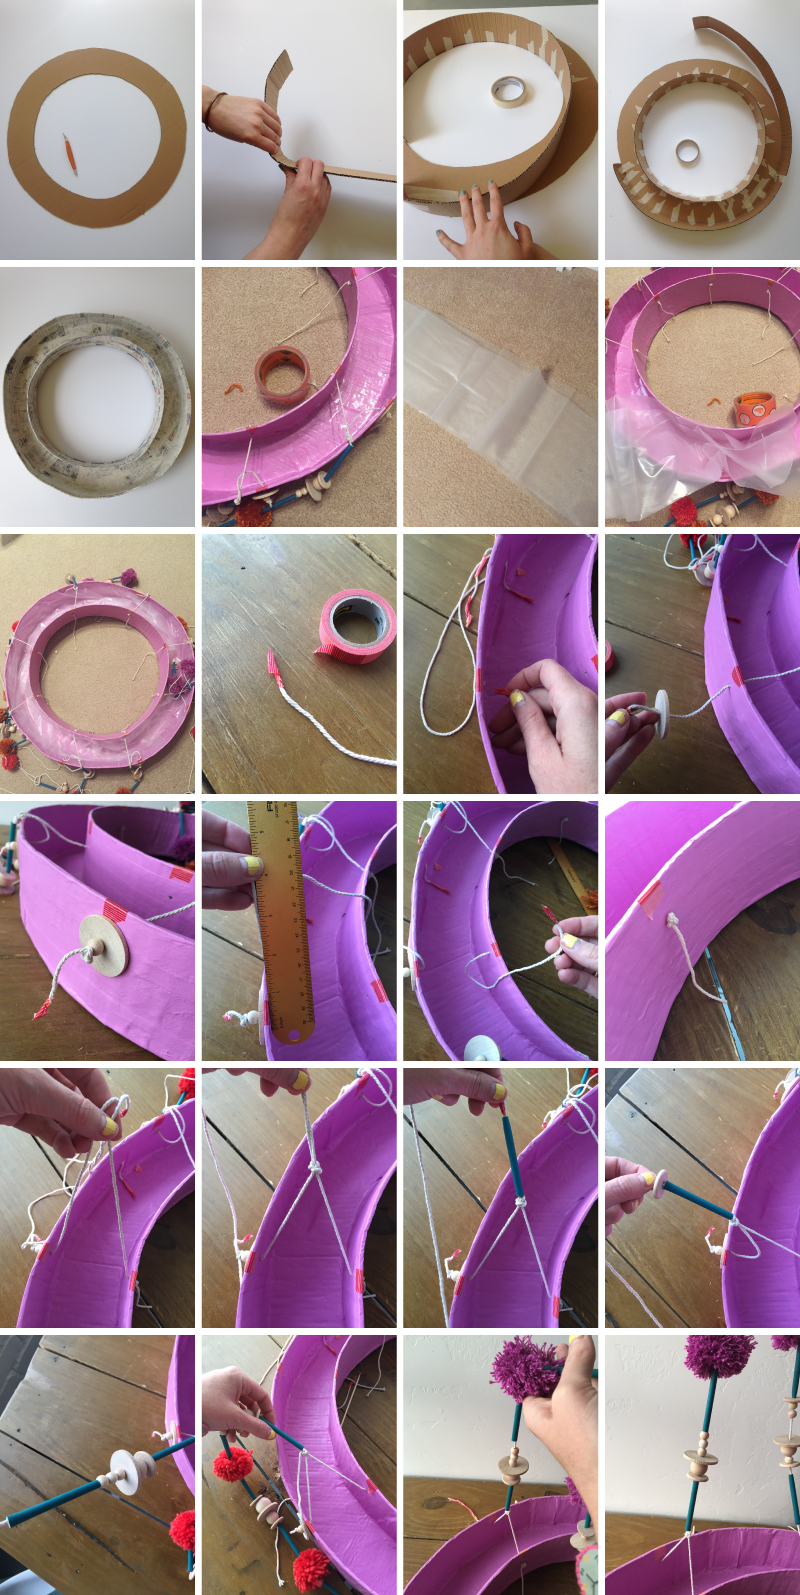
- Draw a circle with a 23″ diameter on your cardboard. Draw another circle with a 16.5″ diameter centered in the first circle. Cut along both pencil lines with a craft knife (I like to cut this layered on another piece of cardboard to protect my work surface.) Discard the inside circle and the outside cardboard. You’ll be using the cardboard ring that is left.
- Cut 3.5″ strips against the grain (the corrugated ridges on the inside) of the cardboard. Use your fingers to bend your cardboard strips every couple of centimeters as shown in the photo.
- Align a cardboard strip along the inside circle of your cardboard ring. Secure with masking tape on the inside and outside every couple of inches. When your circle is complete, trim the cardboard strip to match up with the beginning end of the strip and secure the seam with masking tape.
- Repeat step 3 with the outside of your cardboard ring.
- Mix 1 cup of flour with 1.25 cups of water in a mixing bowl. Dip newspaper strips into flour mixture, wipe excess off using the side of the bowl, and apply strips to your cardboard base. Cover base completely in one layer and allow to dry overnight.
- Apply a second layer of newspaper the next day and allow to dry overnight again.
- Paint the paper mache ring and allow to dry.
Instructions for the beading and straws:
Materials:
- yarn for pom poms (optional)
- scissors
- paper straws
- acrylic paint or house paint
- cotton cording
- wooden beads and wooden discs (we got ours from Hobby Lobby)
- ruler or measuring tape
- washi tape
- glue gun (optional)
- skewer
- craft knife
- drill
- Drill holes into the disks.
- Create your pom poms and tassels.
- We made 8 strings for our chandelier spread evenly around the planter. Measure to make sure they are correct.
- Thread your cording into the holes around the edge of the circle and secure with a knot. We added a wooden disc and bead for flair.
- Stick your skewer through the one hole and to the back of the next to align them perfectly. Repeat to each of the 8 holes.
- Paint your paper straws in the color of your choice.
- Cut your paper straws in thirds. String your cording with a combination of beads and poms. We used the same combination on each side so that they they would end up at the same height.
- Tie the ends together at the end.
This post is sponsored by EcoScraps. However, all content presented in this post represents my own opinions. Thanks for supporting the brands that keep Lars thriving!






Comments