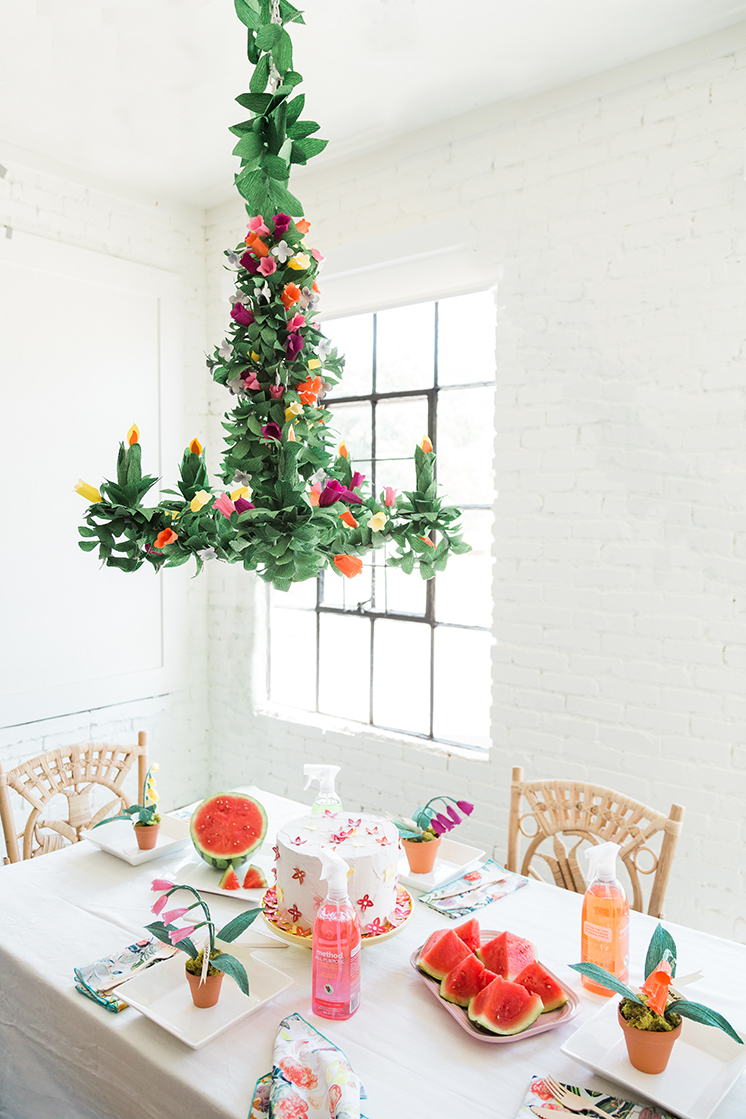
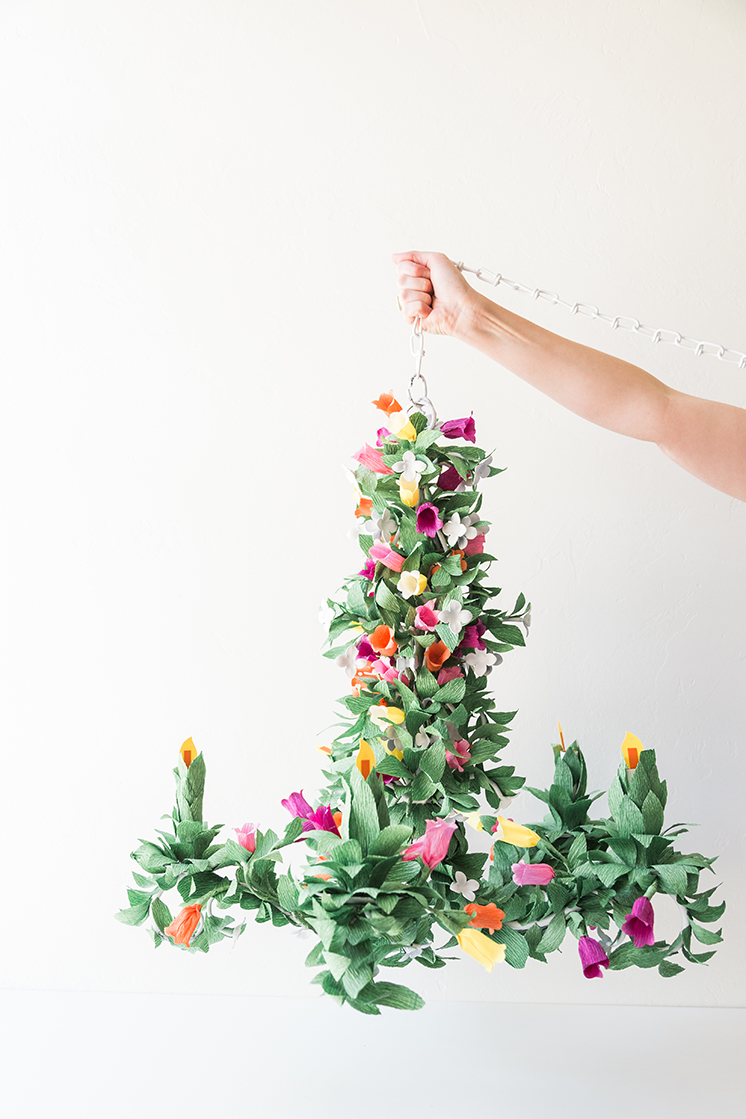
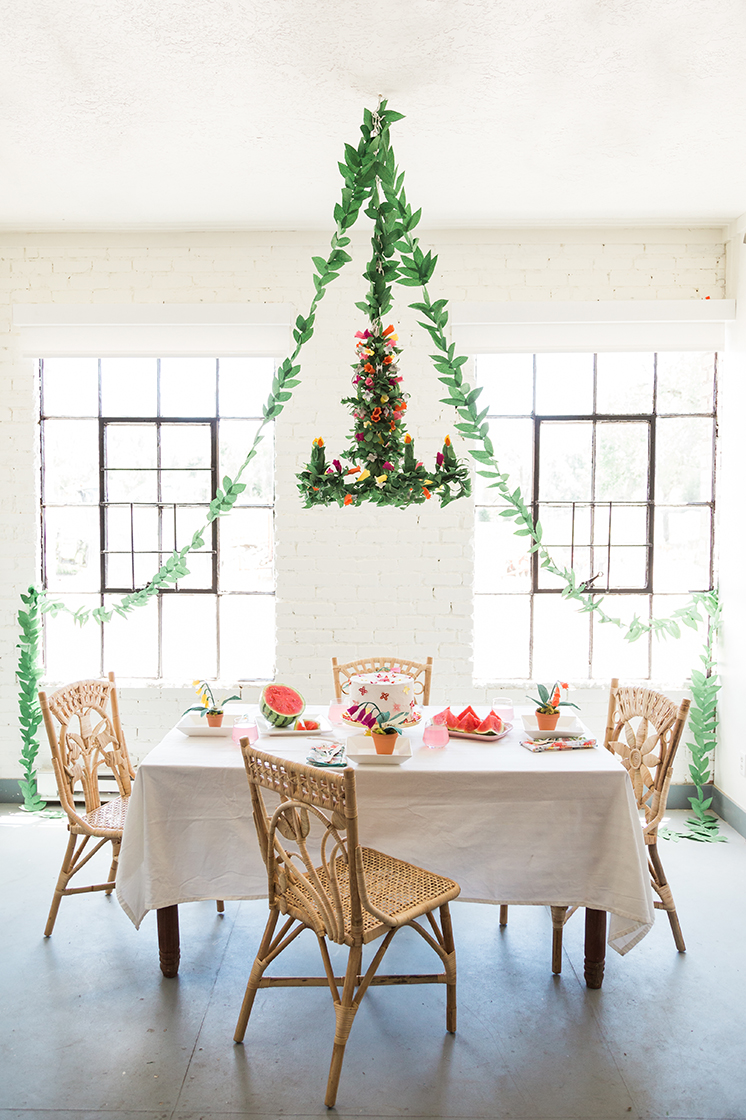
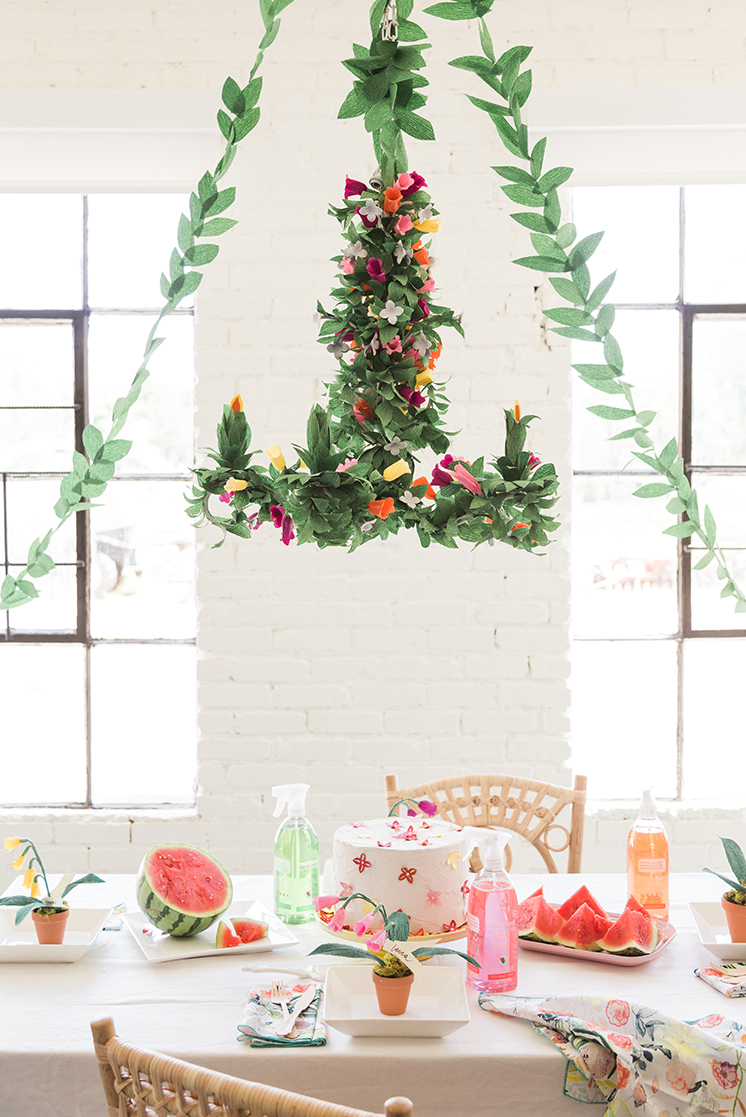
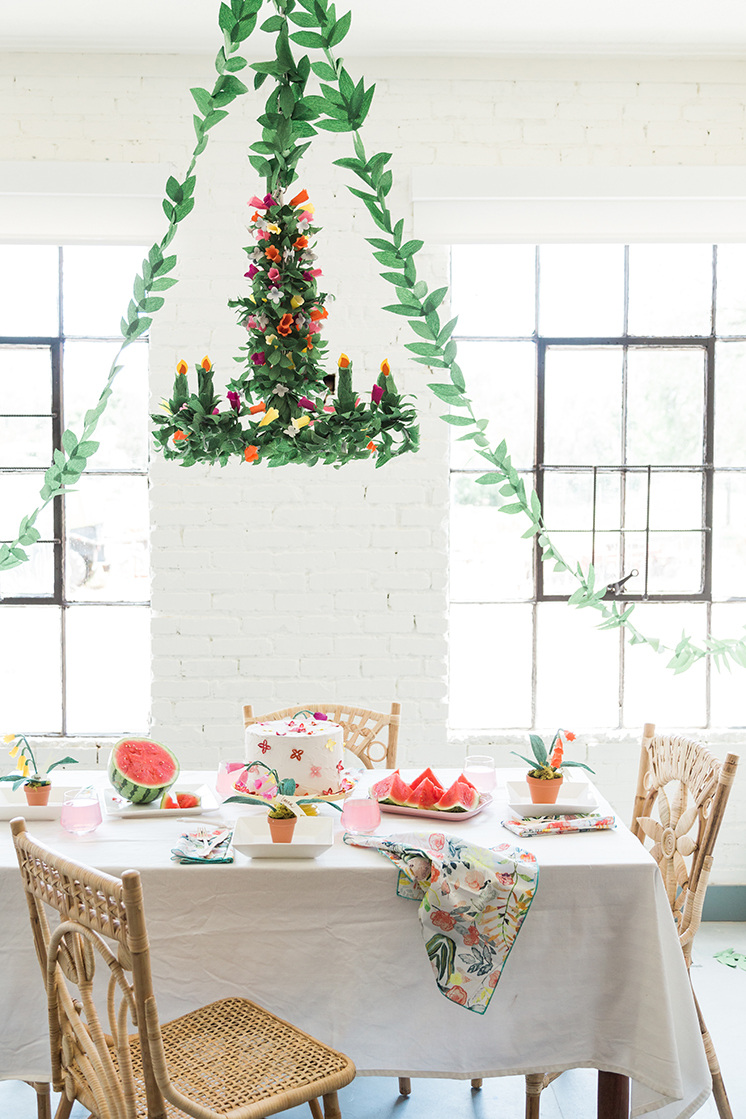
 During the summer I’m outside as much as possible, whether I’m weeding my garden or or sitting outside working on my laptop. I can’t let those precious sunrays go to waste! In those moments when you can’t be outside, why not bring the outdoors in with a garden chandelier?! Specifically, a paper flower upcycled chandelier fit for your home?! I partnered with method to repurpose a dirty old chandelier that I found at a thrift store and gave it new life with a good cleaning and hundreds of paper leaves. It’s so easy to turn a not so attractive lighting fixture into a beautiful home decor piece. Let me show you how.
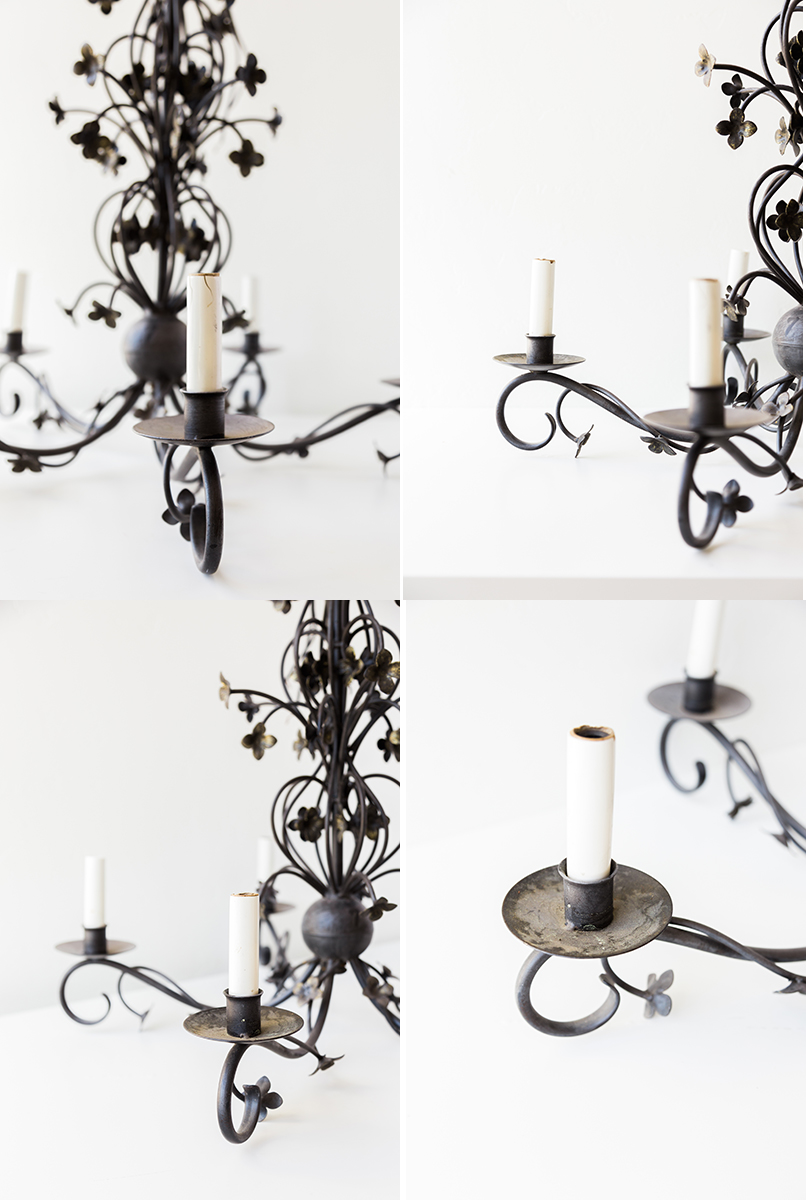
Here’s how it all started, I found this metal chandelier and though it’s already adorable, I knew I wouldn’t fit in my home stylistically as is. It needed a little something more. It needed a little Lars loving.
The chandelier had been sitting outside for who knows how long so it was quite dirty and didn’t feel like something I wanted in my home just yet. But, we decided to fear no mess!
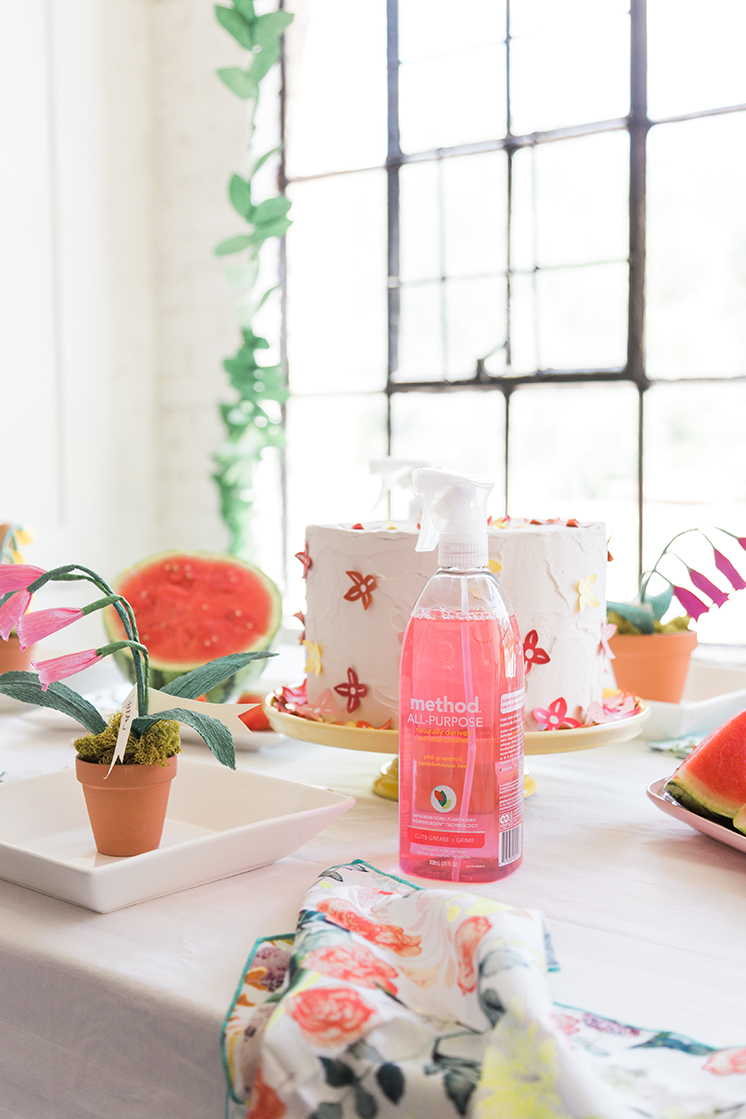
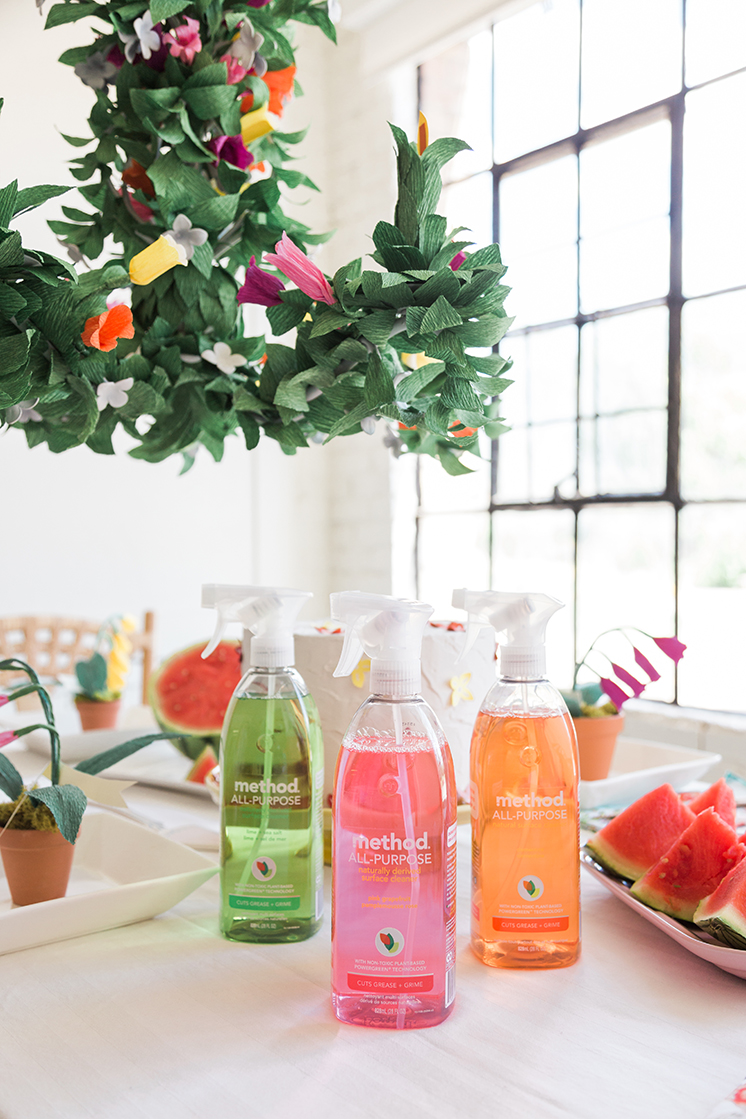
So, we got to work! We took the lovely shape and gave it some love with some of method’s All Purpose Cleaner. We used the Pink Grapefruit scent, which smelled so delicious that I started spraying left and right for no reason at all other than I felt like I was in a citrus field. It’s that good. Go ahead, give it a try. So yum! Another thing I love, and have always loved about Method’s products: they’re fun, sure, but they are also deliciously smelling and their products are biodegradable, made from recycled materials and 100% recyclable. Good for your nose and good for the earth. I like that combo!
So, here’s where we were before…
And here’s where we are after. A fun garden chandelier to bring the outdoors in!
How to upcycle a chandelier
Materials:
- white spray paint (matte)
- crepe paper in shades of your choices
- green crepe paper
- floral wire
- wire cutters
- scissors
- glue gun
- leaf template
- flower template
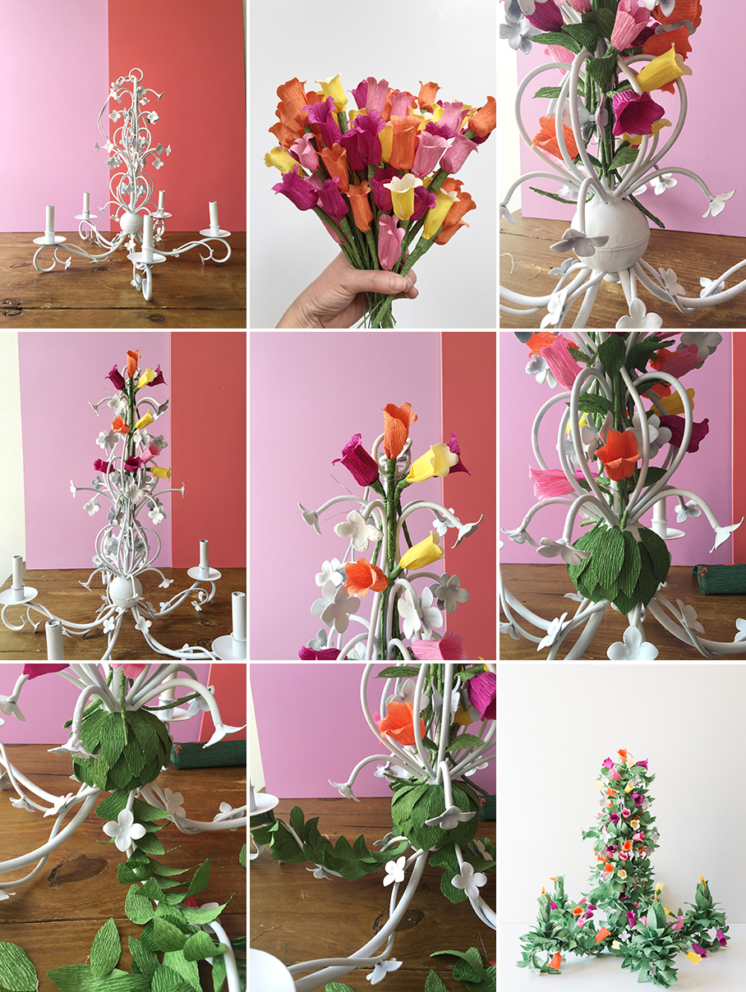
- First, look at the shape of your chandelier and decide where you’d like to apply your flowers. Every chandelier will be different and will turn out differently, so find the assets and focus on those!
- Spray your chandelier. We went for white so it would feel fresh and clean. Let it sit for 24 hours.
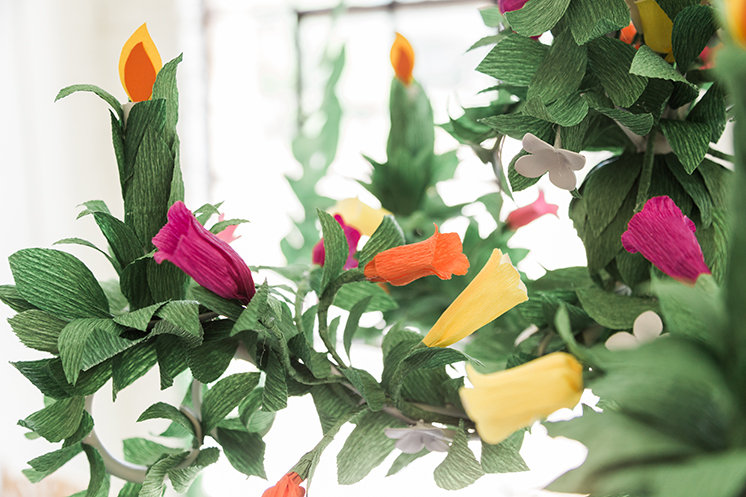
- Cut out many MANY leaves with the grain of the crepe going vertically on the leaf! We used two rolls of this crepe paper (in moss green).
- Make about 70 paper flowers (we used this daffodil tutorial but didn’t add on the petals)
- Circle wire around the inside of the chandelier.
- Drop the flowers into the wire. The flowers should hold. If not, glue gun the flowers where you’d like them on the chandelier.
- Curl the leaves by pressing them around a pen or skewer.
- Add green leaves to the chandelier with a glue gun. We decided to cover every inch of ours, but revealing the flowers inherent to the chandelier.
- Go to town with the leaves!
- We ended up needing to add an extra chain to our chandelier, which was about $3 for 5′ of chain at the hardware store.
- Voila!
Enjoy your new outdoors inside!
This post is sponsored by method. Sign up for their newsletter to receive updates and special offers. Thank you to the brands that keep Lars thriving!


