

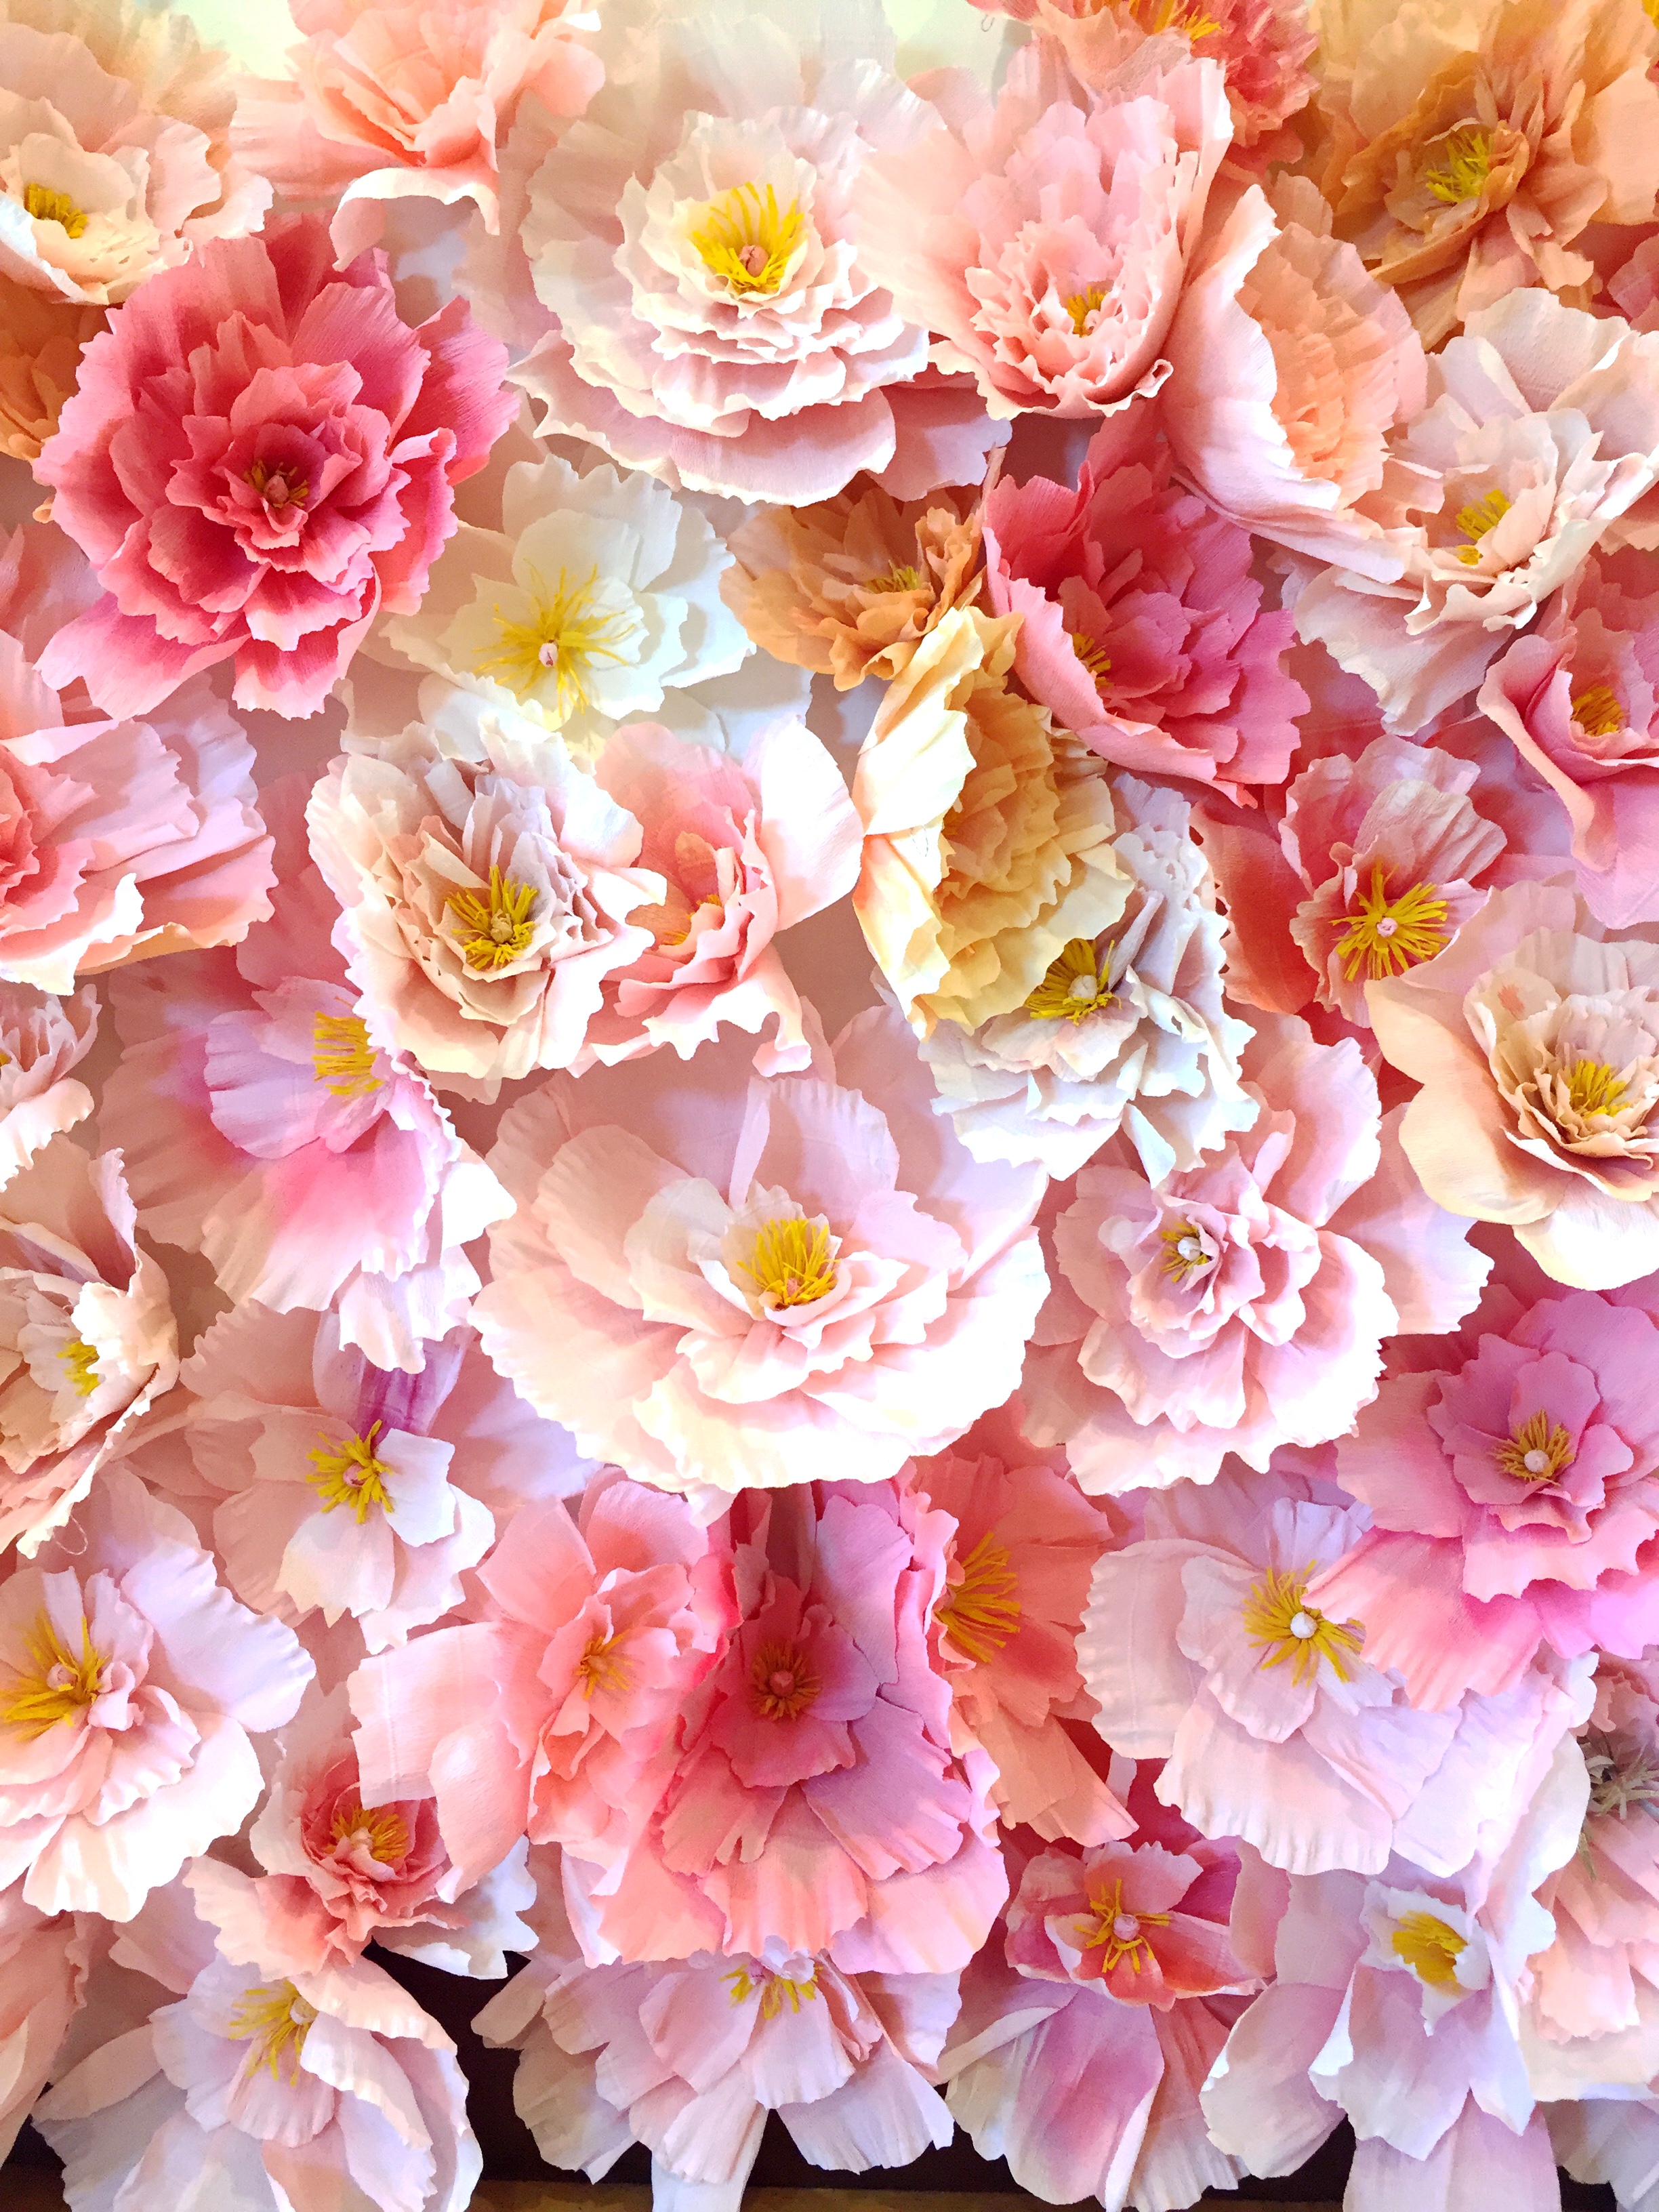
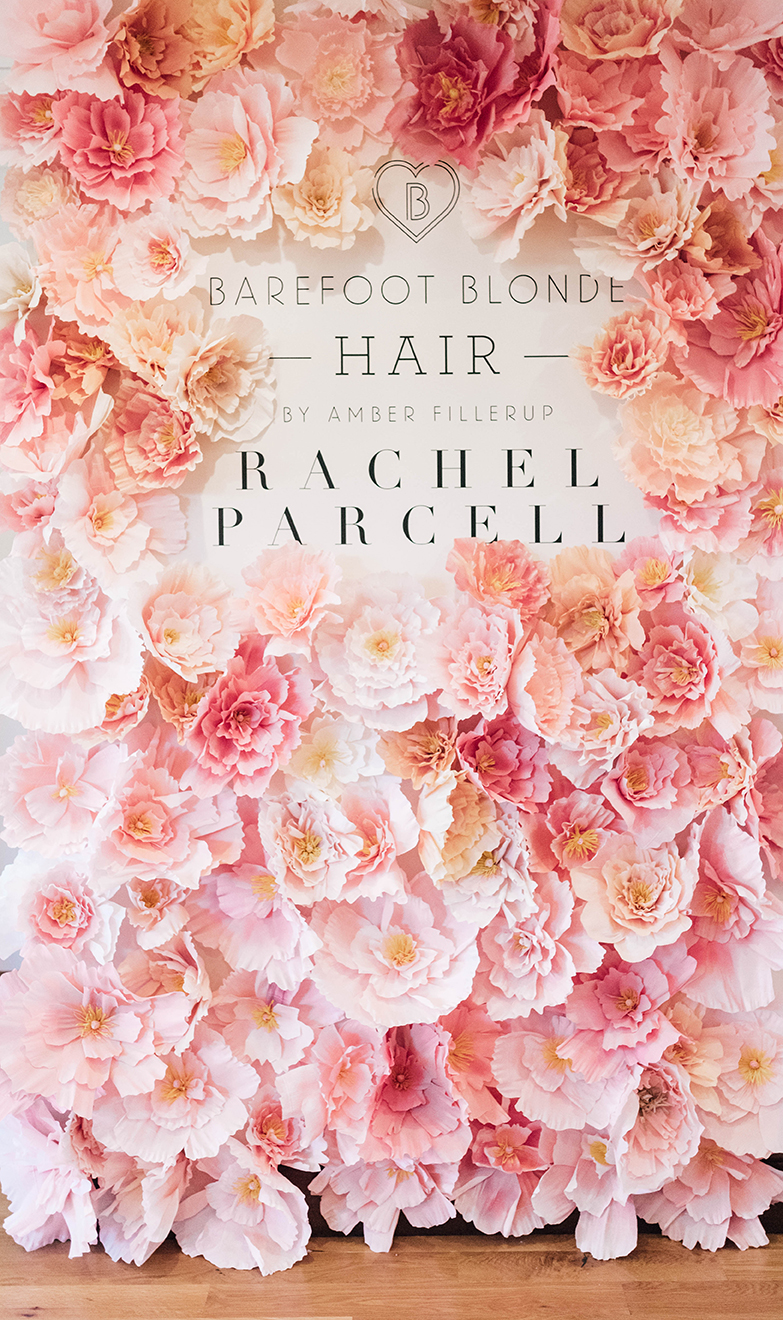
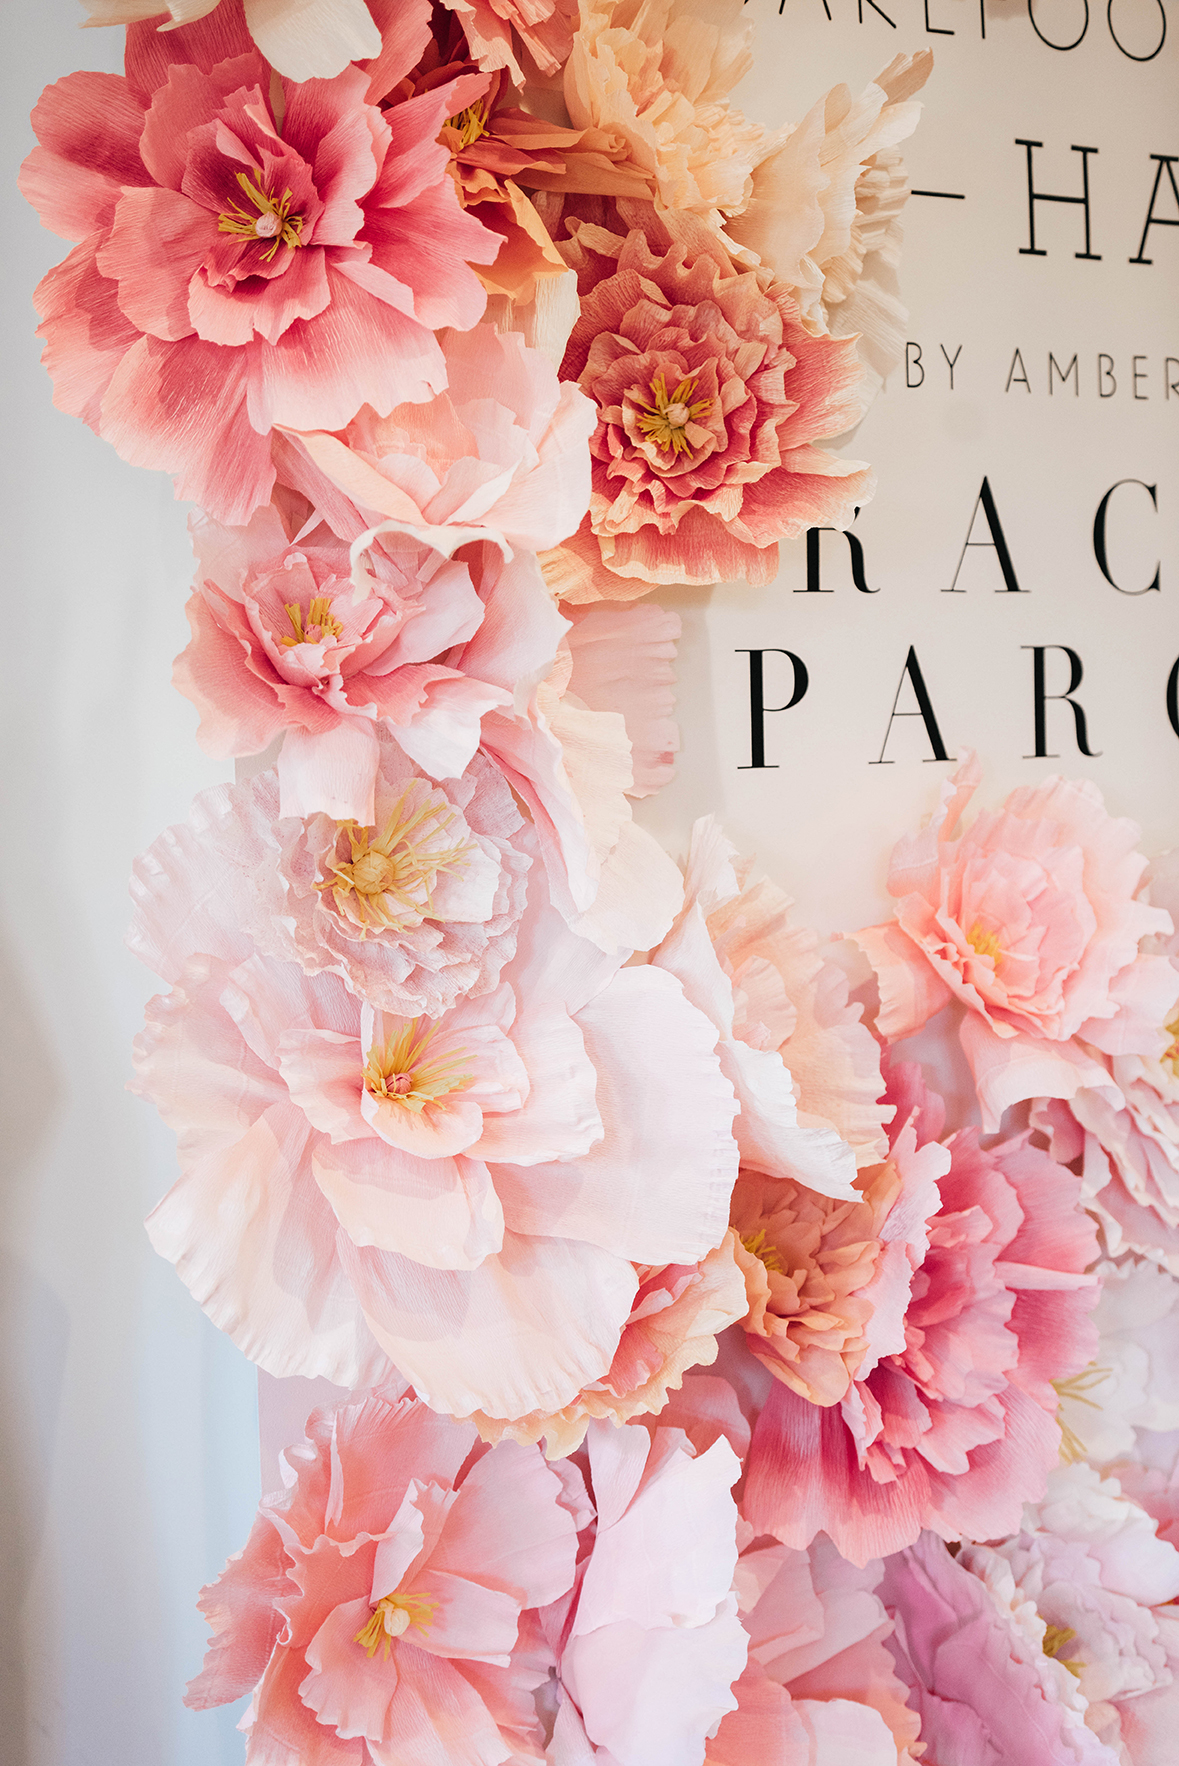
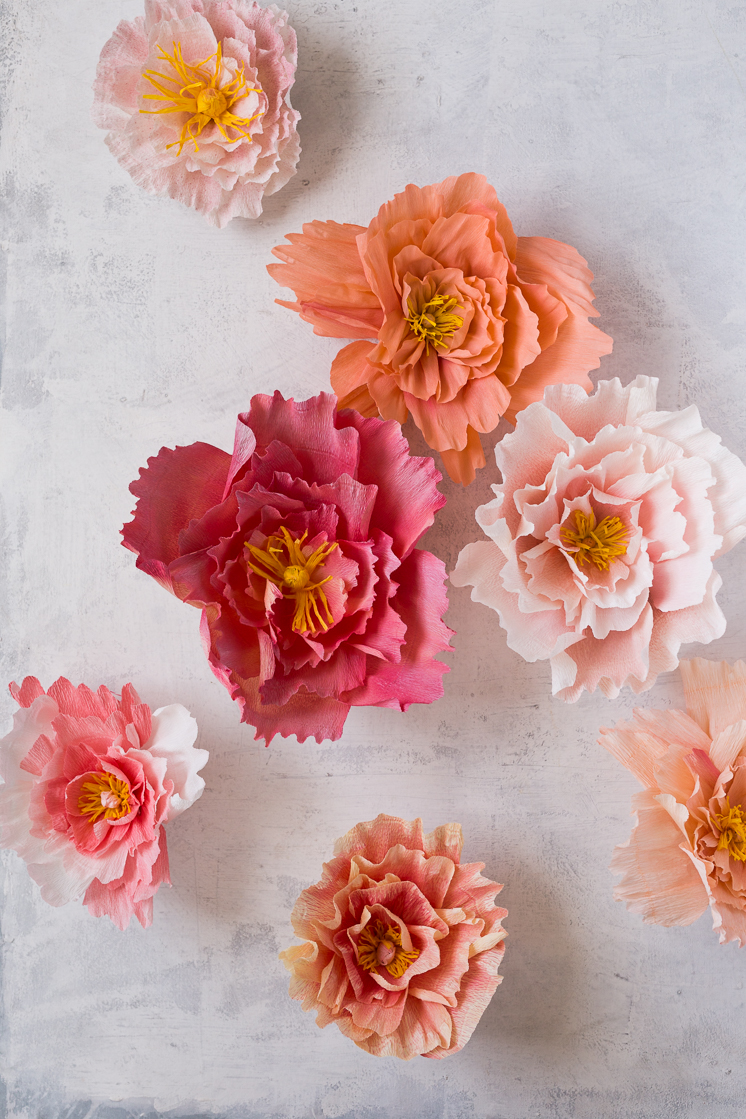
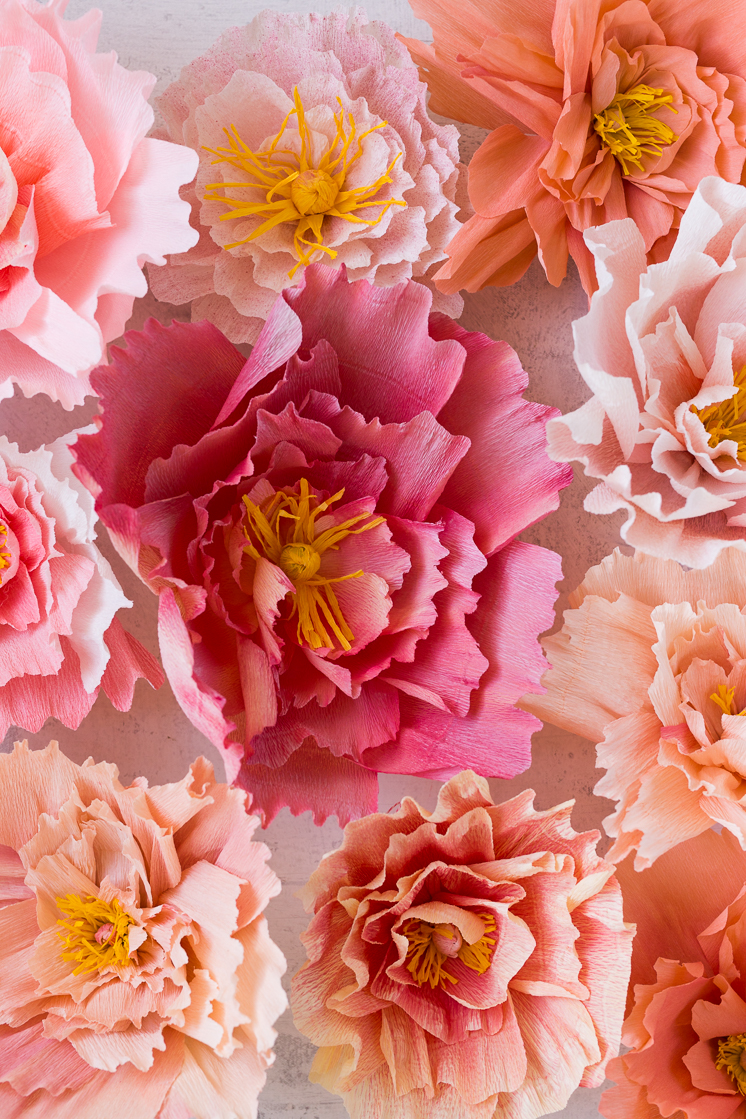
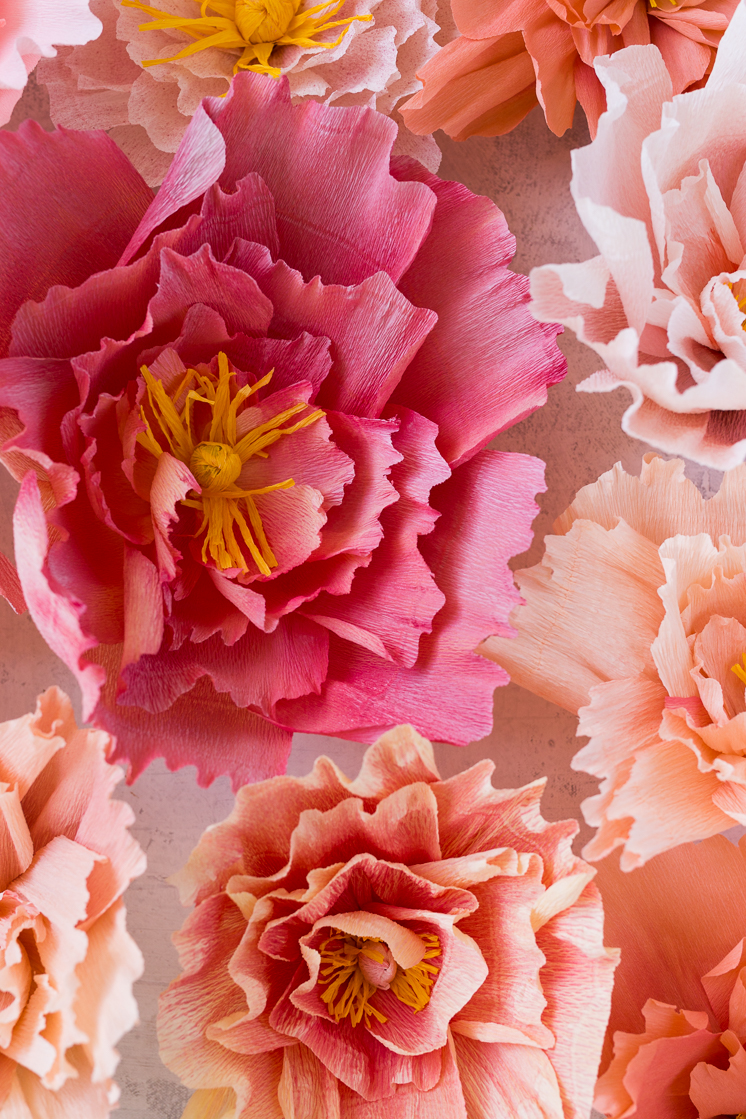
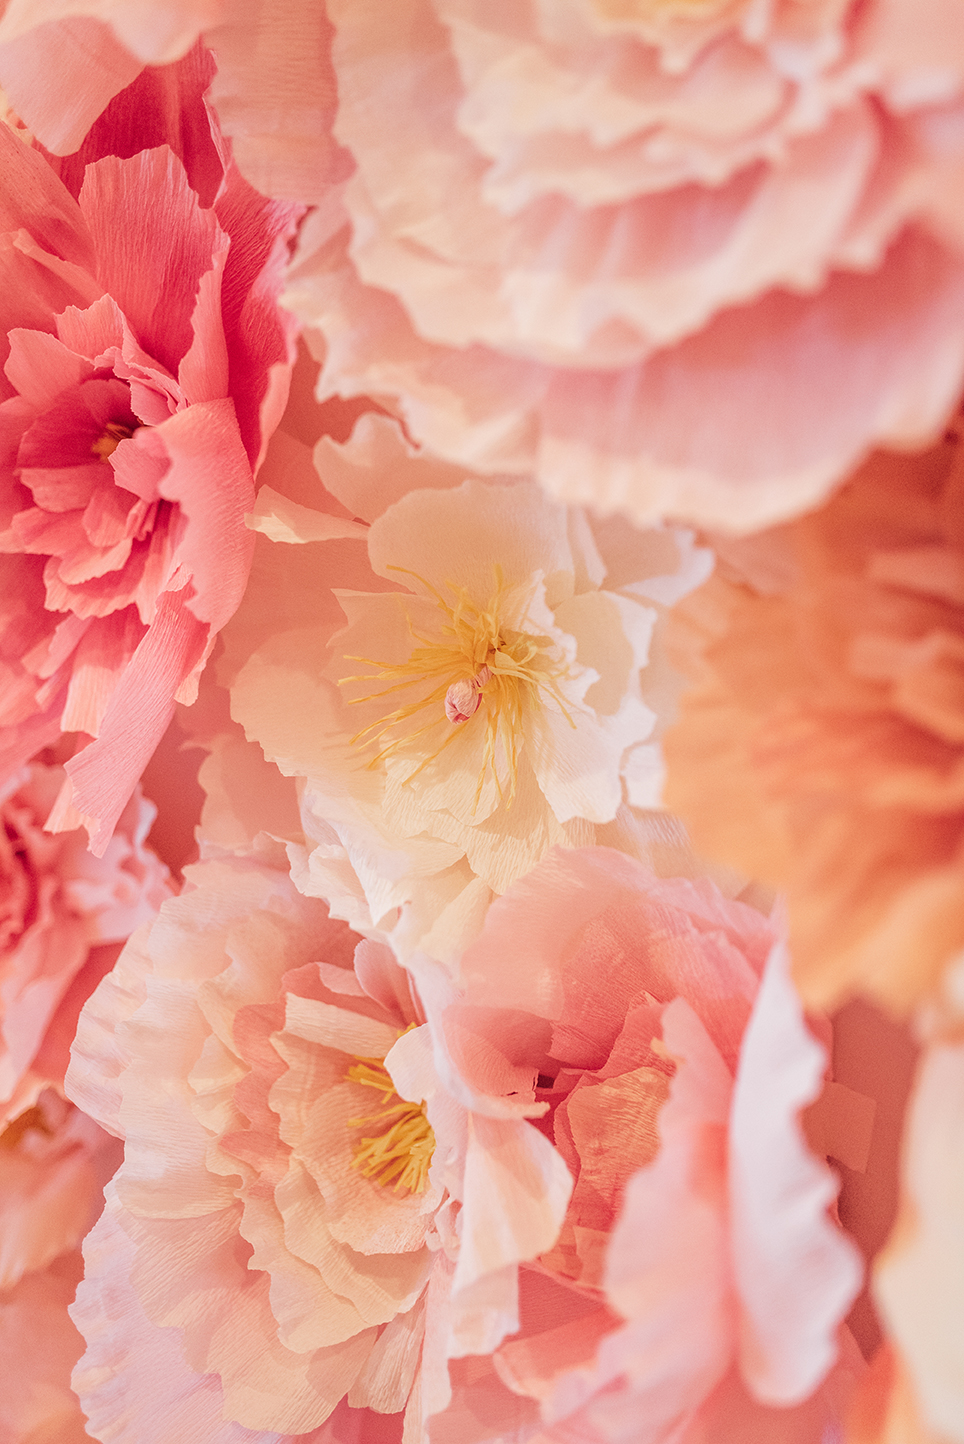
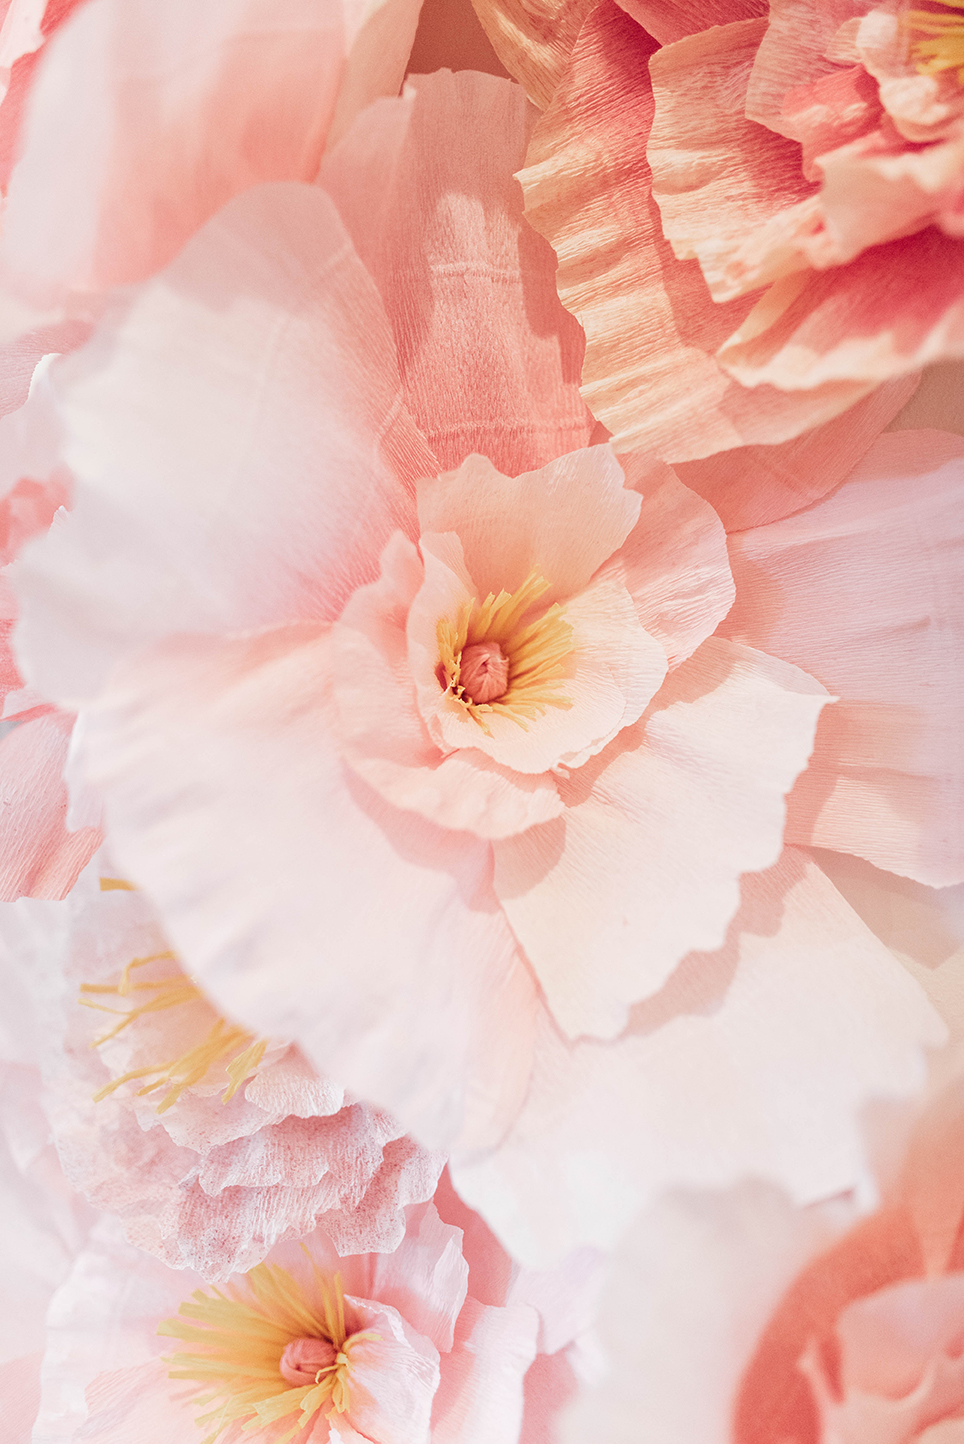
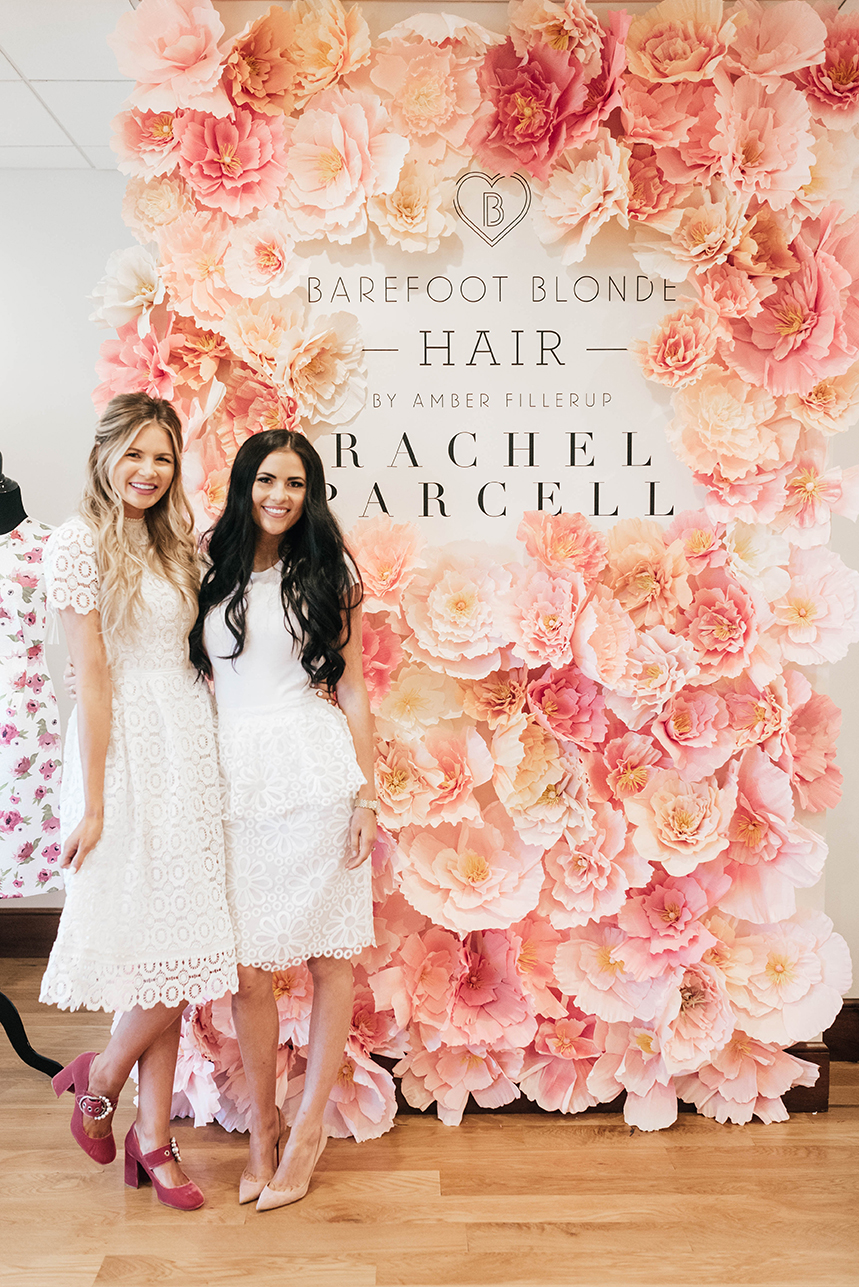
We were tickled pink to be able to create the backdrop decor for fashion influencers Amber Fillerup and Rachel Parcell and their pop-up shop a few weeks ago. They were both celebrating recent releases in their companies and wanted to throw a party to celebrate! We created a paper peony wall installation to use as a photo booth backdrop during the event. We were making crepe paper peonies for days, to make sure we’d have enough to cover the entire wall with a luscious garden! We’ve never been through so much crepe paper before! But let me tell you, it looked phenomenal! Such a showpiece that would look great for a wedding or special occasion.
We’d strongly encourage you to enlist the help of some faithful friends to help put together this amount of paper peonies, as it does take some time. However, if you’re just planning on making a few, this is a simple craft with a beautiful result! Now you can enjoy peonies long after their short-lived season has passed!
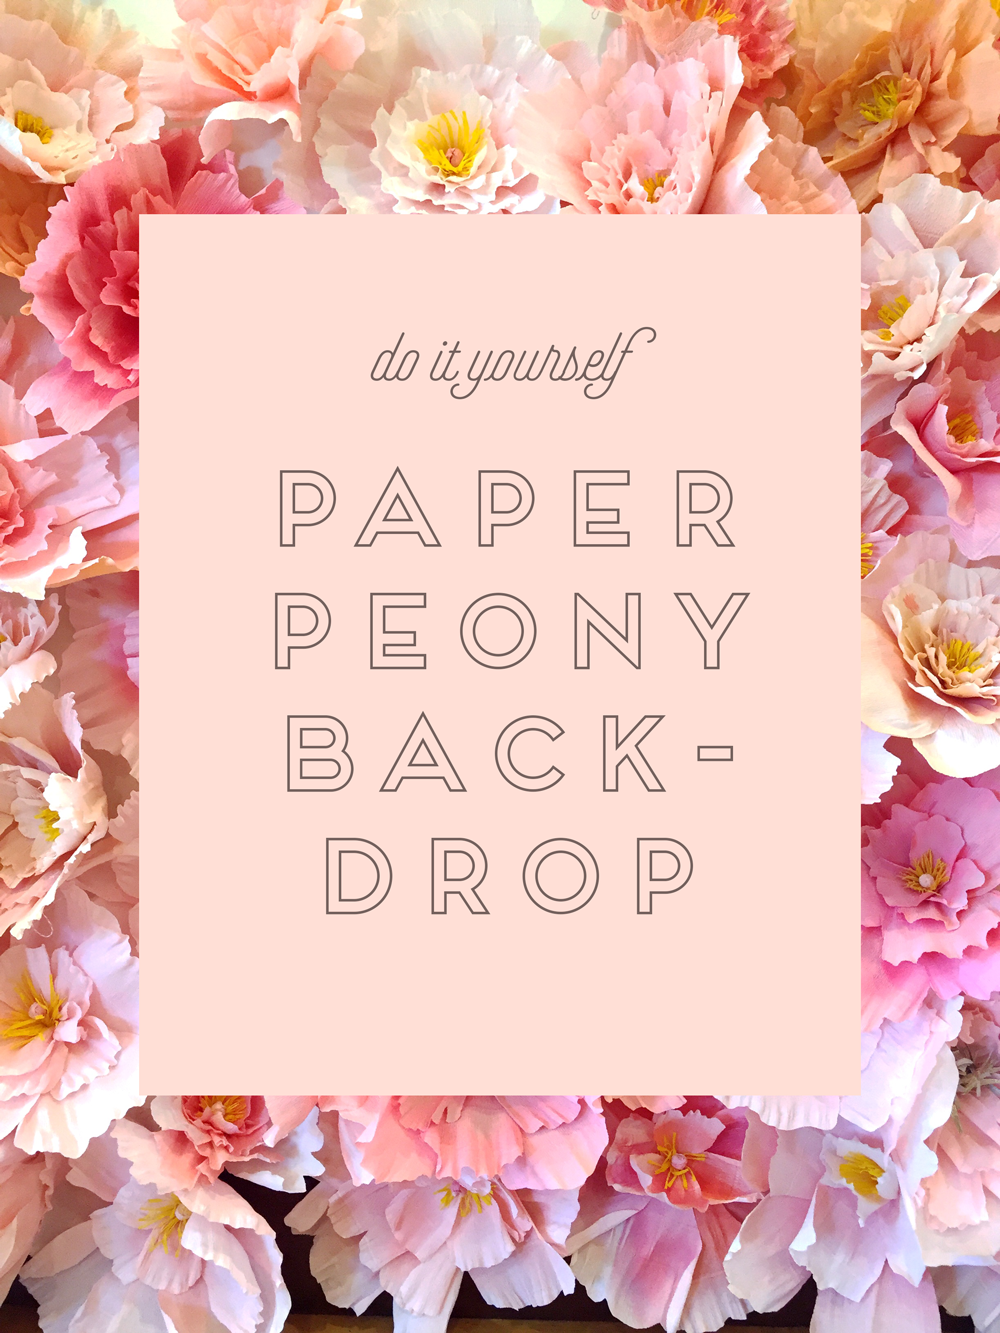
Continue for the full tutorial with step-by-step photos!


 Crepe Paper Peony Wall
 Crepe Paper Peony Wall
Materials:
- Crepe paper. A few of our faves are listed below!
-
For Petals: Lia Griffith extra fine crepe paper pack. (Use the 5 lightest shades), Pink Crepe paper, Peach crepe paper, Light Pink Crepe Paper, Dark Pink Crepe Paper, Ivory Crepe Paper, Flat Pink Crepe paper, Salmon Crepe paper For centers: Goldenrod Crepe paper
- Hot glue gun
- Spray paint, if desired
Instructions:
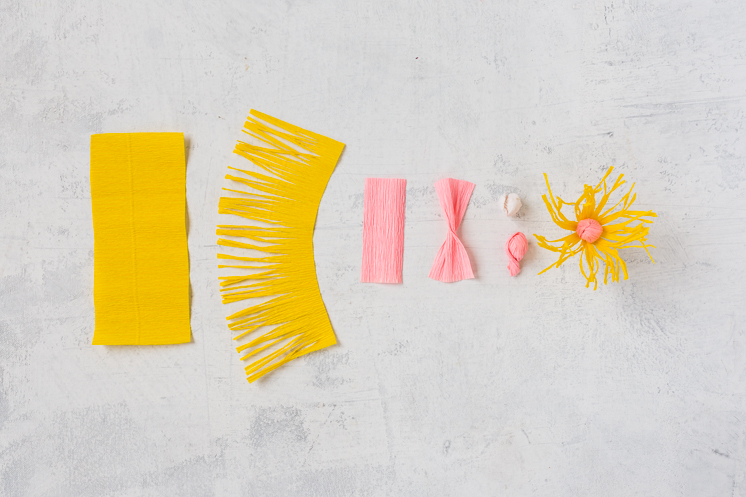
Centers:
- Cut a 3.5″ x 6″ piece of yellow crepe paper. Fringe the long edge and twist the edges.
- Cut a 1.5″ x 3″ piece of pink crepe paper. Twist the center and wrap around a small ball of crumpled crepe paper.
- Wrap the yellow fringe around the pink center and secure with glue.

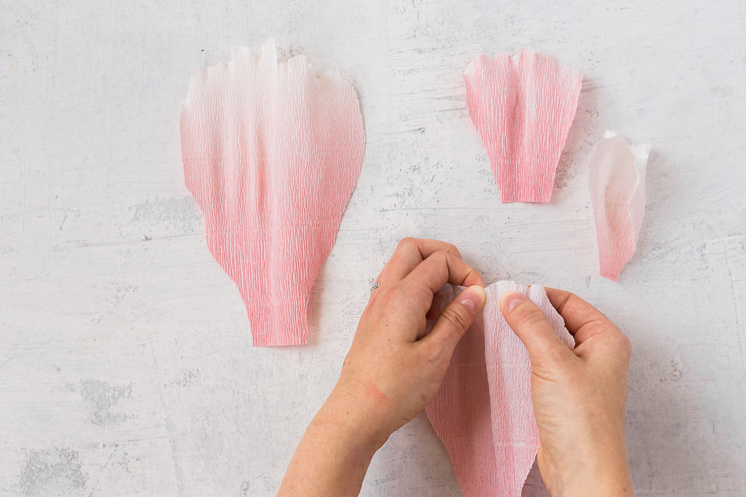
Petals:
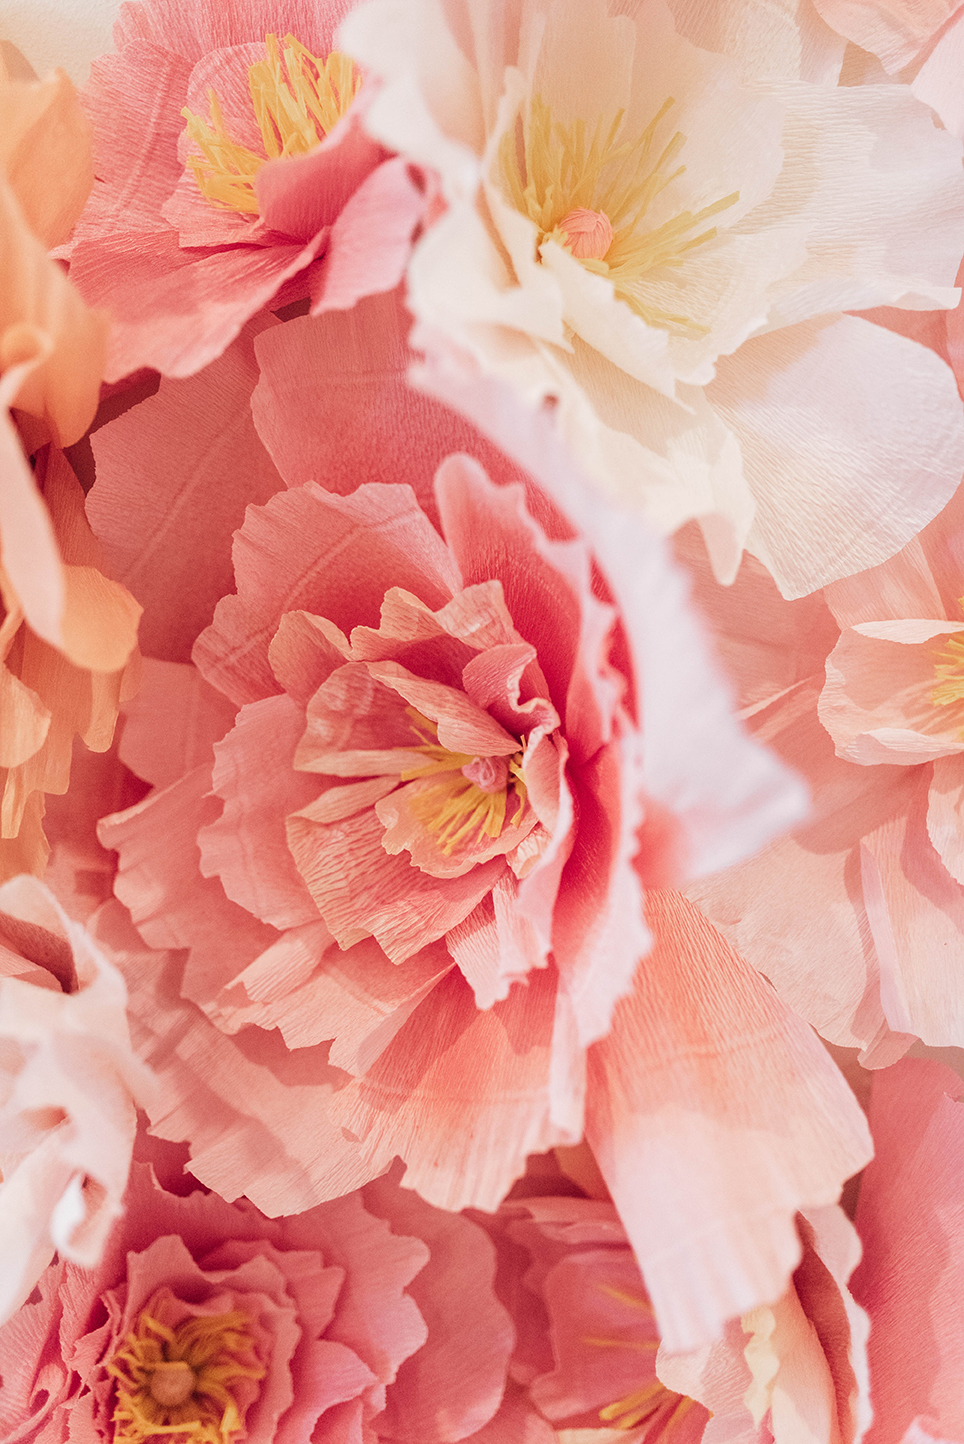
- Cut out petals using the above photos as a guide, a few of each size. Cut each petal parallel with the grain of the crepe paper.
- If desired, spray paint the base of the petals with different shades of pink paint to give them some dimension.
- To give the petal some dimension, stretch the edges of each petal by gently pulling the ridges apart and cupping the center of the petal.
- To create the flower, begin by gluing the smallest petals to the center, usually 3 or 4. Then continue gluing on petals to the base, increasing the petal size as you add more layers.
Repeat until you have the desired amount of flowers!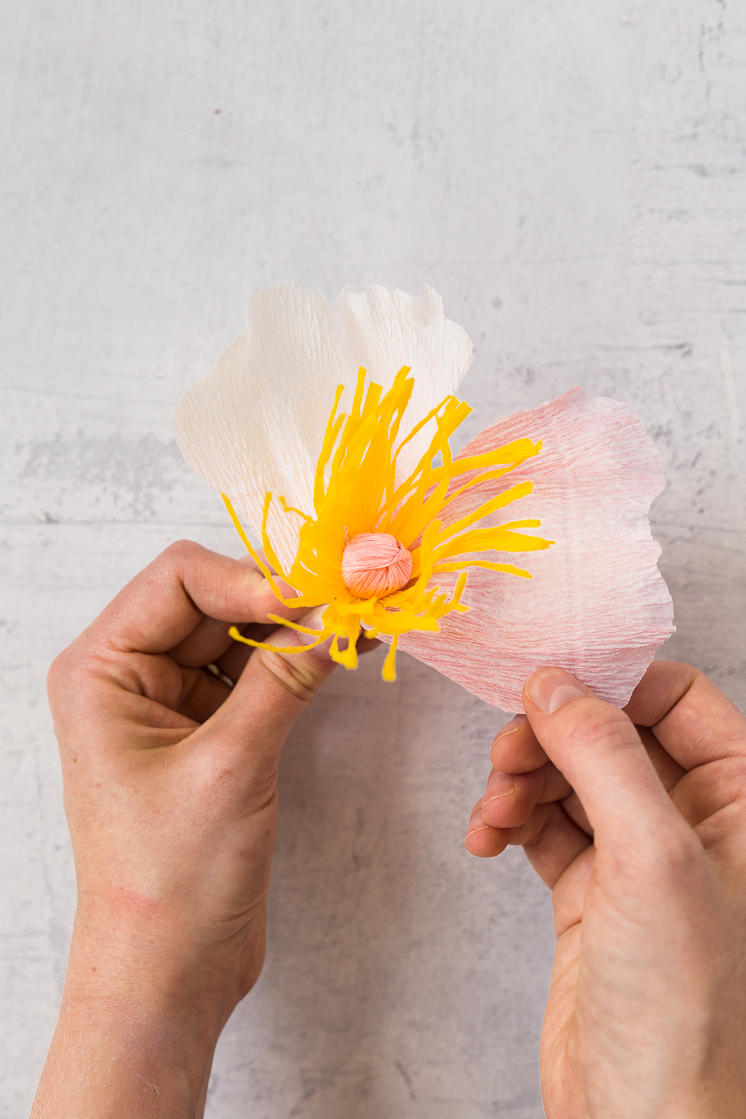
Wall Assembly:
- To apply to a wall, we used a combination of tiny command hooks and gaffer tape.
- For the command hooks, we glued small loops of twine onto the back of the flower, near the base. This loop can then be slipped onto a command hook that you can stick onto the wall.
- You can also make tape rolls of gaffer tape, which can be easily removed from a wall without damage, and stick the flowers onto the wall.
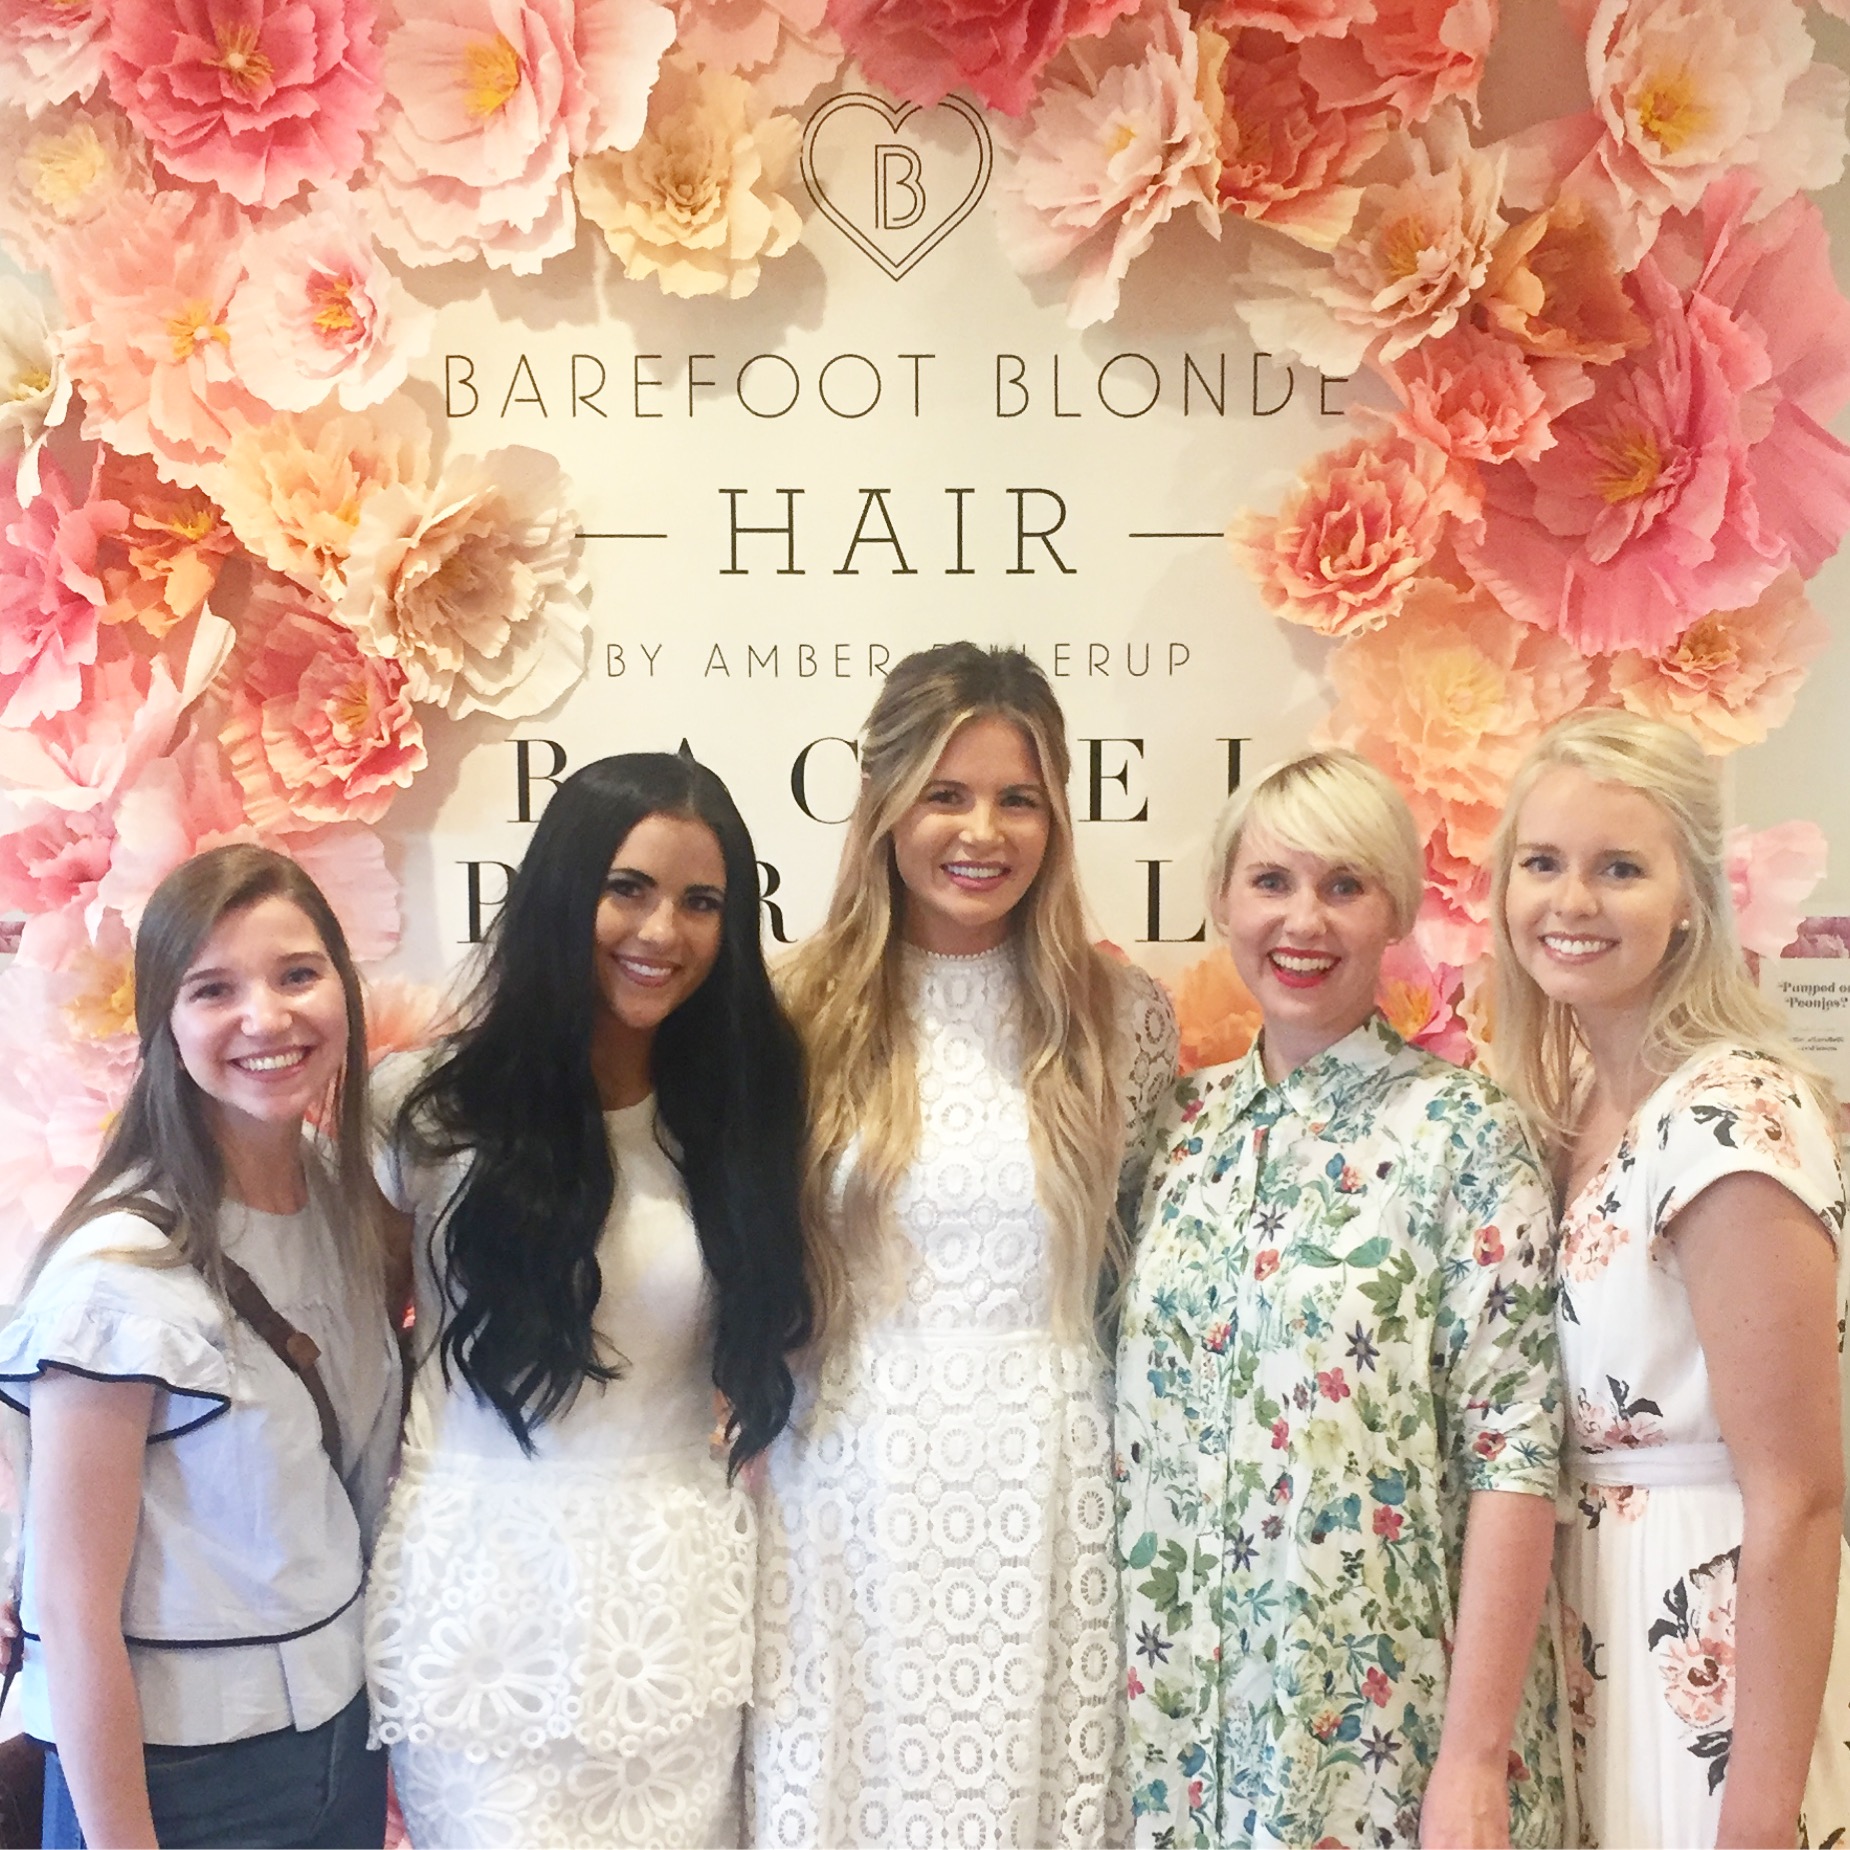
And here’s our team with the women of the hour. That’s our intern Katie on the left, Rachel, Amber, me, and Becca.
 Photography by Anna Killian | Crafting by Rebecca Hansen
Comments