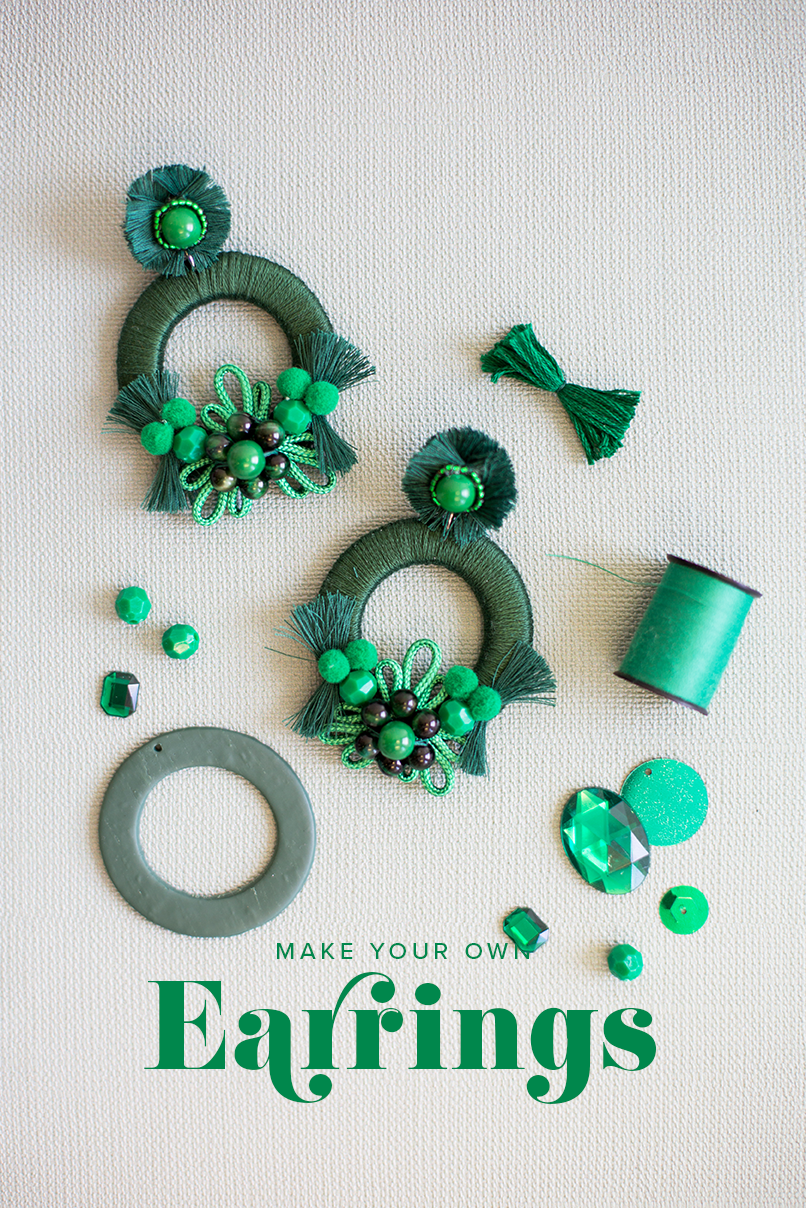
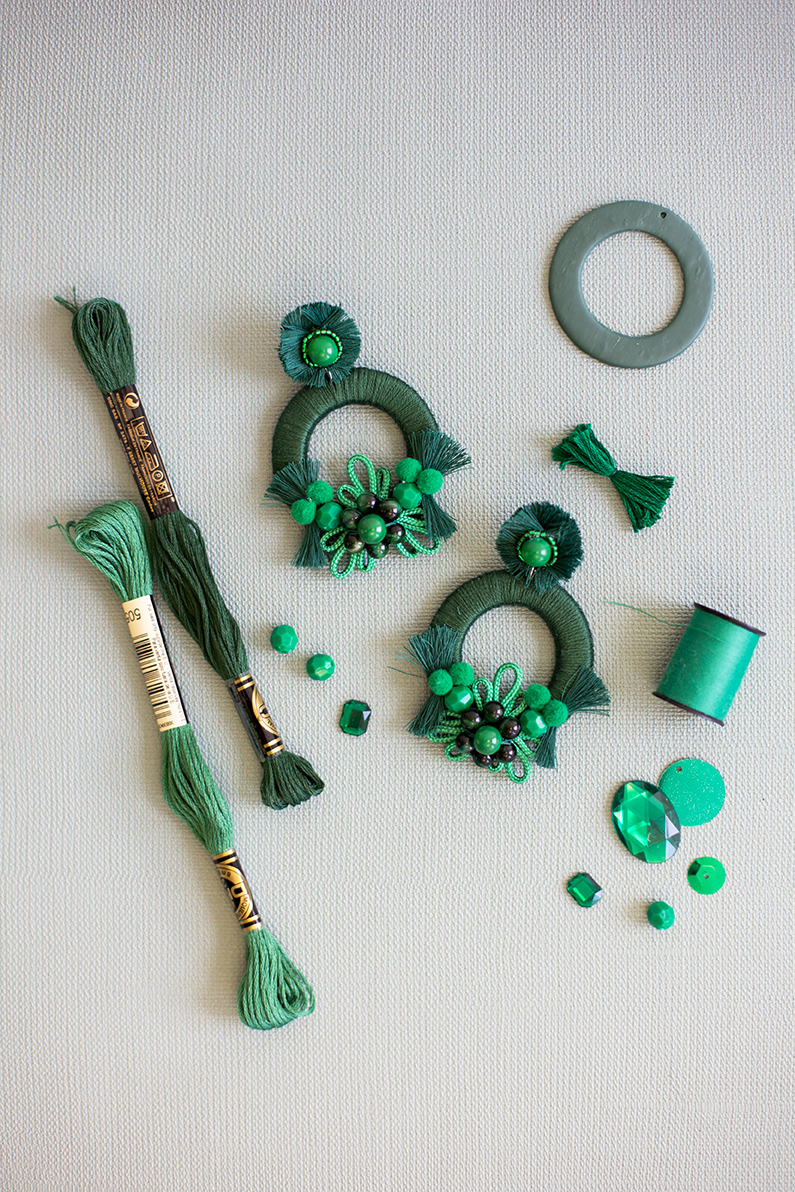
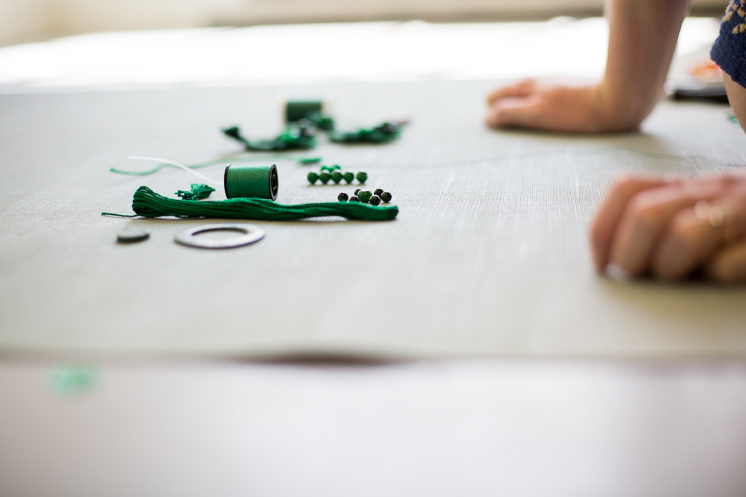
If you’re a crafter you probably have many of these supplies already… and really you can use whatever mix and arrangements of beads, threads, and other craft supplies in whatever colors that you would like 🙂
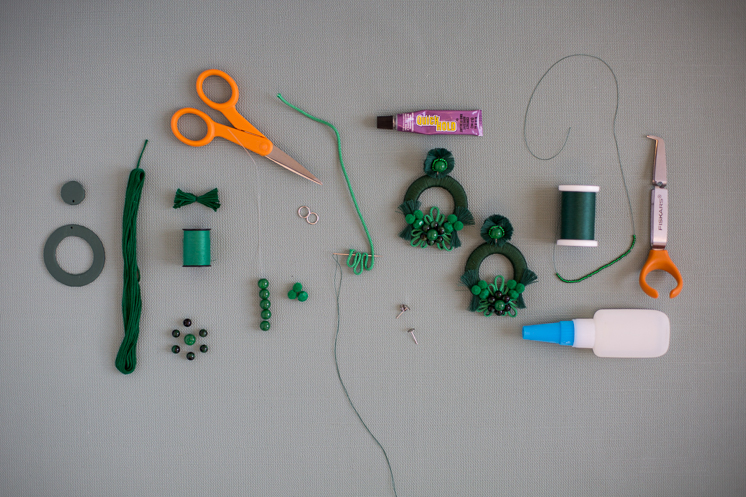
- polymer clay
- cookie cutters, clay cutters, or bottle lids
- rolling pin
- oven
- baking sheet
- aluminum foil
- embroidery thread
- sewing thread
- needle
- small, sharp scissors
- parachute cord (made of synthetic material)
- candle
- pom poms (7mm)
- seed beads
- beads (7mm)
- slightly larger beads (9mm)
- faceted beads (9mm)
- jump rings (8mm)
- pliers
- earring post hardware + backs
- glue gun
- E6000 Quick Hold glue (http://eclecticproducts.com/
products/quickhold/quickhold. html) - superglue
- toothpick
Instructions:
- Soften polymer clay (there are several ways suggested here: http://www.wikihow.com/
Soften-Polymer-Clay) and use the rolling pin to roll the clay out to 1/4″ thickness. Use cutters or bottle lids (lids from cosmetics or medications are usually in the right size range) to cut a larger circle (ours was 1 7/8″). Use a smaller cutter or lid to punch a smaller circle (ours was 1 1/8″) out of the larger circle to create a donut shape. Make two of these. Roll some of the clay to about 1/8″ thickness and cut two 3/4″ circles. Use the earring posts to poke a hole about .5 cm in from the edge of the 3/4″ circles. You’ll want to wiggle the post around to make the holes large enough to fit the jump ring through later. Make a similar hole in each of the polymer clay donuts. Line a baking sheet with aluminum foil, place the polymer clay pieces on the sheet, and bake according to the instructions on your clay package. - Use pliers to open one of the jump rings and slide the ring through the hole in one of the polymer clay donuts. Use a thin dab of hot glue on the back side of the clay ring to attach one end of the embroidery thread. Wrap the entire donut shape with the thread. Wrap the thread as close to either side of the jump ring as you can when you get to it. When the entire donut is wrapped cut the embroidery thread and secure that end to the back of the donut with a thin dab of hot glue. Repeat process with the other clay donut.
- To make parachute cord loops- Thread the needle and knot one end. Briefly hold one end of the parachute cord in the flame of a candle to seal the end (make sure your cord is made of synthetic material like acrylic or polyester). Make three loops with the cord and stick the needle through the loops as shown in the process photo. Cut the end of the last loop and seal that end in the candle flame. Repeat to make six of these (three for each earring).
- To make bead flowers- Thread the needle, bring the thread back down, snip the thread, and knot the end. This will leave you with a double strand of thread. String one bead and bring the needle back through between the two strands of thread. This will secure the bead onto the thread. String five more beads, then run the needle and thread through the first bead and the rest of the beads a second time to make a loop of beads, and a third time to make the loop more secure. String a slightly larger bead (this will be the center of the flower) onto the thread, position the larger bead in the center of the loop of beads, and run the thread through a few of the beads in the loop to secure. Secure and knot the thread and cut the excess. Make two of these (one for each earring).
- To make the double ended tassels- Loop the sewing thread around two of your fingers 25- 30 times. Slide the loops off of your fingers. Pinch the loops in the middle to make a little figure eight. Cut a 6″ piece of thread and tie it tightly around the center of the figure eight a few times. Cut each end of the loops and then trim the free ends of the threads so that they’re even and the whole tassel measures about 1″. Make 12 of these (two for each donut piece and four for each stud).
- To make the studs- Use the E6000 glue to glue four of the tassels to the 3/4″ circle that will be the stud part of the earring. Cross the tassels like a tic tac toe board. You only need to put a small dap of glue at the center of each tassel. Glue a bead at the center of the crossed thread tassels. String a length of seed beads and knot the ends. Use a toothpick to dab superglue around the base of the center bead. Wrap the string of seed beads around the base of the center bead. Trim the ends of the tassels all the way around the stud piece that the circle of tassels measures about 1″ across. Insert the jump ring through the hole in the stud so that the donut and the stud are connected.
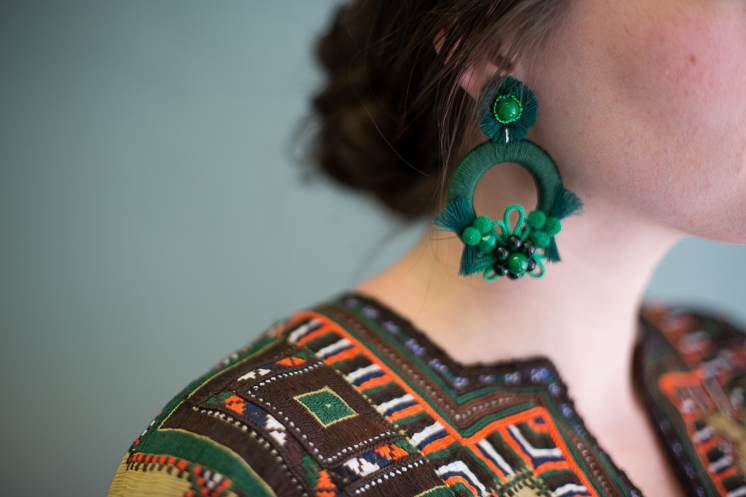
- Use the E6000 glue to attach the beads, loops, and tassels in whatever arrangement you would like.
- Use the E6000 glue to attach the earring post to the back of the stud piece. Position the hardware toward the top of the circle.


Comments