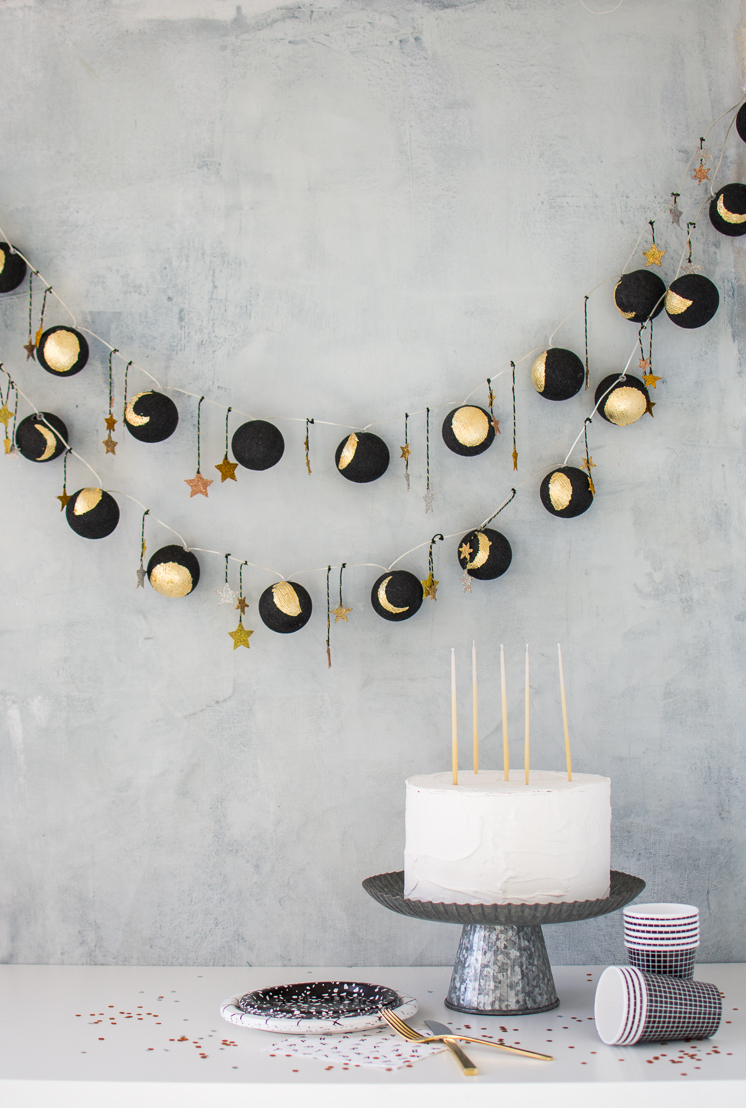
Get the full DIY after the jump!
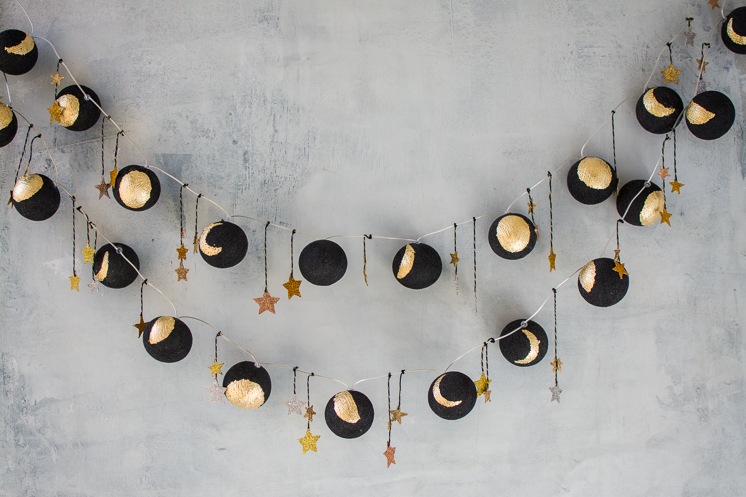
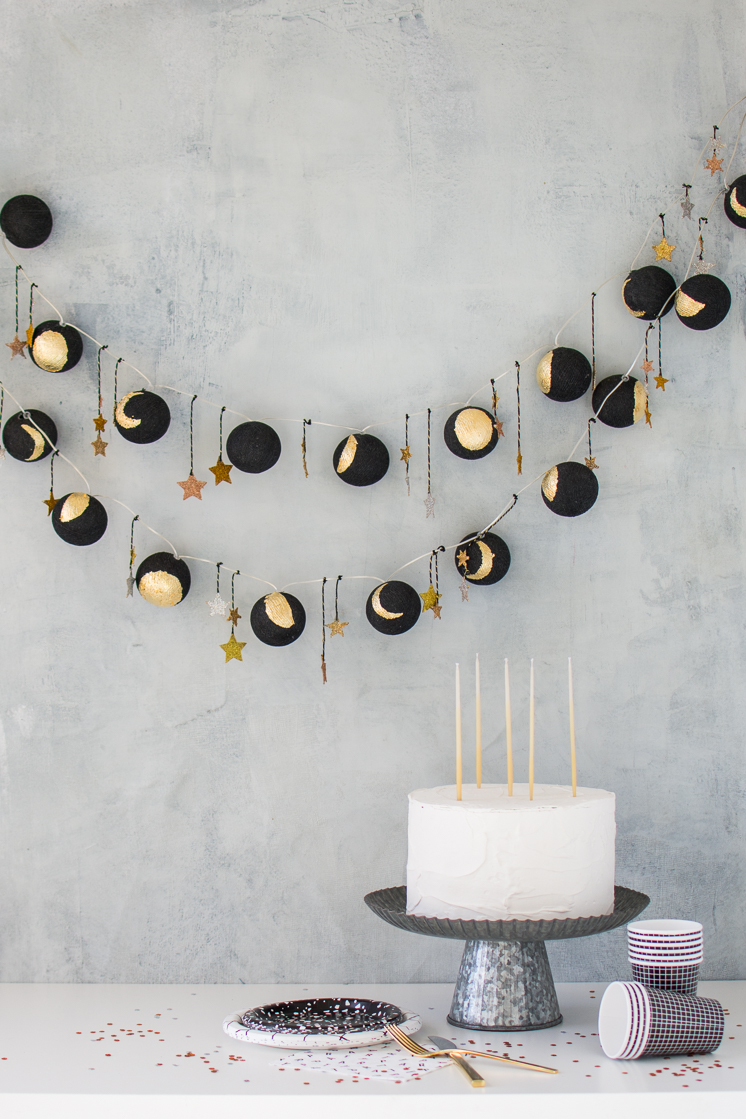
Moon Phase Lights
Materials:
- Charcoal Bright Lab Lights
- Gold leaf kit
- Old Paintbrush
- black and gold twine
- Chipboard stars
- Glitter
- Craft Glue (such as Elmers)
- Moon phase stencils, available for download HERE
Instructions:
- Print out the moon phase stencils and cut out the image, leaving only the recess image so you can use it for a stencil.
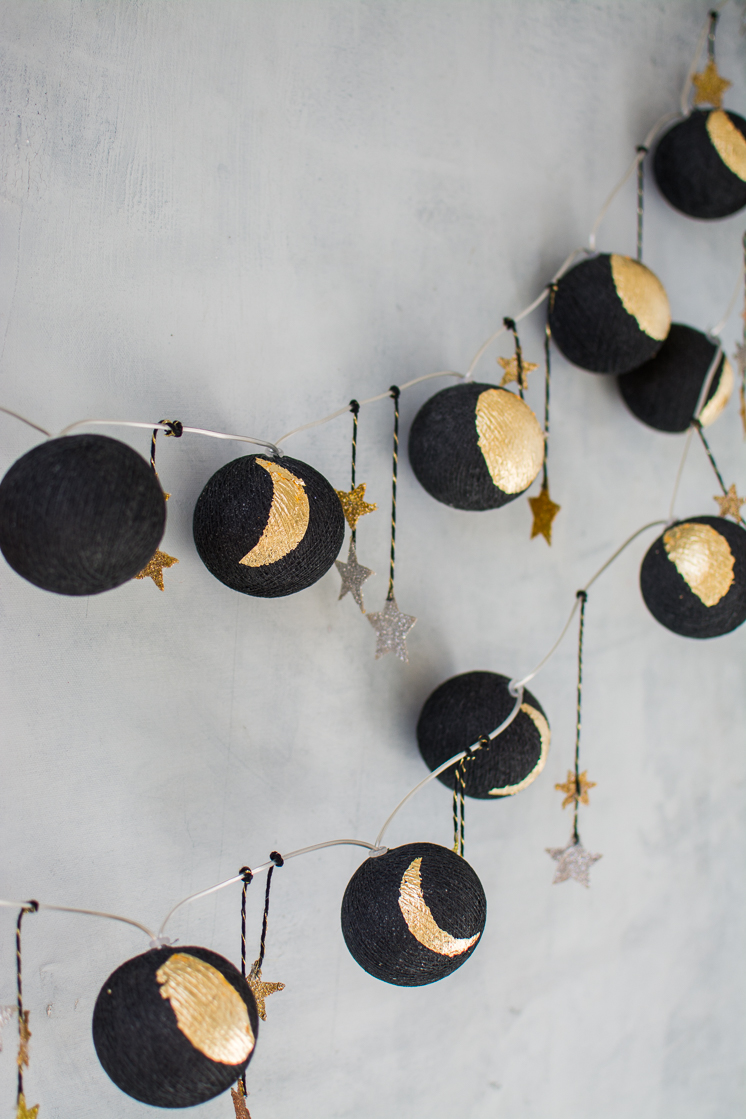
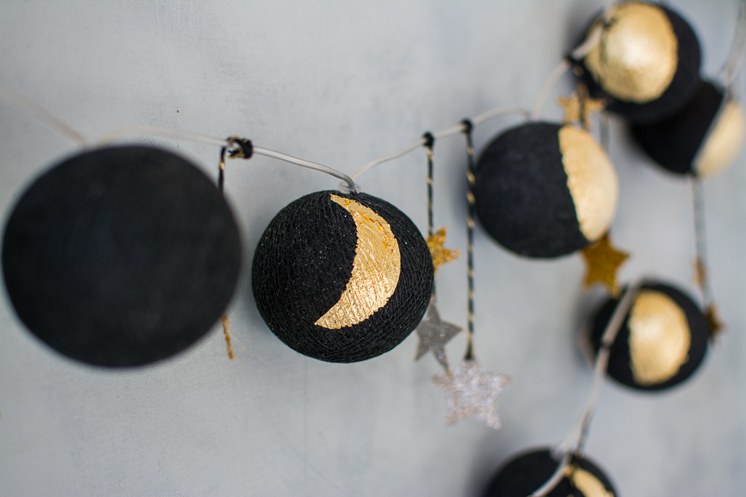
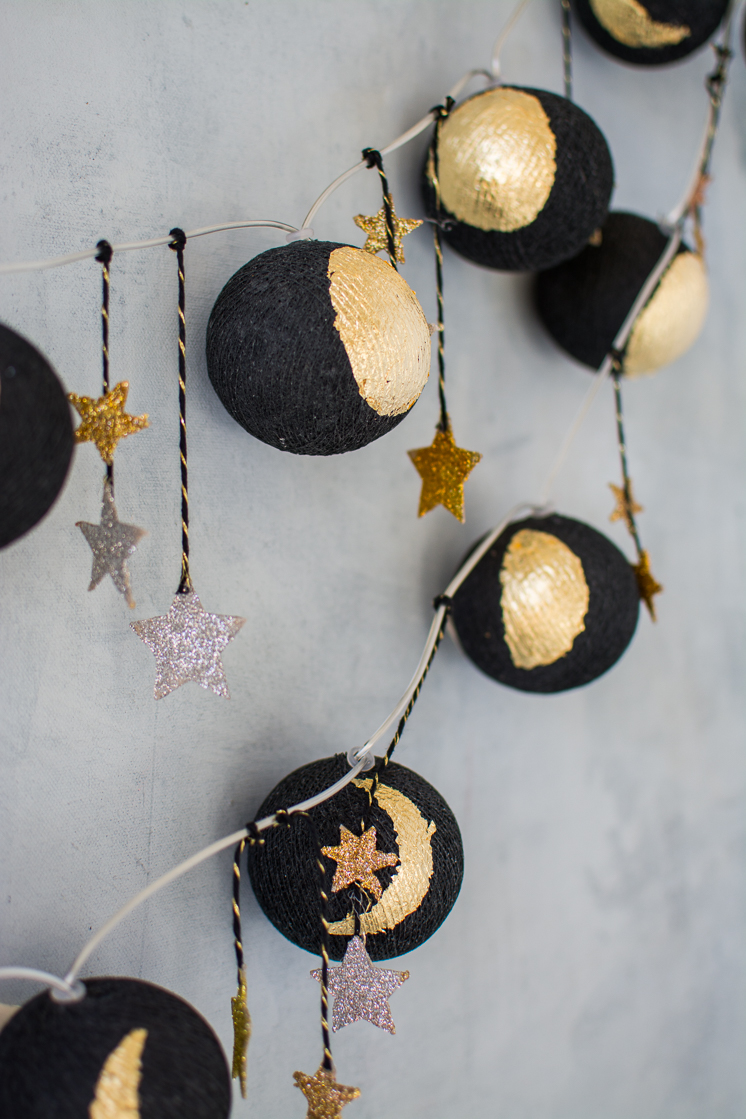
- Gold leaf the phases of the moon onto the lights using the stencils. Simply hold the stencil flush to each light globe, bending around the sphere, following the instructions provided with the gold leaf kit.
- Cut out stars from chipboard or buy some from the craft store.
- Cover the stars with a thin coat of glue and cover with glitter.
- Hot glue pieces of twine onto the backs of the stars.
- Tie the stars onto the bright lab light strand, placing one to two strands in between each globe. Knot and trim twine.
Hang them up and you’re ready for a night of dancin’ in the moonlight!
Photography by Clara Jones | Crafting by Rebecca Hansen



Comments