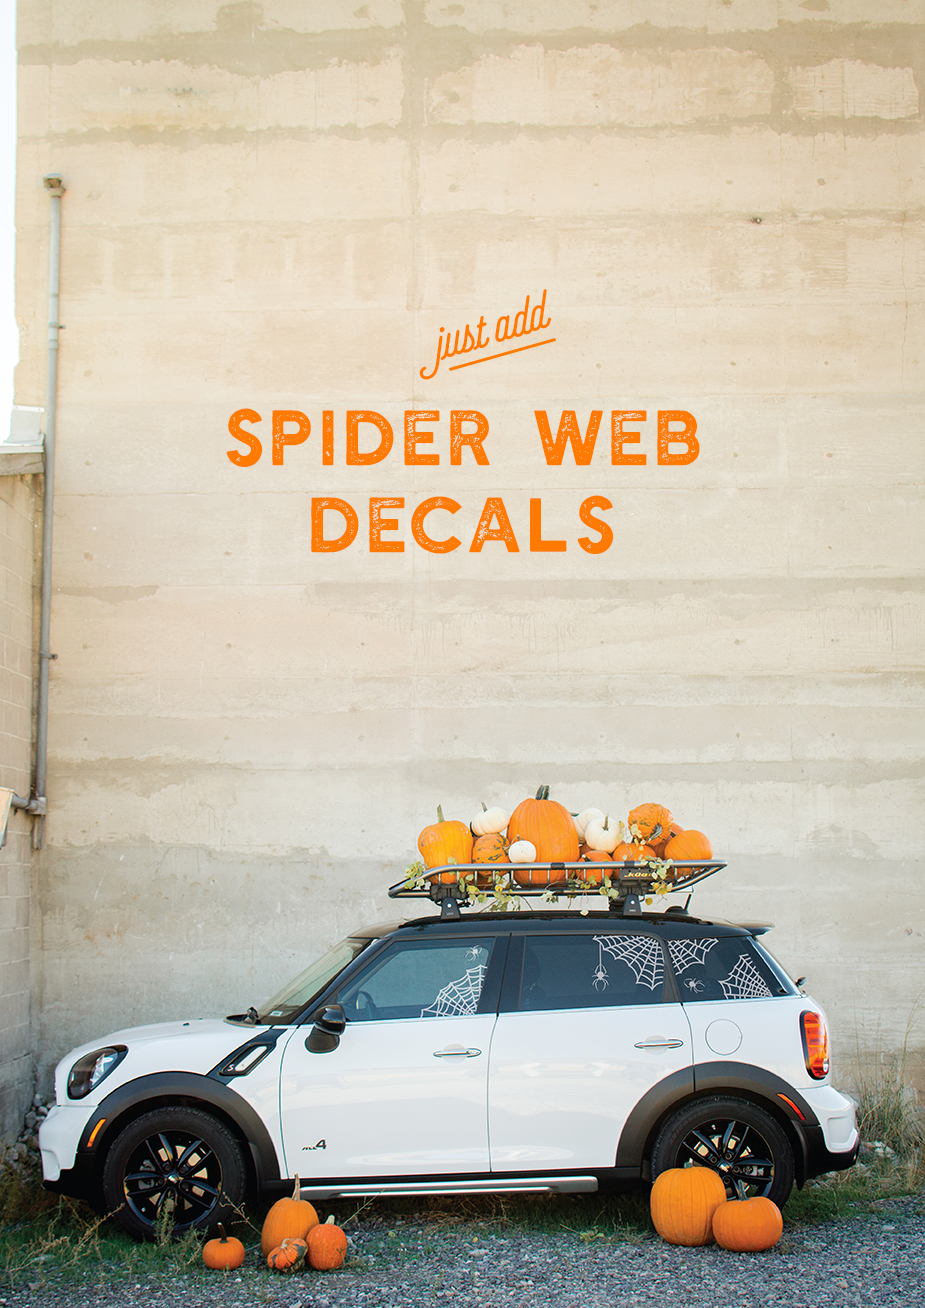
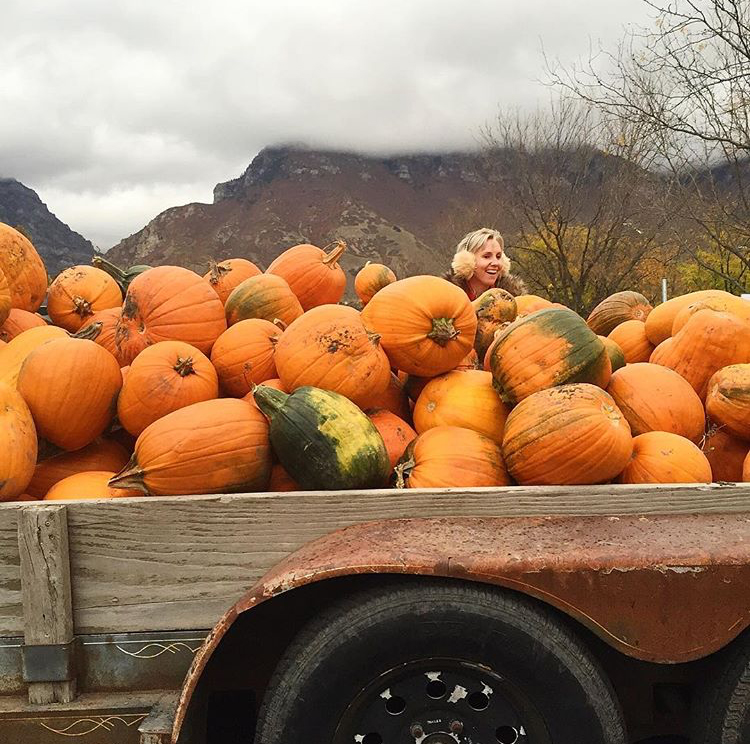
 Have you all gone to the pumpkin patch yet? Fall isn’t complete without a trip to pick pumpkins! I love to scatter a few out on my front porch to ring in the season and welcome me when I get home from work. But what about when I’m not a home? If you’re like me, you probably spend the majority or a large part of your day in your car! Crazy as it may seem, my car is like an extension of my home. I’ve always got a change of clothes, some packages, snacks, water bottles, you name it, and I’ve got it!
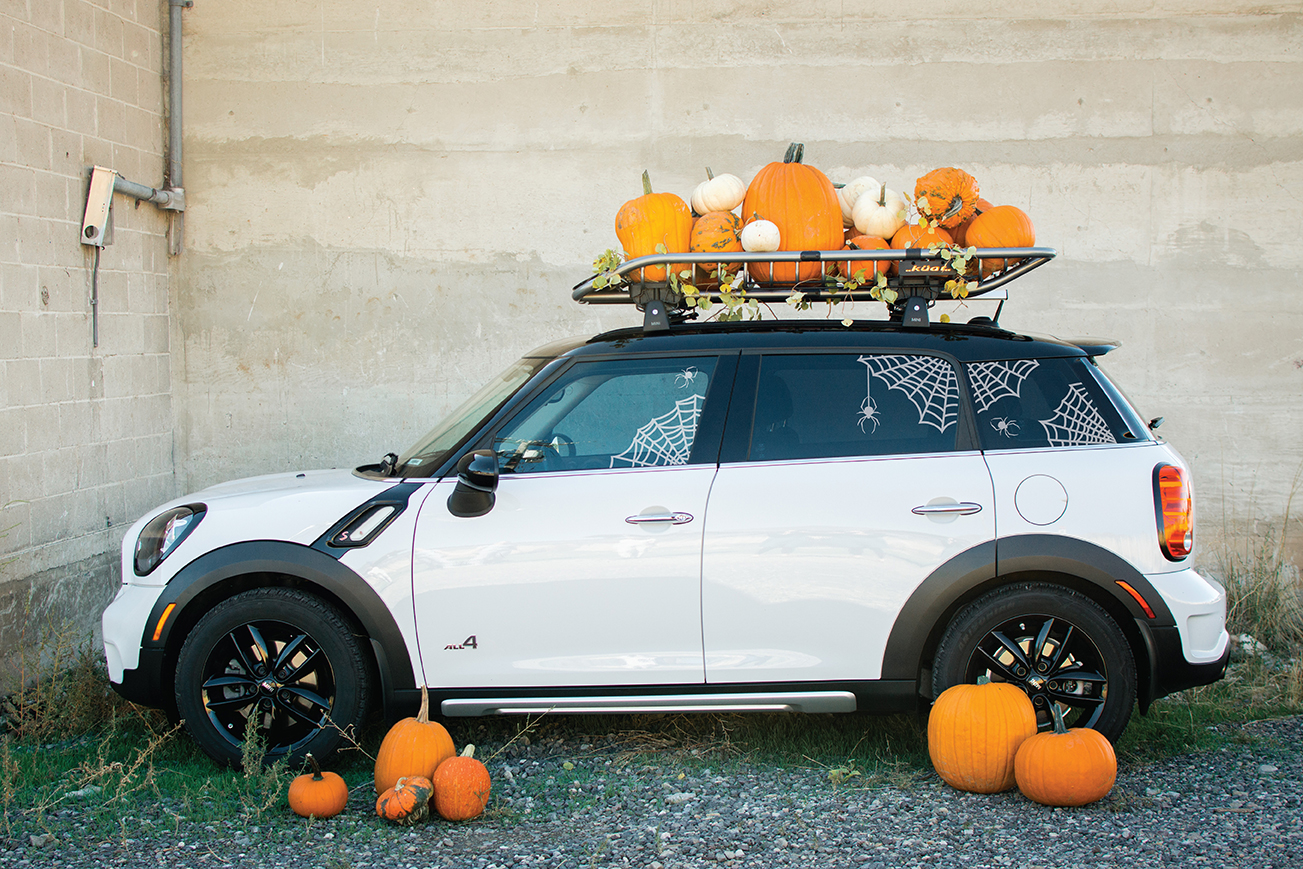
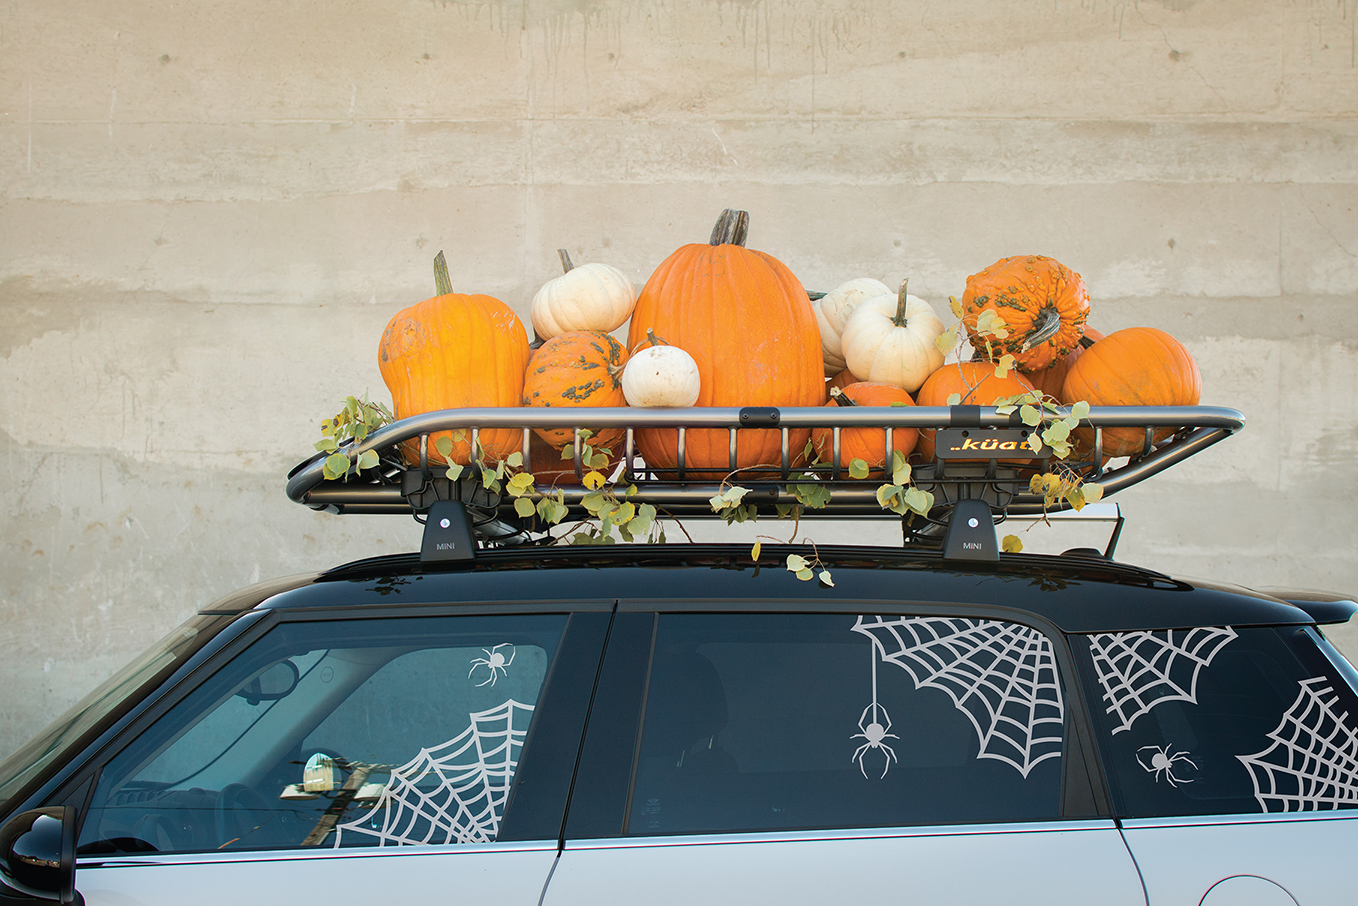
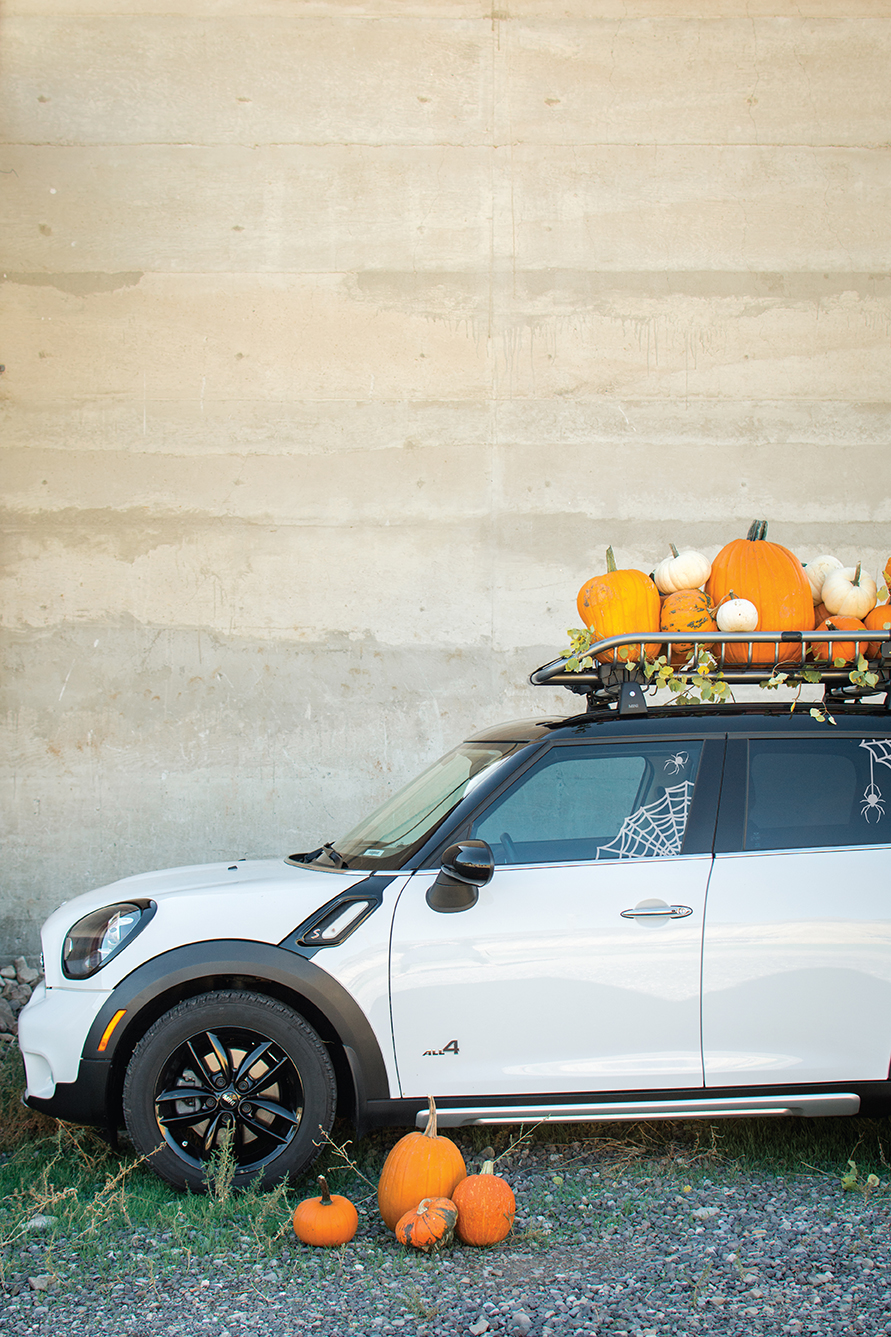
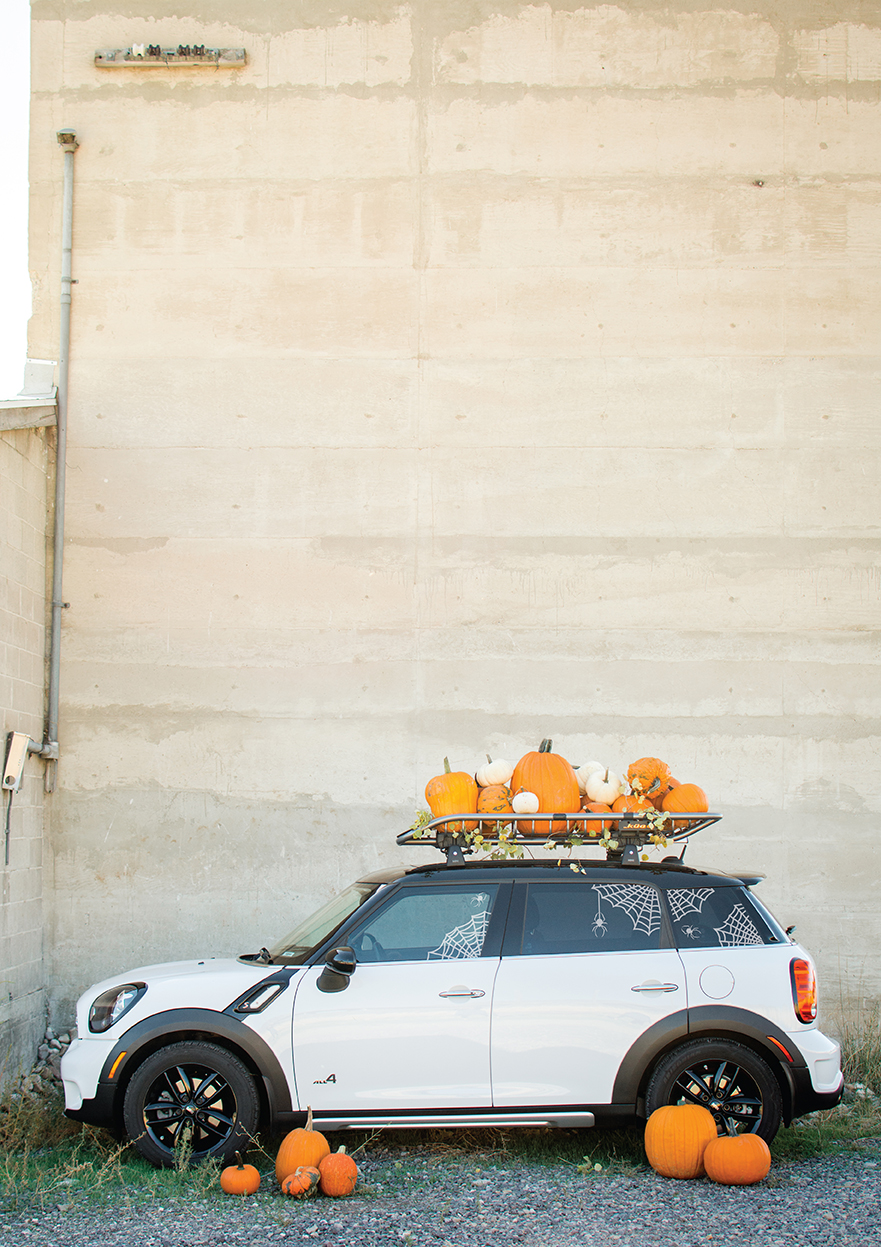
With that being said, we decided to partner up with Esurance to give our cars a personalized touch for the Halloween season! If homes deserve to be decorated, why shouldn’t your car? A pumpkin patch atop your car complete with cobwebs in the windows is the perfect way to make memories wherever life takes you this spooky season. So instead of piling your pumpkins in the trunk as you leave the patch, take a cue from Christmas trees and throw them on the roof! It’s sure to bring a smile to every passing car! Another bonus? This is the easiest way to deck your car for a trunk-or-treat!
Check out the full DIY to make your own Pumpkin Patch car and get the cobweb templates below!
Pumpkin Patch Car
Materials:
- Pumpkins; big ones, small ones, warty ones!
- A few leaves and branches
- White vinyl sheets or White car paint
Instructions:
- Make sure you have a car rack, bike rack, or something that will allow the pumpkins to sit safely and securely atop your car
- Pile the pumpkin and the leaves on top of your car, arranging them to create a nice pile that is secure.
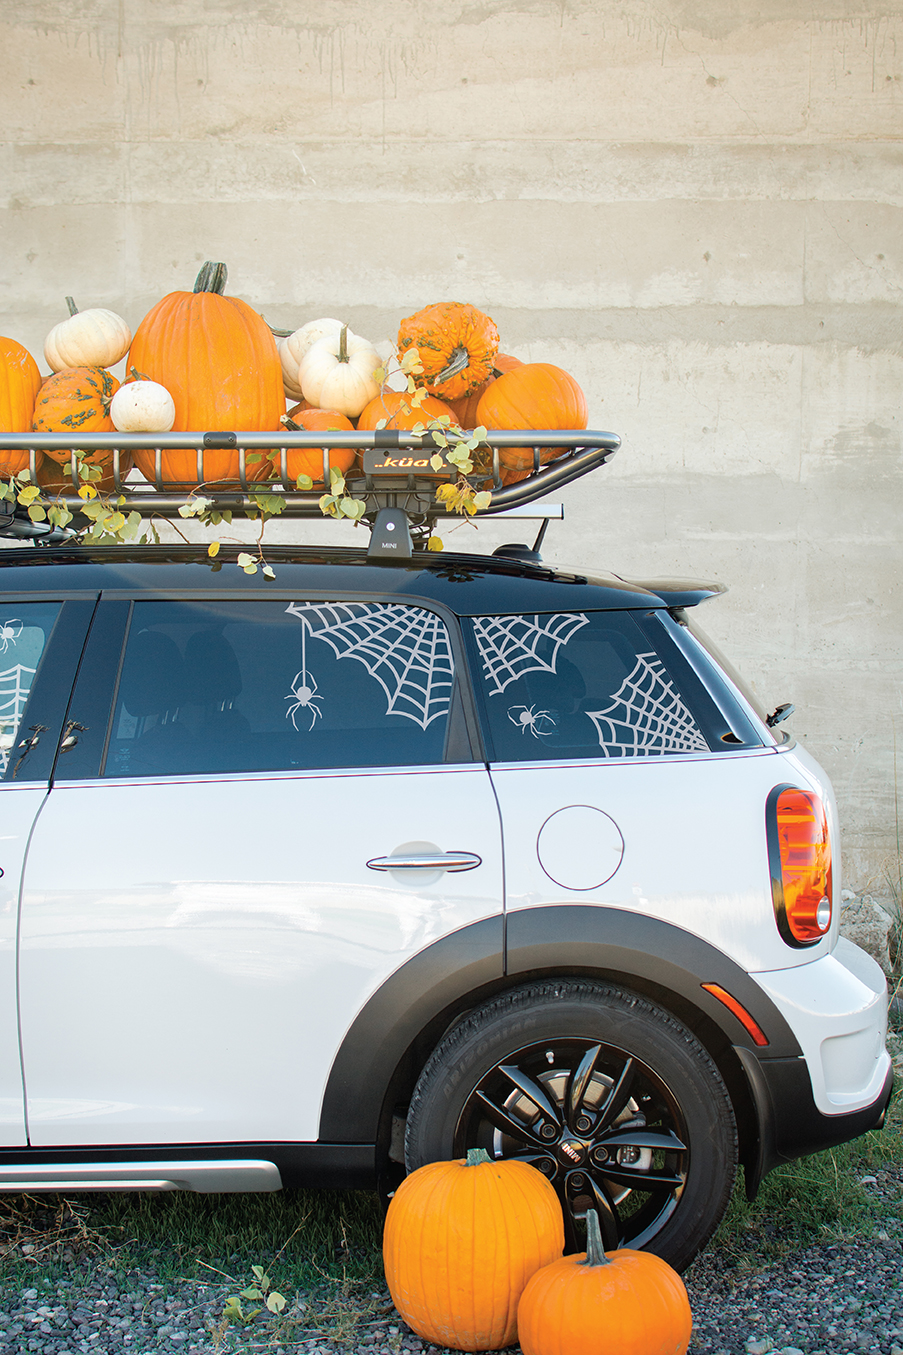
- To create the cobwebs on the car, you can either use the vinyl templates provided or draw on some with a washable white car marker.
Make sure your car is stocked with plenty of Halloween candy! You might receive some trick-or-treaters with this car!
Spider web decals
Materials:
- spider web templates (found here)
- adhesive vinyl (we used this)
- vinyl transfer (NOT super strength–we made this mistake the first time!)
Instructions:
- Cut out your vinyl on your craft cutter. Be sure that the images is reversed so that it will go on the way you’re hoping.
- Attach to your vinyl transfer
- Peel off the vinyl transfer and apply to your car slowly start from the corners and working your way around.
Make sure your car is stocked with plenty of Halloween candy! You might receive some trick-or-treaters with this car!
This post was in partnership with Esurance. All opinions are our own. Thank you for supporting the brands that allow us to keep creating original content!



0 Comments