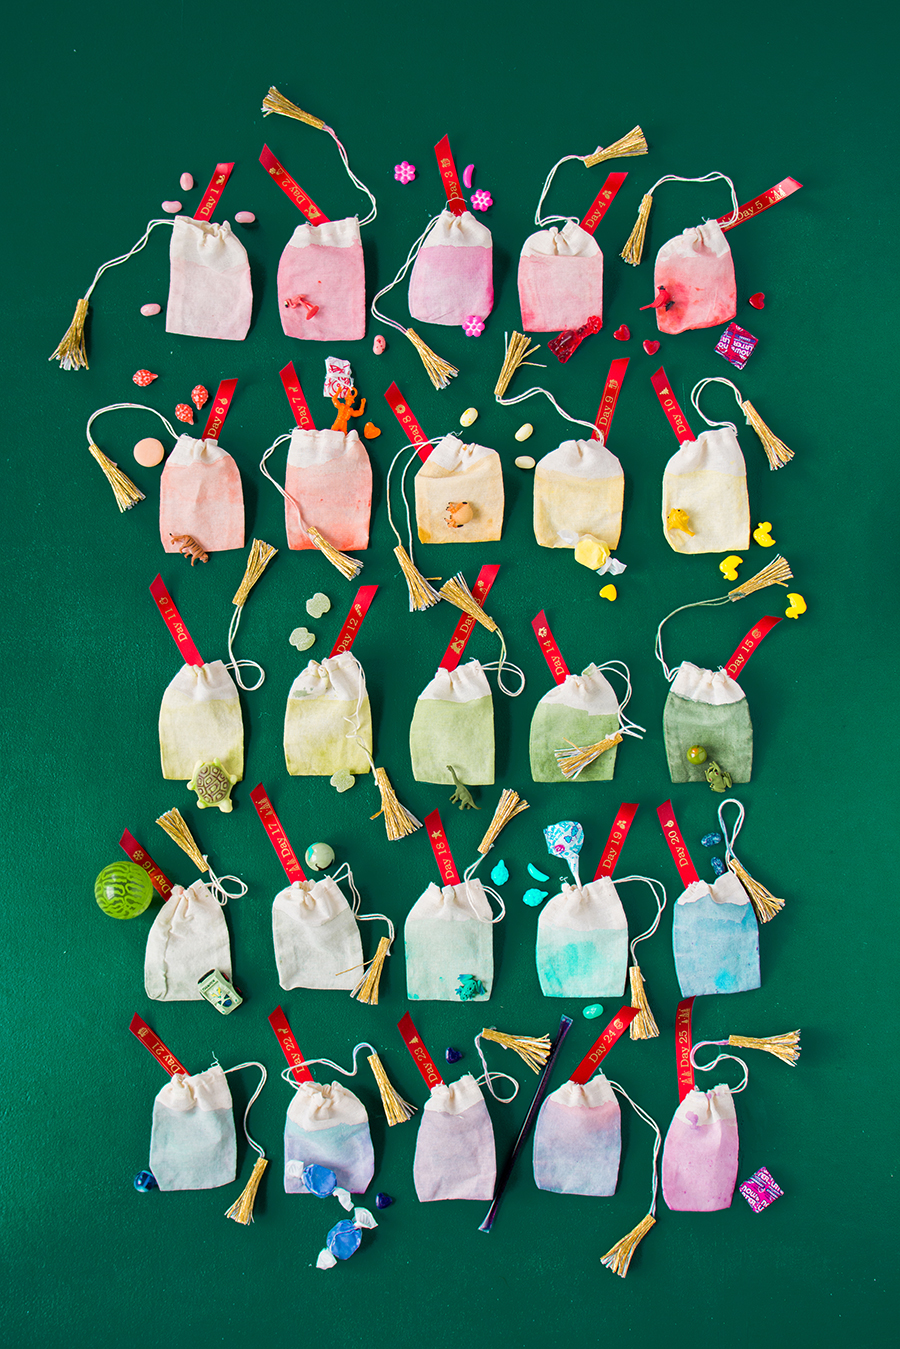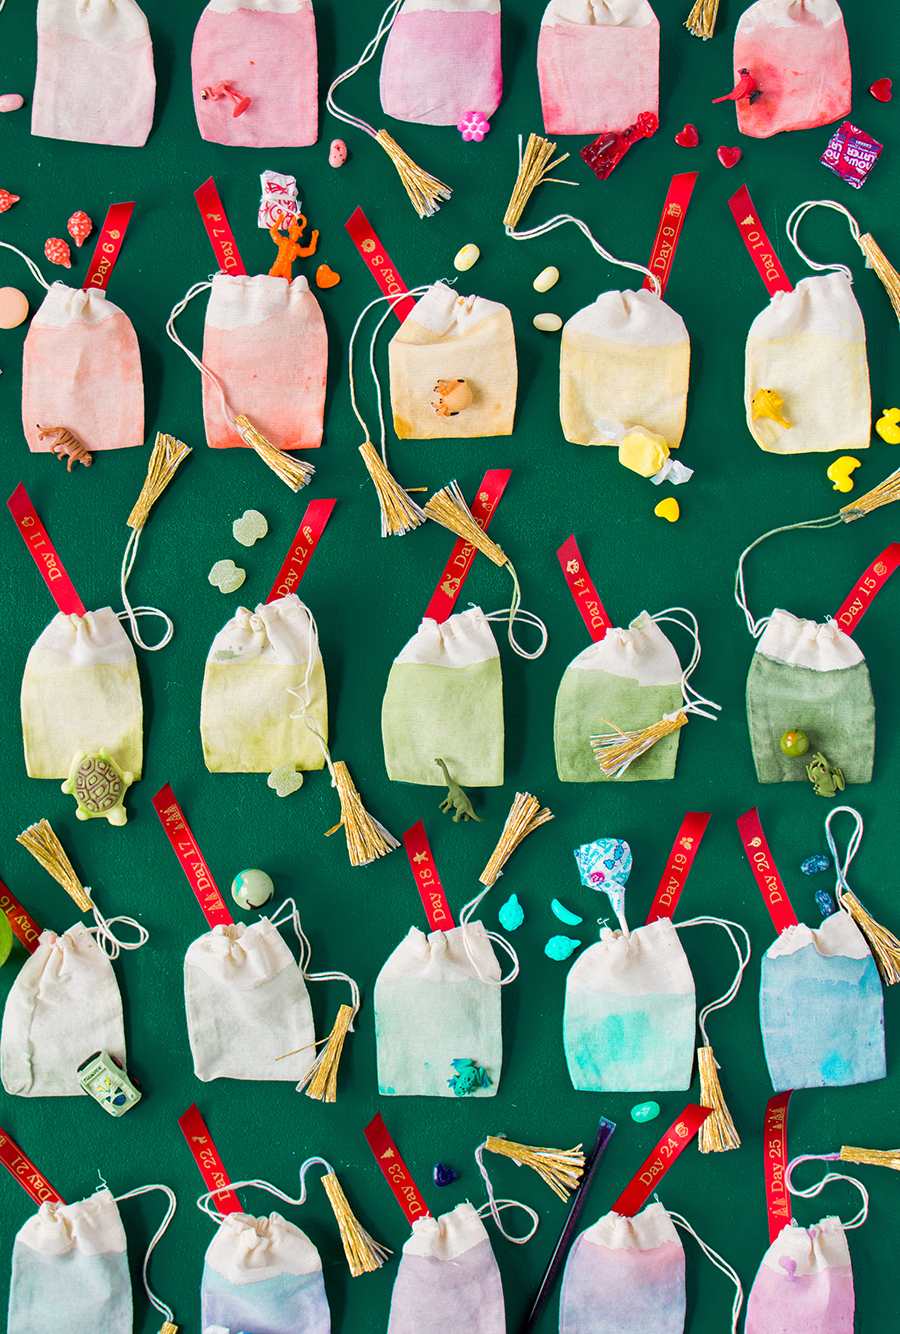
It’s almost December, and that means it’s time to start thinking about your advent calendar for this year! We’ve got a tutorial for a bright and colorful DIY advent calendar. Plus, you can color coordinate all of your advent calendar goodies to match!
Keep reading for the full instructions!
Materials:
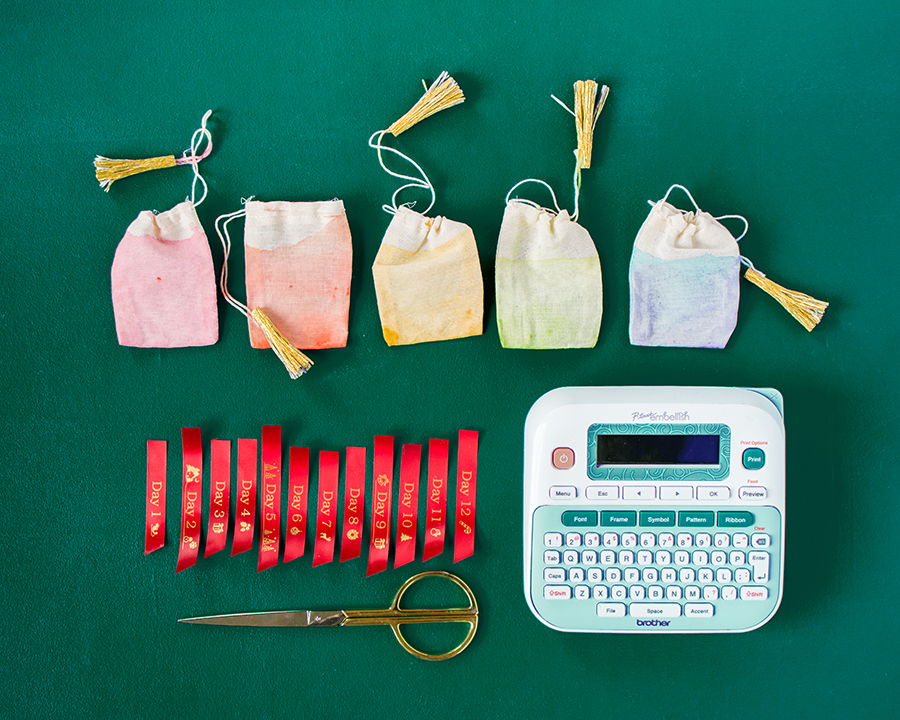
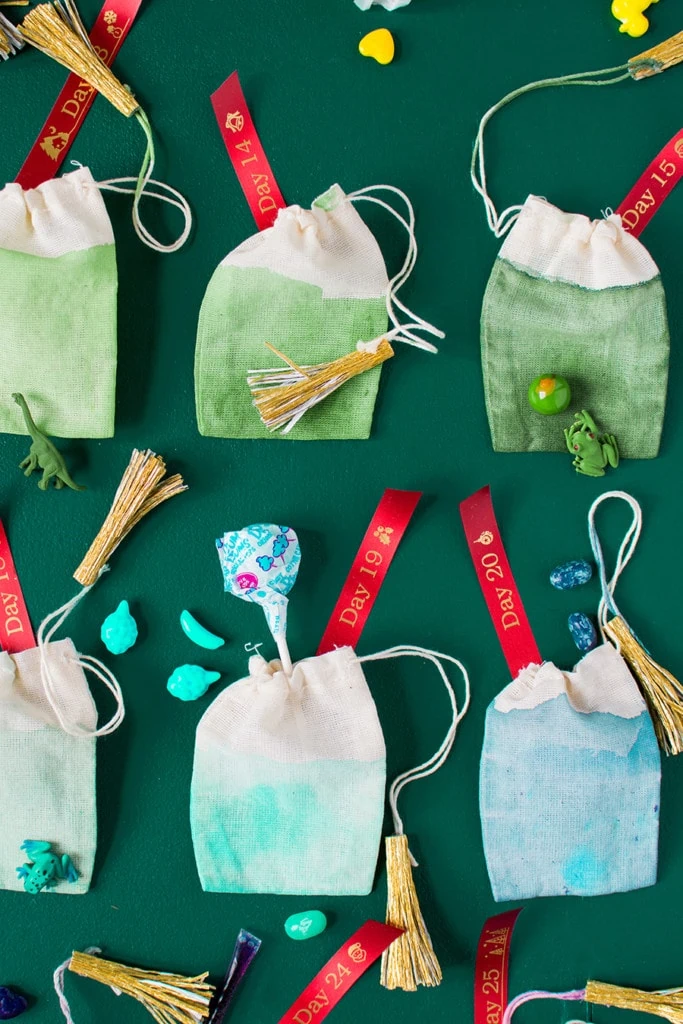
Advent Calendars have always been one of my favorite holiday traditions. They seem to make the build-up to Christmas that much more exciting. Each day holds a little surprise and a reminder of the big event! We tapped into our love of rainbows to create a Rainbow Ombre Advent Calendar. Each day counting down to Christmas is represented by a different color bag, filled with coordinating colored toys, treats, or trinkets! We partnered with Brother to create festive P-Touch Embellish ribbons stating days 1 to 25, to tuck into each bag. You, your partner, or your little ones, will have a blast discovering a new treasure each day, not to mention it makes a beautiful display on your wall!
Get the full tutorial for the Dyed Rainbow Advent Calendar below
Rainbow Ombre Advent Calendar
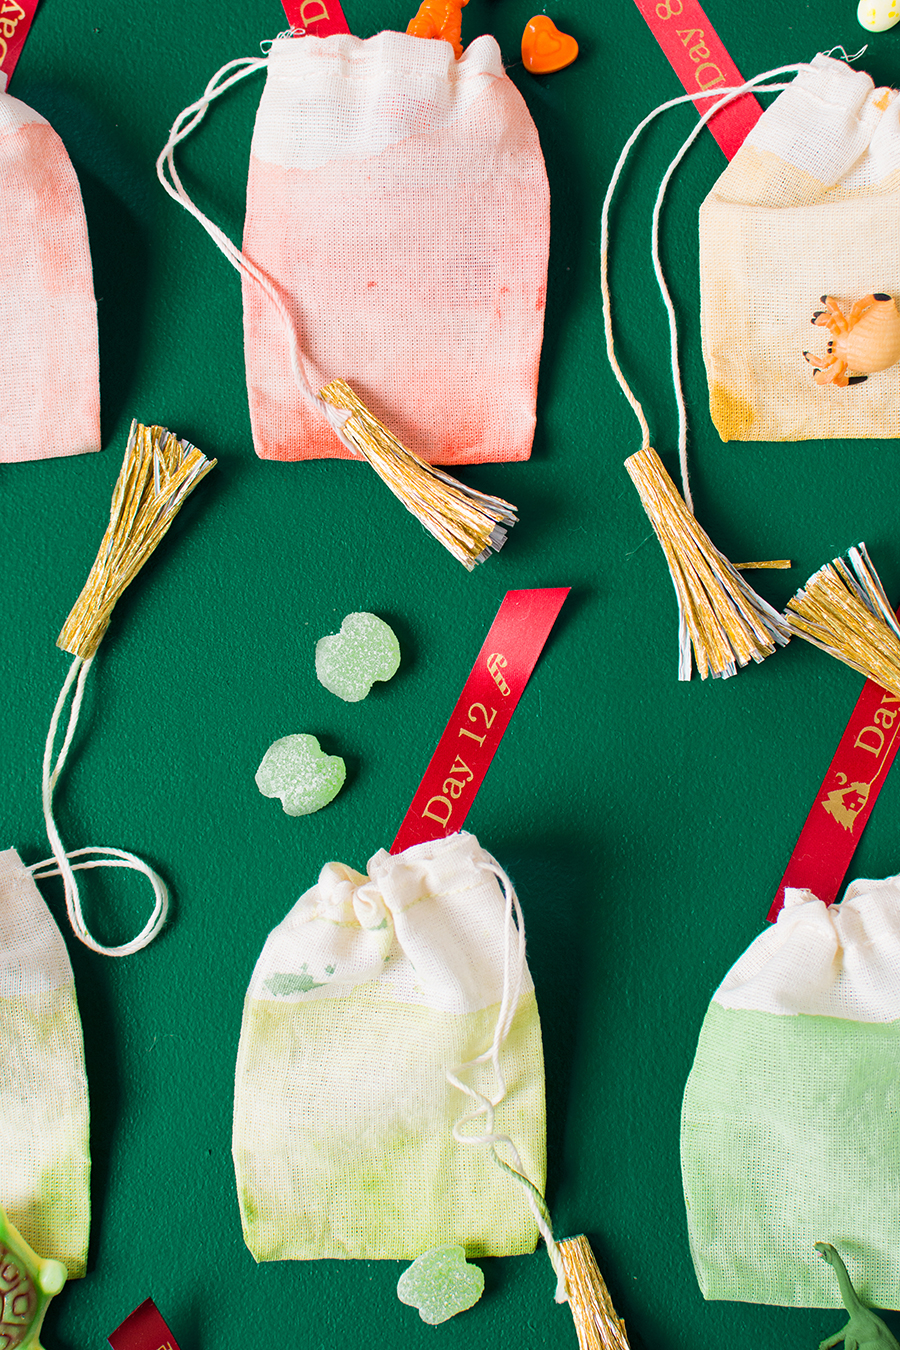
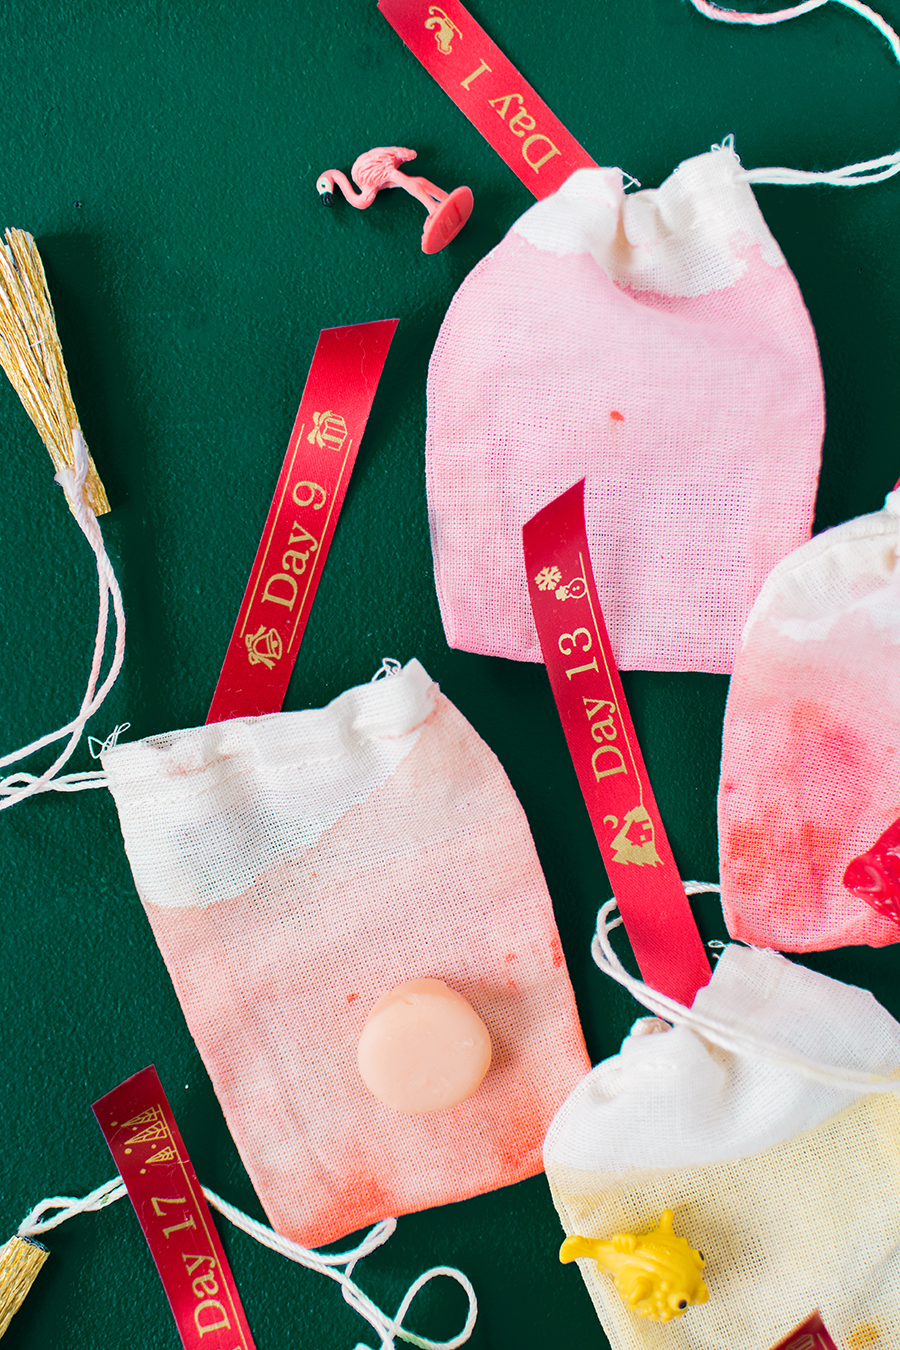
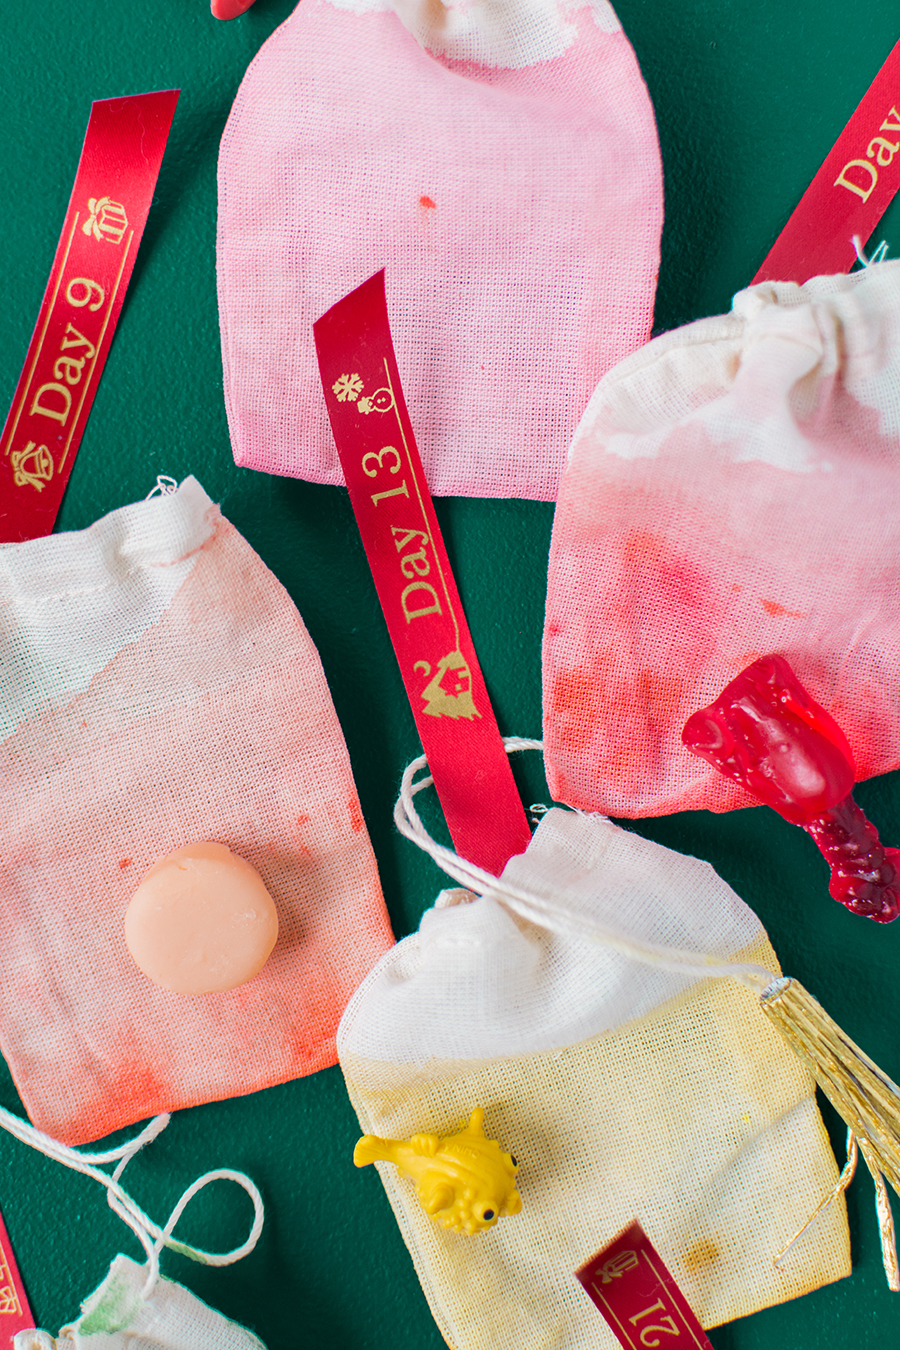
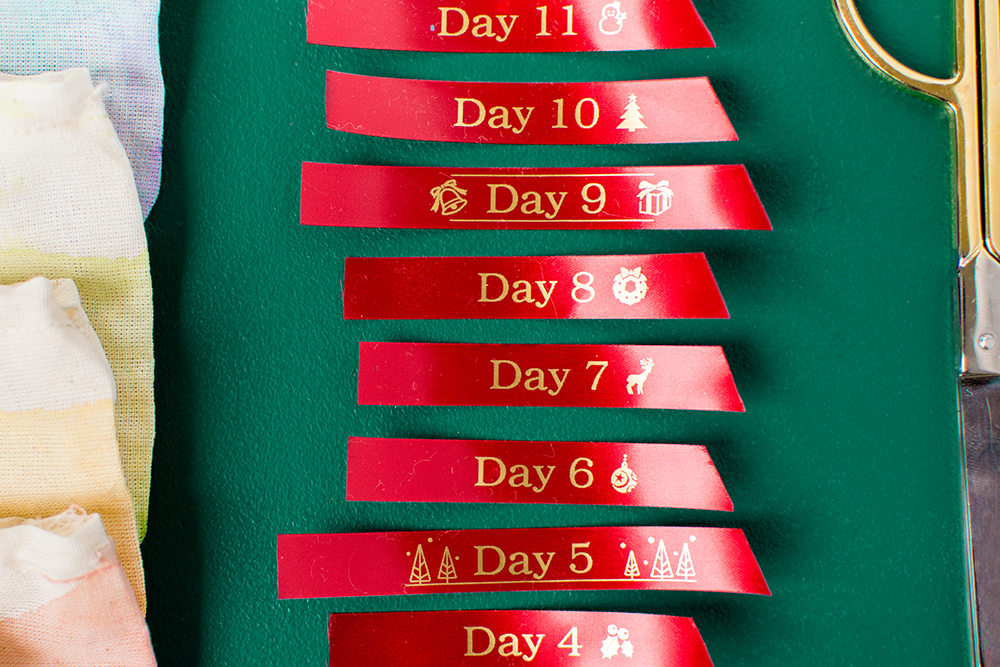
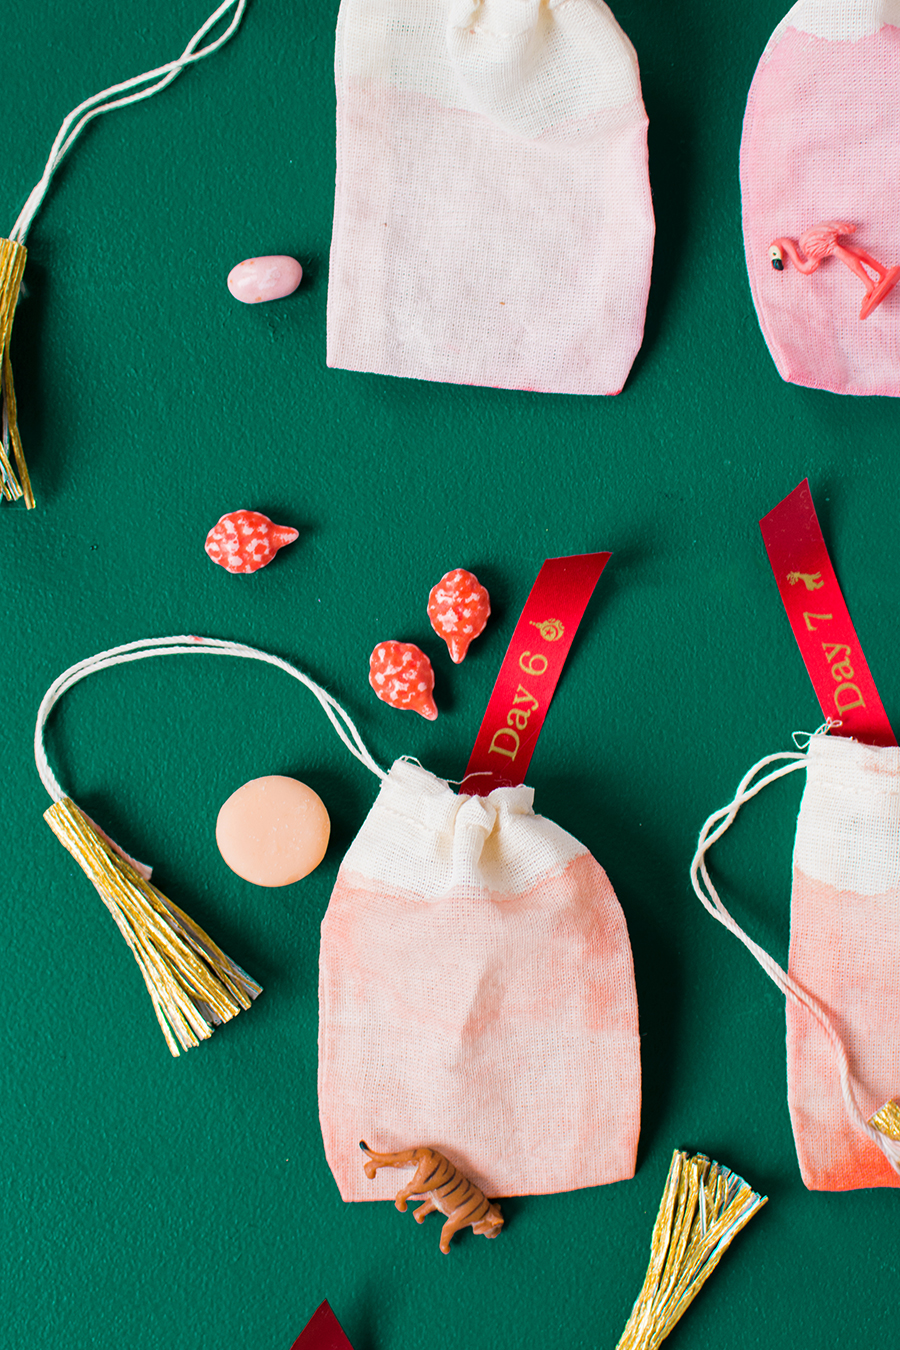
We personalized the P-Touch Embellish red ribbon and paired it with some gold crepe paper tassels to add a little pizazz to each bag. They look super festive! We loved adding the Christmas symbols and borders to each ribbon. The P-touch Embellish machine has decorative options for every occasion imaginable!
Materials:
- 25 Small muslin drawstring bags
- Acrylic paints in all shades of the rainbow
- Small buckets to dilute water
- Tarp to dry bags
- Gold crepe paper
- Scissors
- Hot glue guns
- P-touch Embellish
- Red P-touch Embellish ribbon
Instructions:
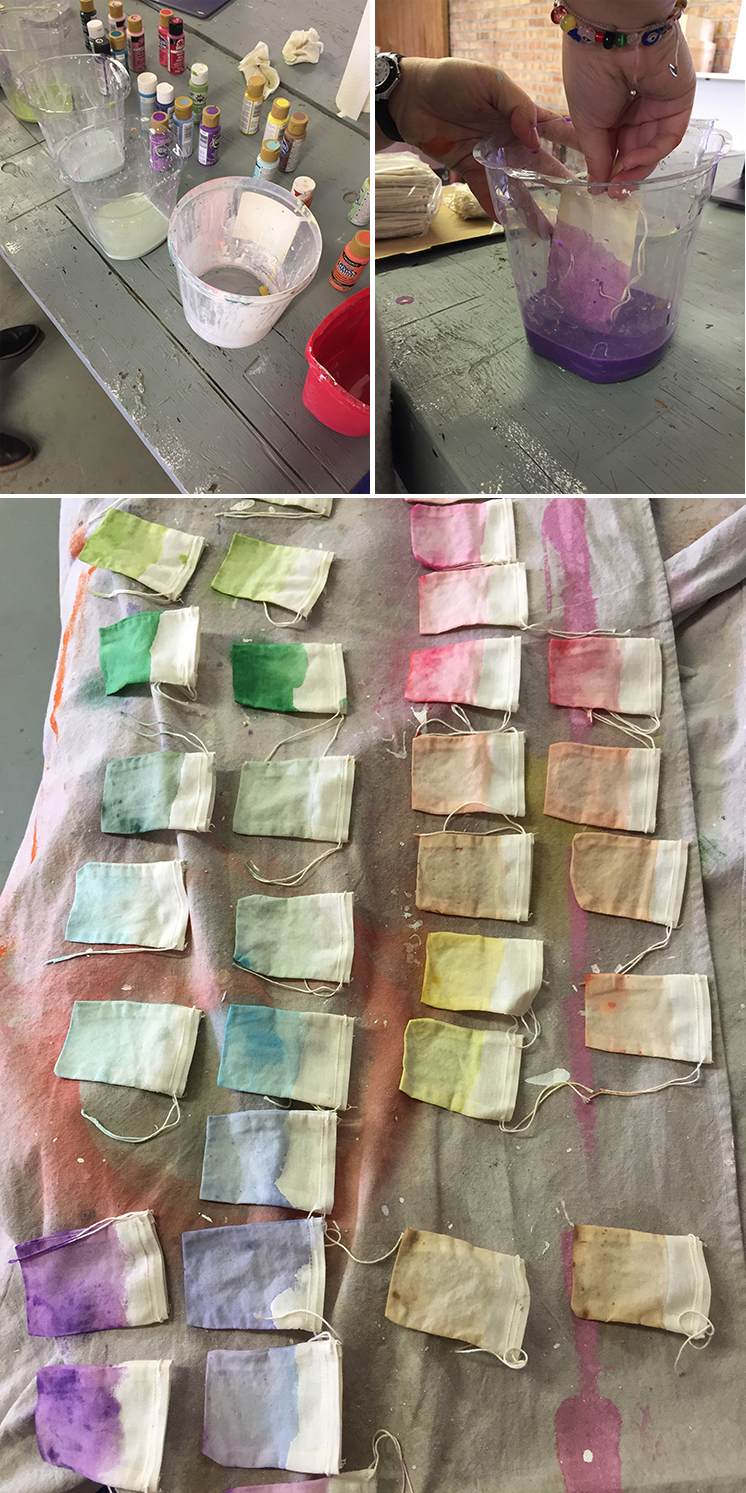
- Dilute the acrylic paint with some water to create a dye like consistency.
- Dip the bag about ½ way into the dye. The color will bleed and rise about ¾ of the way up. Let dry on a tarp.
- Repeat with all the different colors.
- Cut 1.5-inch by 3-inch pieces of crepe paper and fringe one long edge
- Take a muslin bag and hot glue the ends of the drawstring onto the inside of the crepe. Roll up tightly and glue to secure.
- Print “Day 1” etc. onto the P-touch Embellish ribbon with any festive symbols you choose!
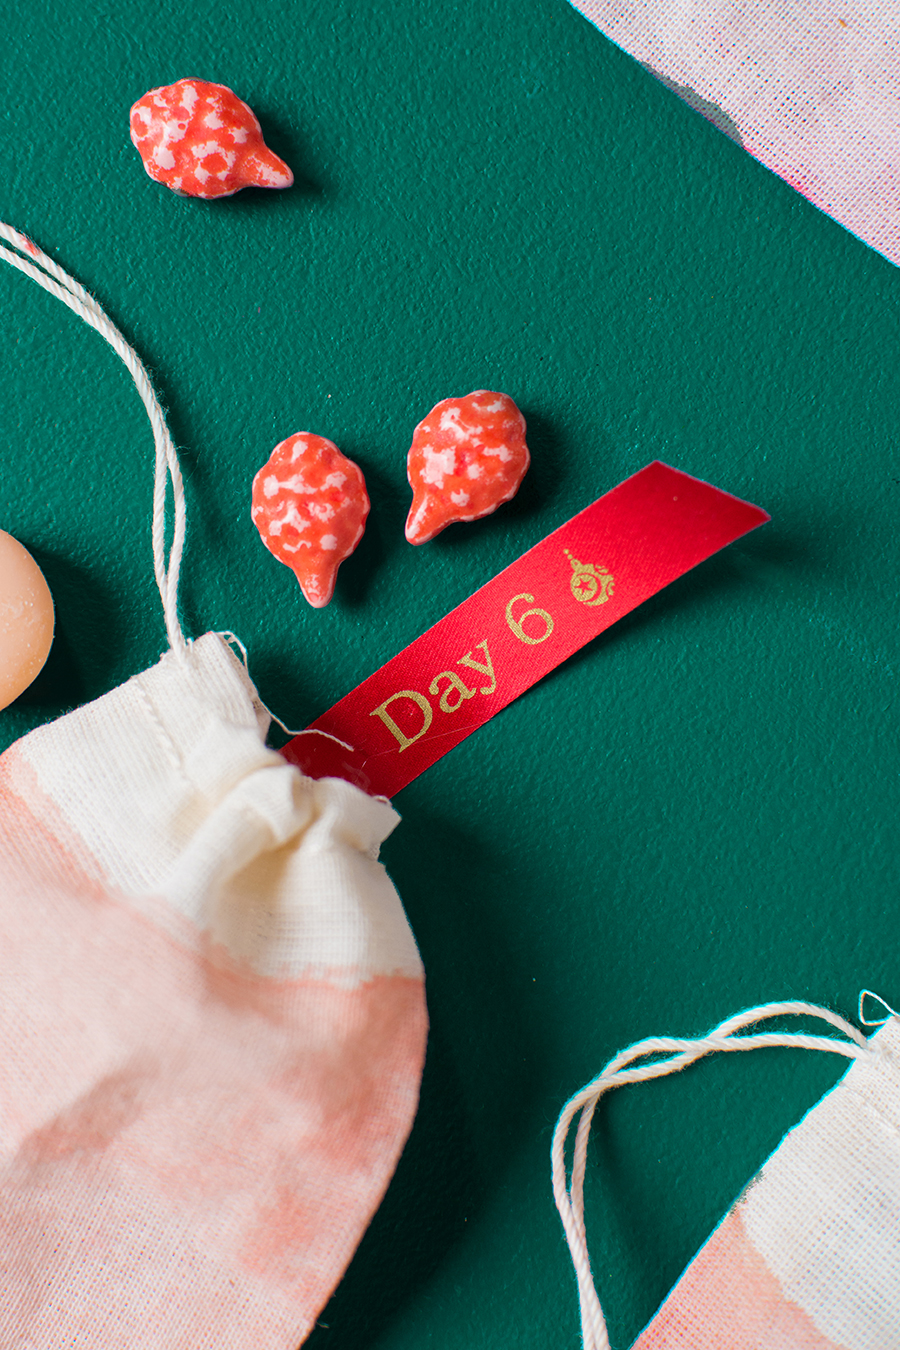
- Fill each day with goodies and the appropriate ribbon for each day.
Hang your advent bags on a board or wall and start counting down the days!
This post was sponsored by Brother, all opinions expressed are our own. Thank you for supporting the brands that allow Lars to keep making original content!


