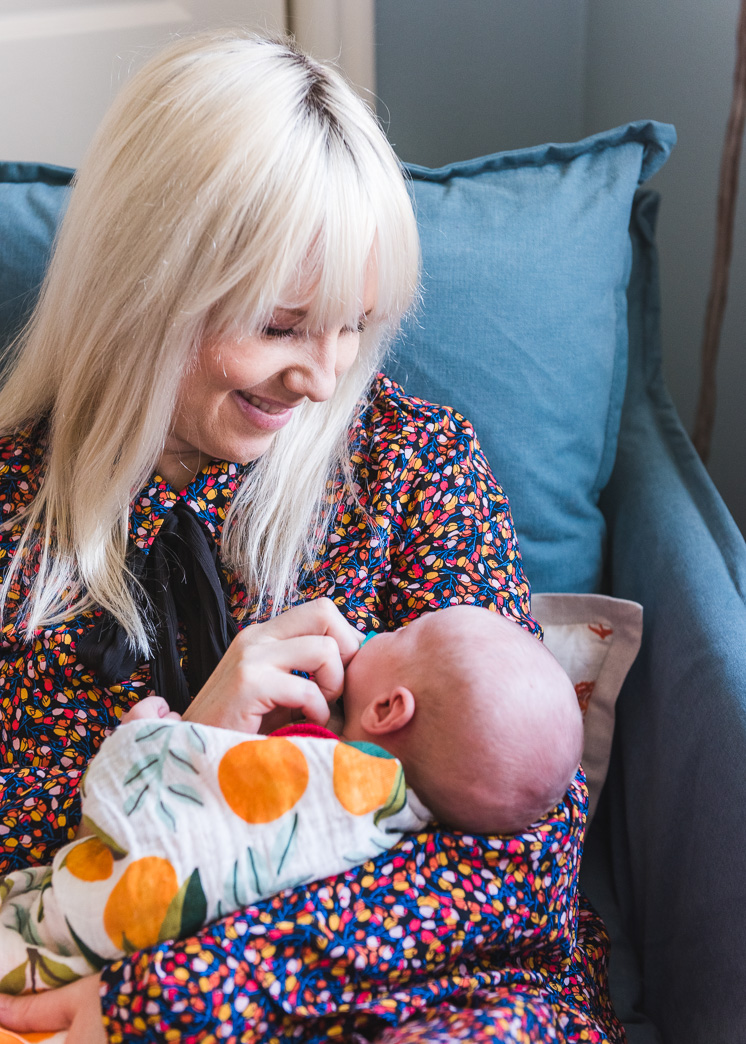
Did you catch my announcement of the arrival of Jasper Bradshaw? He arrived two weeks ago and we couldn’t be more over the moon. He’s a total dream boat. He sleeps and eats well. We’re just working on things like “how to like being outside”. You know, the usual.
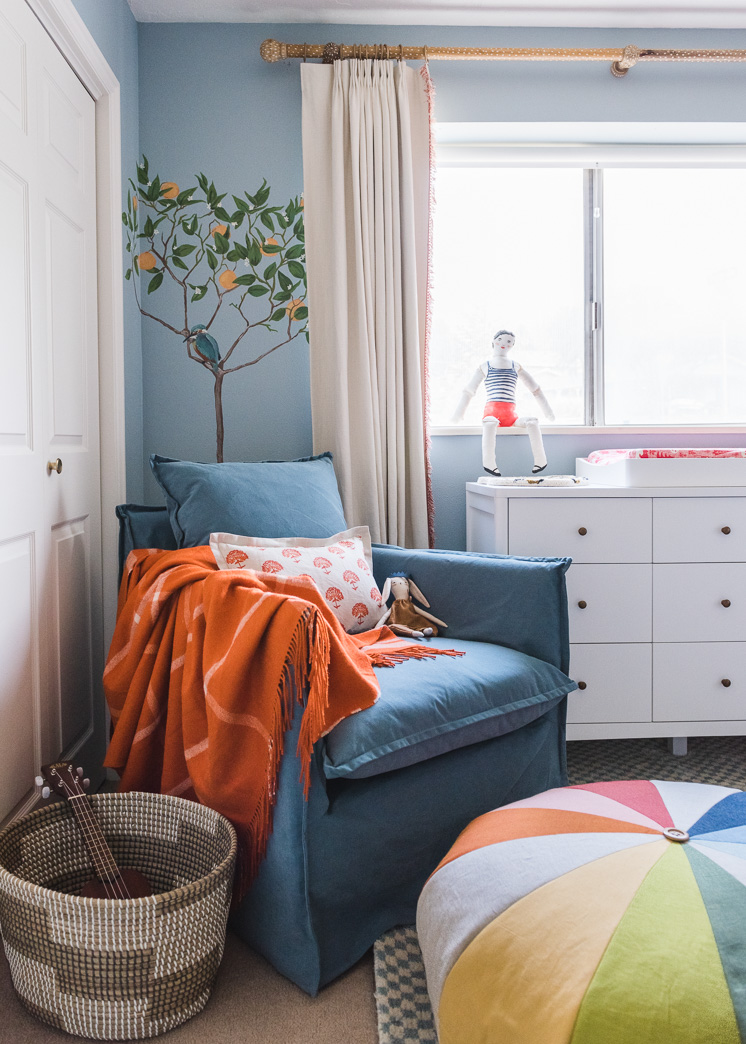
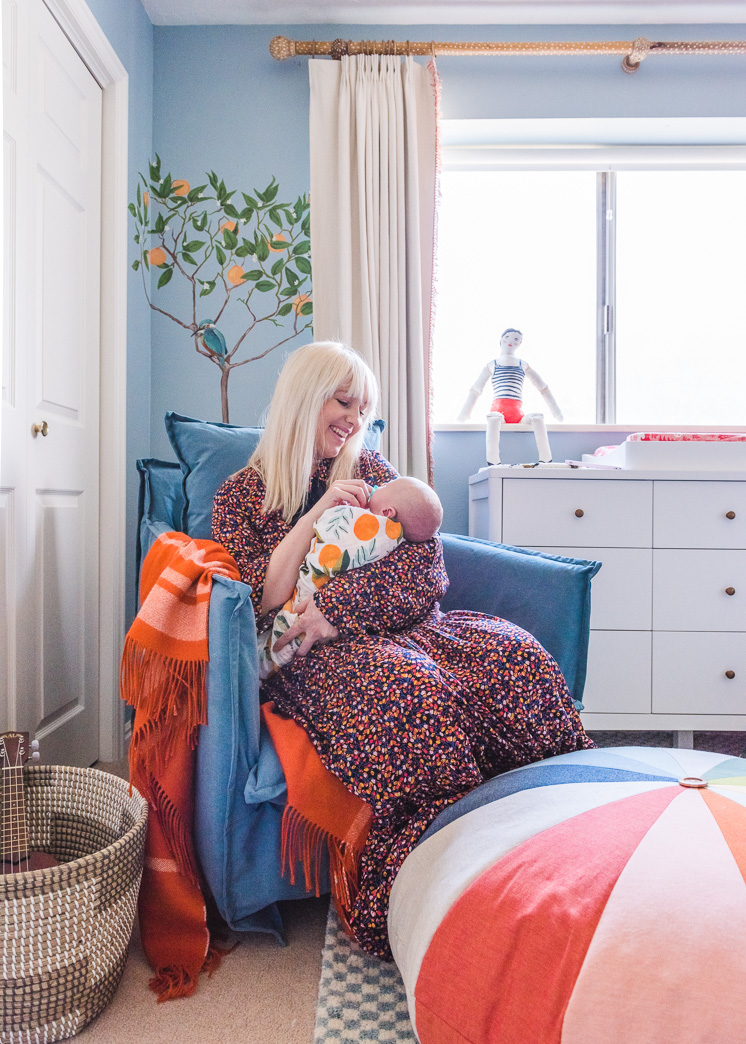
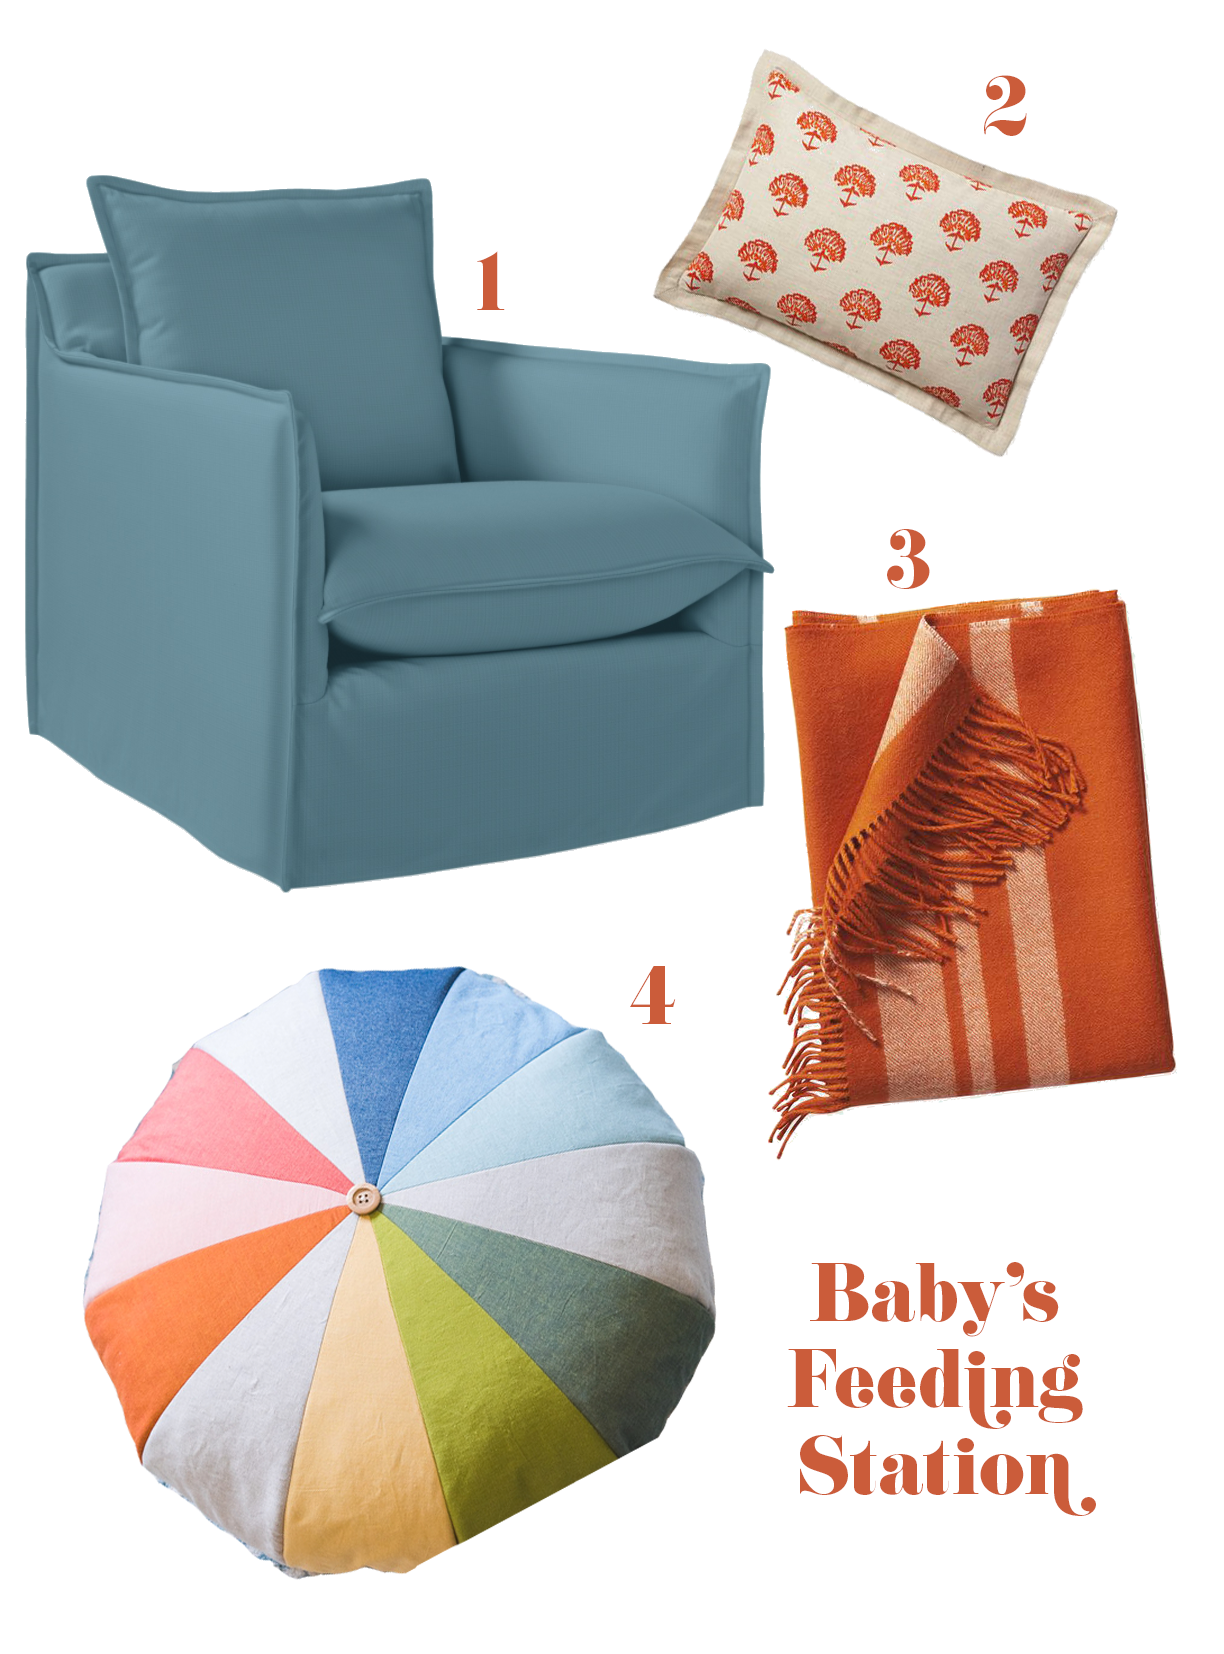
I’ve been spending some serious time in his nursery (check out the tour here), as many new moms do, and I feel so lucky to have such a beautiful space for such a beautiful little soul. The glider from Serena and Lily arrived last week and as soon as it was delivered, I sat down and and never got up. In fact, I’m here right now. It’s absolutely perfect. Thank you to all my Instagram friends who helped me settle on the fabric–it was a tough decision! Ultimately I went with “storm”, which was perfect for the rest of the color palette of the room. I added in one of their orange Avery throw, made of the softest alpaca, as well as their Astoria pillow cover, which complements the orange tree corner so well. My dear friend Merrilee, made him one of her famous bunny dolls, which I won’t let him touch until he’s a grown adult. 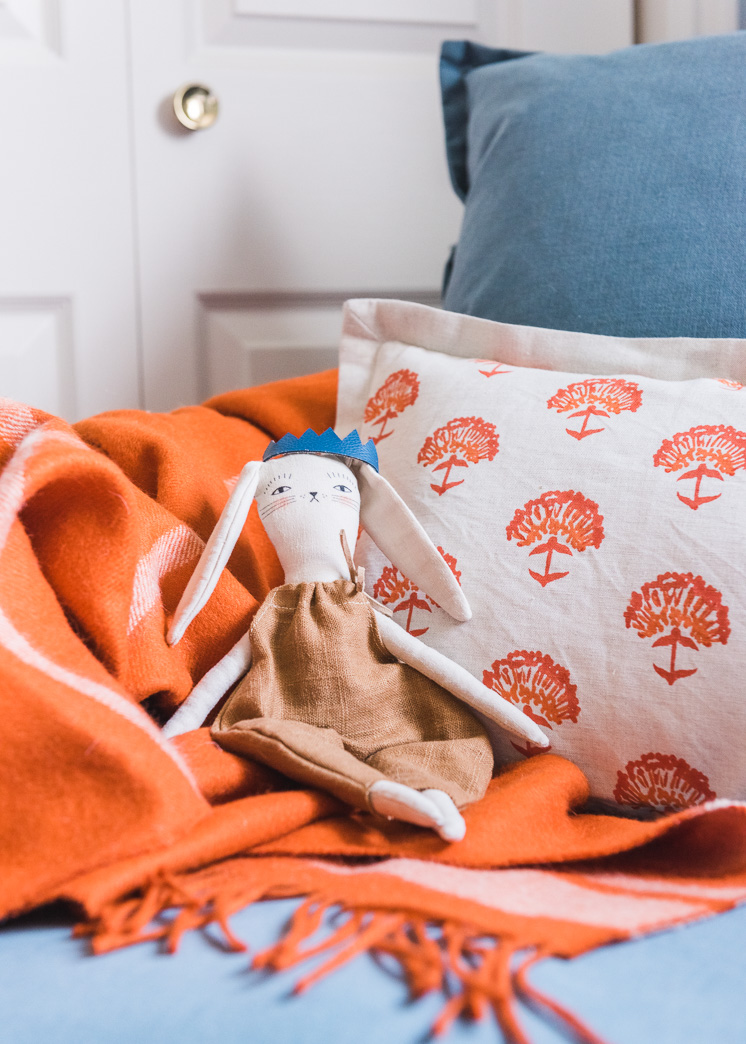
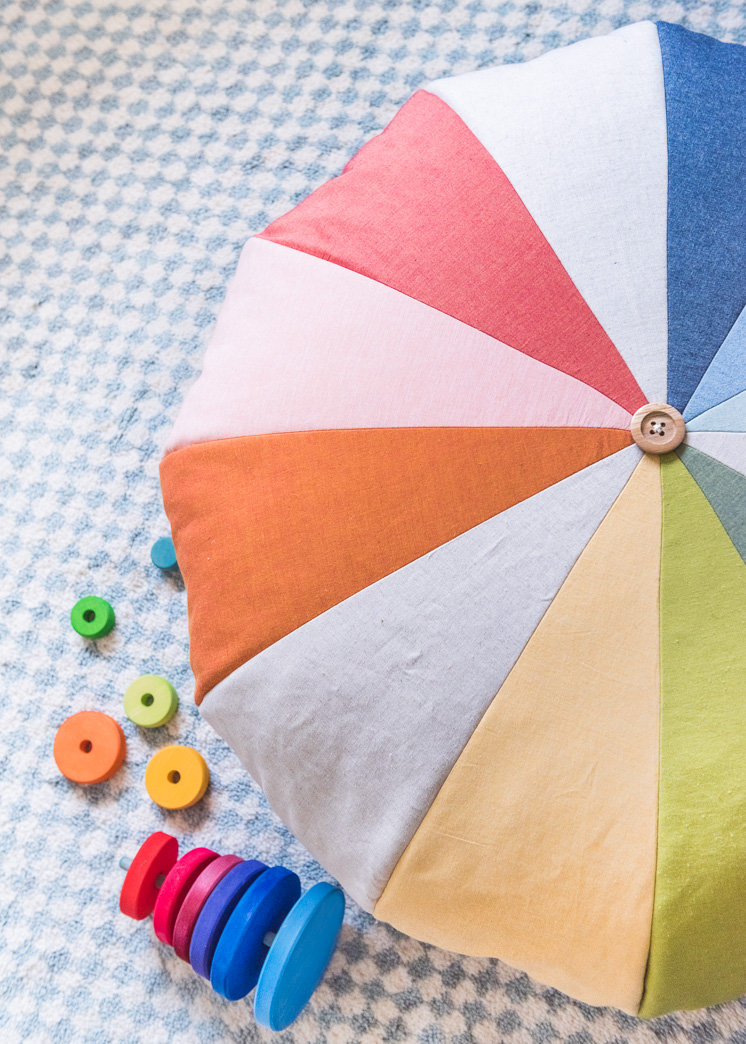
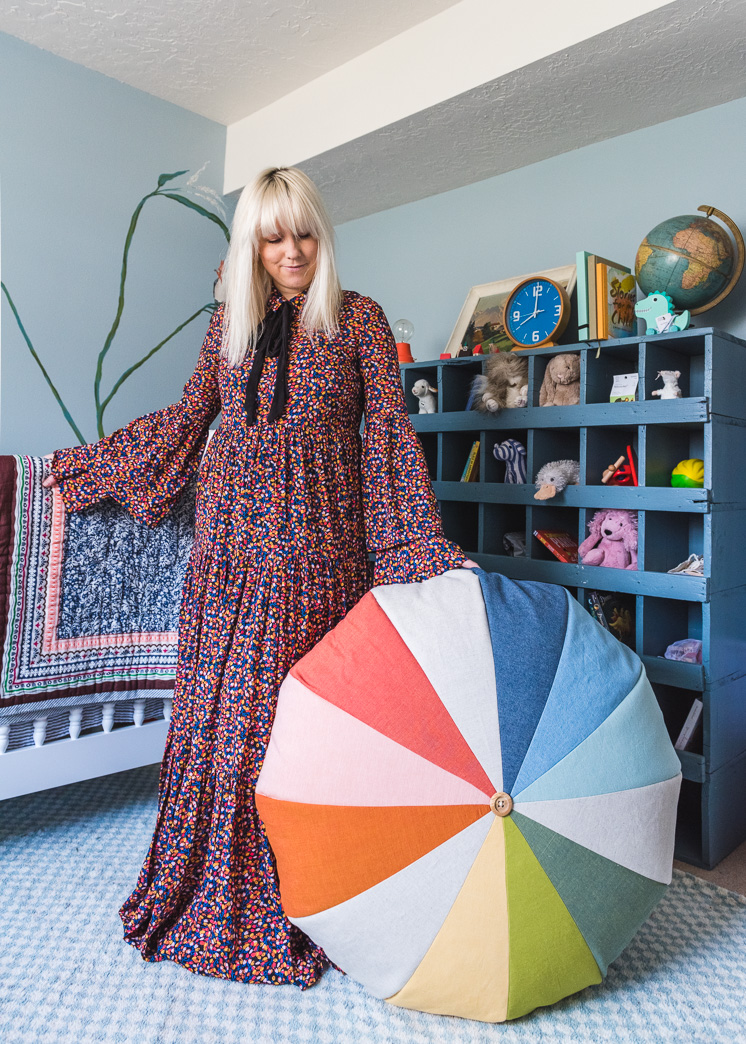
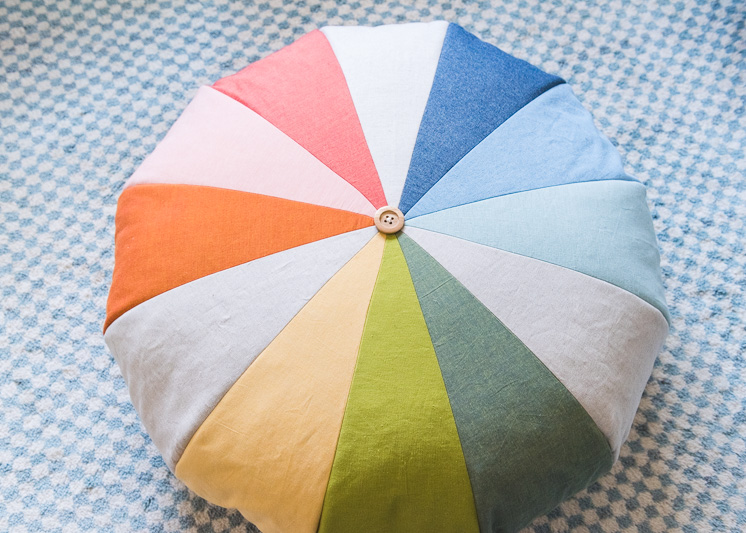
This pincushion inspired DIY Rainbow Floor Pouf works as an ottoman, a chair, a footrest, or even a coffee table substitute. You can customize the color palette to fit your space. The total cost of this project is between $50-$100 depending on the fabric, so I found it to be much cheaper than options I was finding elsewhere.
Check out the full tutorial and a template!
DIY Rainbow Floor Pouf
Materials:
DIY Rainbow Floor Pouf Template HERE
- 1/2 yard pieces of 9 different colors of fabric. We used linen fabrics with a muted rainbow color palette. You will cut 2 wedges from each color; 24 wedges total.
- 1 yard of a neutral fabric. Again, we used a linen. You will cut 6 wedges from the neutral.
- 3 1/2 yards of duck cloth for the lining, to give it structure. You will cut 24 wedges total.
- Straight Pins
- Fabric scissors
- Spool of Ivory thread
- Sewing Machine
- 2 bags of bean bag filling
- Hand sewing needle
- 2 Wooden buttons
Instructions:
Preparation:
- Print and cut out the wedge template and tape together.
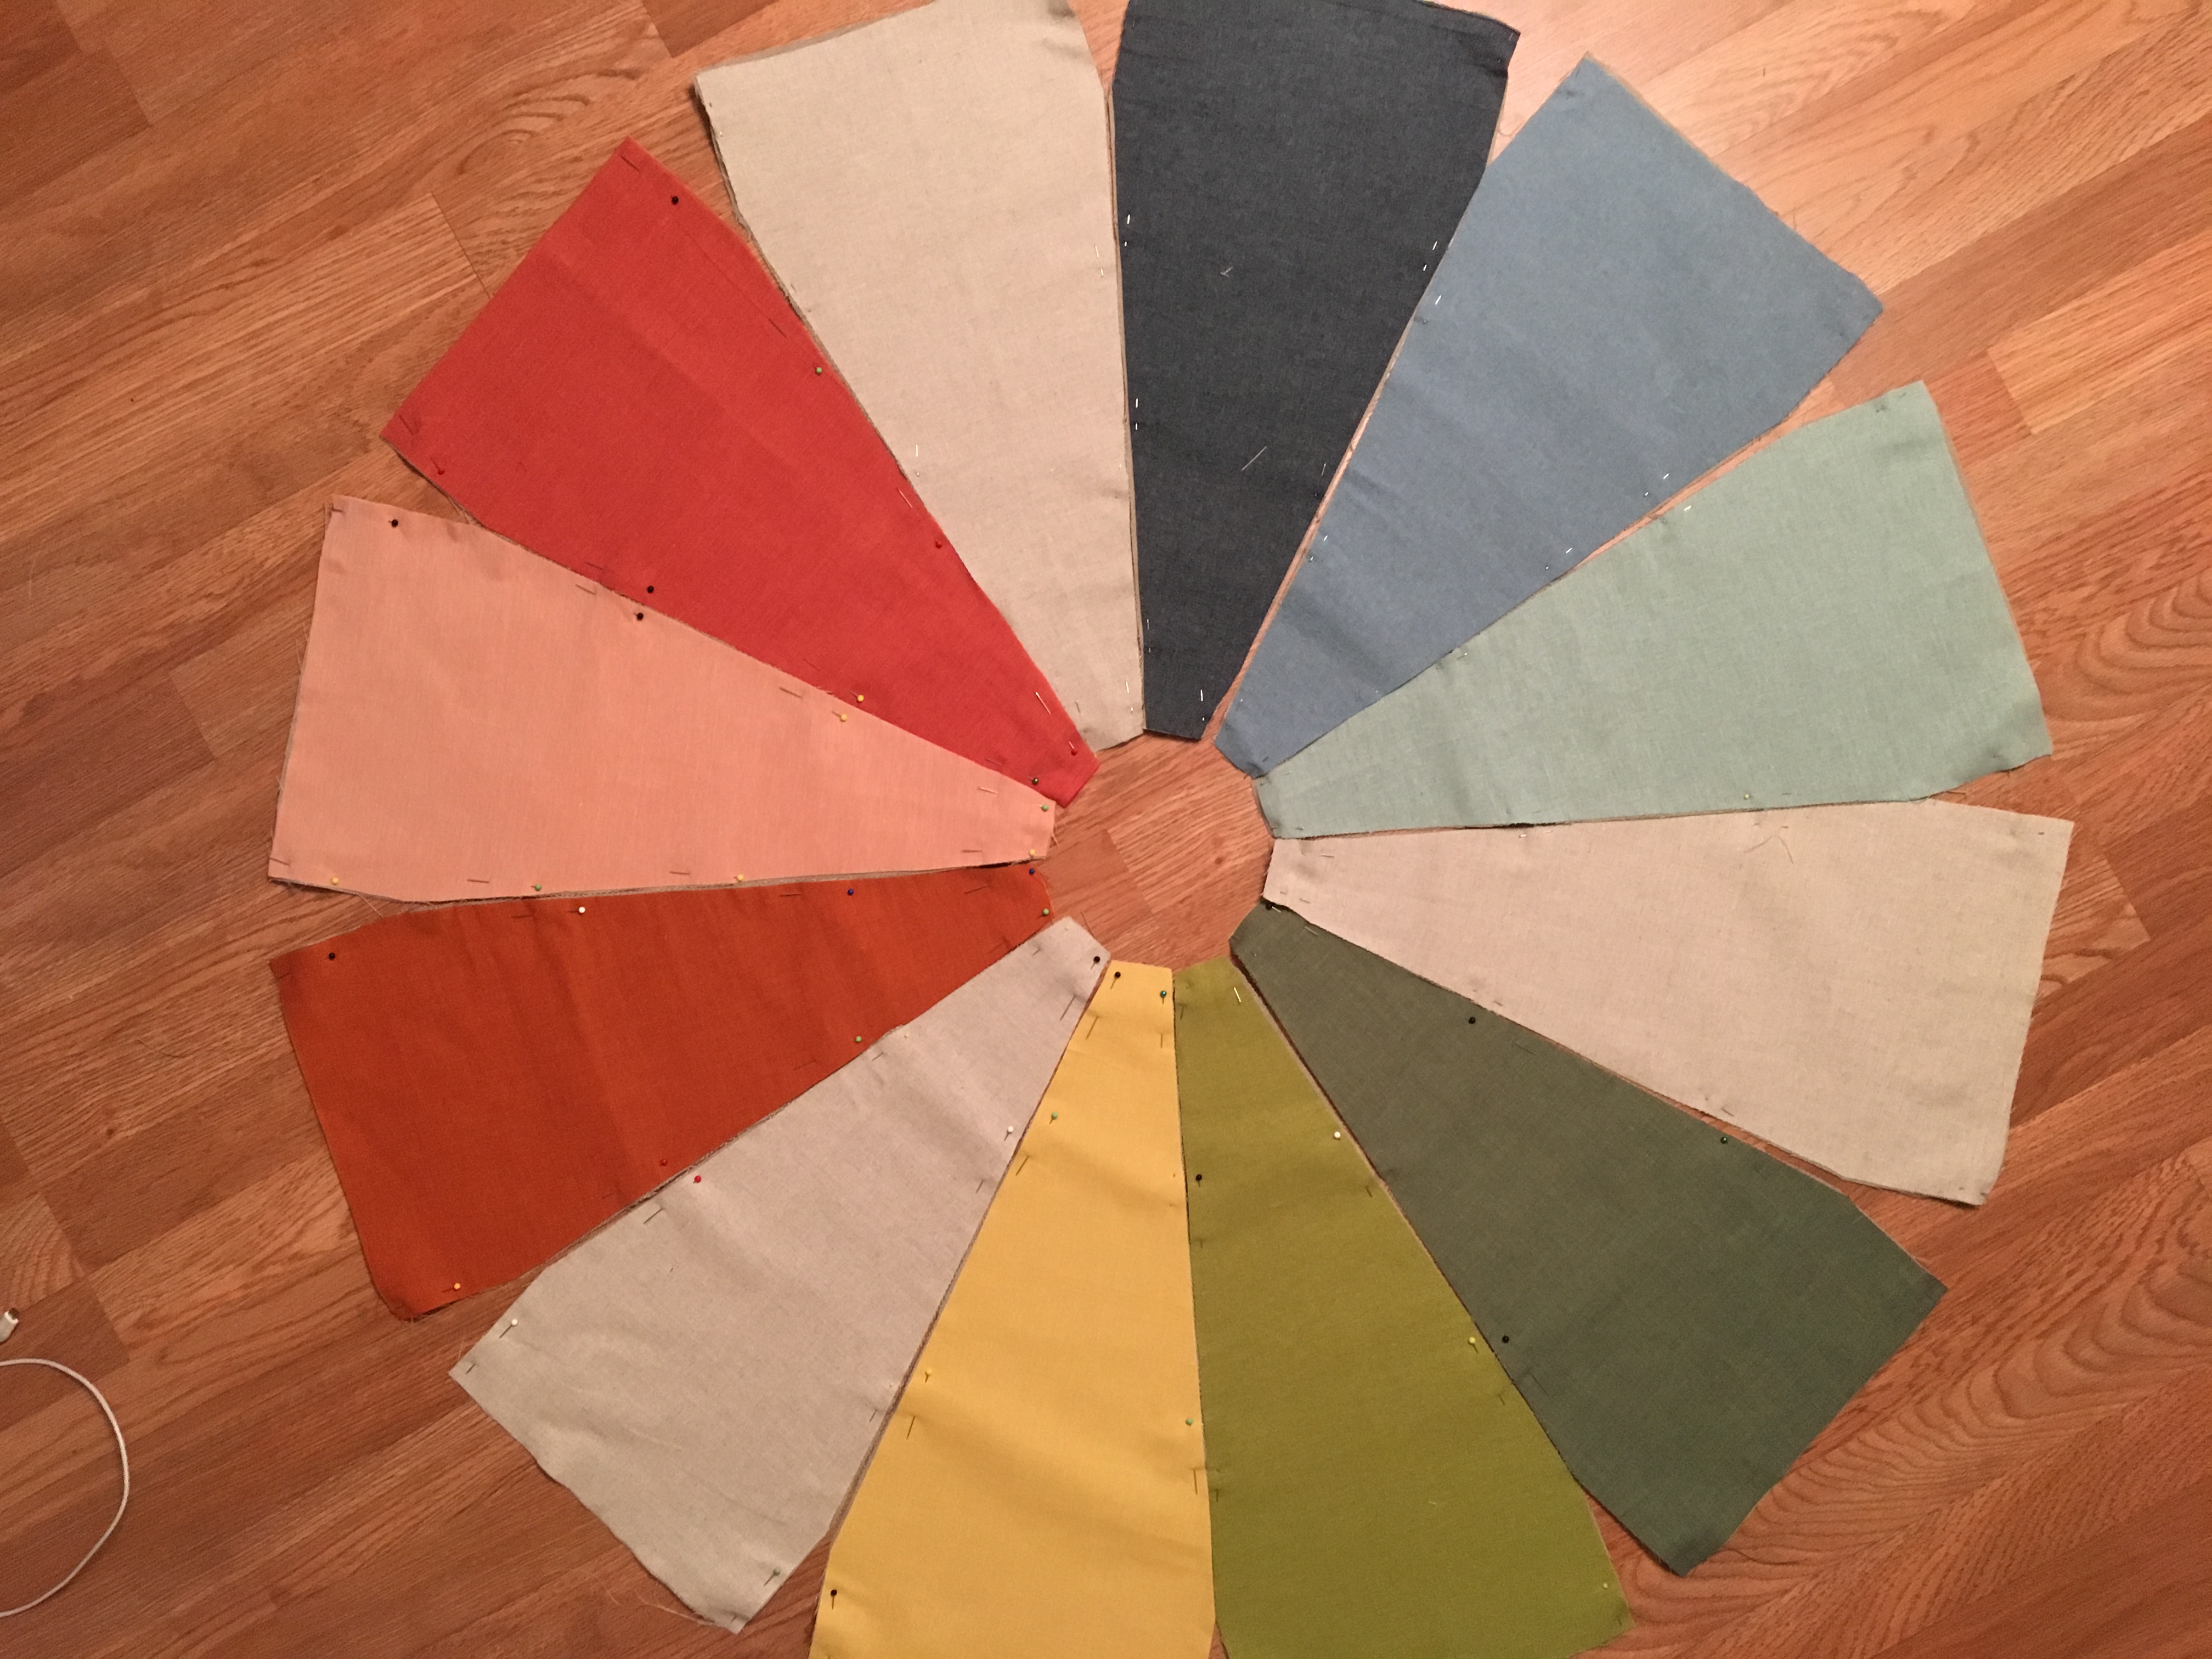
- You will need to cut out 2 wedges of each of the colored linen fabrics (or whatever fabric you choose!), 6 wedges of the neutral, and 24 wedges of the lining fabric.
- Begin with the linen fabrics. Pin the template to your fabric on the fold. This way you cut out both pieces at the same time. Repeat for all colors and the neutral color.
- Pin the template to the lining fabric on the fold and cut out a wedge. Repeat until you have 24 wedges total.
- Make two separate piles of the fabric wedges; one for the top of the pouf and one for the bottom. Both piles will consist of 9 different colored wedges, 3 neutral wedges, and 12 lining wedges.
Sewing:
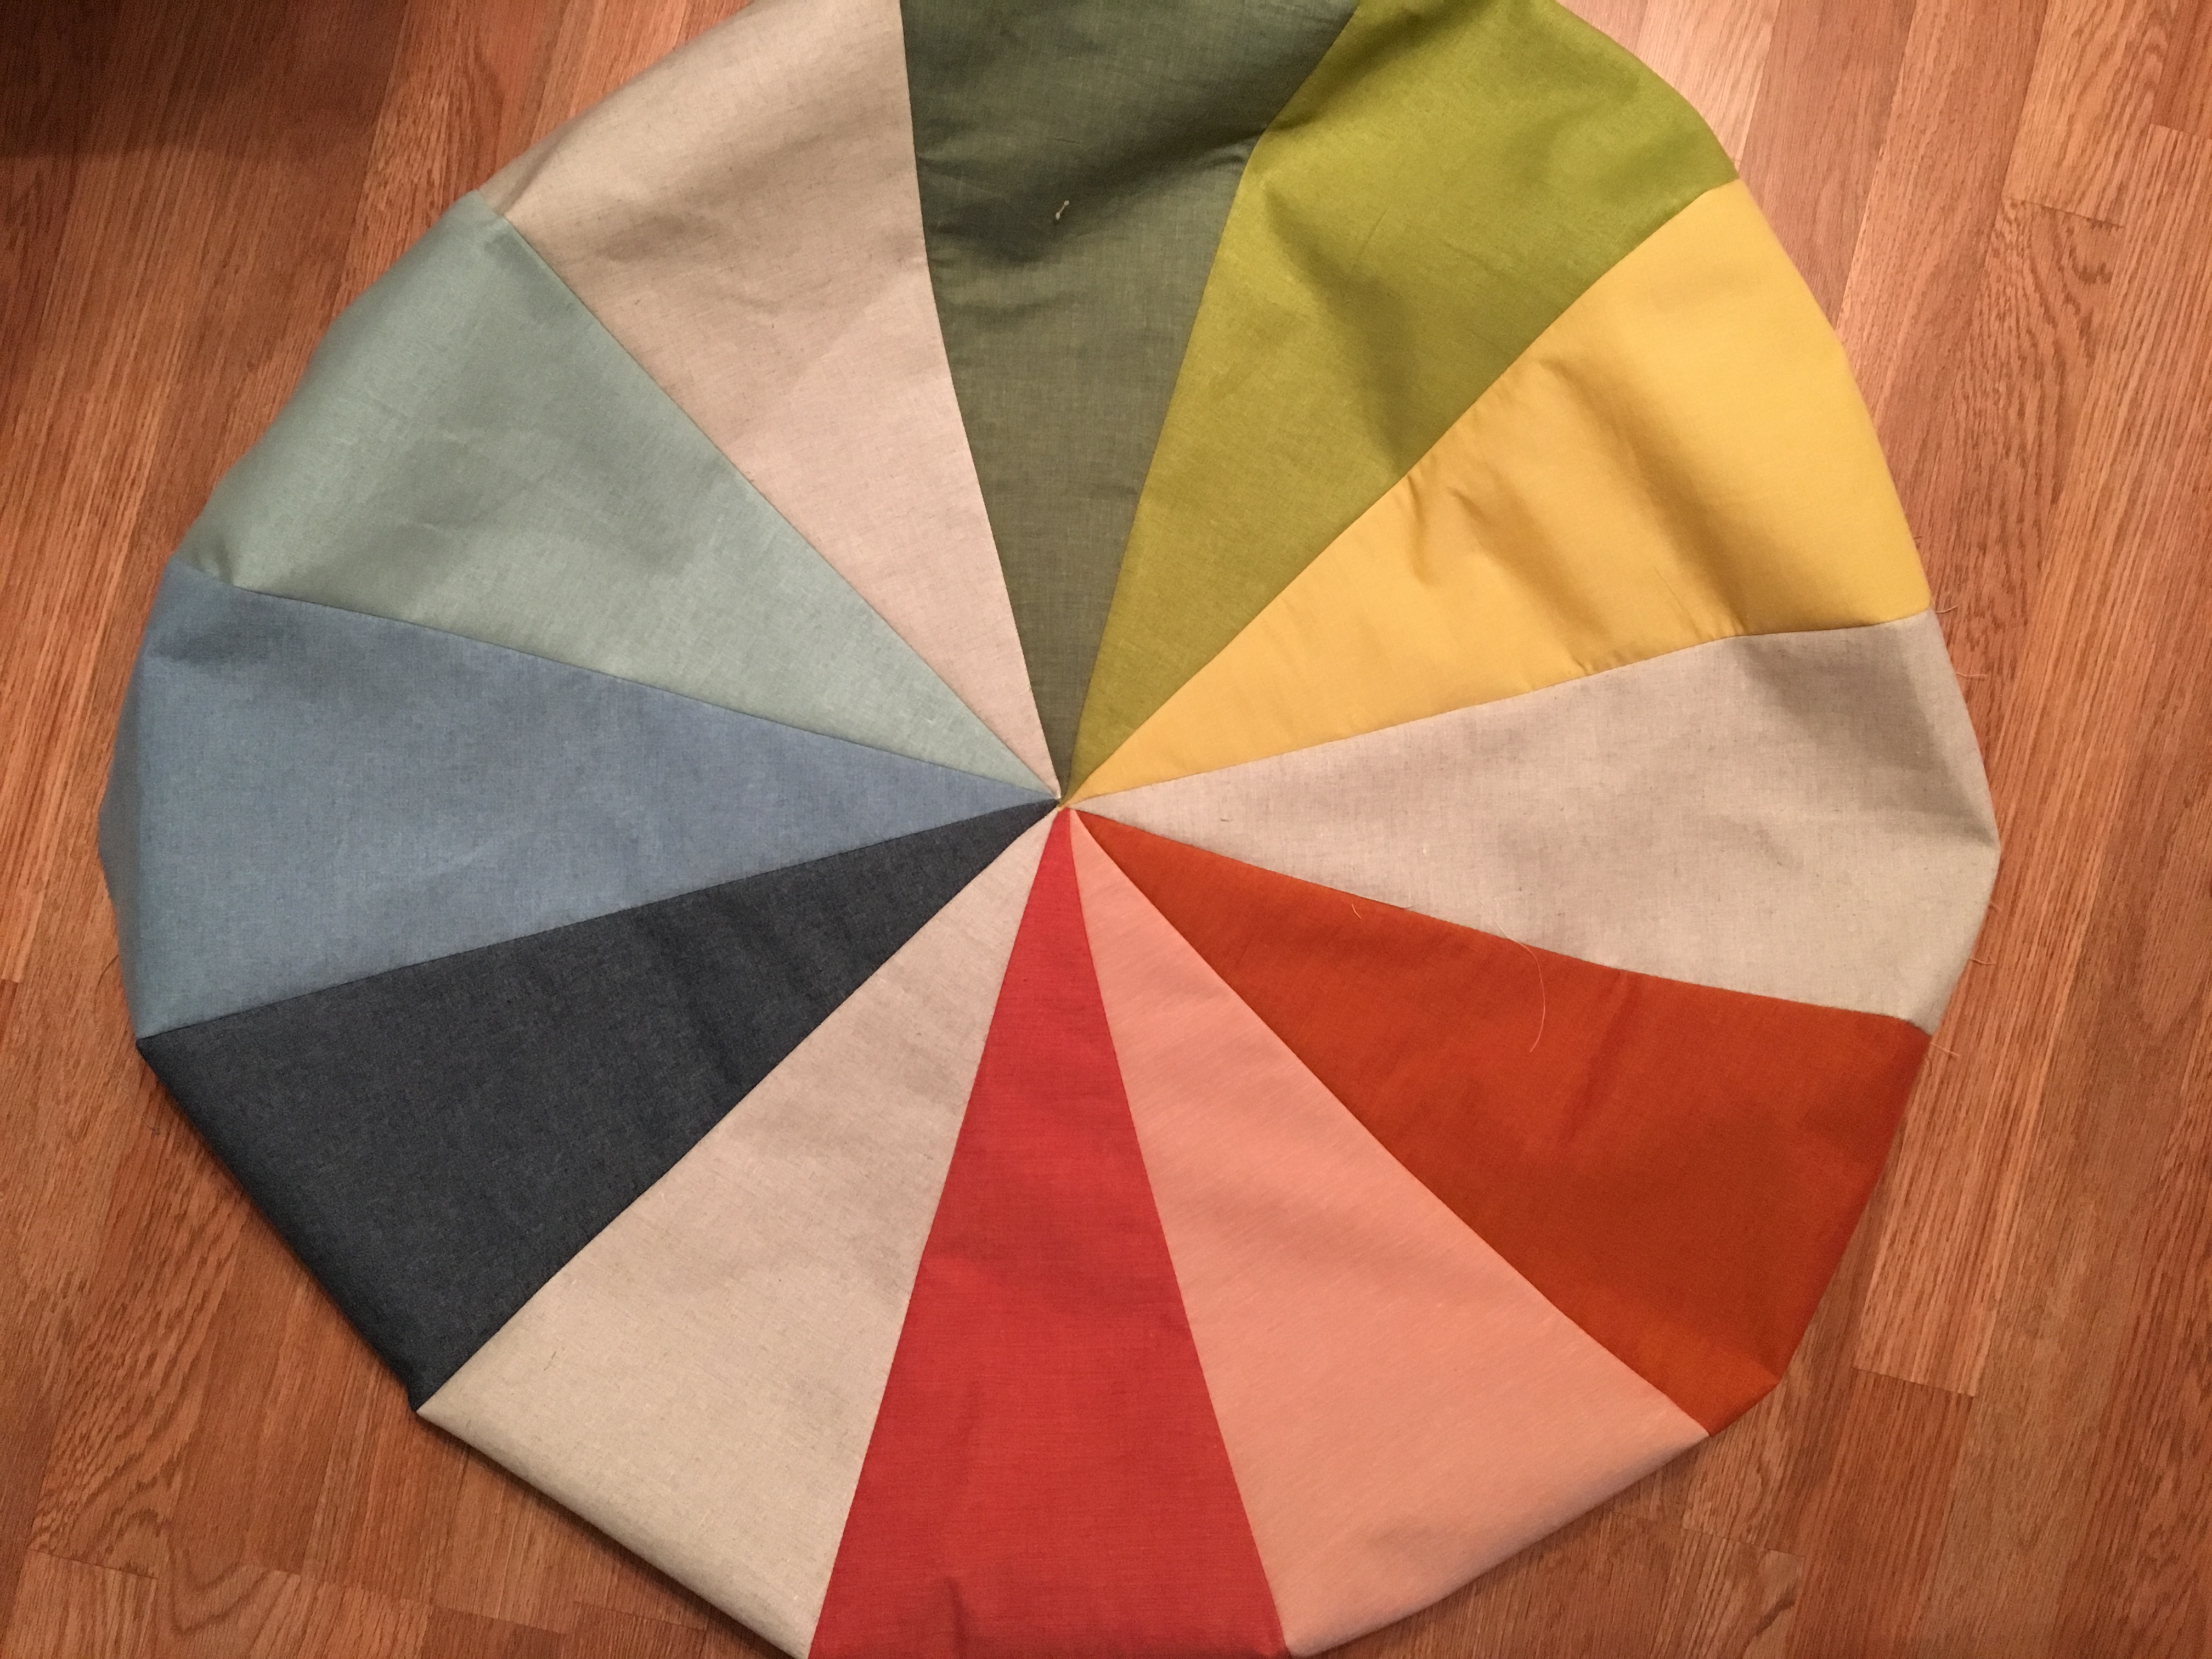
- Now you’ll begin sewing! We’ll start with the top of the pouf. Arrange your color wedges in your desired pattern. We separated every 3 colors with a neutral wedge.
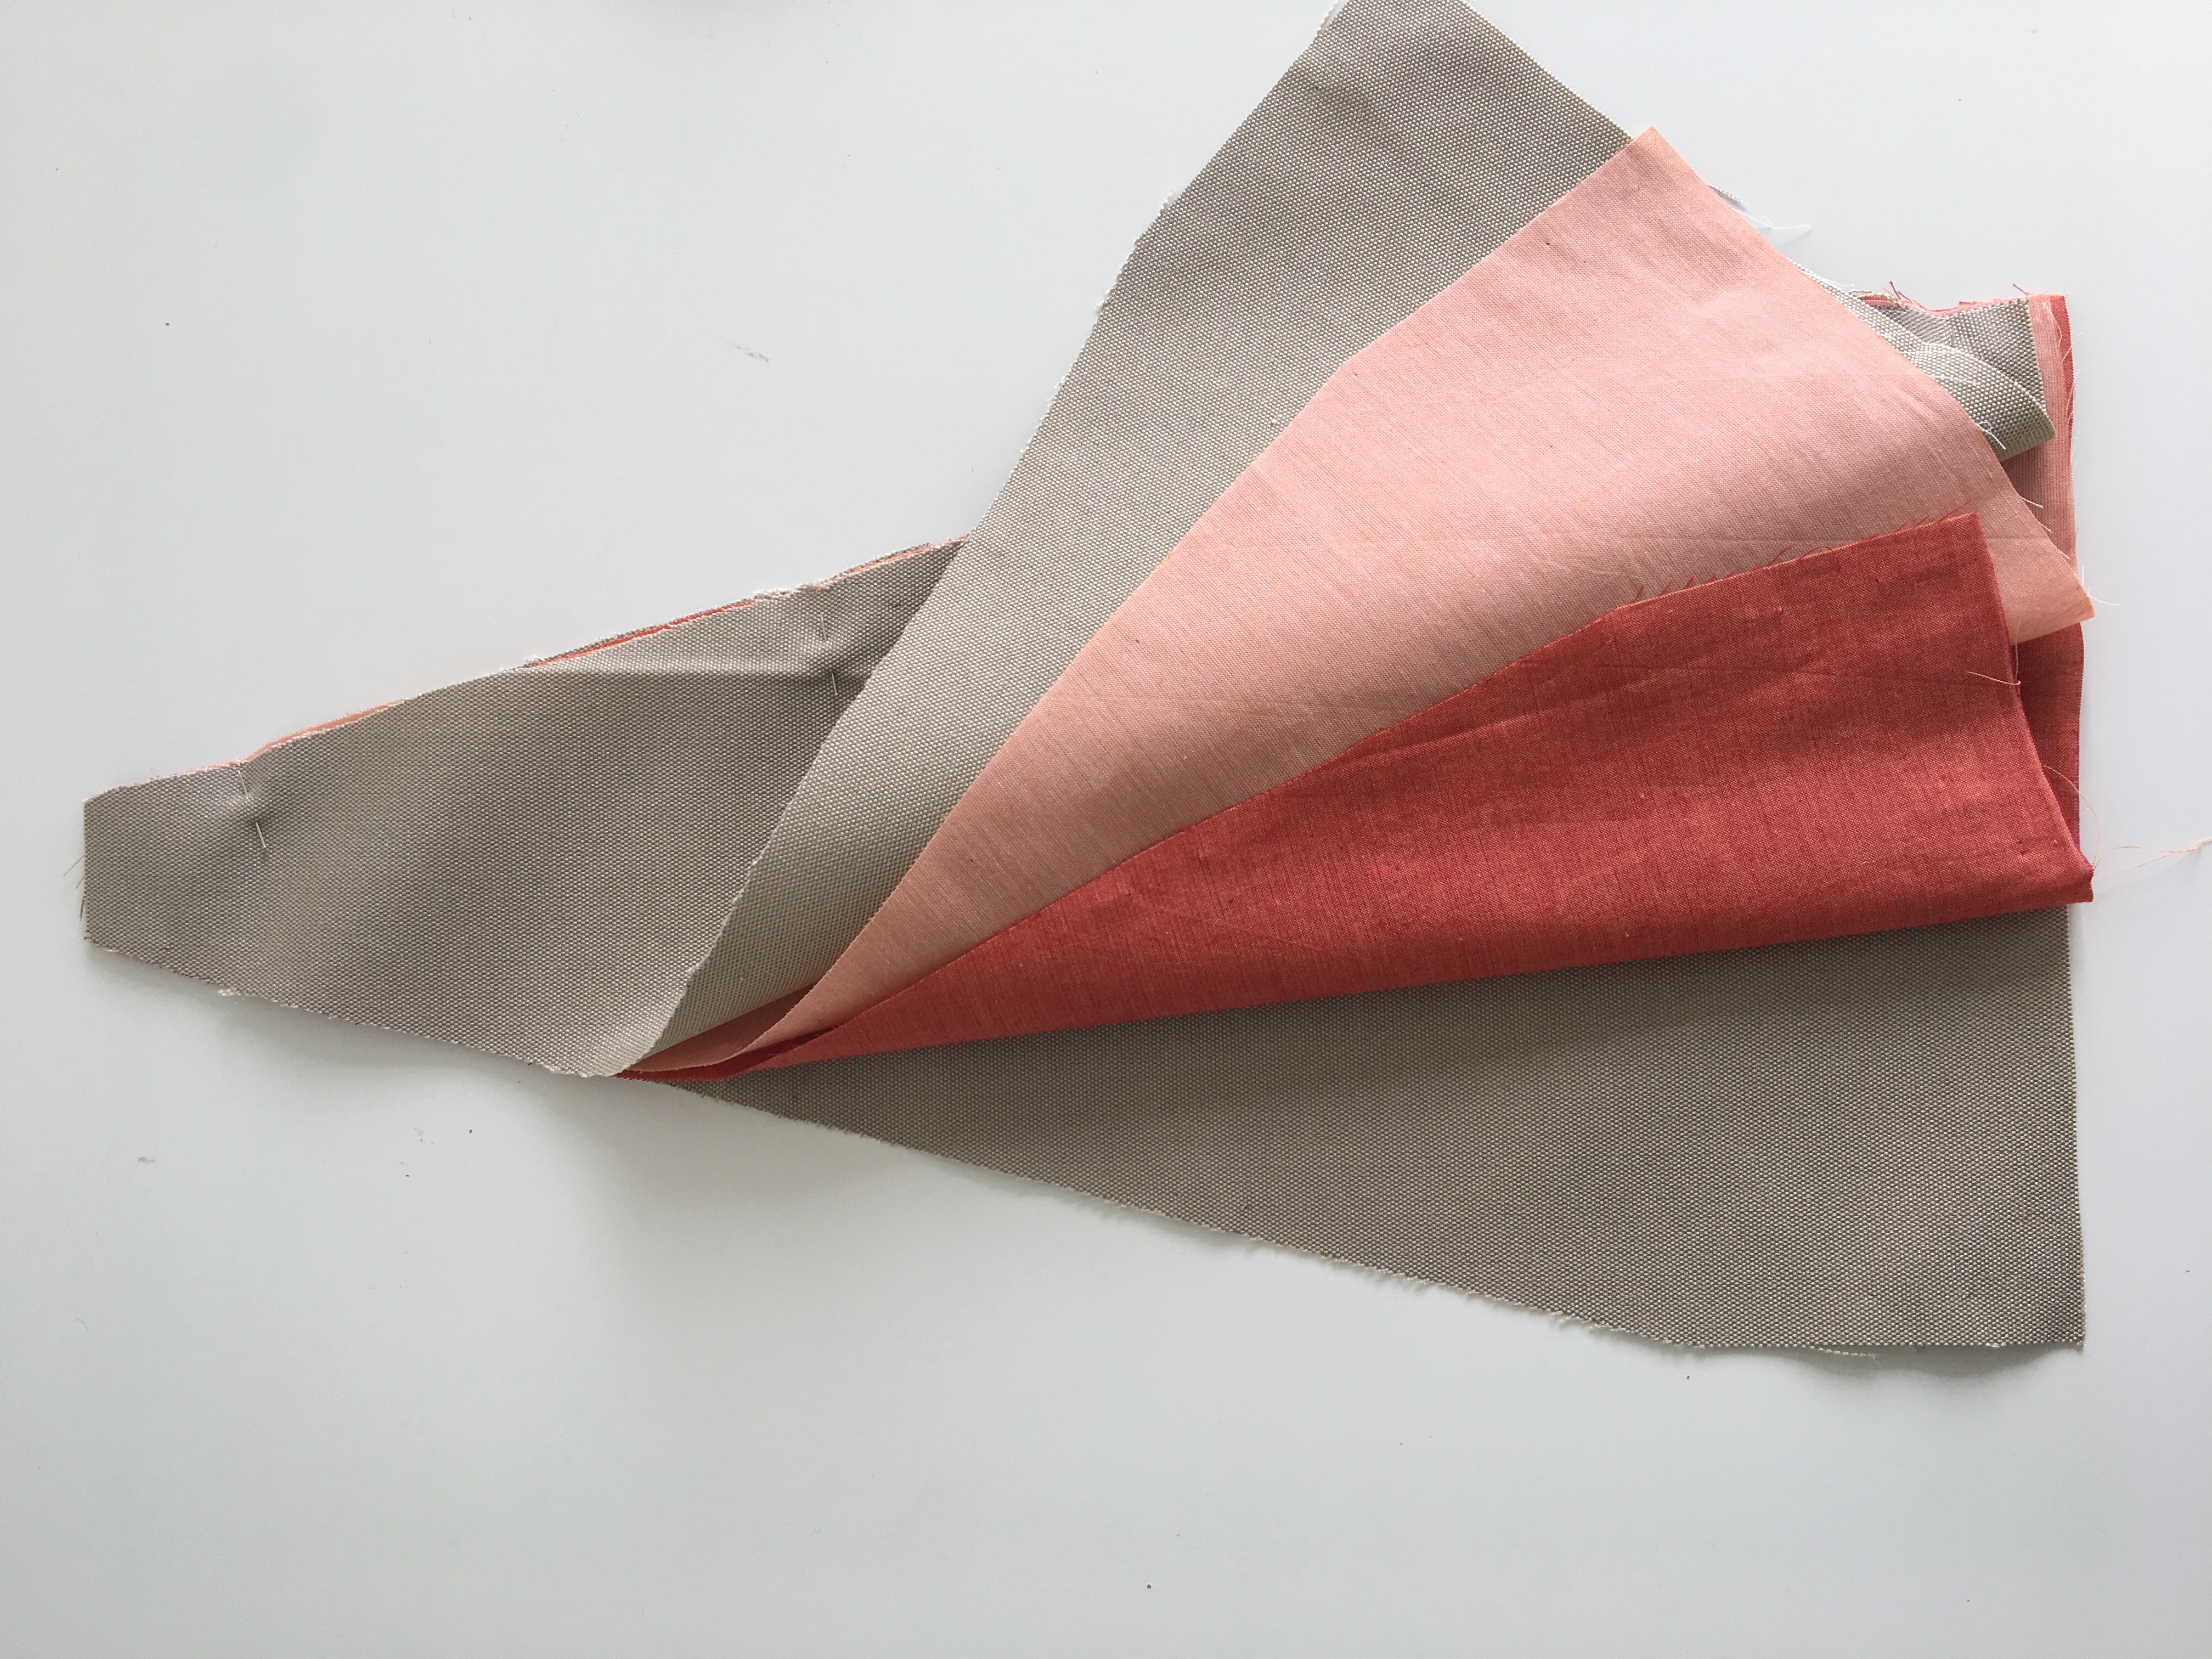
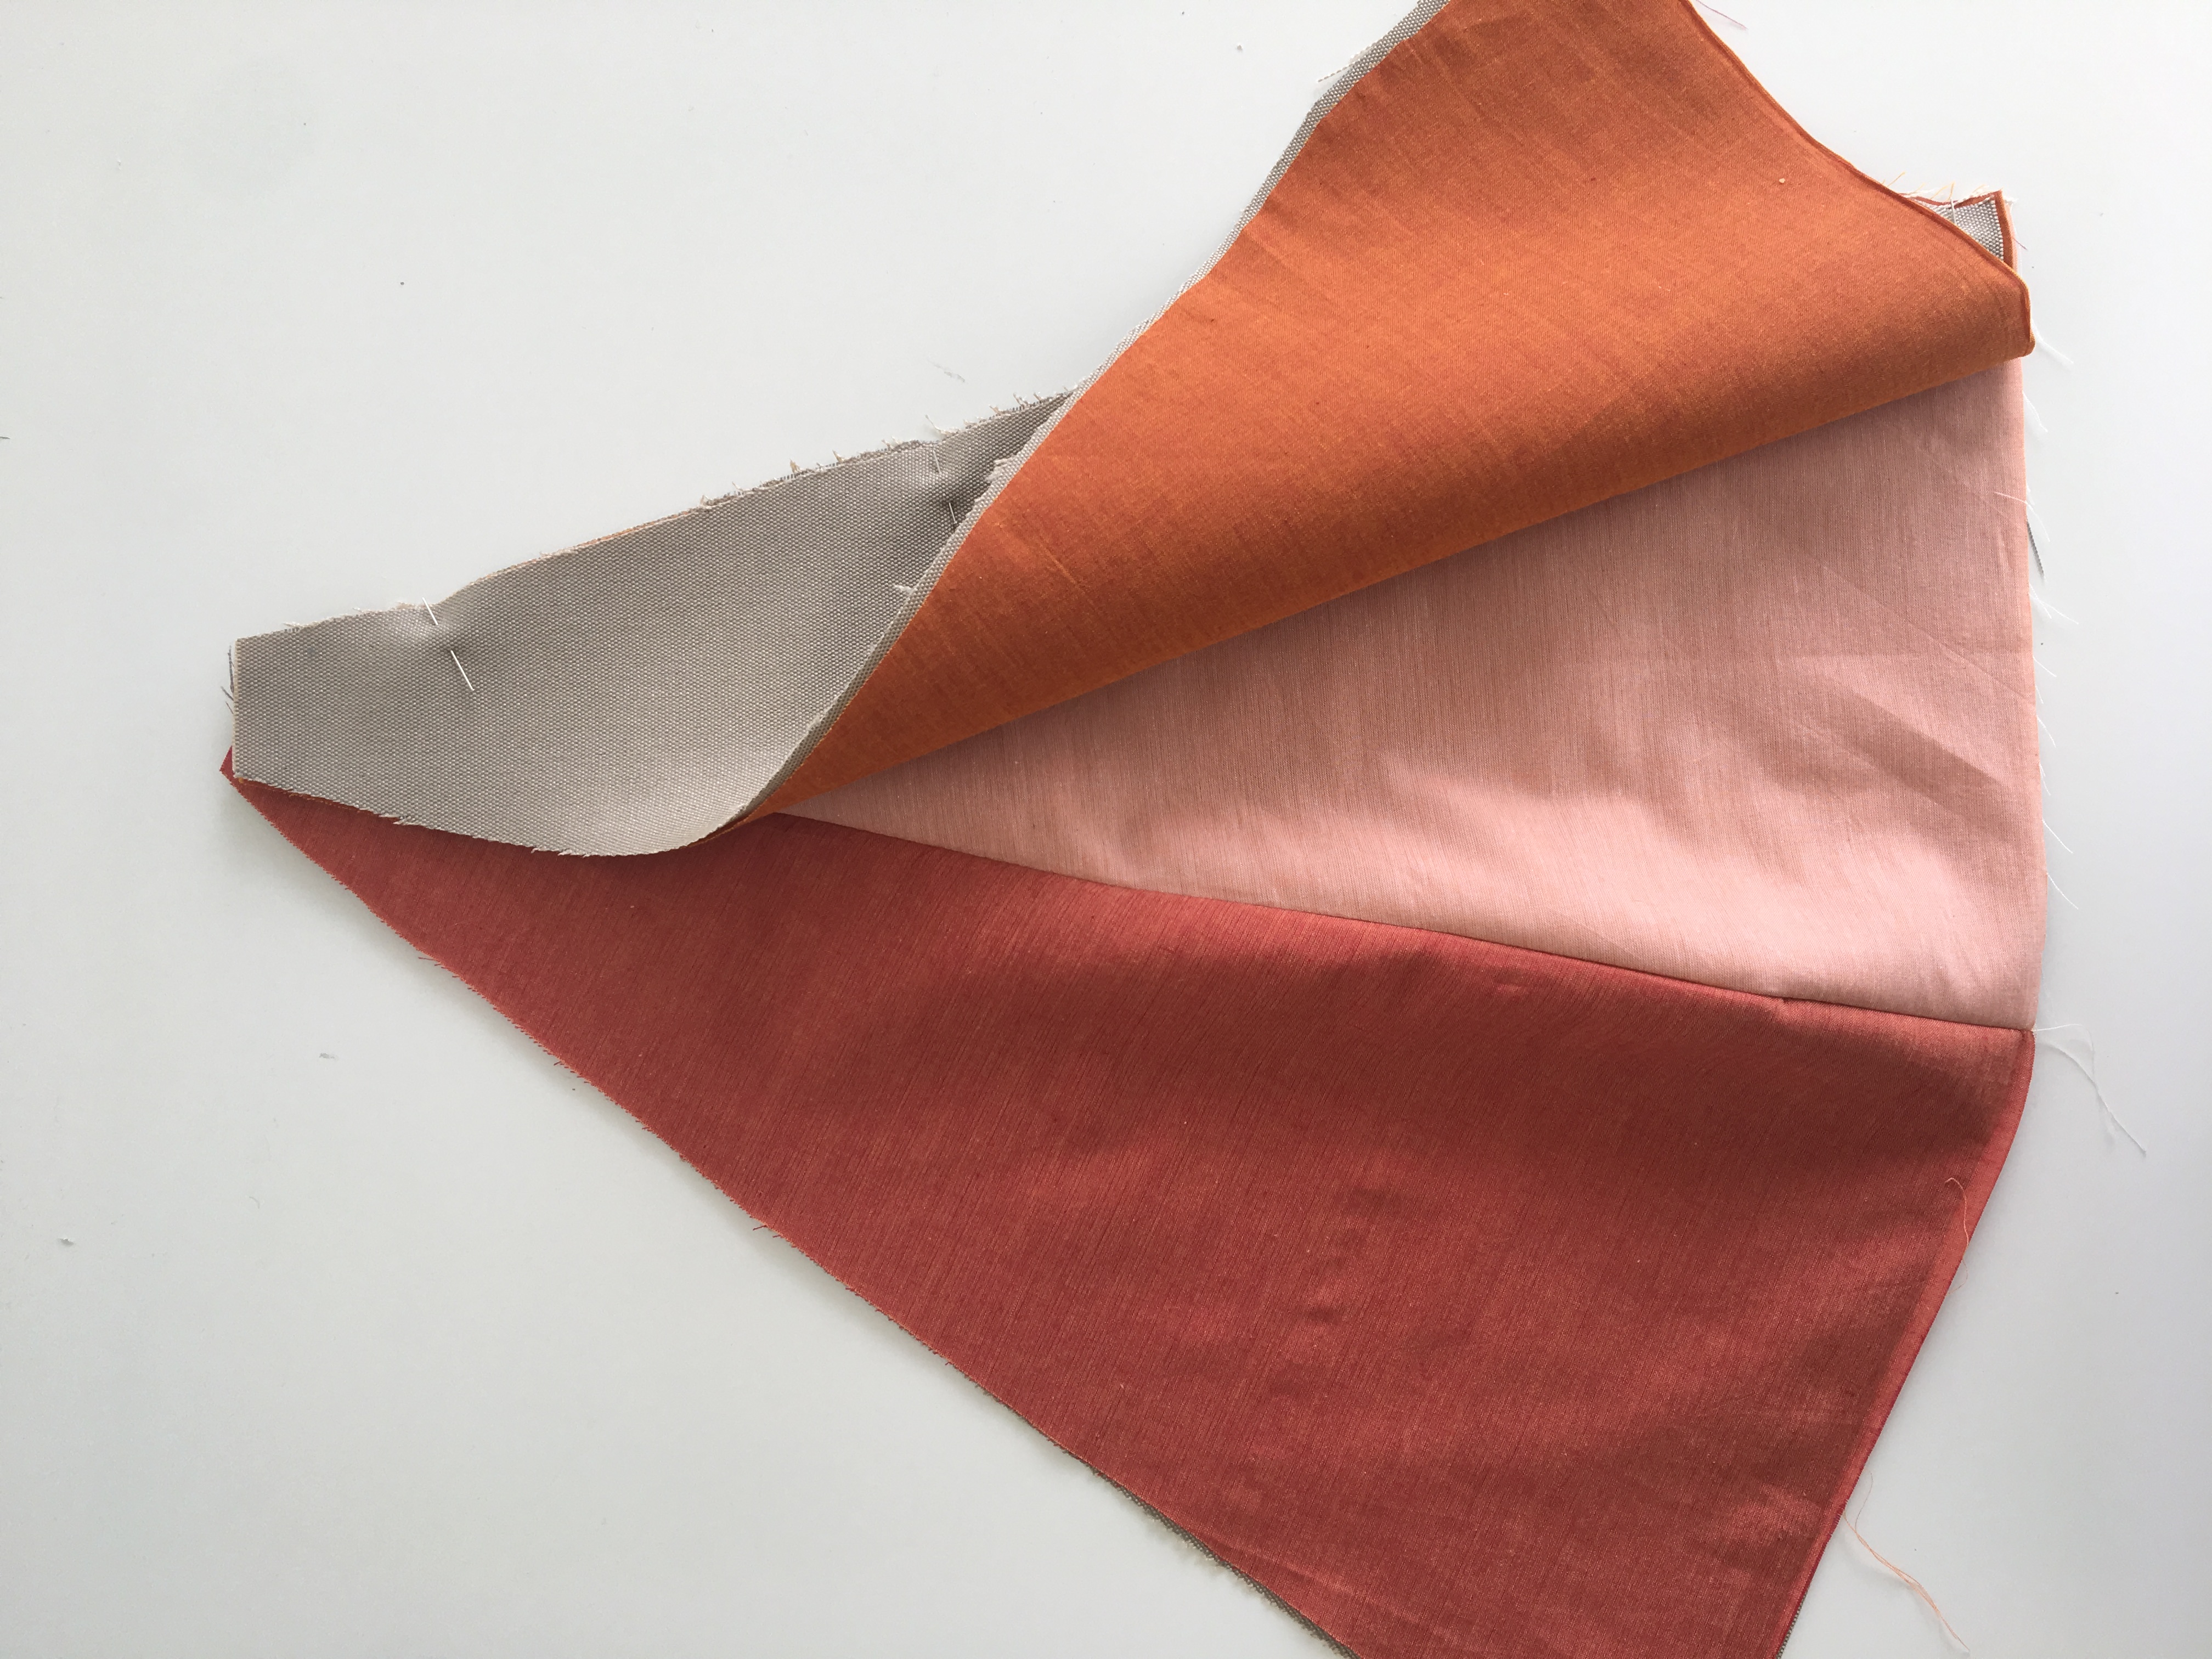
- Pin your wedges along one side in the following pattern: lining, colored wedge, different colored wedge, lining. **Make sure the right sides of the colored wedges are facing each other.**
- Sew along the side you pinned with a 3/4-inch seam allowance, making sure to backstitch at beginning and end.
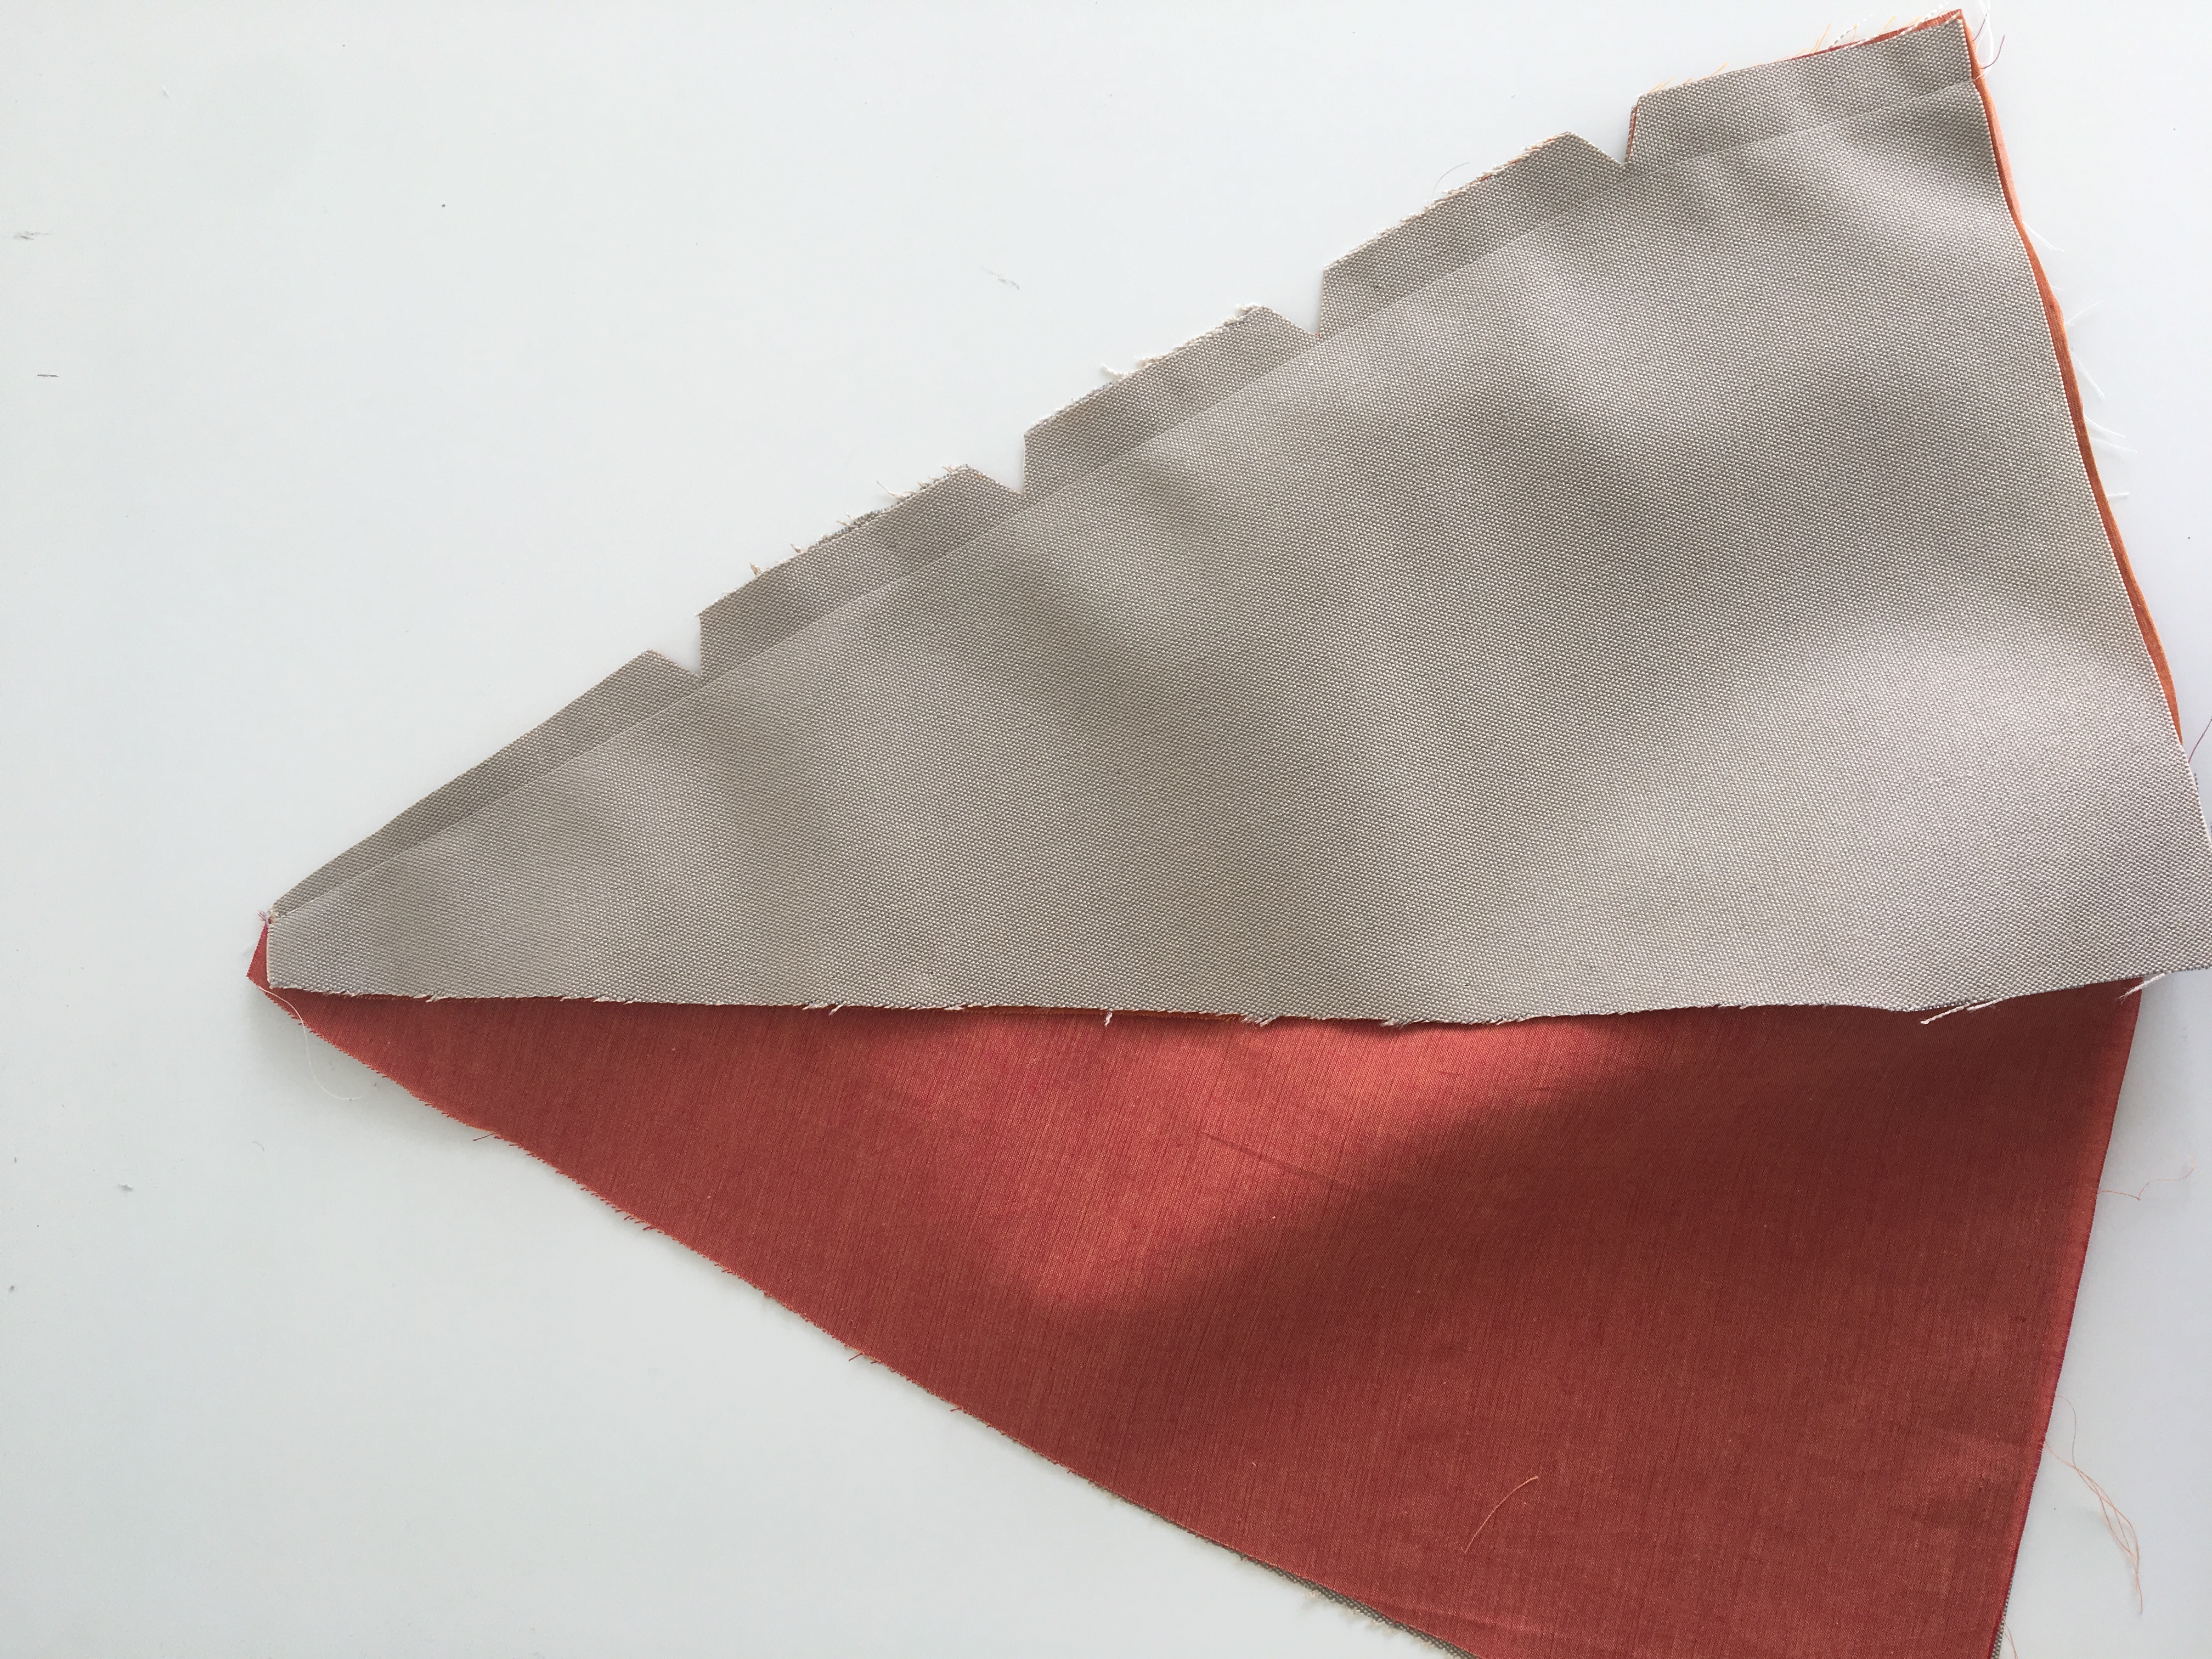
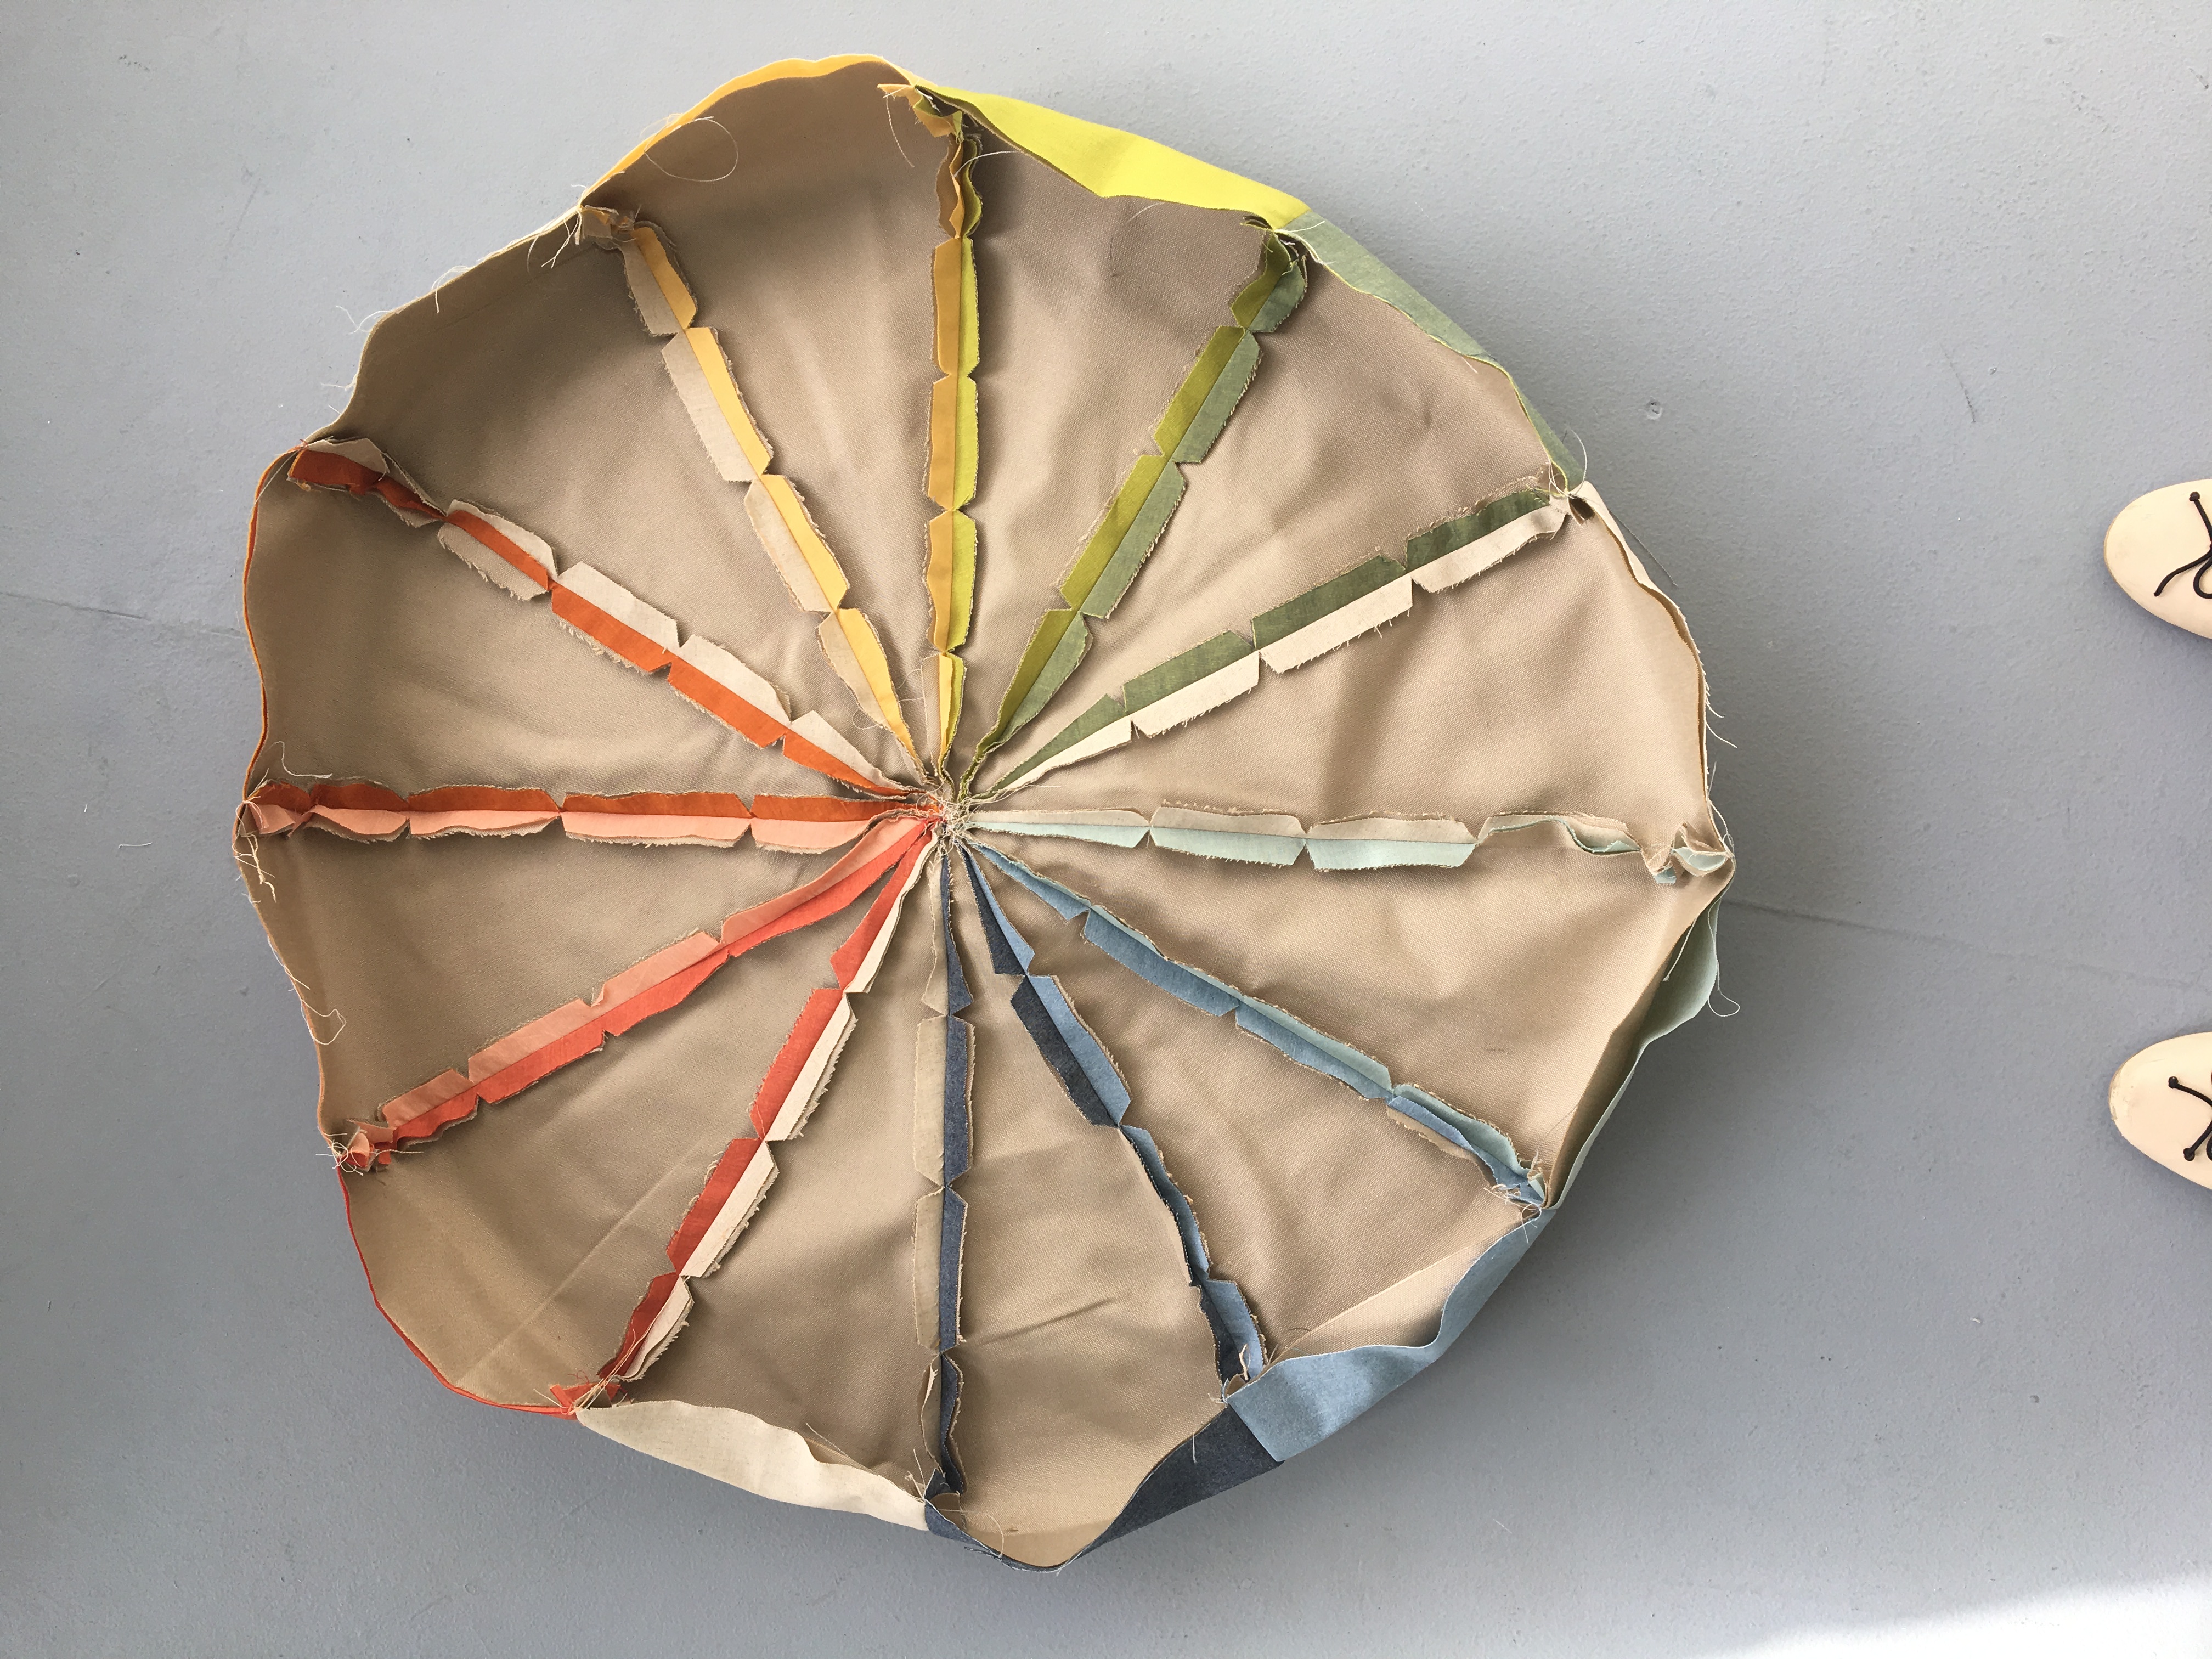
- Cut notches along the seam and trim close to the edge at the point of the wedges. This will make it easier to bend and reduce bulk at the center.
- Iron seam allowance open, to create a flat and crisp seam.
- Now pin the third colored wedge and lining to the second wedge, in the same manner you did the first.
- Sew along the edge, trim, and iron.
- Repeat this until you’ve used all 12 wedges for one side to create the top half of the pouf.
- You’re going to repeat this same process for the bottom, except you must sew the wedges in the reverse order so that the top and bottom are mirror images of each other.
- Once you have both the top and half portions complete, pin the outer edges of the circles together, right sides together. The colored wedges of the top and bottom should all align.
- Sew the two halves together with a 3/4-inch seam allowance, leaving a 12-inch opening so you can stuff it.
- Iron the seams open
Finishing:
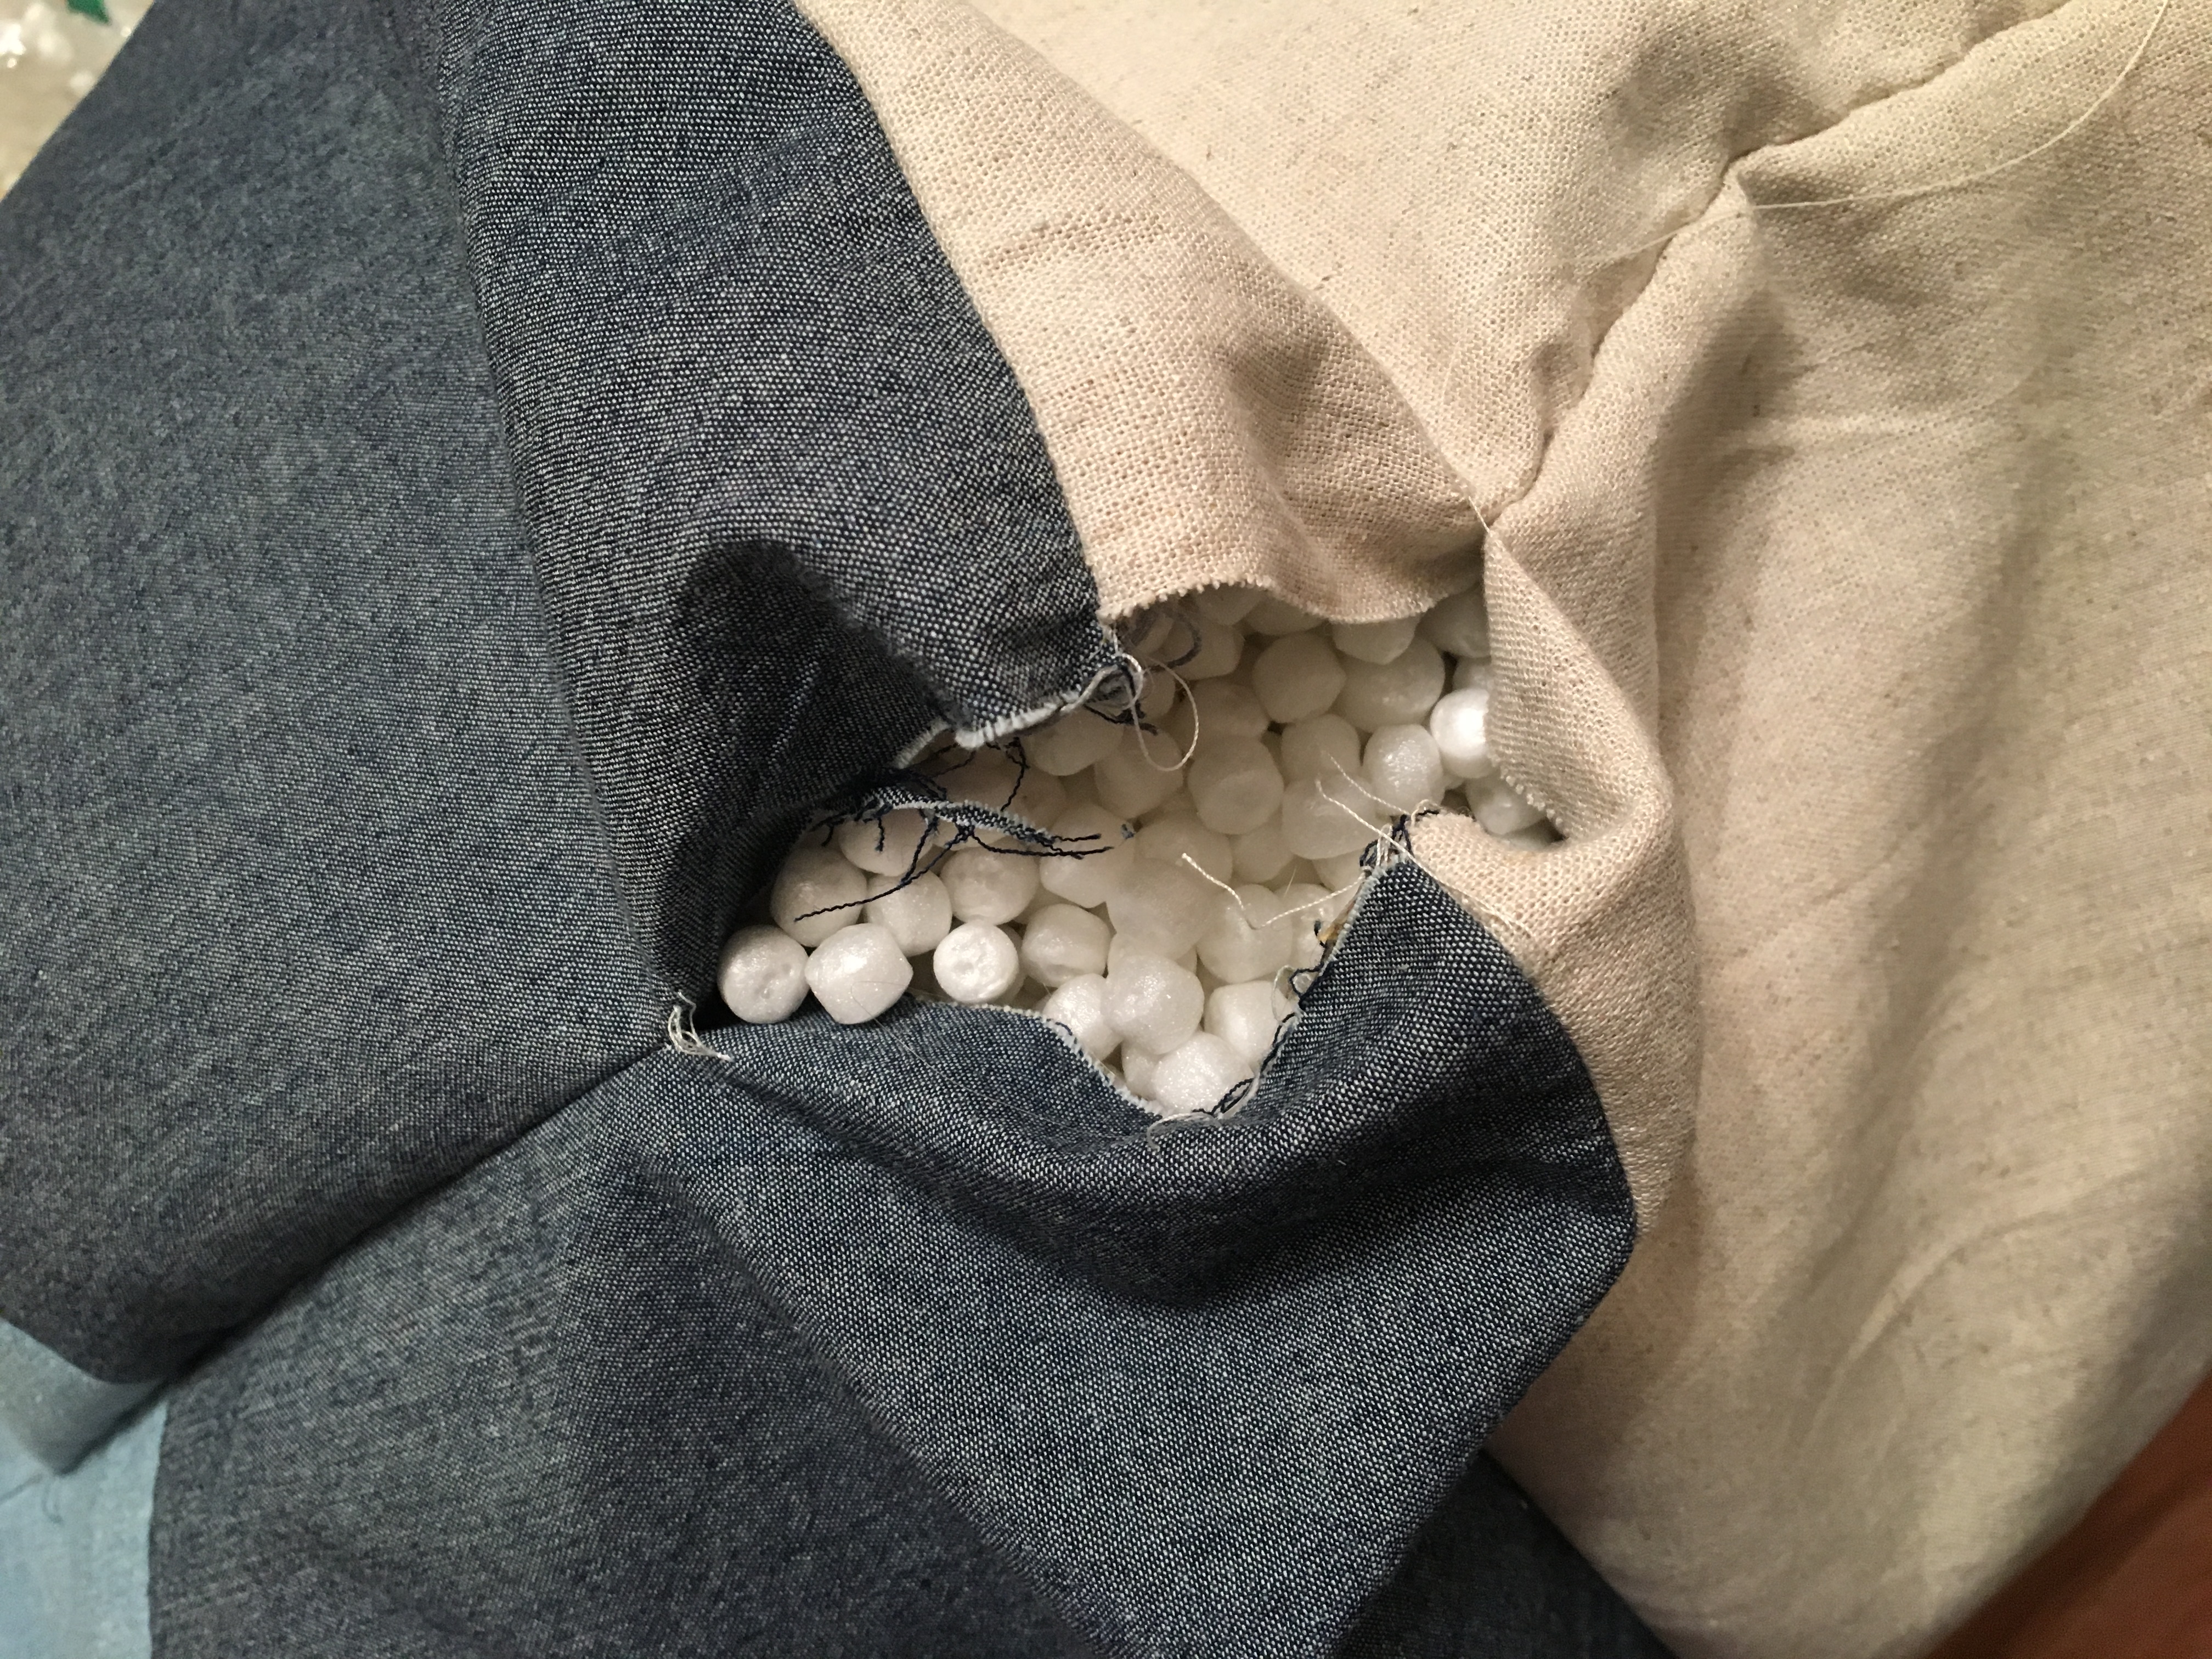
- Flip the pouf inside out and begin stuffing it with the filling. Push and maneuver the filling into the pouf so you can stuff as much filling into it as possible to make it really firm.
- Once the pouf is all filled, hand sew the opening closed with a slip stitch.
- Hand sew a button onto the center of both the top and the bottom of the pouf to finish it off!
Baby Jasper told me that he’s a big fan. Look at how peaceful he is next to it! 🙂
Shop/Make the look!
- Hayden Glider from Serena and Lily
- Astoria pillow from Serena and Lily
- Avery throw blanket from Serena and Lily
- DIY Rainbow pouf from Lars!
- (not pictured) Bunny doll from Merrilee Liddiard Shop
- (not pictured) Clementine swaddle blanket from Clementine Kids
Thank you to Serena and Lily for providing the perfect feeding nook for Baby J!
Photography by Jane Merritt | Sewing and pattern by Rebecca Hansen



Comments