Easter Trees have been around for a while and there are quite a few versions out there. I love the Swedish tradition of covering branches with brightly colored feathers. We made a paper version you can check out here. This year we wanted to put a personalized spin on this traditional decoration with a Naturally Dyed Easter Egg Tree!
Scroll below for the full tutorial!
Materials:
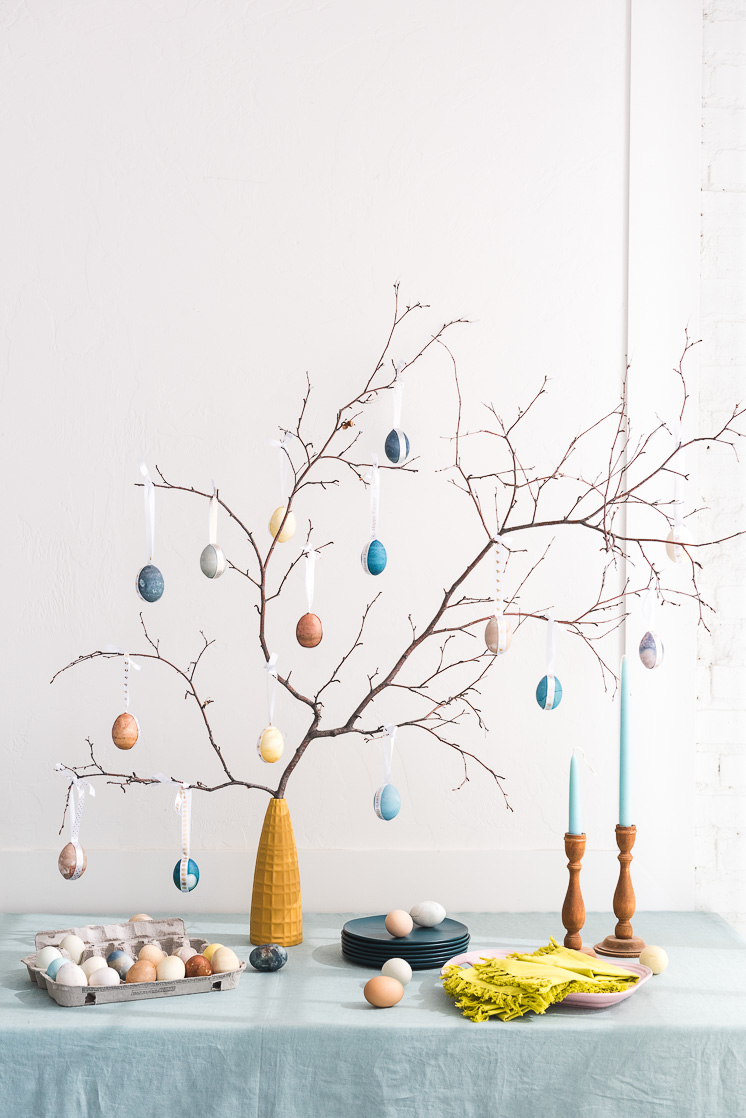
Get the full tutorial on natural dying eggs and making your Easter Egg Tree Ornaments!
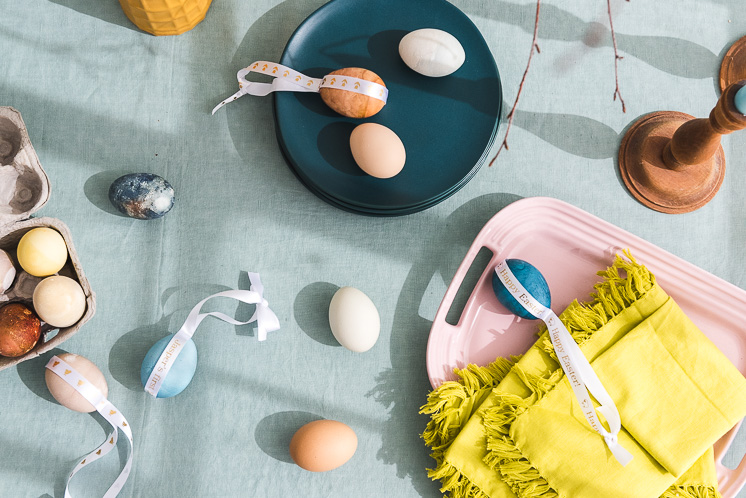
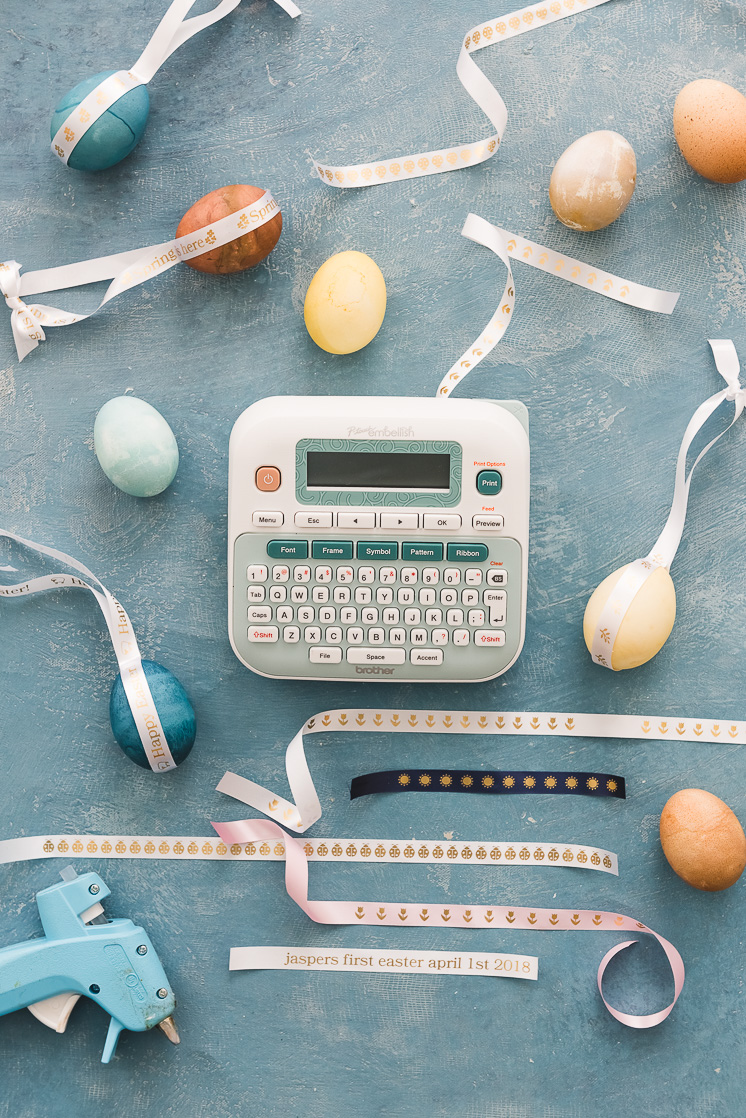
The P-touch Embellish machine offers a variety of ribbon colors including red, blue, pink, and white that you can add text, symbols, and tons of other decorative options. We printed some traditional spring symbols like chicks, tulips, ladybugs, and blossoms. We also wrote a few phrases like “Happy Easter” and “Welcome Spring.”
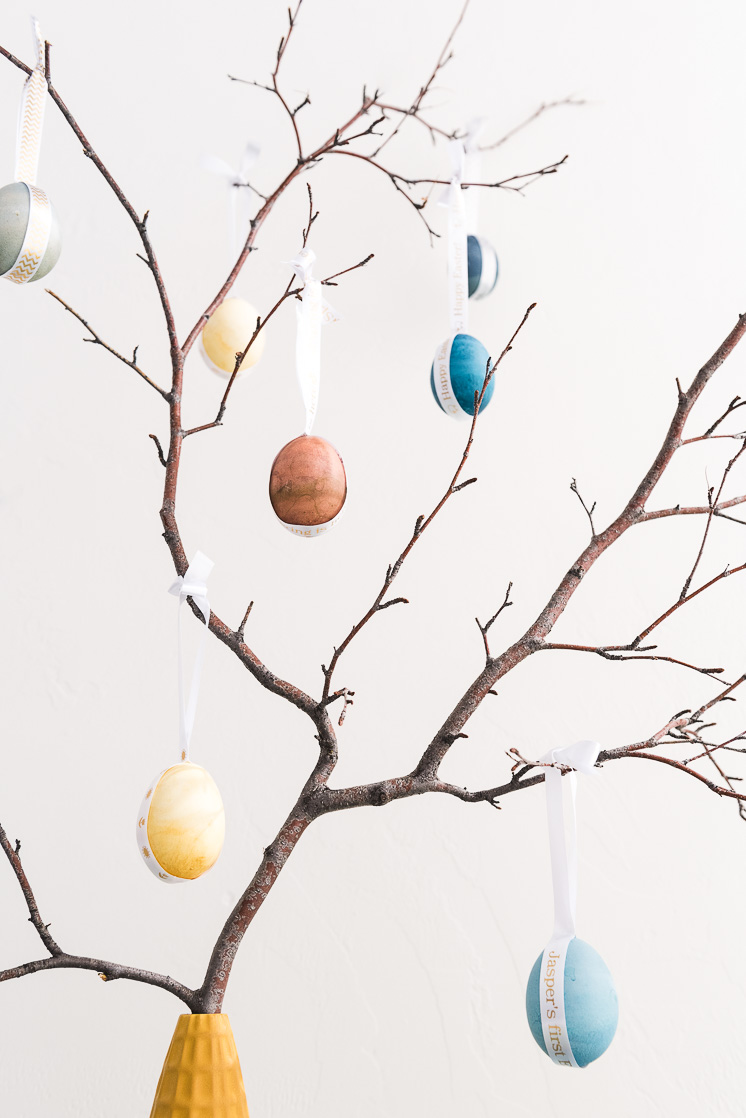
I made an Easter version of a “Baby’s First Christmas” ornament by printing the ribbon with his name and the date. I selected a classic font and typed out “Jasper Jepsen, April 1st, 2018.” I love that I’ll be able to hang that egg every Easter and be reminded of his first year!
Naturally Dyed Easter Egg Tree
Materials:
- Eggs
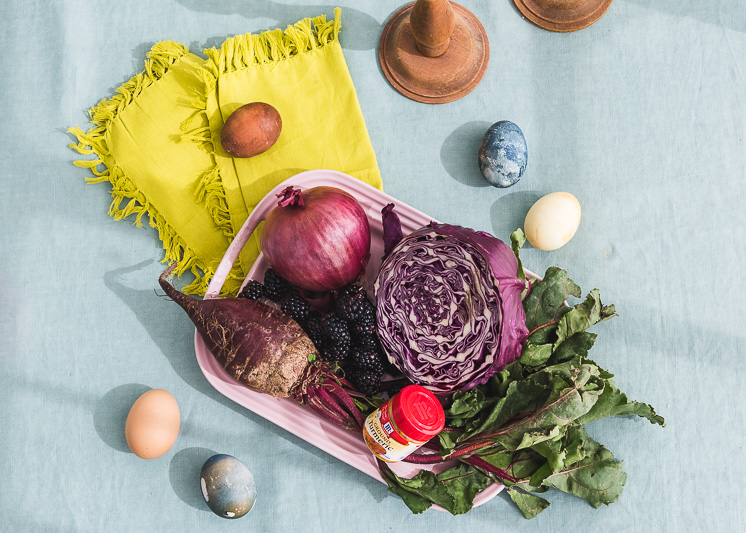
- Natural dying ingredients: we used red onion, red cabbage, beets, blueberries, blackberries, and turmeric.
- Vinegar
- Needle
- P-touch Embellish Machine
- P-touch Embellish Satin ribbons
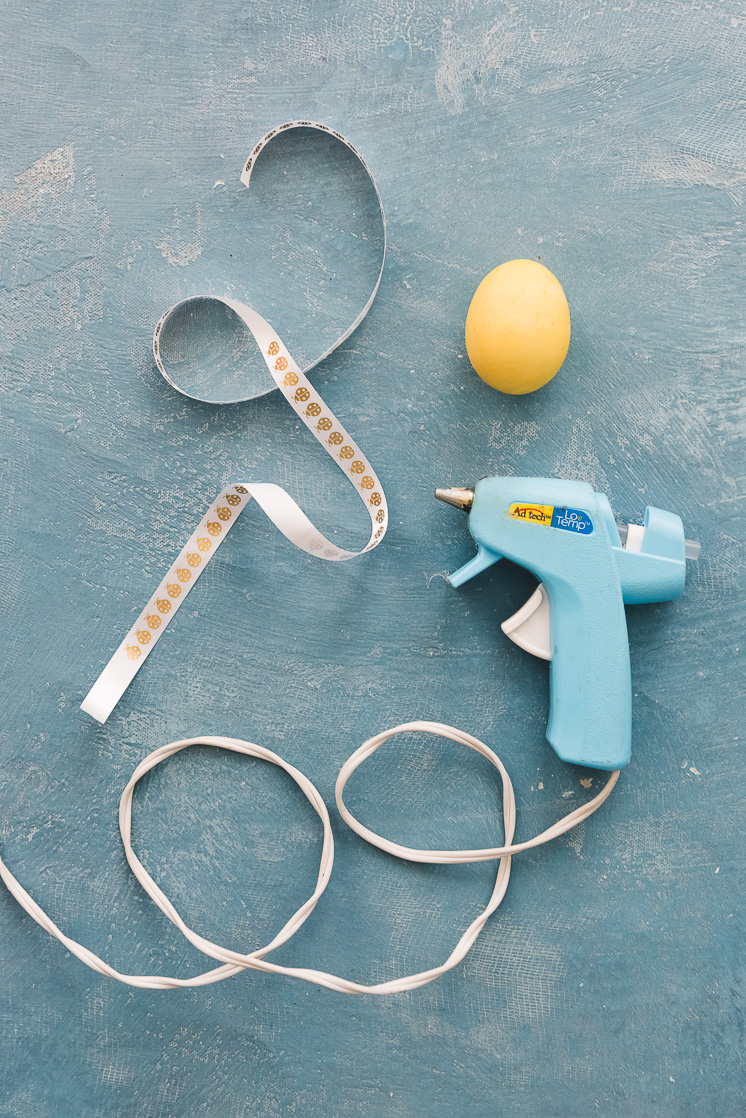
- Hot glue gun
Directions:
Dye the Eggs
- For each color, boil 4 cups of water with 5-6 tablespoons of vinegar in a pot with each fruit, vegetable, herb, or spice of your choice. Each color will require a seperate pot.
- Let simmer for 30 minutes and LET COOL.
- Set your eggs into the mixture for 3-6 hours or overnight for strongest color.
Drain the Eggs
*If you choose to hard-boil the eggs instead of draining, make sure you do that prior to dying them. If you’re doing to drain them, dying will be the first step or else they will float to the top of the dye solution and make it more difficult to get an even coating.*
- To prep your eggs, you either need to drain them or hard-boil them. We drained ours to make them light enough to hang on our branch arrangement and so they wouldn’t spoil. We recommend blowing them! If you have a sturdy arrangement and don’t want to save your eggs, you can just hard boil them.
- To drain the eggs, poke a hole at the top and bottom of an egg. Place the egg above a cup or bowl and blow out the yolk into the container. Wash and rinse with water and let dry. Scrambled eggs for dinner tonight!
Make the Easter Egg Ornaments
- Using the P-touch Embellish Machine print out ribbons with fun phrases and decorative symbols for spring. We used ribbon lengths of 22-inches with the white ribbon.
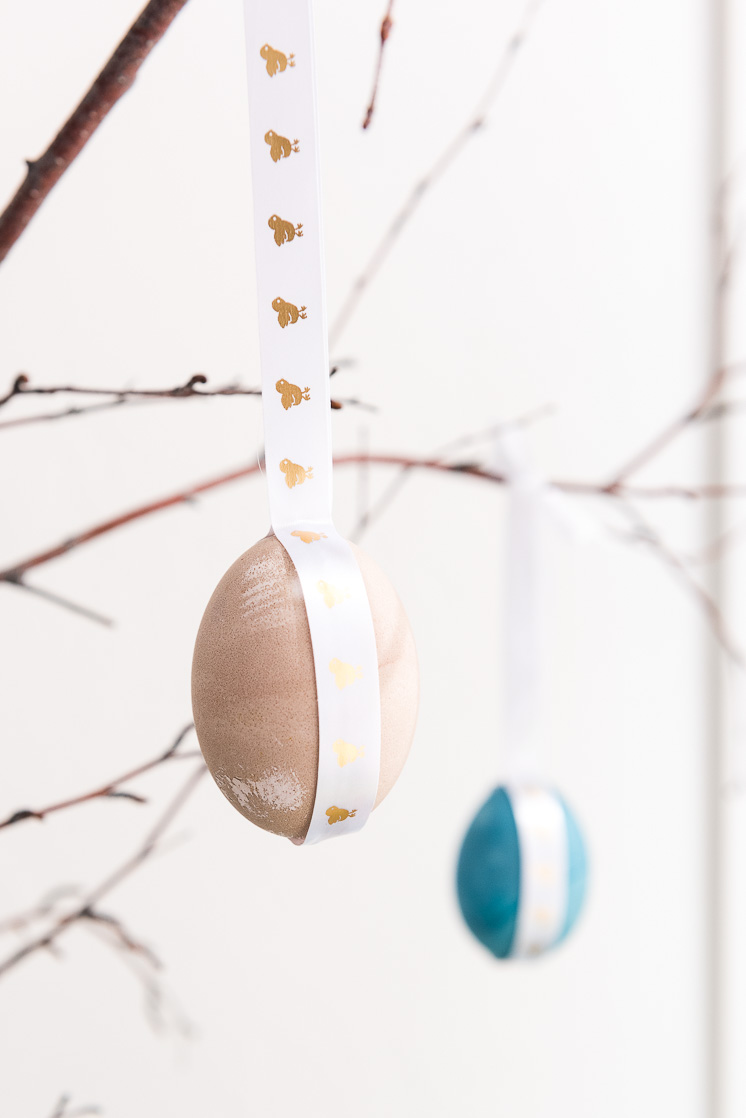
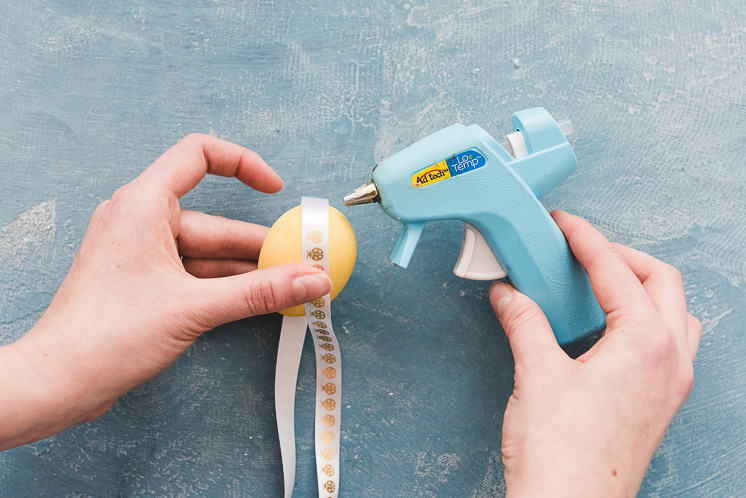
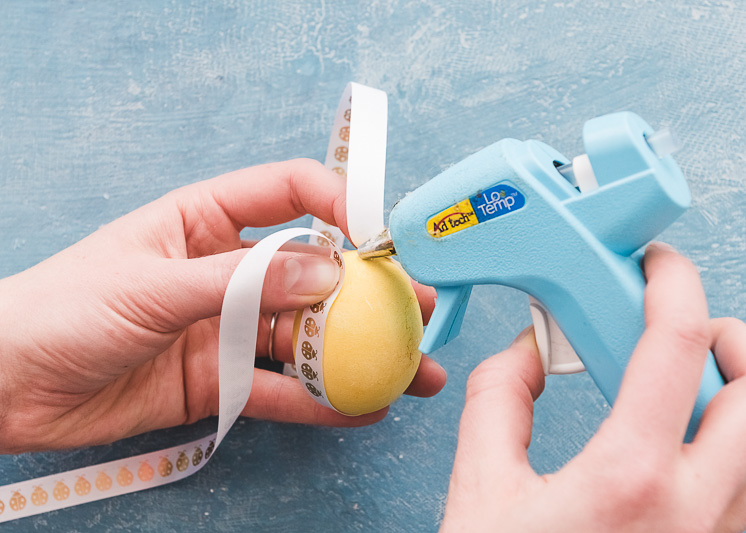
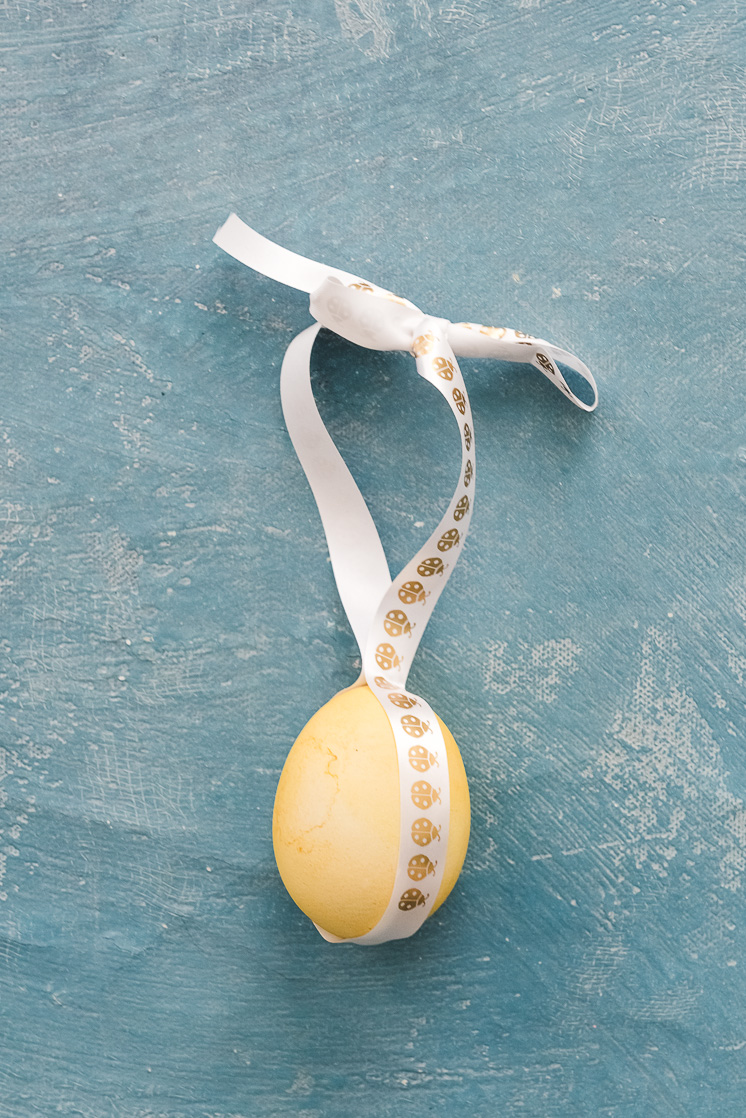
- Wrap the ribbon around the length of the egg, securing with a dab of glue at the top and the bottom, leaving long tails at the top to tie a knot and create a loop for hanging
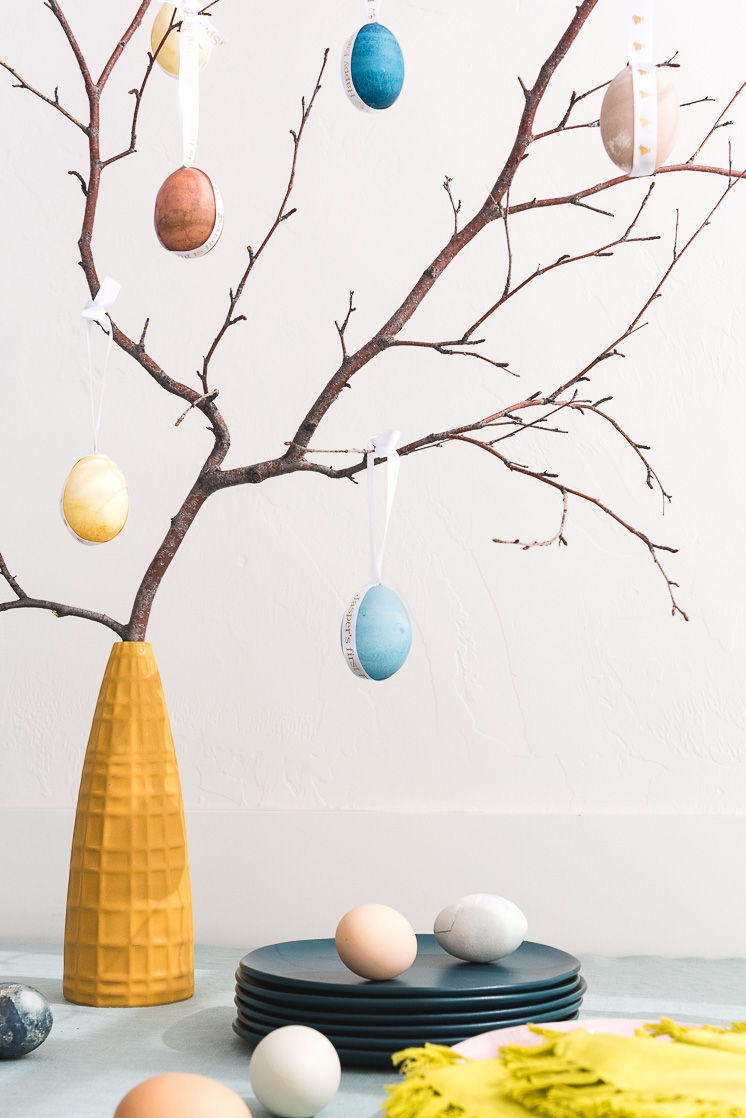
- Gather a bunch of branches and arrange in a vase. We weighed our vase down with dried black beans to stabilize it.
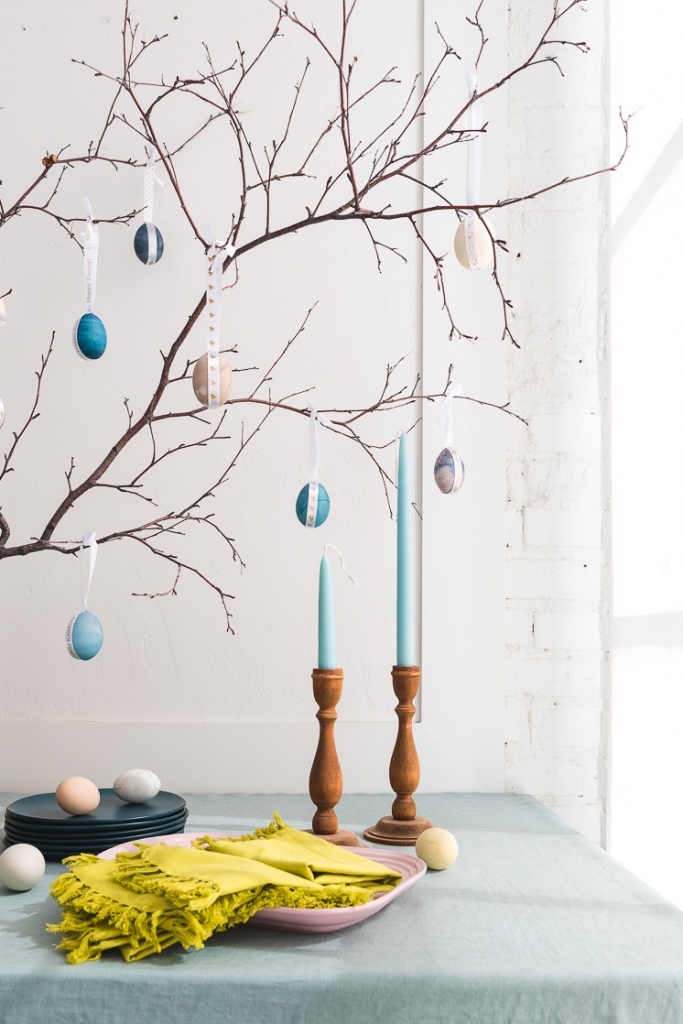
- Hang all your custom egg ornaments onto the tree! Voila! Now you have a beautiful naturally dyed Easter egg tree to make the perfect centerpiece!
This post was sponsored by P-touch Embellish. All opinions are my own. Thank you so supporting the brands that keep Lars thriving!
Photography by Jane Merritt | Dying by Kirstin Johnson | Crafting by Rebecca Hansen



Comments