

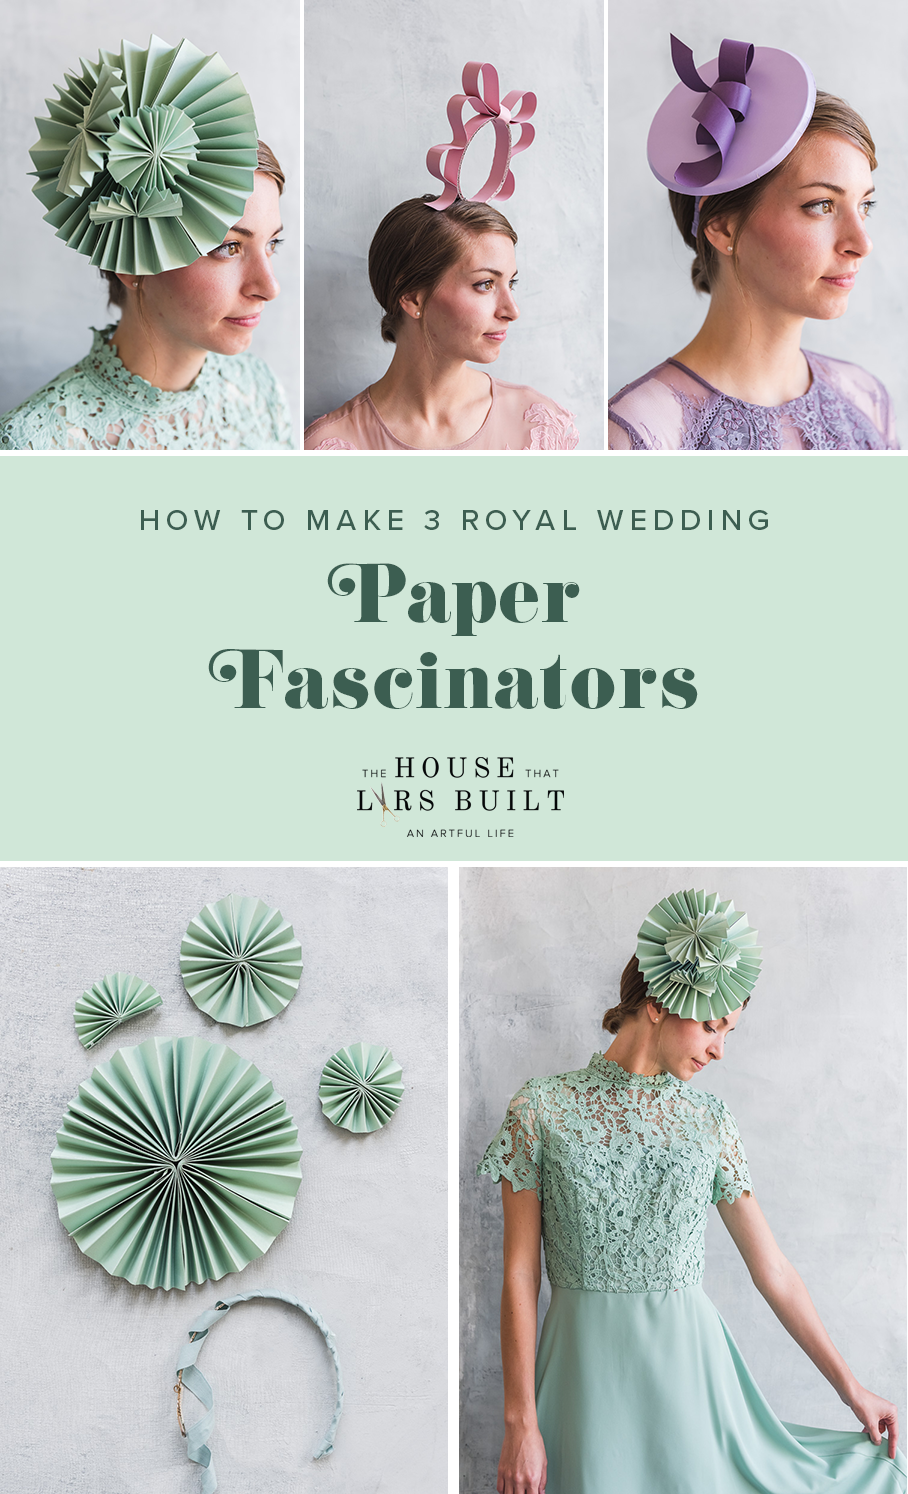
Any royal wedding fans out there? Guilty! You may or may not know that I was present for Kate and William’s wedding back in 2011! I was living in Copenhagen at the time so it was just a hop, skip, and a jump away, I couldn’t resist. I wore a paper rose fascinator that I made and was actually featured on CNN and Vogue. My claim to fame, ha! For the upcoming royal wedding of Harry and Meghan, we wanted to create some new versions in our favorite medium. We made Three DIY Paper Fascinators that you can flaunt in celebration of the big day. Pulling inspiration from some of our favorite fascinators we’ve seen, this DIY paper versions are a cinch to whip up and could be mistaken for the real thing! And hop over to our royal wedding shop to commemorate with some souvenirs!

Check out the tutorials for Three DIY Paper Fascinators and get ready for a Royal Wedding!
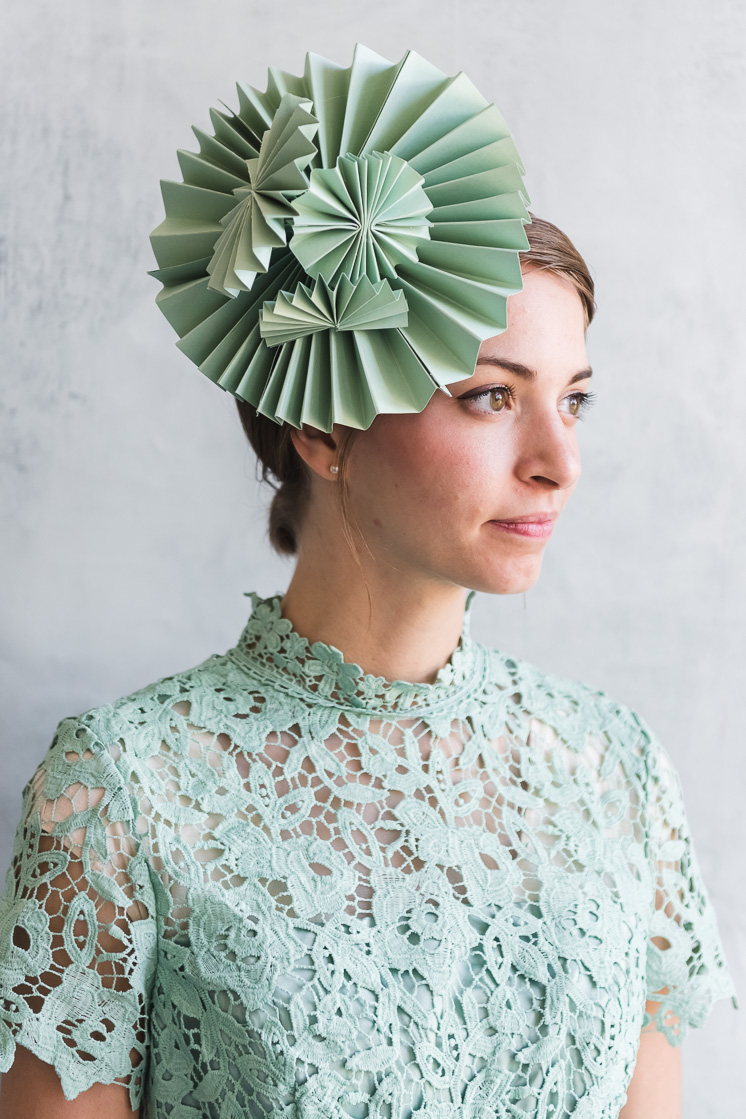
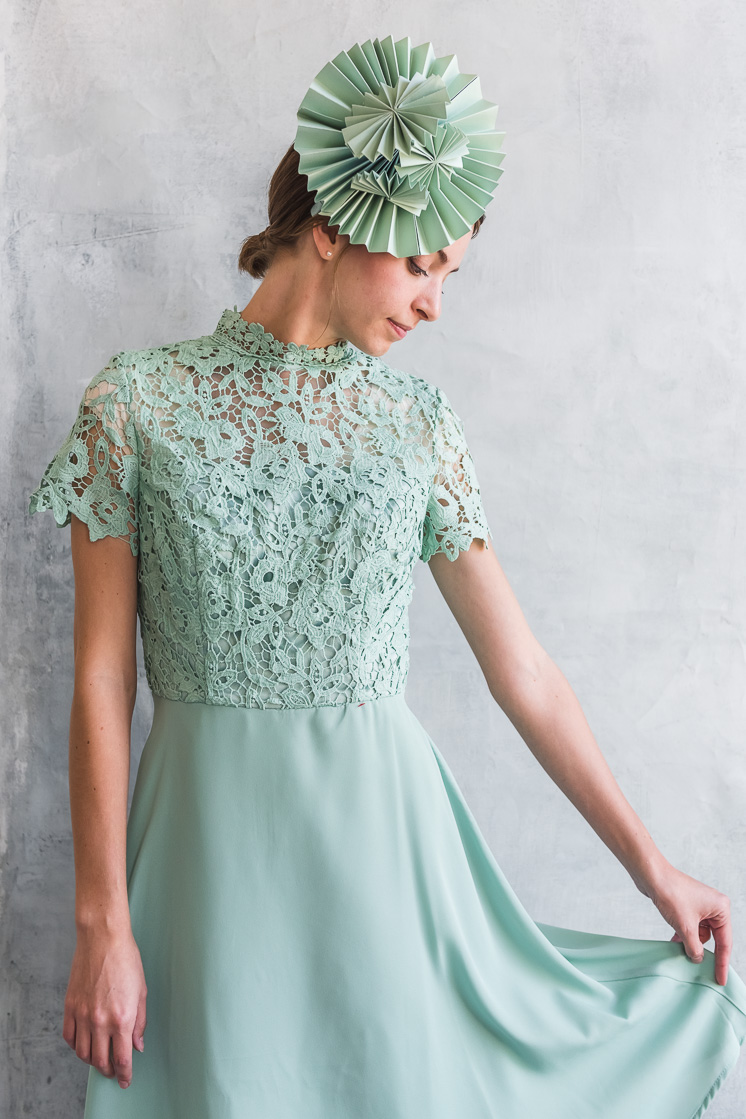
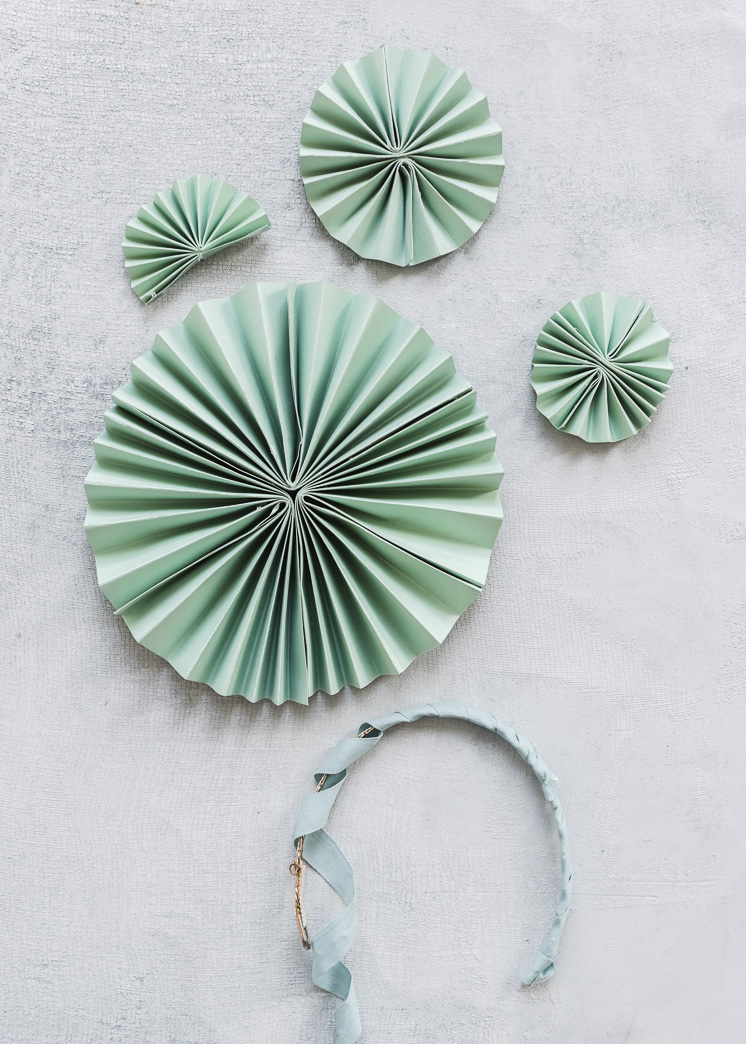
Paper Fan Fascinator
Materials:
- 4 Sheets of Blue Cardstock
- Hot Glue Gun
- Headband
Instructions:
- Make 3 paper medallions and 1 paper fan by accordion folding strips of paper and gluing them together. See tutorial HERE. Our largest medallion was 8 inches in diameter, the others were 4″, 3″, and a 3″ fan.
- Cluster the three smaller fans atop of the large one and secure in place with hot glue.
- Glue on top of a headband. We wrapped a headband we already had with coordinating ribbon first.
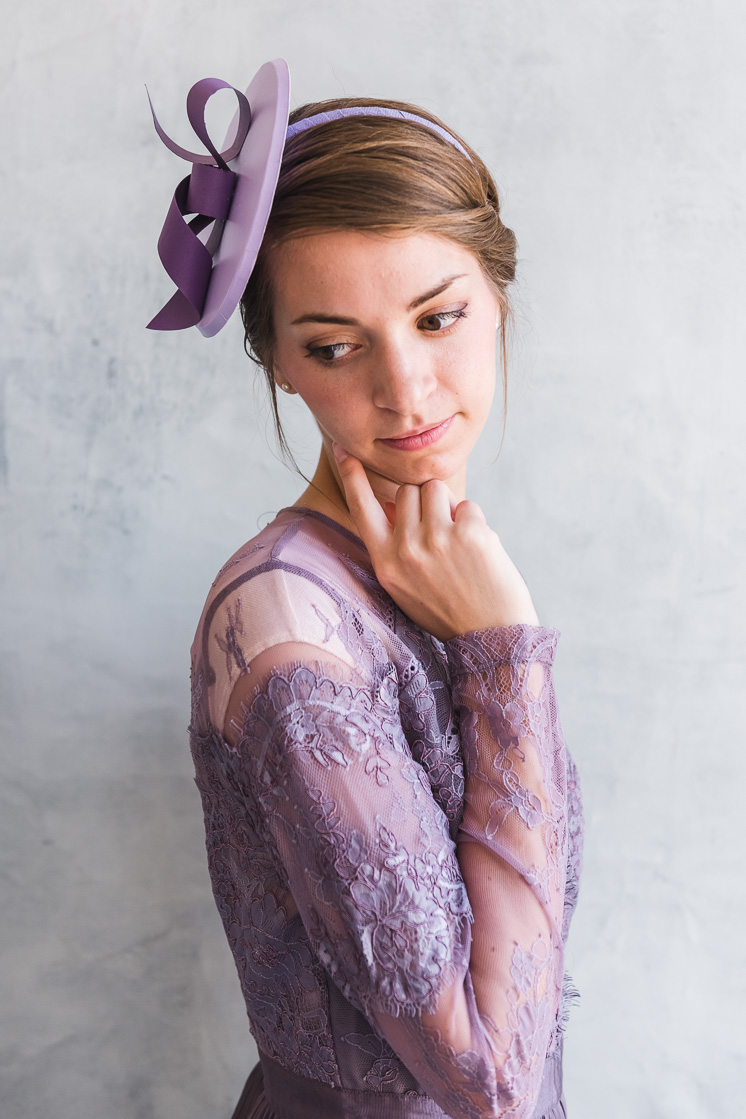
Curly Q Fascinator
Materials:
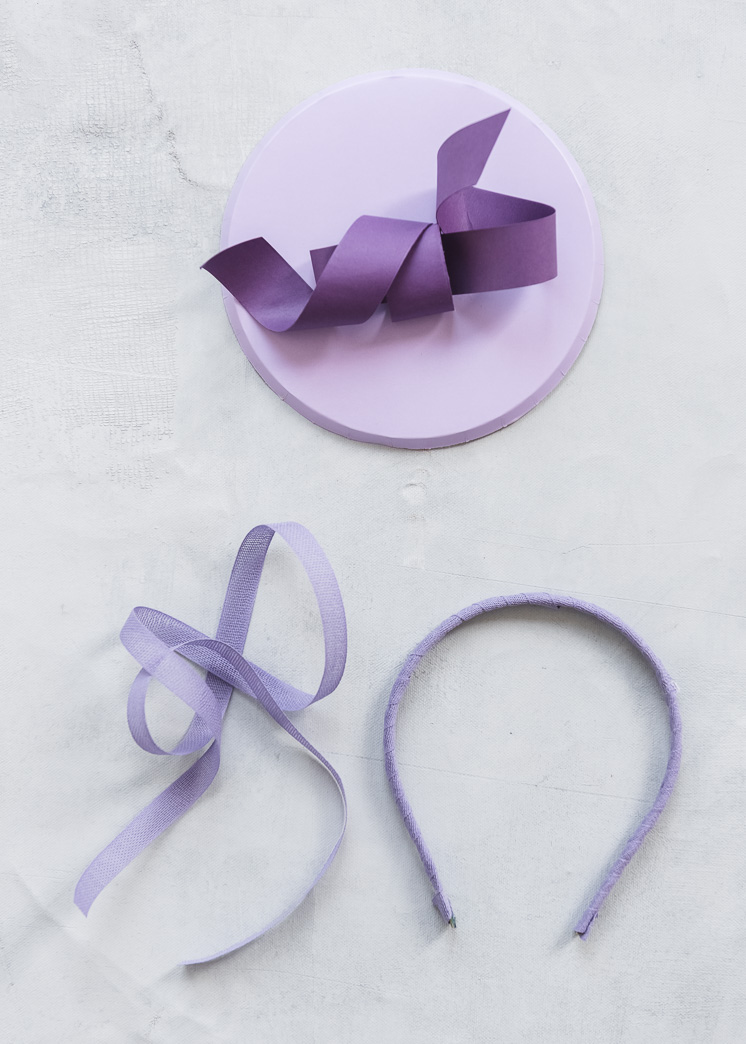
- 2 1-inch wide by 12-inch long strips of purple cardstock
- 1 small purple plate. We used the new double-sided plates from Oh Happy Day!
- Hot Glue Gun
- Scissors
- Headband
Instructions:
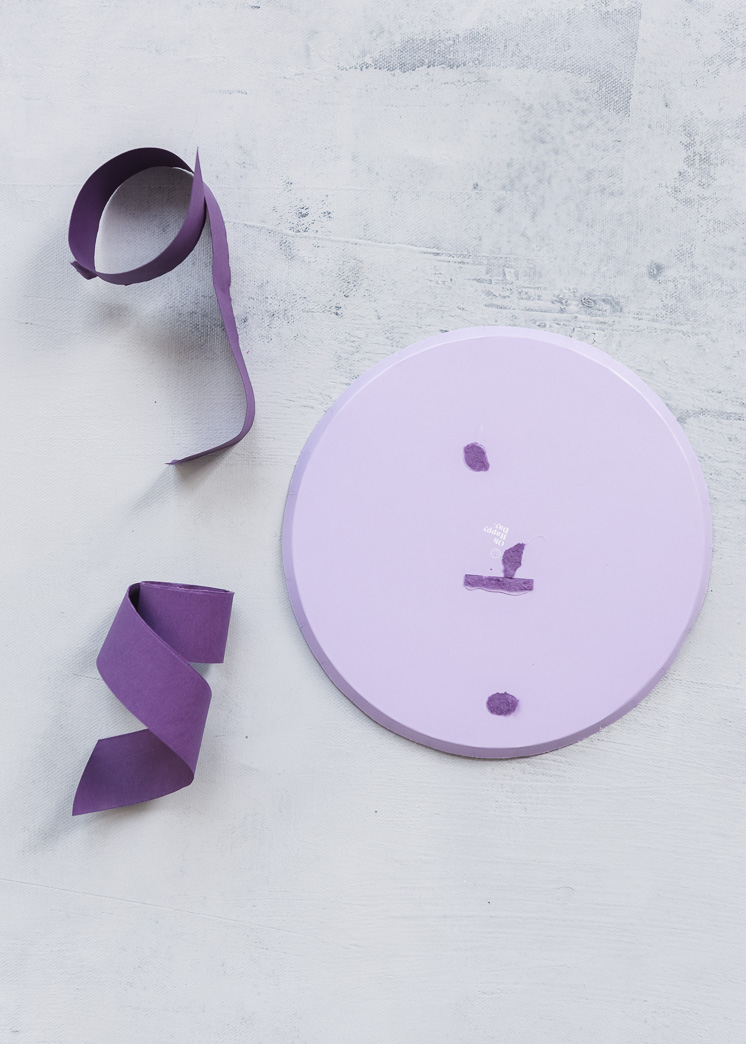
- With scissors, curl the 2 strips of paper, like you would with balloon ribbon.
- Glue the edge of the first strip to the center of the plate, with the long end of the ribbon hanging off the left edge of the plate.
- Place a finger about 1 inch from the edge you’ve glued down, and bend the ribbon back over the portion you glued to create a loop.
- Continue the ribbon to the right side and curl it into a little curly-q, securing it in place with a dot of hot glue on the plate.
- With the other strip, create a loop over the center of the first strip and secure with glue.
- Continue the remainder of the strip to the left, shaping into another curl and securing the shape with a dap of glue.
- Glue onto a headband.
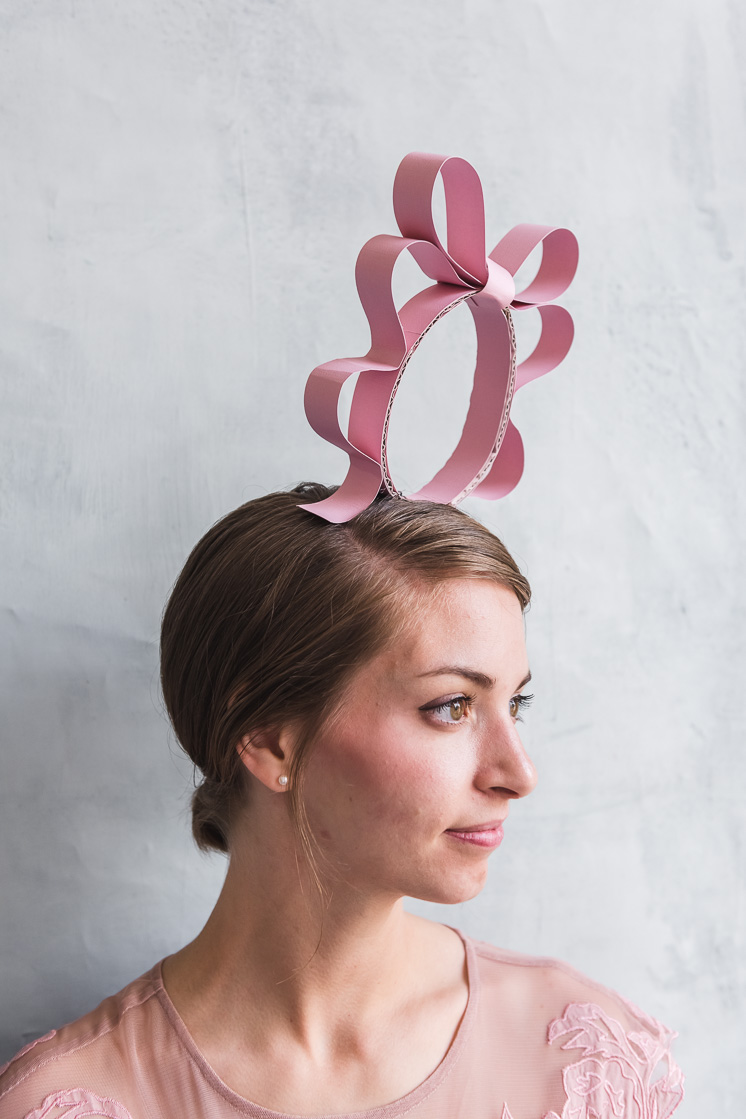
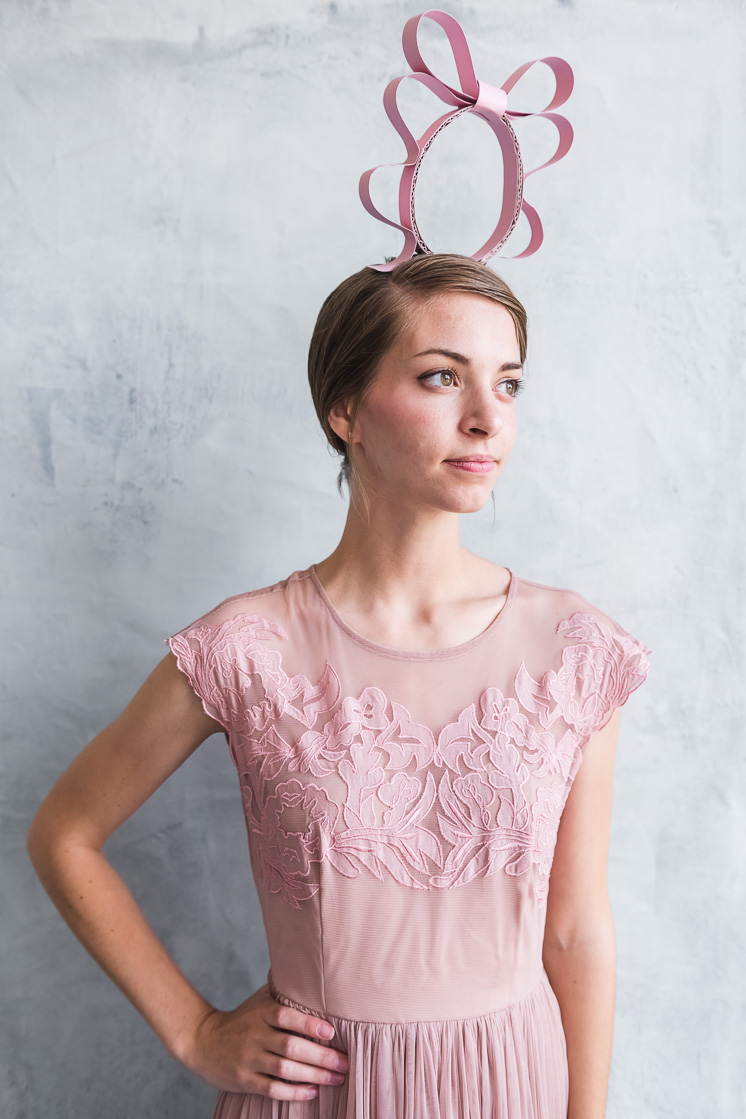
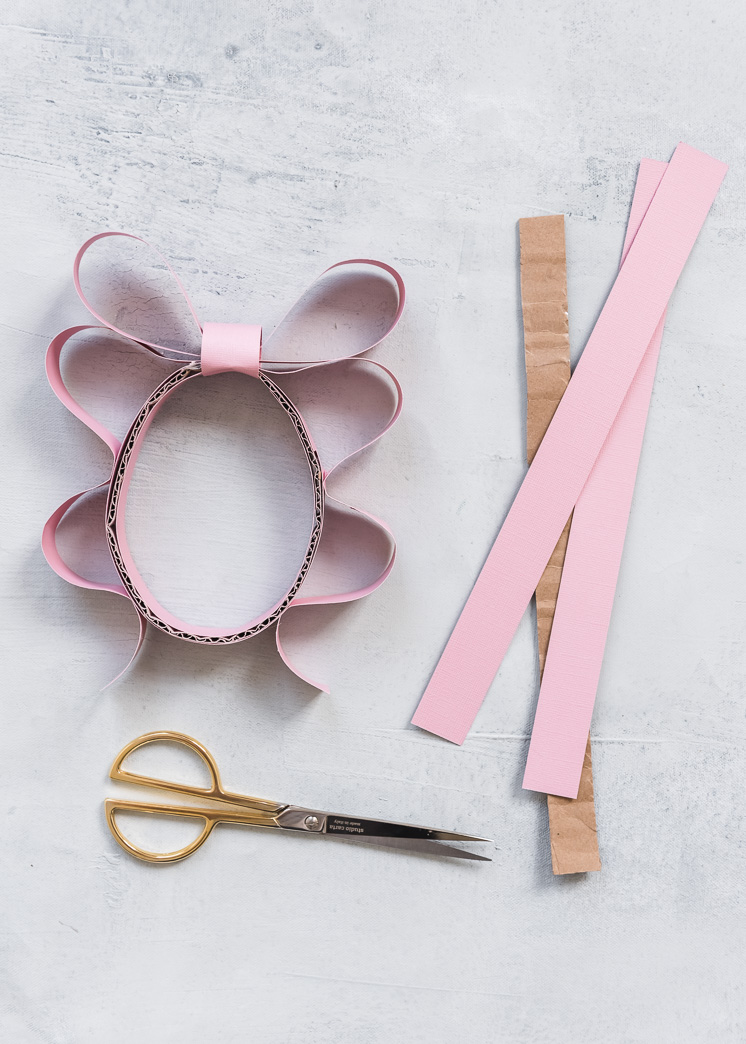
Princess Beatrice-Inspired Fascinator
Materials:
- A 1-inch wide, 16-inch long piece of cardboard, cut against the grain so you can bend it.
- 1 piece of 12″by12″ piece of blush cardstock cut into 1-inch wide by 12-inch long strips
- Hot glue gun
- Scissors
Instructions:
- Roll out the strip of cardboard so it bends and rounds easily.
- Bend the cardboard into an oval shape, overlap the ends, and glue to secure.
- Cover the inner and outer edges of the oval with strips of pink paper and secure with glue.
- Cut 2 strips to 8-inches in length. Bring the two ends of both strips together and glue, to create two loops for the bow.
- Hot glue the two bow loops to the top of the oval, pointing outwards.
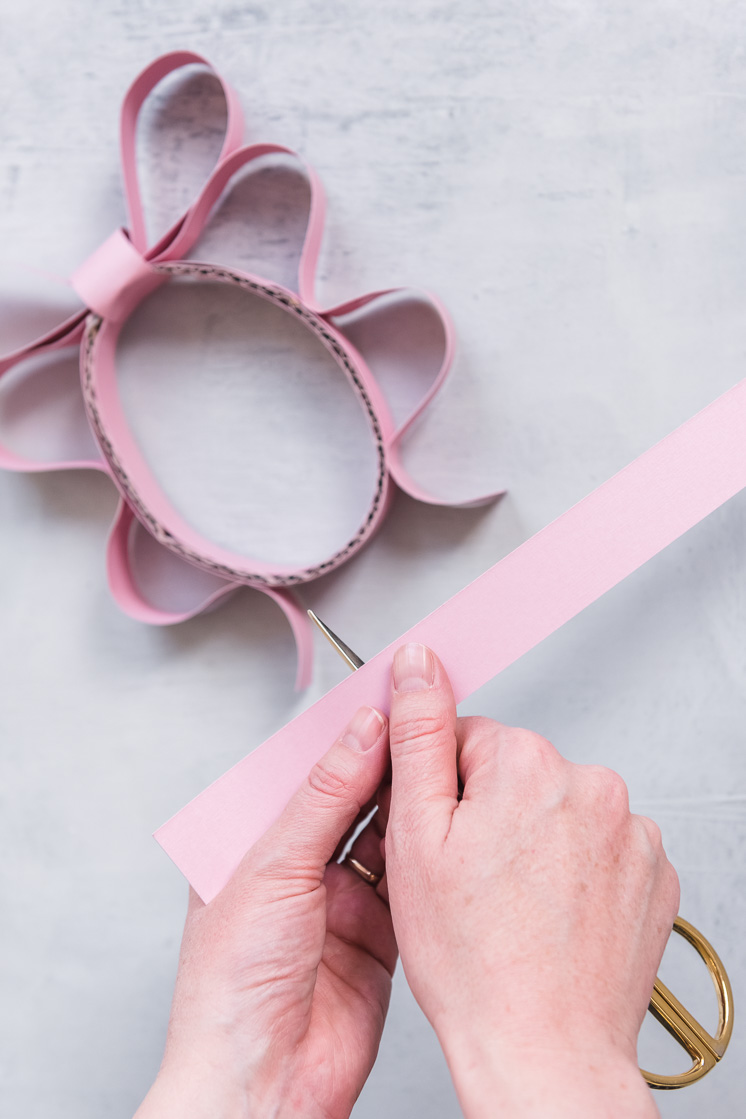
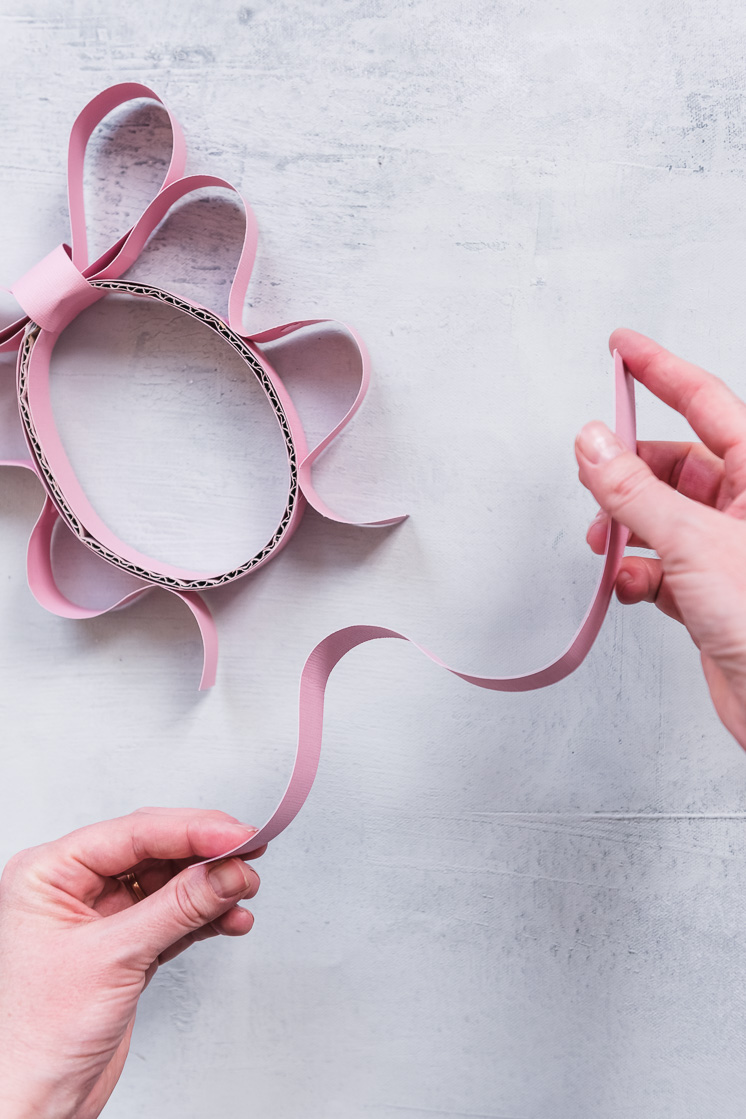
- Take 2 1″x12″ strips of cardstock and curl them with scissors (see pictures below). Glue the end of one curled strip right below one of the bow loops. Repeat with the opposite side.
- Create two waves with the paper on both sides and secure the shape with dots of glue.
- Take a 1″x4″ strip of paper and wrap around the center of the bow loops and glue on the inner side of the oval.
- Secure with bobby pins in your hair!

Hop over to our new shop where we carry our new line of royal wedding souvenirs!
Photography by Jane Merritt | Designs by Rebecca Hansen | Modeling by Kirstin Johnson
Comments