
DIY Paper Tube Chandelier
Materials:
- 4 embroidery hoops: 2 6-inch hoops, 2 9-inch hoops
- 11 sheets of 8.5 by 11-inch Dark Blue paper
- 3 sheets of 8.5 by 11-inch Light Blue paper
- 7 sheets of 8.5 by 11-inch Blush paper
- 2 sheets of 8.5 by 11-inch Mustard paper
- Natural colored twine
- Small hole punch
- Scissors or paper cutter
- Hot glue gun
- Ruler
Instructions:
Making the Tubes
- Separate each embroidery hoop into two pieces. You’ll only need the plain hoops without the hardware, so set the other pieces aside.
- With your dark blue and light pink paper, cut the sheets in half to create strips 4.5-inches wide and 11 inches tall.
- You should have 22 strips of dark blue paper and 14 strips of light pink paper.
- Score one long side of each strip, about 1 cm into the paper. This will create a slight fold that will make gluing the paper into a tube much easier.
- Then cut the mustard and light blue paper into small strips of paper for the base of each tube; 4.5-inches wide by 1.5 inches tall.
- Once you have all your strips cut and scored, time to make the tubes! Roll the dark blue and pink tube into a tube, overlap the two ends so that the one end meets the score line. Secure with hot glue. Do this until you have 22 blue and 14 pink tubes.
- Then wrap the small yellow and light blue strips to the base of each tube and secure with hot glue.
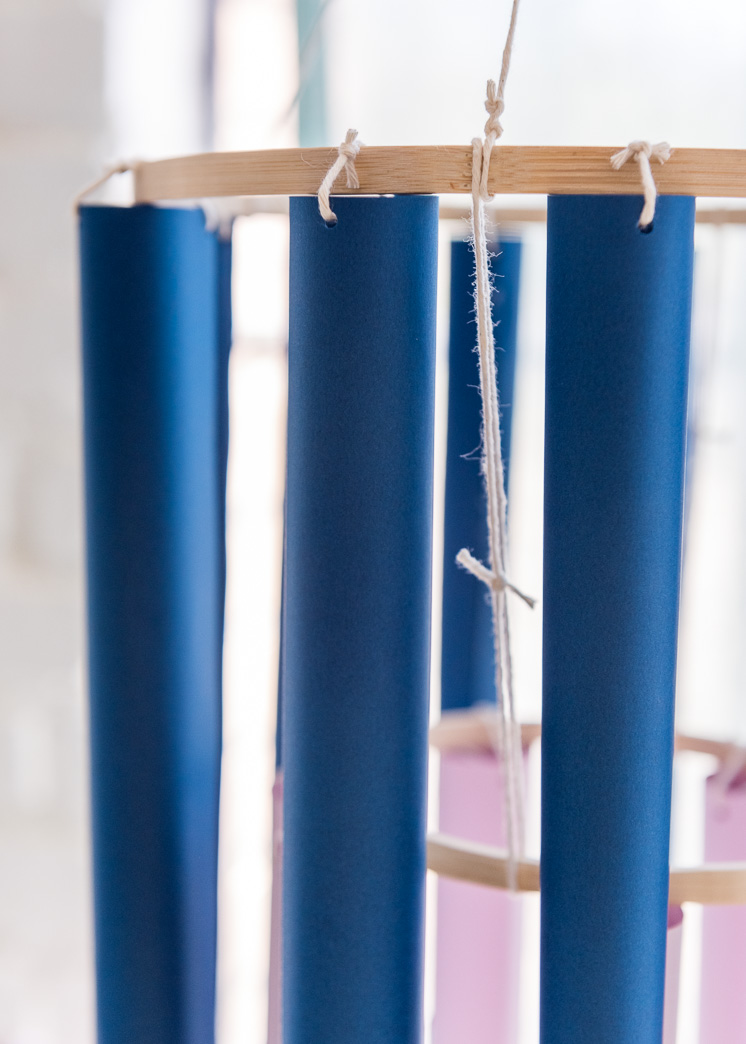
- Punch two small holes at the top of each tube, on opposite sides.
Construction of the Chandelier
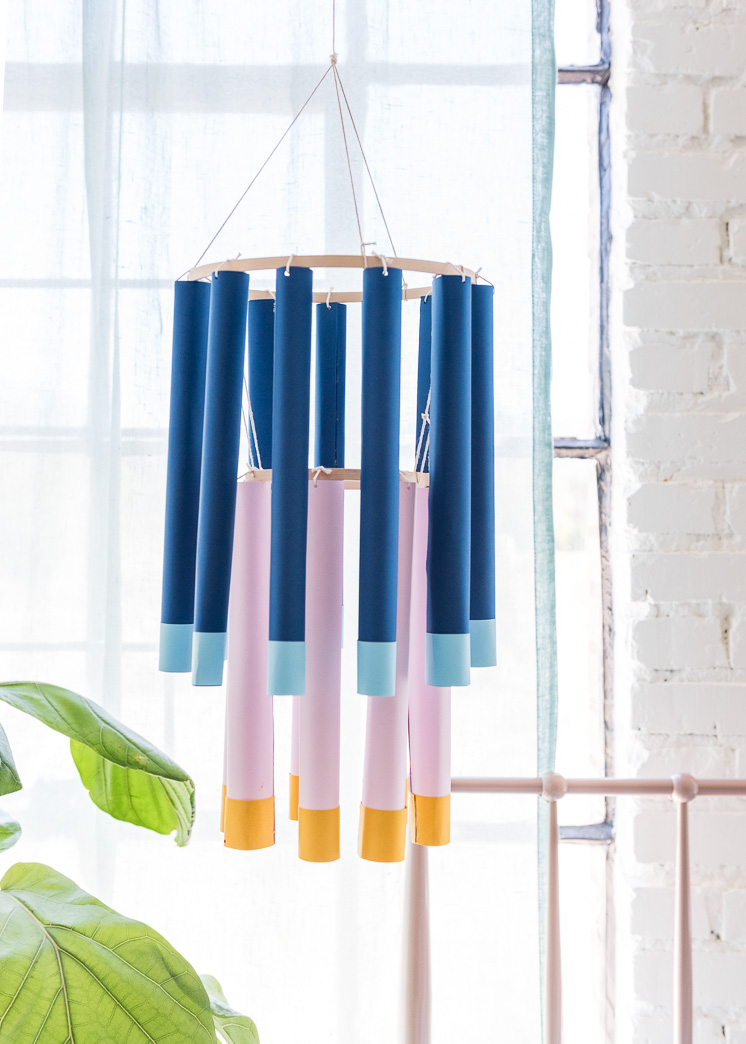
- Grab the 9-inch embroidery hoops, and cut 5-inch pieces of twine to thread through the two holes on each tube. Thread the twine through the two holes of each tube and tie tightly to the embroidery hoop. Each 9-inch hoop will have 11 blue tubes tied to it.
- Do the same for the 6-inch embroidery hoop, tying 7 pink tubes to each hoop.
- Arrange the tubes evenly around the hoops, equidistance from one another and secure with a dot of hot glue so they remain in place.
- Then cut 4 pieces of twine, approximately 16-inches in length. Take two of those strings and tie the small hoop to the larger hoop on opposite ends of the hoops so that the smaller hoop hangs down between the larger hoop.
- To finish, determine how high you’d like your chandelier to be, and measure the length of string you’ll need. Cut 3 pieces of twine that same length and tie onto the large embroidery hoop in three places, equidistance from each other. Bring the strings together about a foot above the hoop, and tie together. Then hang where desired.
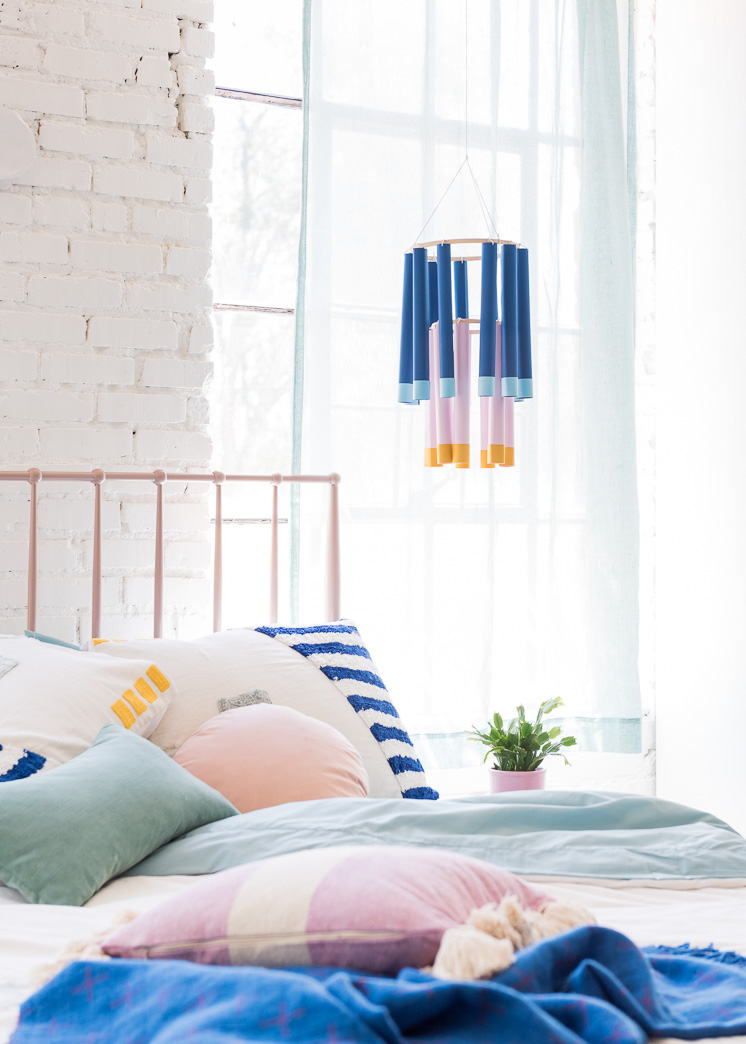
Shop the look: Bed Frame, Mattress, Duvet Cover, sham, Throw pillow







Comments