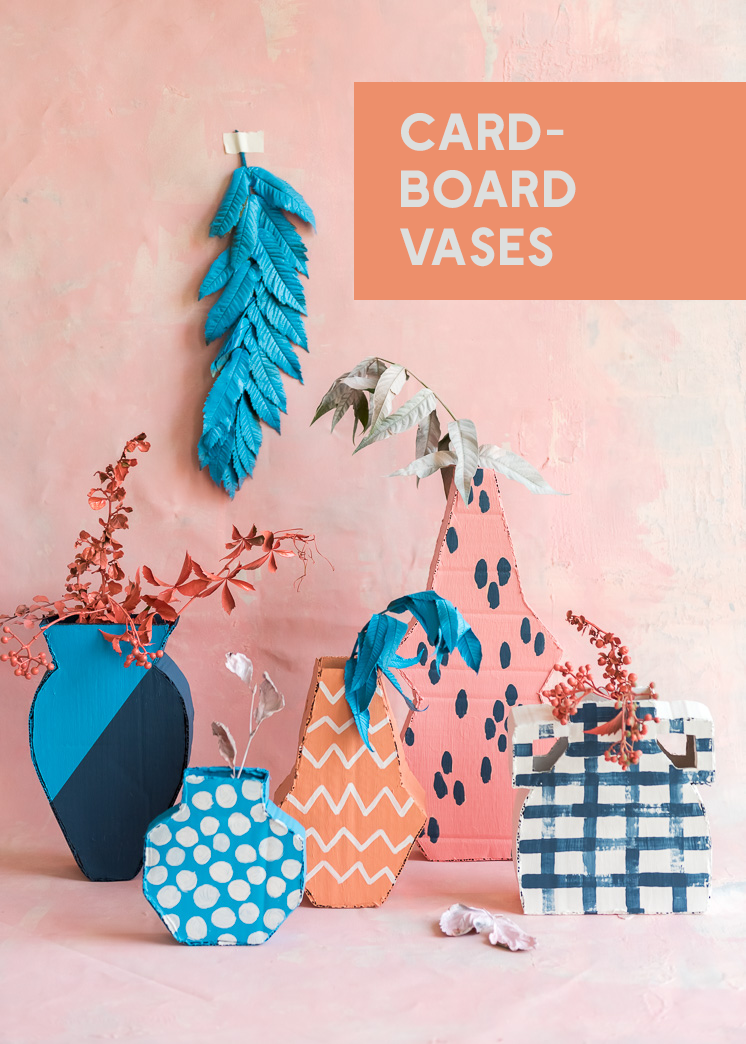
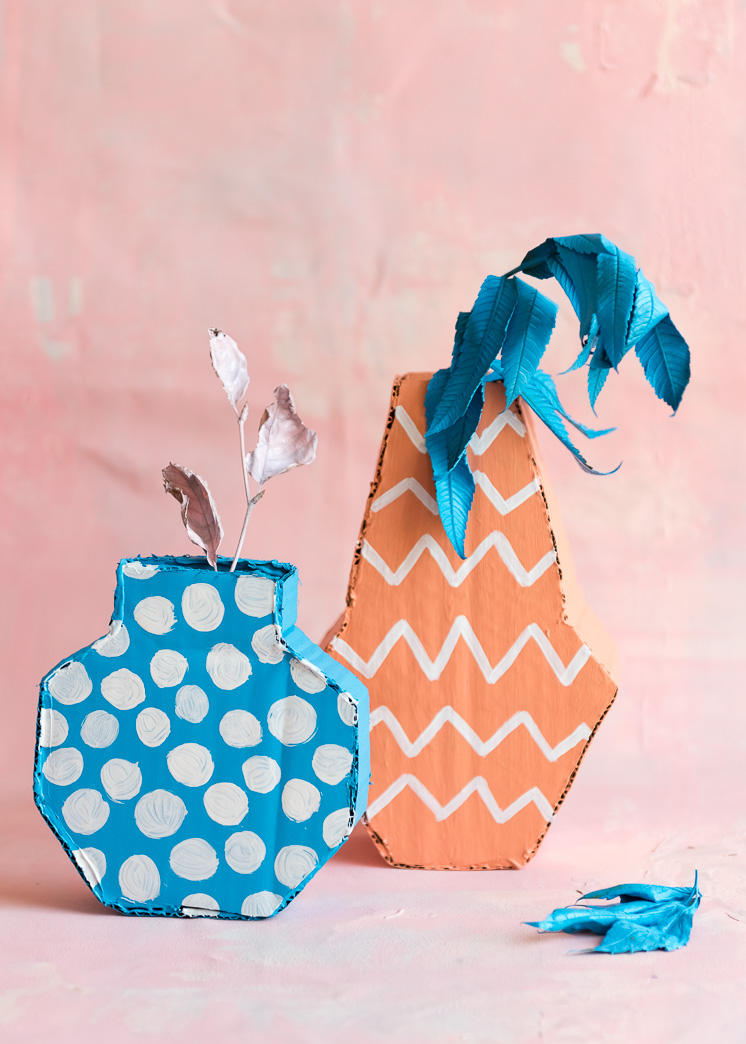
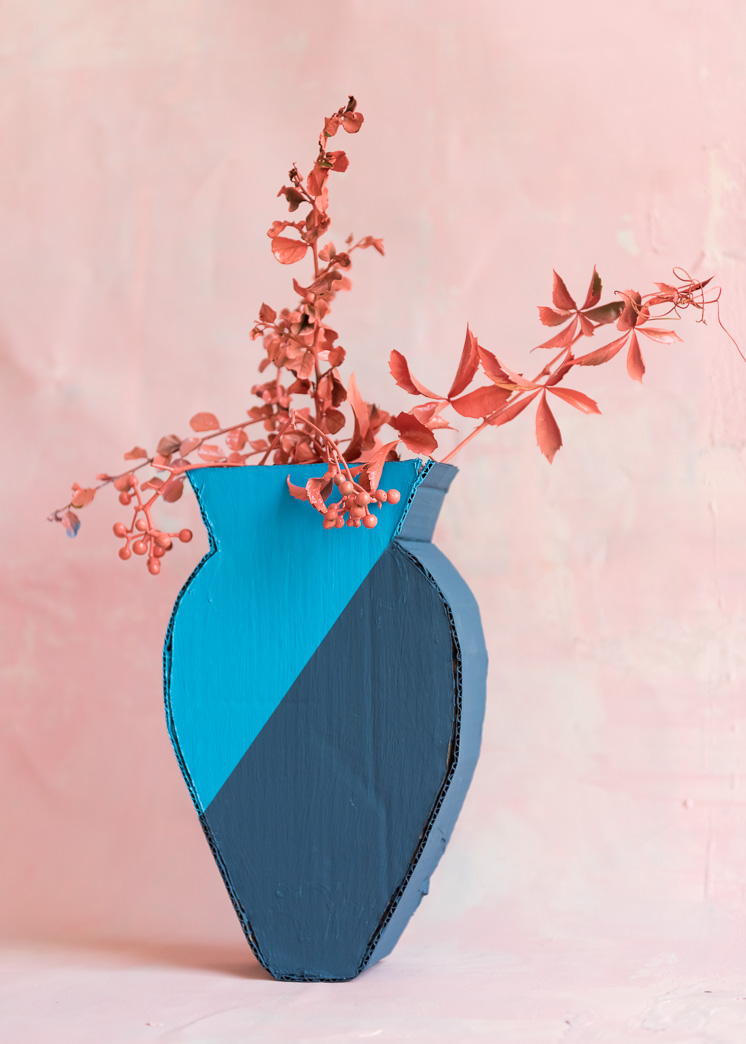
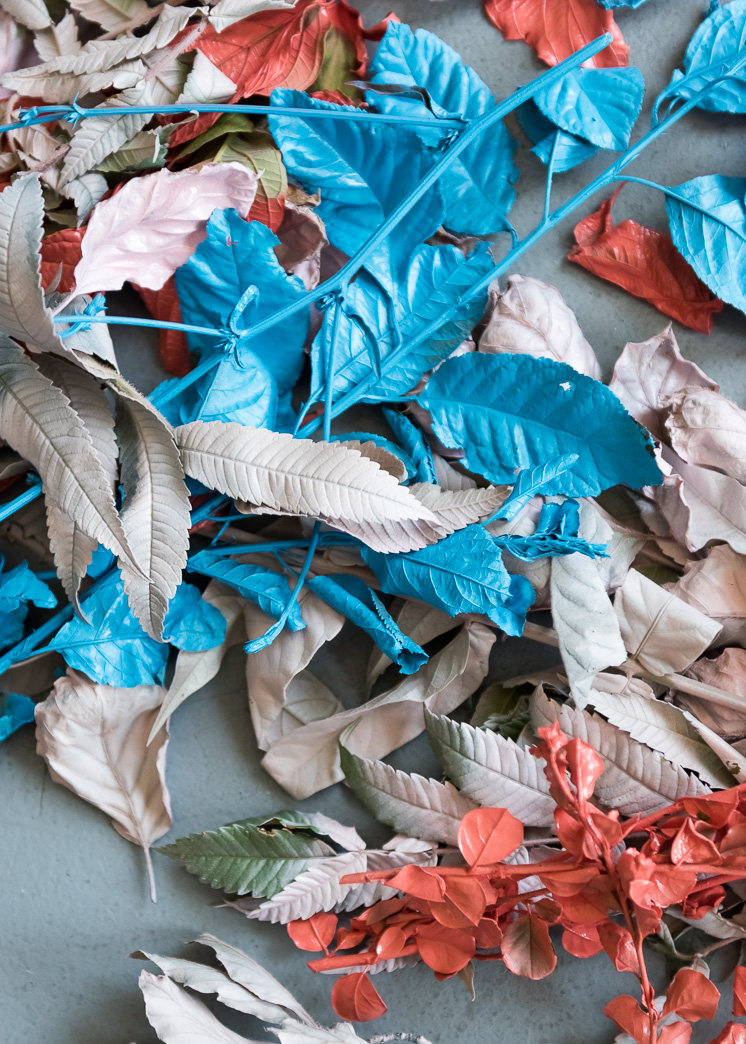
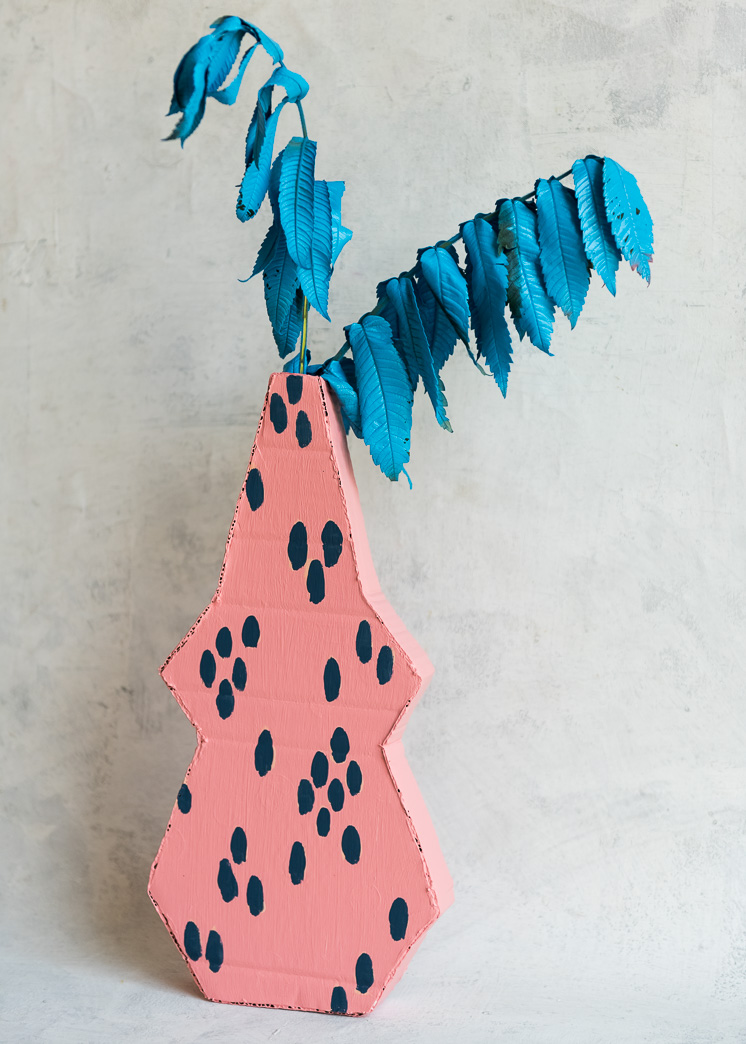
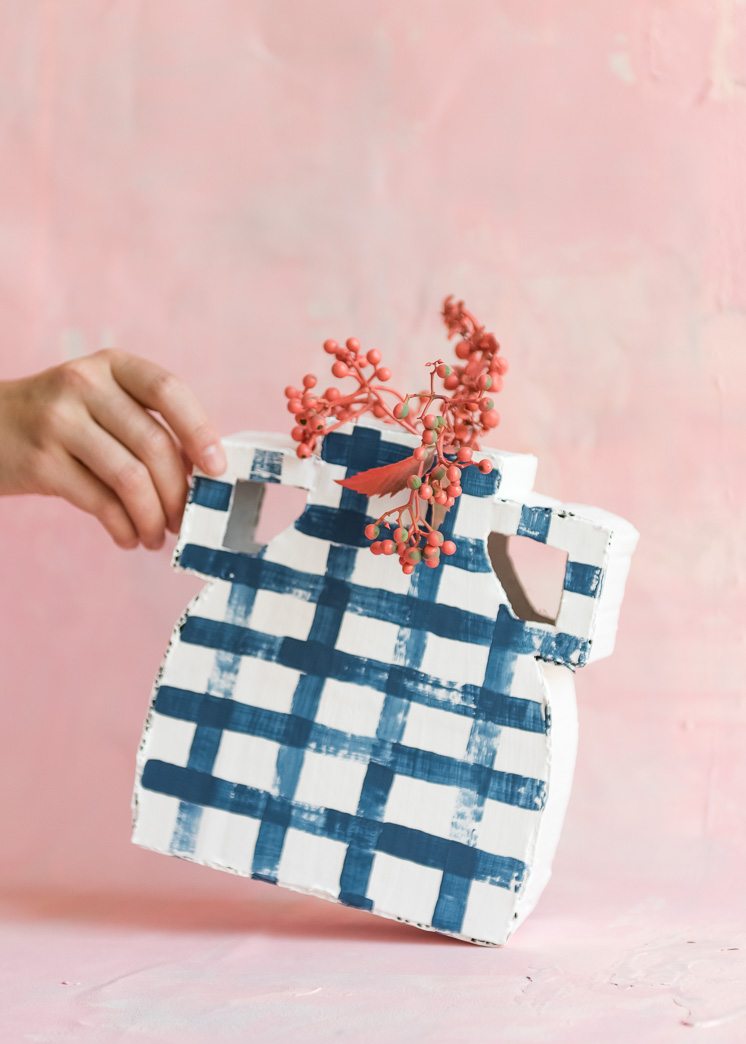
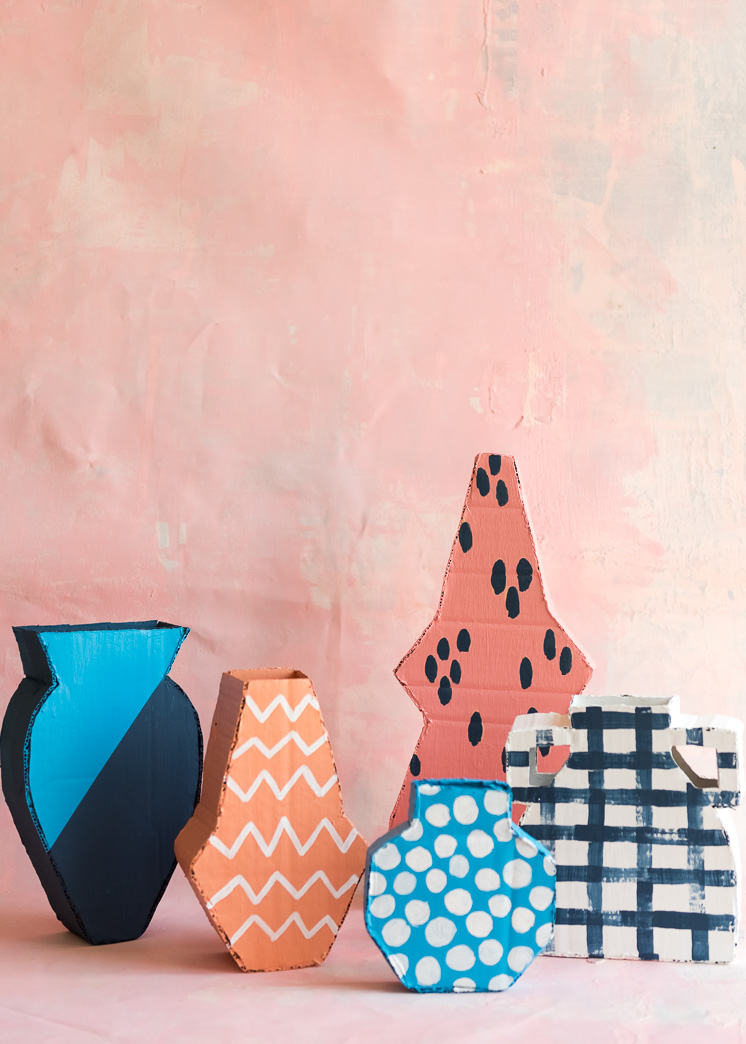
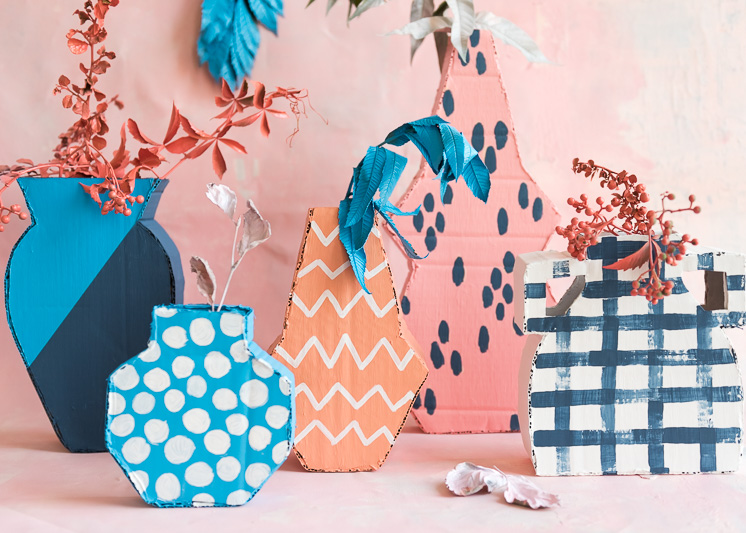
A little while ago we made some DIY Painted cardboard vases inspired by traditional blue and white ones. We loved them but then we thought, we need to make some that can actually hold something! So behold the upgrade: 2D Cardboard Vases! These are an easy project to whip up in just a few hours. To create, you basically follow the same course of action you would take to create a pinata, but on a smaller scale. All you need is cardboard, tape, hot glue, and paint! We styled ours with spray painted leaves and branches we foraged in our backyard, but now they’re currently holding paintbrushes and pencils! You could fill them with fresh flowers by slipping a small jar filled with water inside the cardboard vase first.
Let’s get started on some 2D Cardboard Vases!
2D Cardboard Vases
Materials:
- Old cardboard boxes
- Shipping Tape
- Hot Glue gun
- House, spray, and/or acrylic paint
- Paintbrushes
Instructions:
- Using our vases as a guide, draw some vase shapes onto cardboard, cutting out 2 of each design for each vase to create and front and a back.
- Then cut strips of cardboard (perpendicular to the grain or corrugation so they bend easily) long enough to go all the way around each vase shape, leaving the top open. We varied the widths of cardboard we used for each vase but the varied between 2 and 4 inches wide. If you want to put fresh flowers in the vases, make sure your vase is wide enough to hold a vase inside it.
- Take one side of the vase and wrap the siding around it, hot gluing it carefully to the edges. You can also use shipping tape to connect the sides to the front and back, just make sure the tape is on the inside of the vase so it won’t show on the outside.
- Repeat with the other side of the vase.
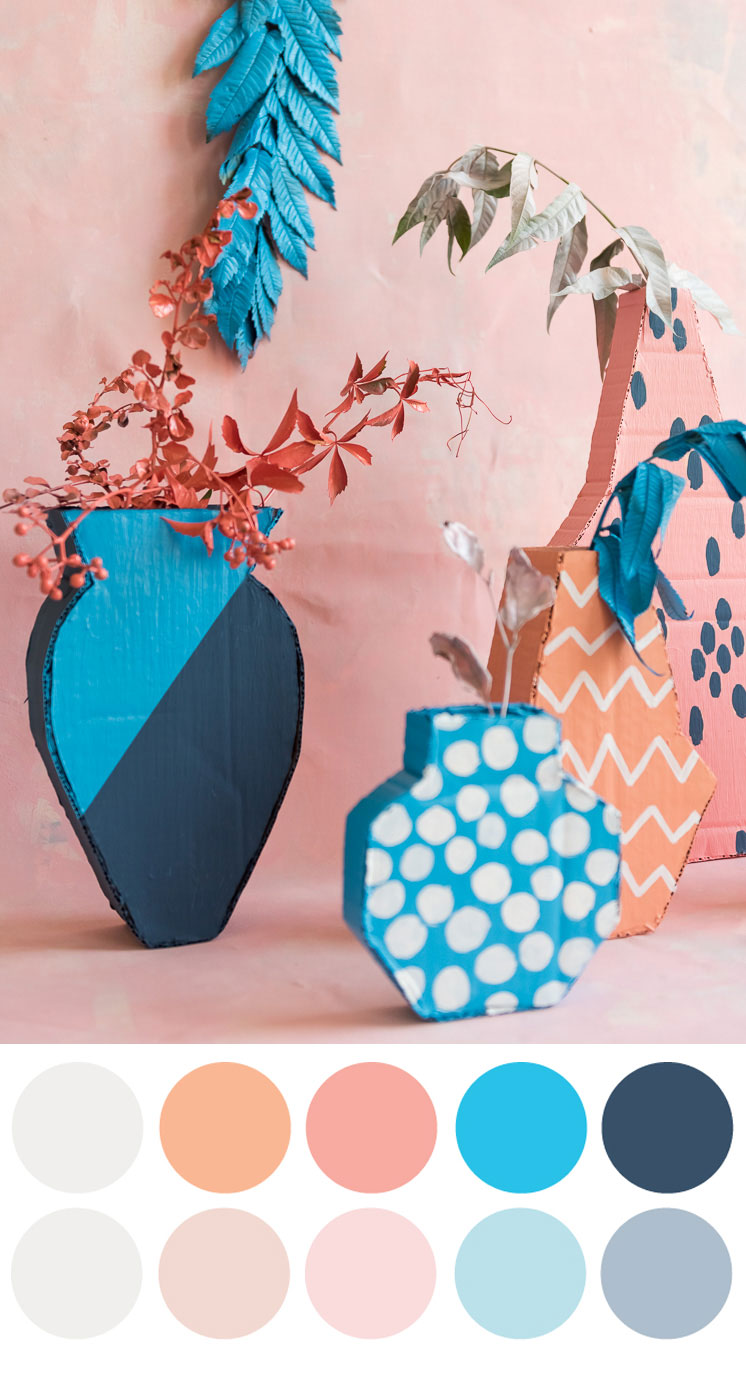
- Paint your vases with a base coat using house or spray paint. Let dry.
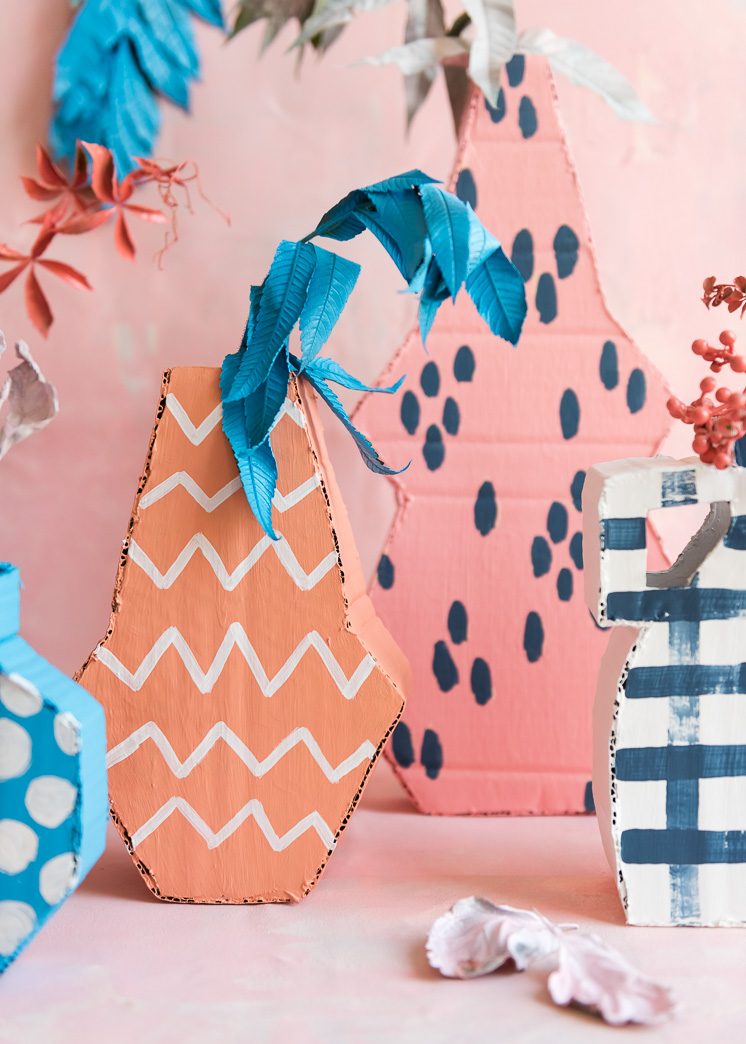
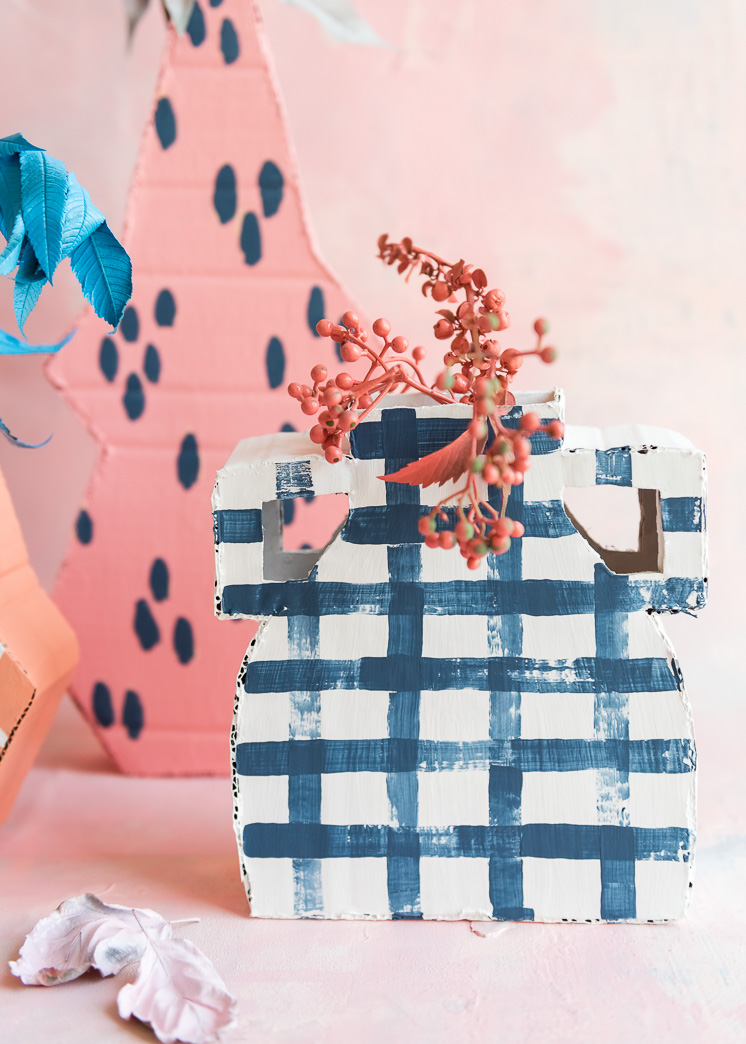
- Add details and patterns like polka dots, stripes, and plaid with house or acrylic paints.


Comments