 Every week for the next 4 weeks we are focusing on two color chapters of our new journal, My Life In Color. This week it’s red and pink!
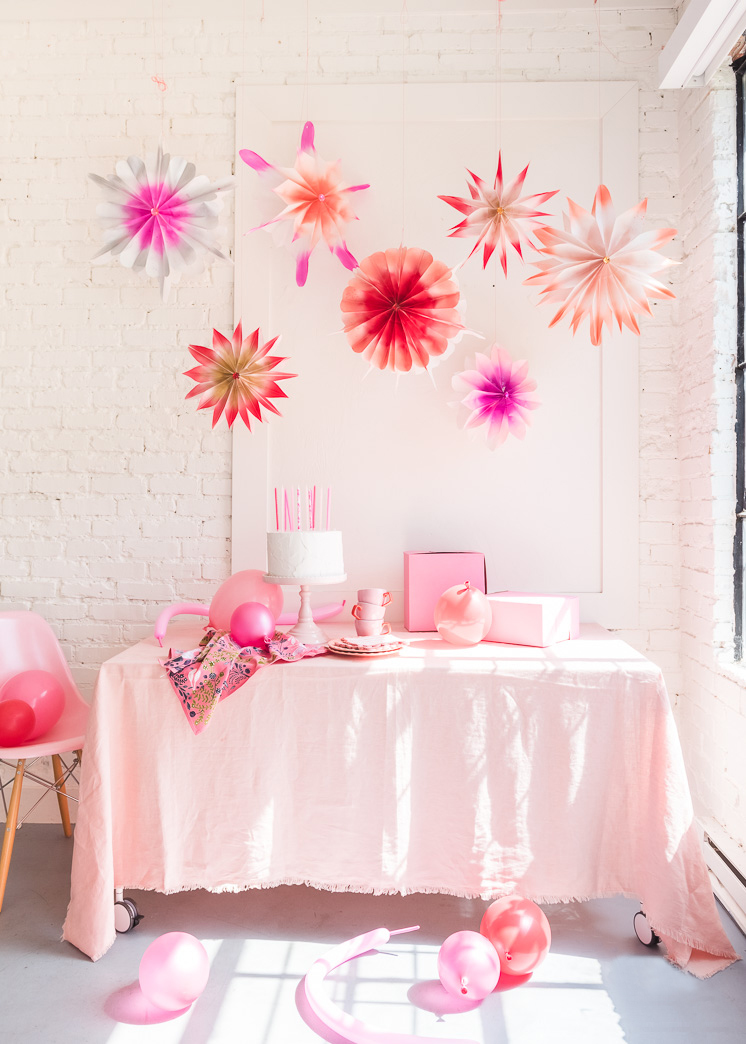
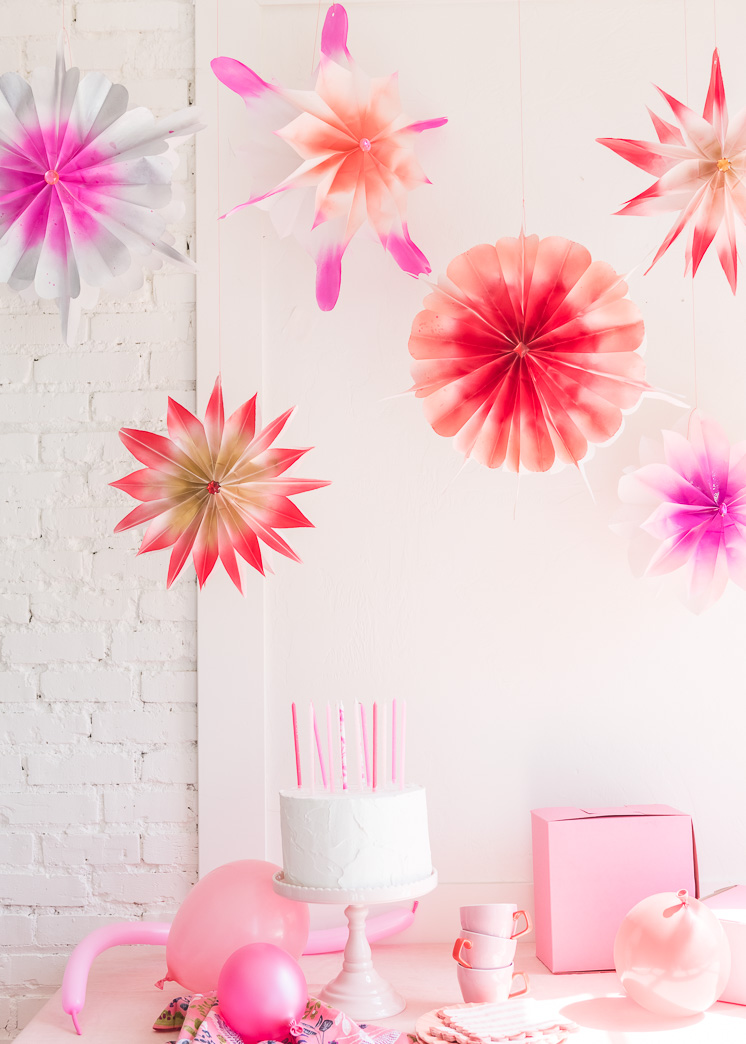
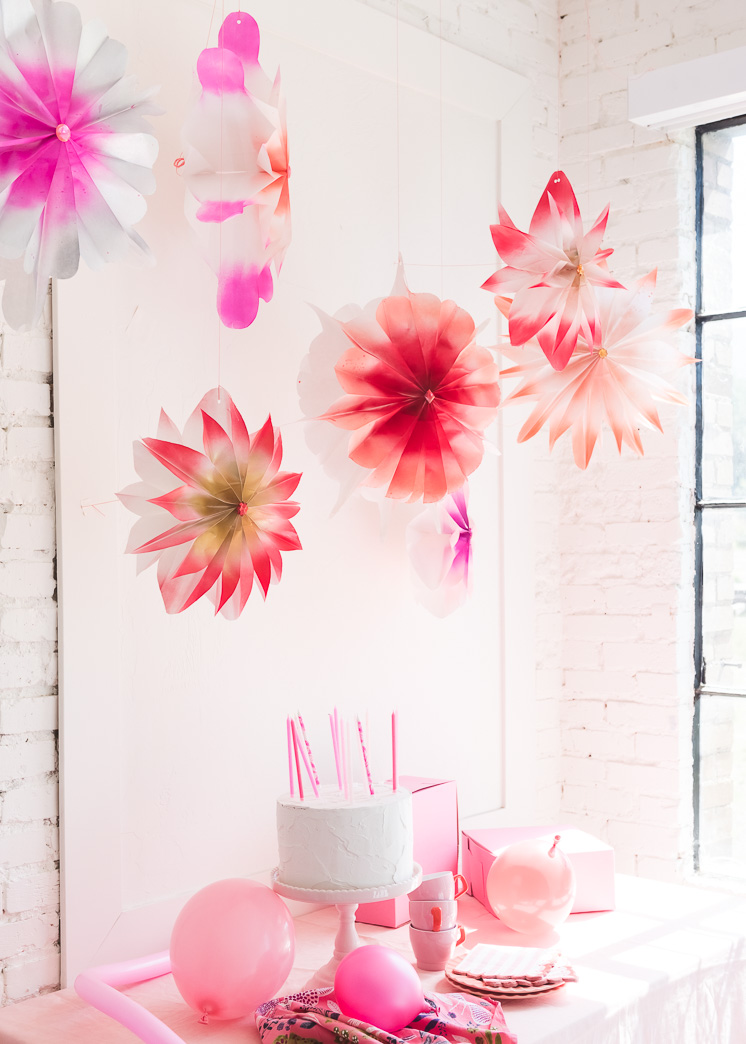
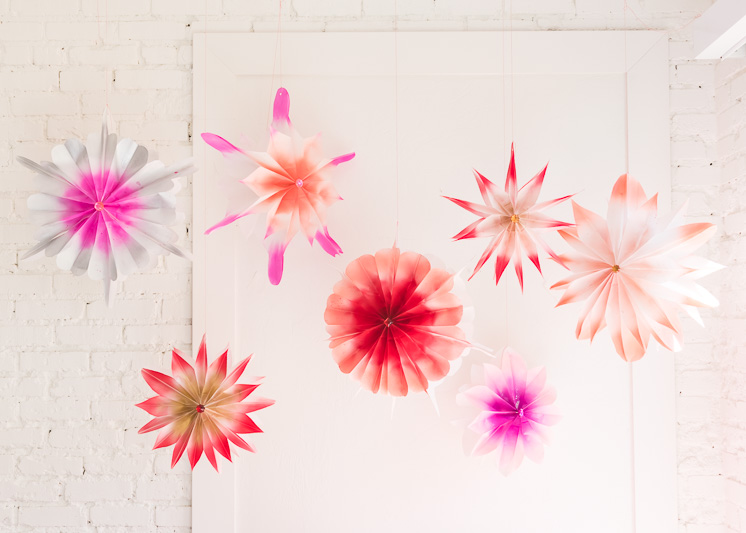
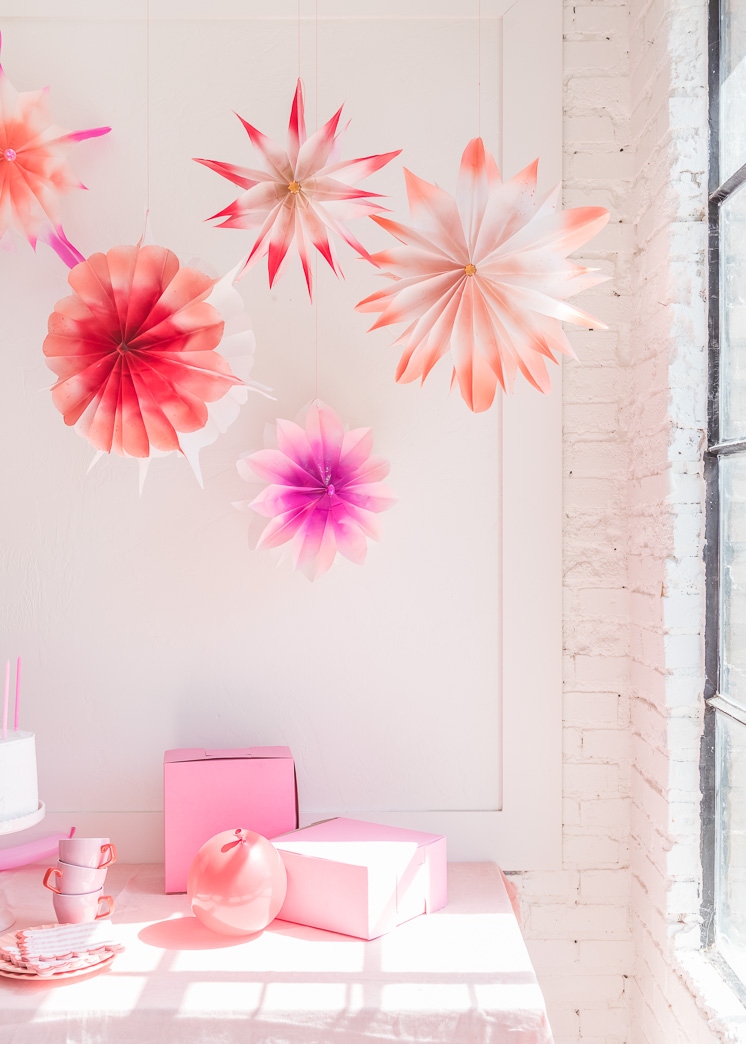
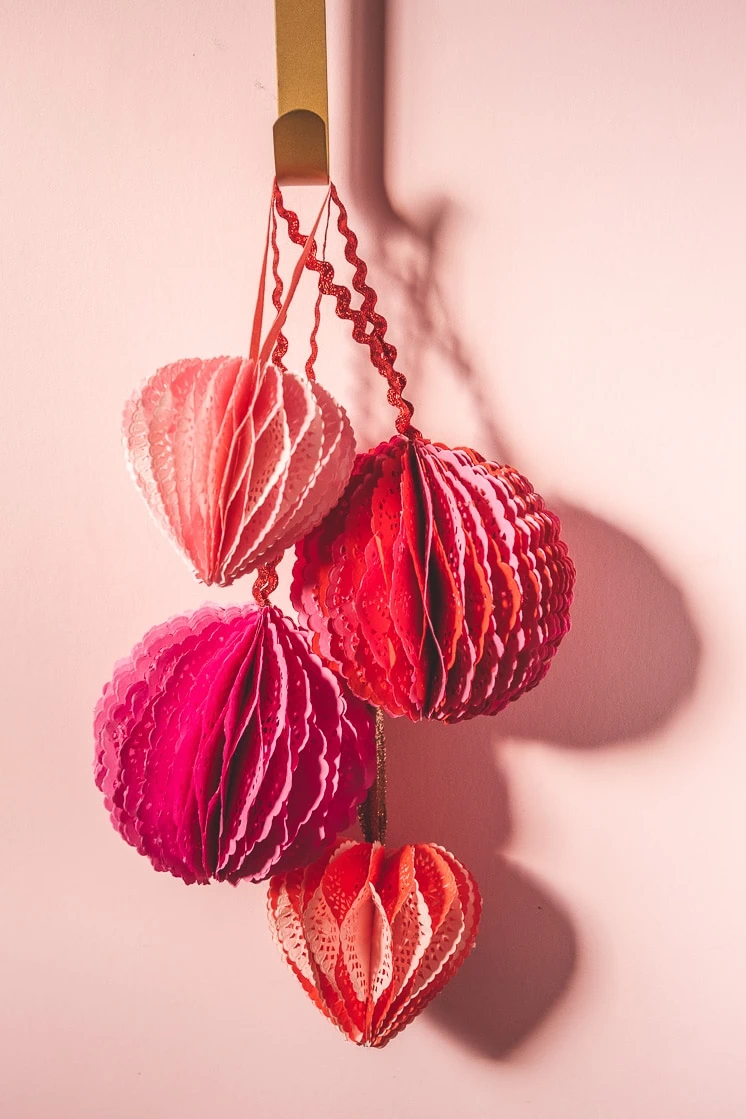
We’re always looking for easy party decor ideas that add a little extra pizazz without draining your wallet or keeping you up until the wee hours of the morning. This Lunch Sack Honeycomb Fan Hack is a riff off of traditional honeycomb fans you can buy at the party store. However, these are MUCH cheaper and much more fun with all the different shape variations you can create! Not to mention the options with spray paint–the sky’s the limit! Each Lunch Sack Honeycomb Fan uses 6-10 paper bags, in whatever size you’d like, and comes together really quickly. Glue, scissors, string, and spray paint are the only other materials needed to create a stunning display! Hang above a party table like we’ve done here, or against a wall as a background. Along a banister would be stunning too! You can customize these for any holiday by using specific paint colors.
 Lunch Sack Honeycomb Fan Hack
Materials:
- White paper lunch bags in various sizes
- Glue stick
- Glue gun
- Scissors
- String
- Hole Punch
- Strong tape to hang
- Spray Paint
- Gemstones, if desired
Instructions:
- With the lunch sack, fold the bottom half of the bag down as like in the photo, a trim just above the fold, so you cut off the bottom of the bag.
- Then draw whatever shape you’d like your honeycomb to be. We’ve shown a basic petal shape here, but you can experiment with other shapes to achieve various looks included in the photos. Cut.
- Repeat with 6-10 paper bags, depending on how dense you’d like your honeycomb to be.
- With your glue stick, draw a “t-shaped” line of glue down the middle of the paper bag and along the bottom and place another paper bag on top.
- Repeat this gluing process with all the bags in the honey.
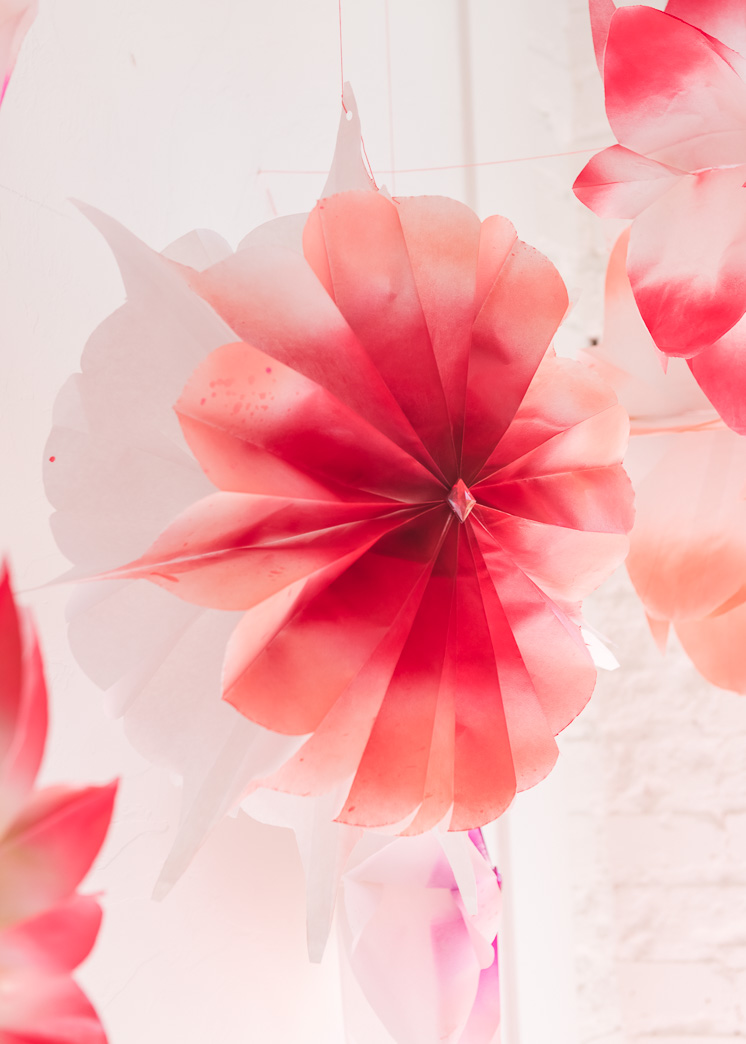
- Then take the top and bottom bags and open up and around to create a medallion shape, and glue the two together with the same “t-shaped” method.
- With the hot glue gun, glue the centers of the paper bags together to stabilize the medallion shape.
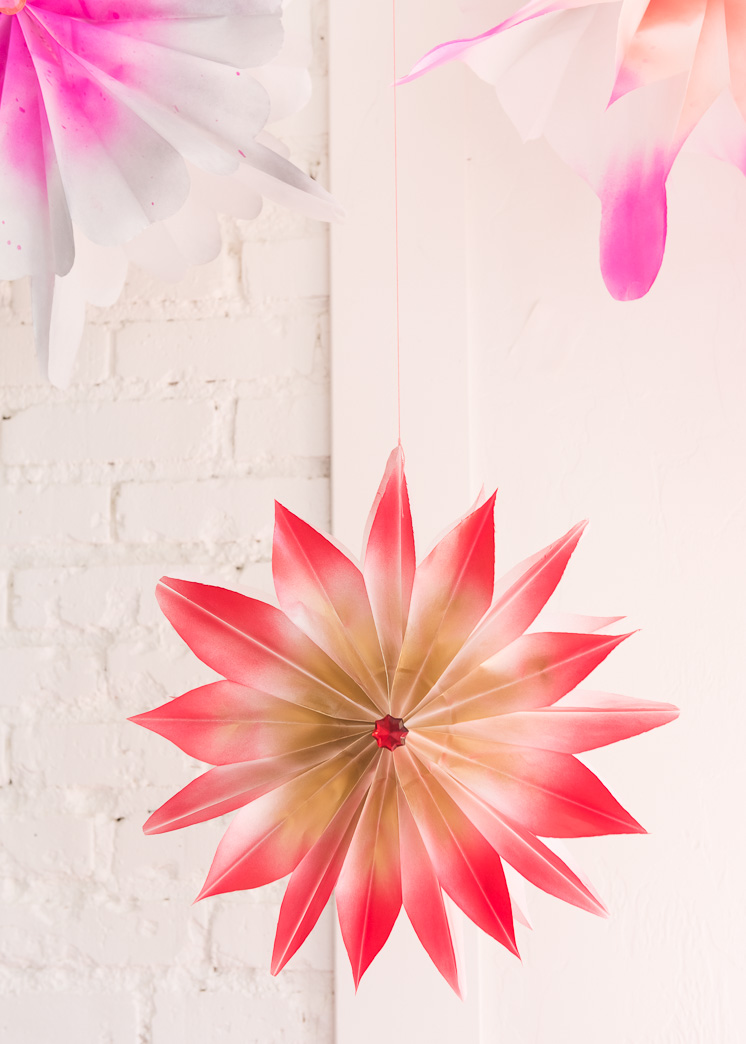
- Use spray paint to add color to the honeycombs. We used various shades of pink and painted the centers and the tips different colors.
- Add a gemstone to the center if desired.
- Punch a hole at the top of each medallion and thread with twine to hang.
What event would you use these for? Would love to hear it!




Comments