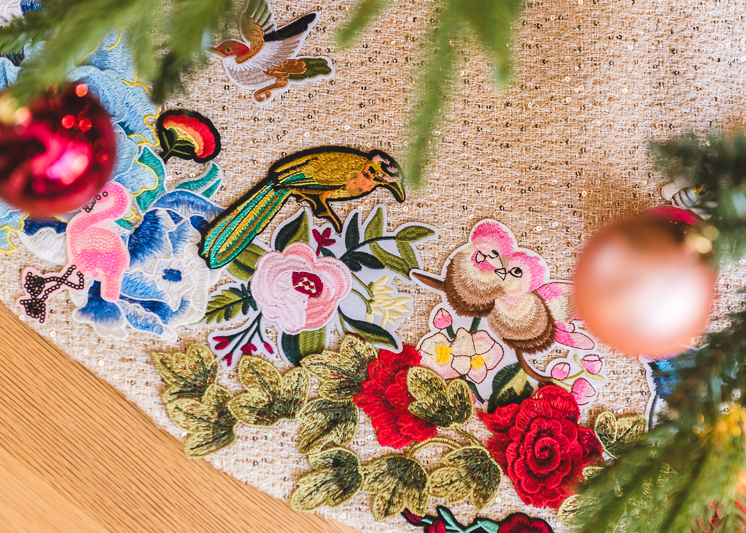
 Rebecca here. The moment I laid my eyes on this Christmas tree skirt from Anthropologie, I started to make plans on how I was going to make a DIY version. It’s a maximalist’s dream! The colors, the sparkle, the textures–I was hooked. I spent the most time scouring the web for embroidered appliques and patches that would work well on the skirt. All of them were reasonably priced and available on amazon prime (score!). Once you have all your materials, the process of actually making the Applique Tree Skirt is fairly simple! Though you do need a sewing machine for the base of the skirt, I applied all the appliques with fabric glue: a much faster method than sewing. This is such a festive tree skirt and certainly heirloom quality. You can certainly customize the looks with your fabric choices and different applique selections, so have fun with it!
Make your own Applique Tree Skirt Hack!
Materials:
- 1 1/2 yards of fabric (the fabric that will show on top)*
- 1 1/2 yards of lining fabric (the fabric on the bottom side of the skirt)*
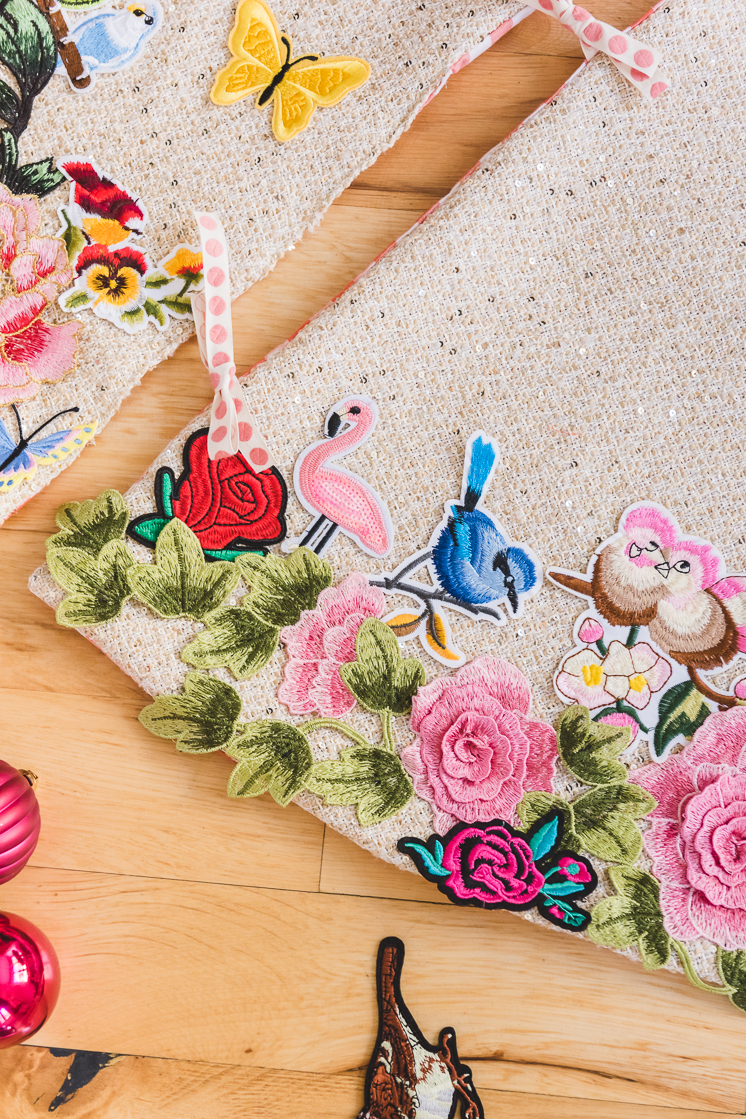
- Various embroidered appliques and patches *See Below! (we used a total of 96 patches: 13 large flowers for the outer edge, and then medium to small sized birds, flowers, and butterflies for the rest)
- 2 yards ribbon of your choice; cut into 6, 8-10 inch long pieces.
- Flexible Measuring Tape
- Fabric Scissors
- Pins
- Thread
- Liquid Stitch Fabric Glue
*Shop the patches we used: Large White Daisies, Blue Flowers, Yellow Butterflies, Small rose pack, 3D Blue Flower, Bird pack, Assorted Flower pack, Large Pink flowers, Large Yellow flower, Birds on branches pack, Large Red Roses, Large Yellow Flowers, Large Light Pink flowers, Large Dark Blue Flowers,
Instructions:
*To start! Decide how large you’d like your tree skirt to be. This will determine the amount of fabric you’ll need. The average tree skirt measures anywhere from 40-inches to 60-inches in diameter. A good rule of thumb is to make your tree skirt as wide as the bottom branches of your Christmas Tree. Ours is about 50-inches wide and the measurements we provide will reflect that end measurement.
Cutting out your fabric:
- Take your lining fabric and fold it in half lengthwise, and then fold it in half again widthwise.
- Identify the corner where all the folds meet, this is the center of your tree skirt.
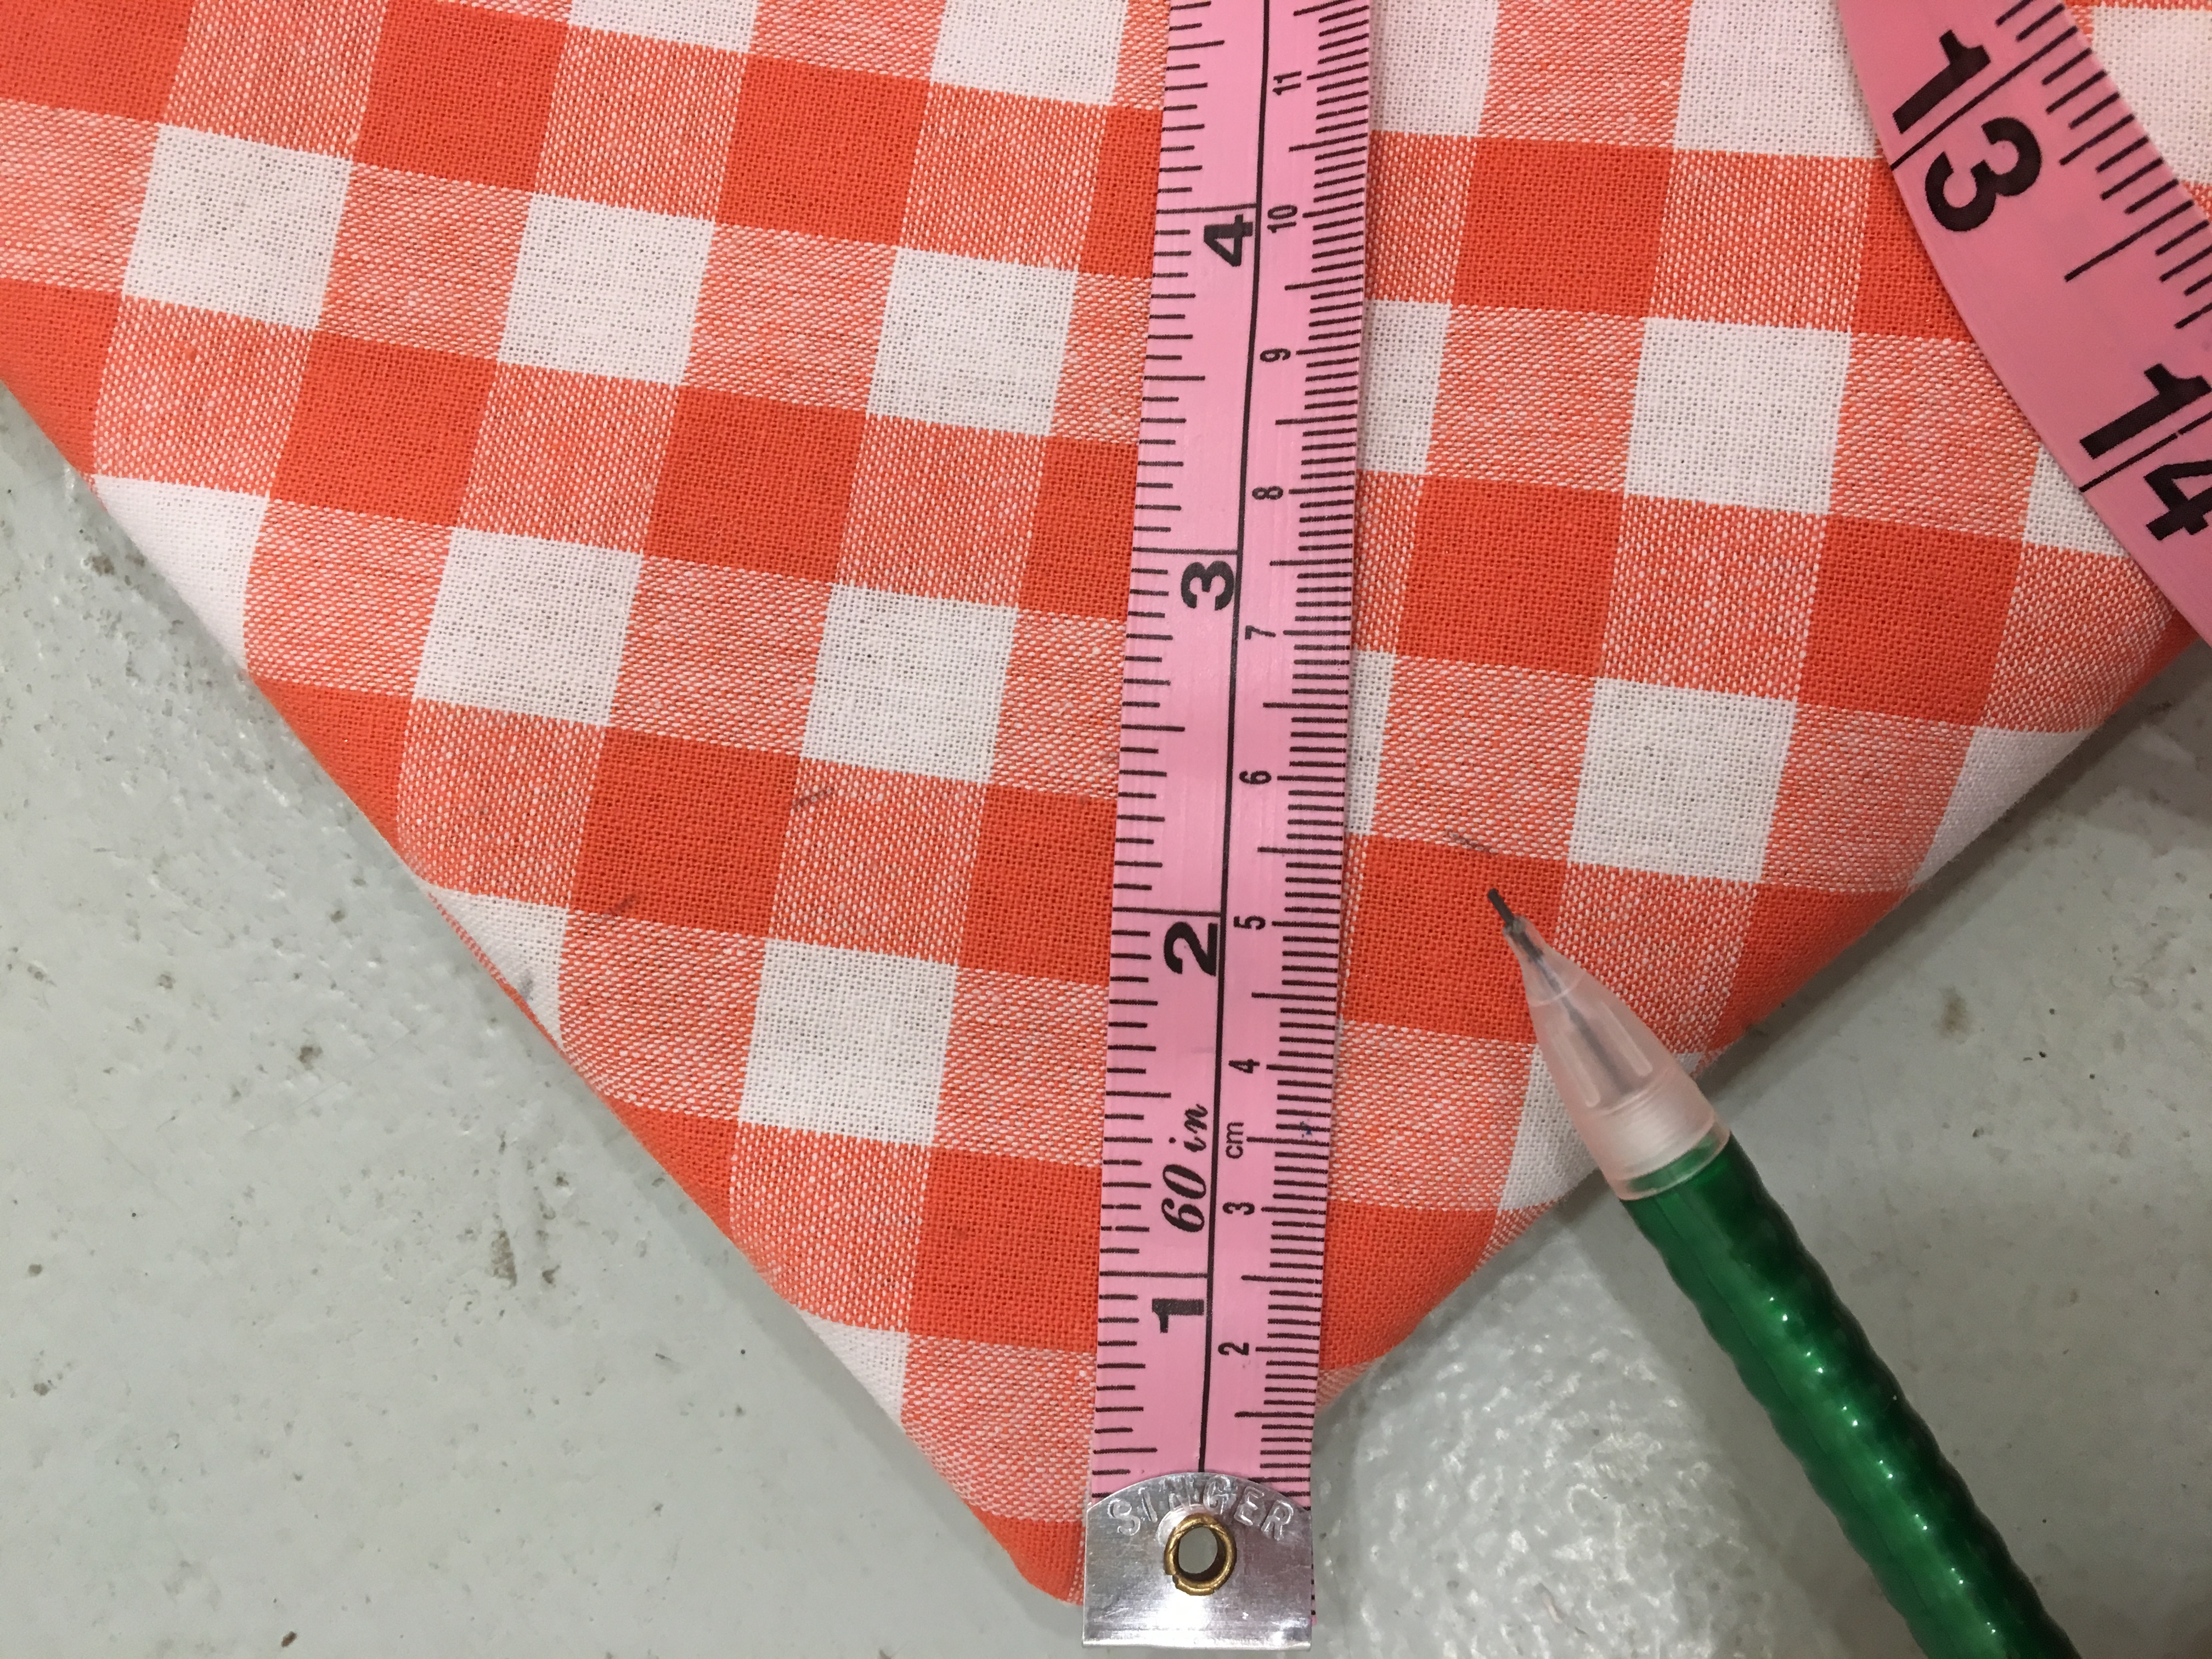
- Hold the end of a measuring tape at the center point and measure out 26″. Mark that measurement with a pin or a small pencil mark. While keeping one end of the measuring tape on the center point, move the measuring tape along the outer edge of the fabric, marking every few inches to identify the outer edge of the circle.
- Cut along your markings through all the layers of fabric. Once you unfold your fabric, you’ll have a circle.
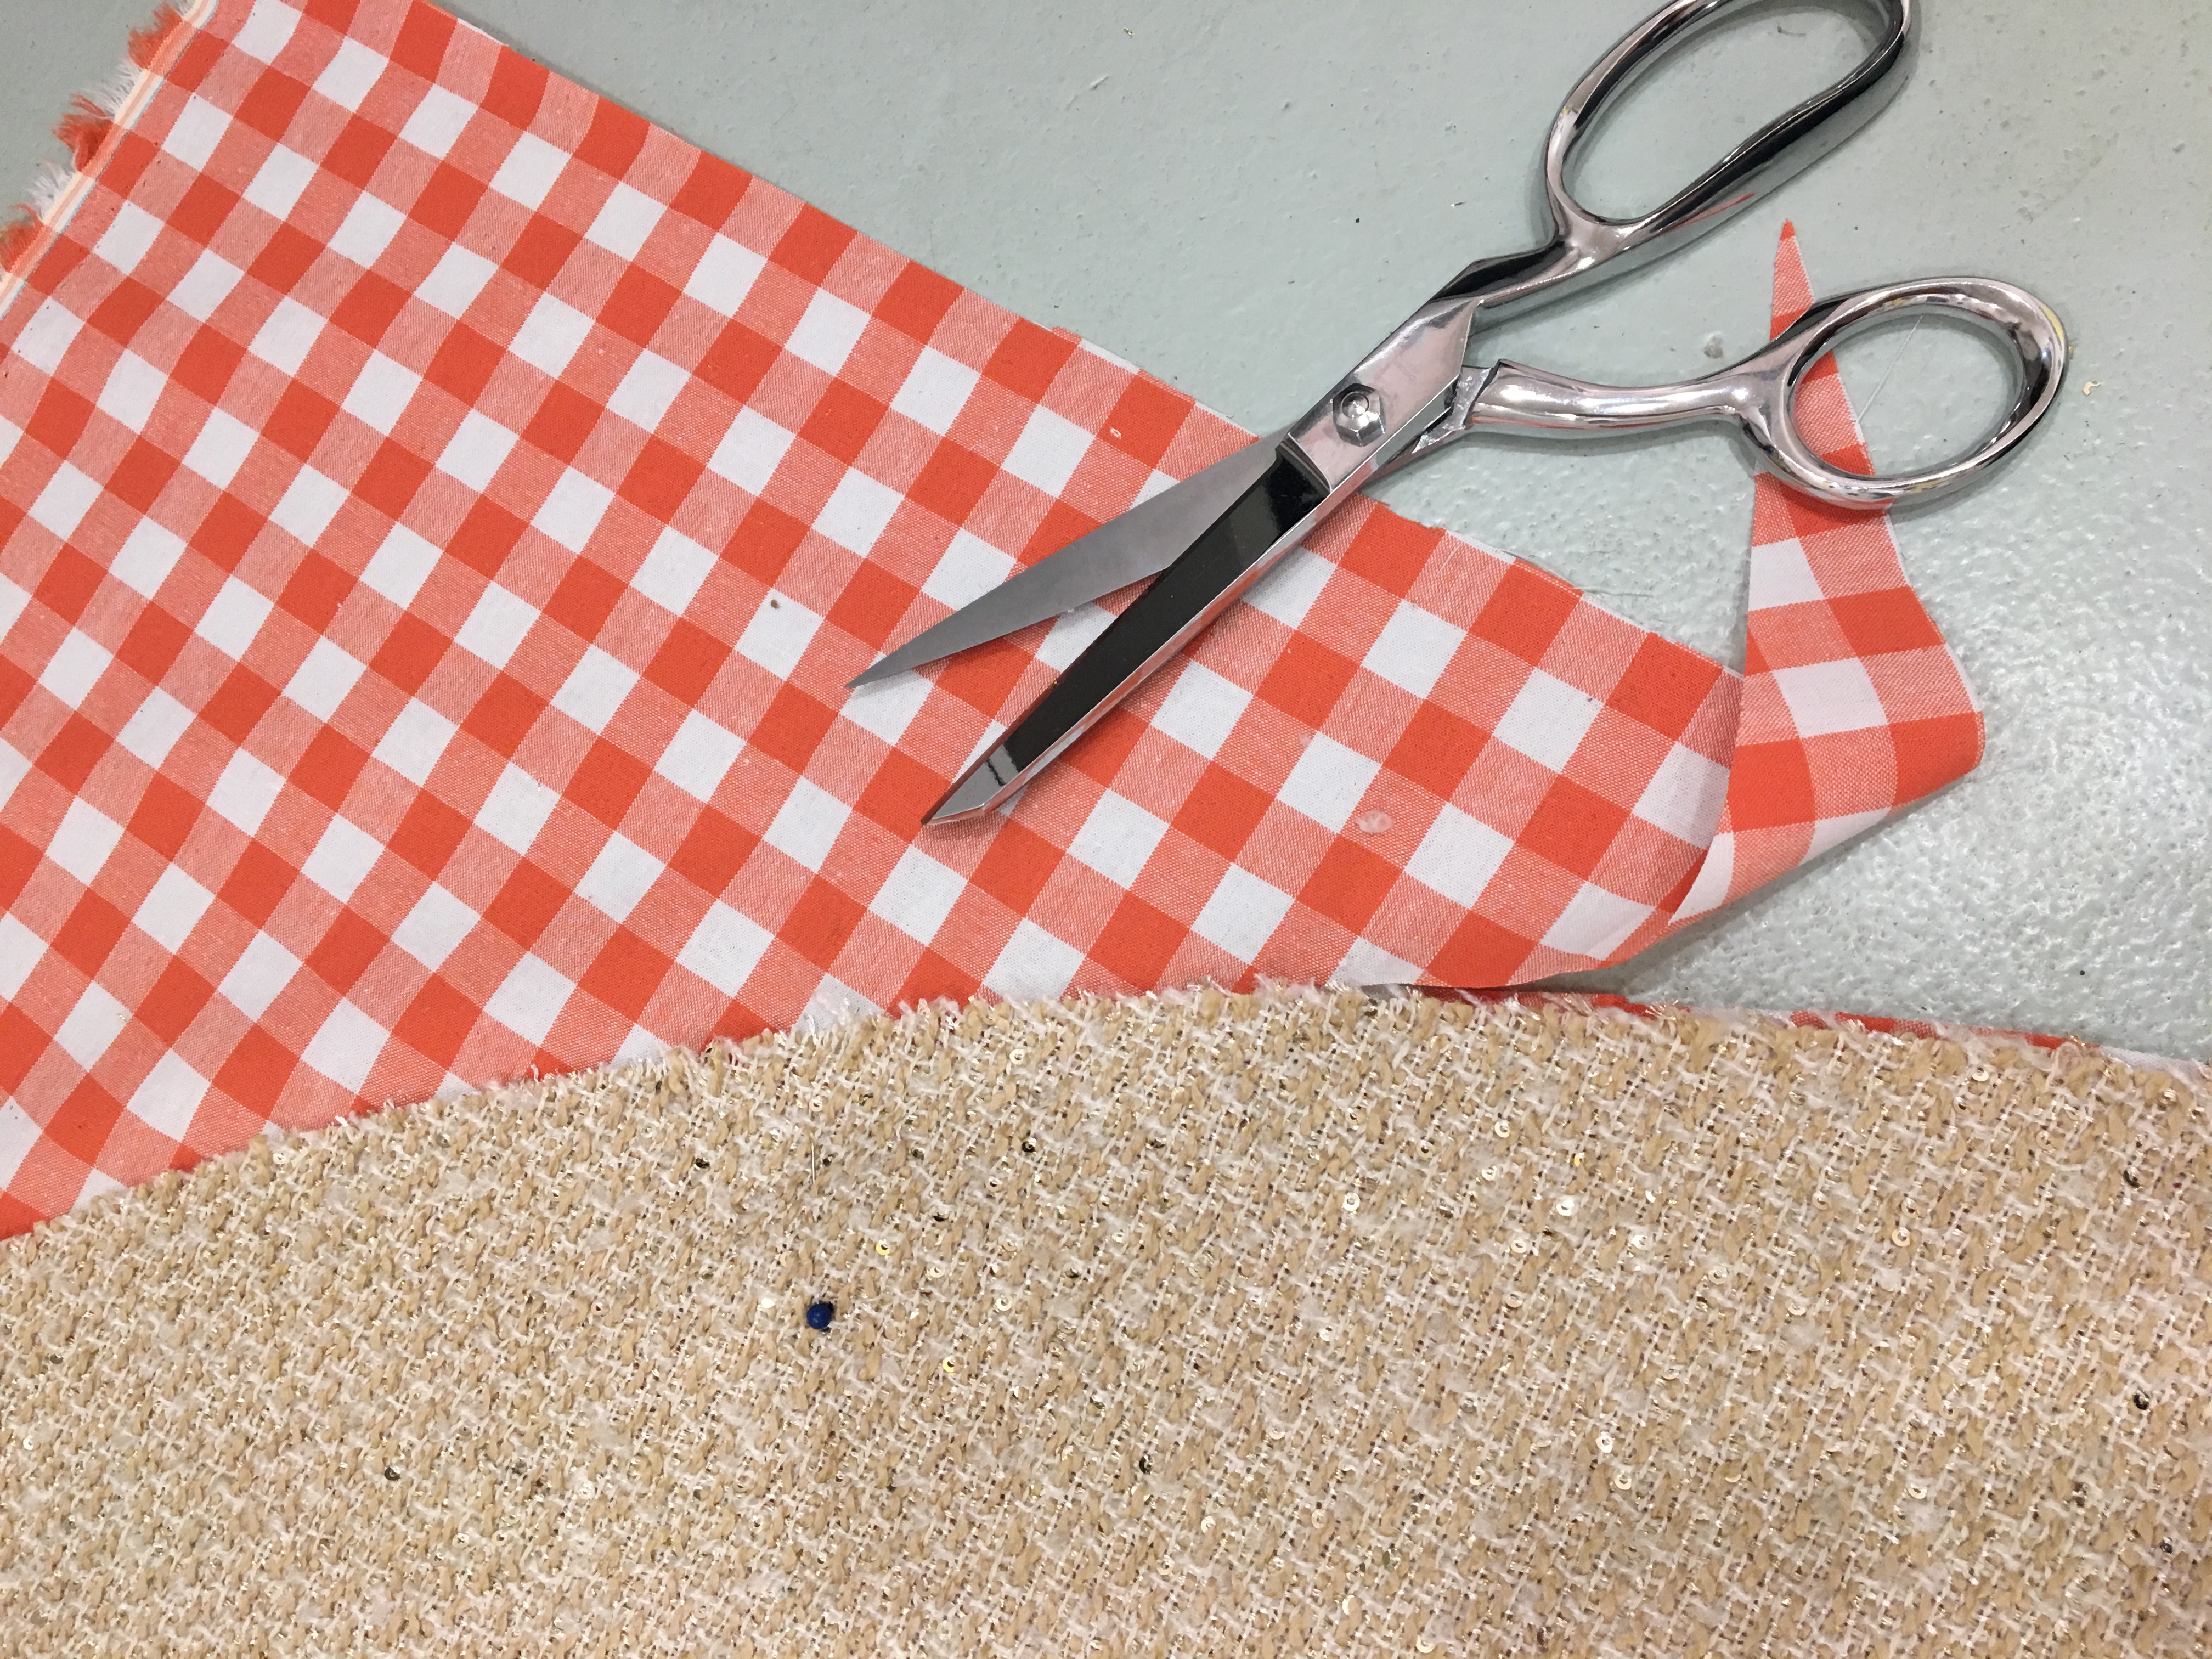
- Lay out your top fabric and place your tree skirt lining on top. Pin the layers, right sides together.
- Using the lining as a guide, cut out the top fabric so the lining and the top are identical circles.
Sewing your tree skirt:
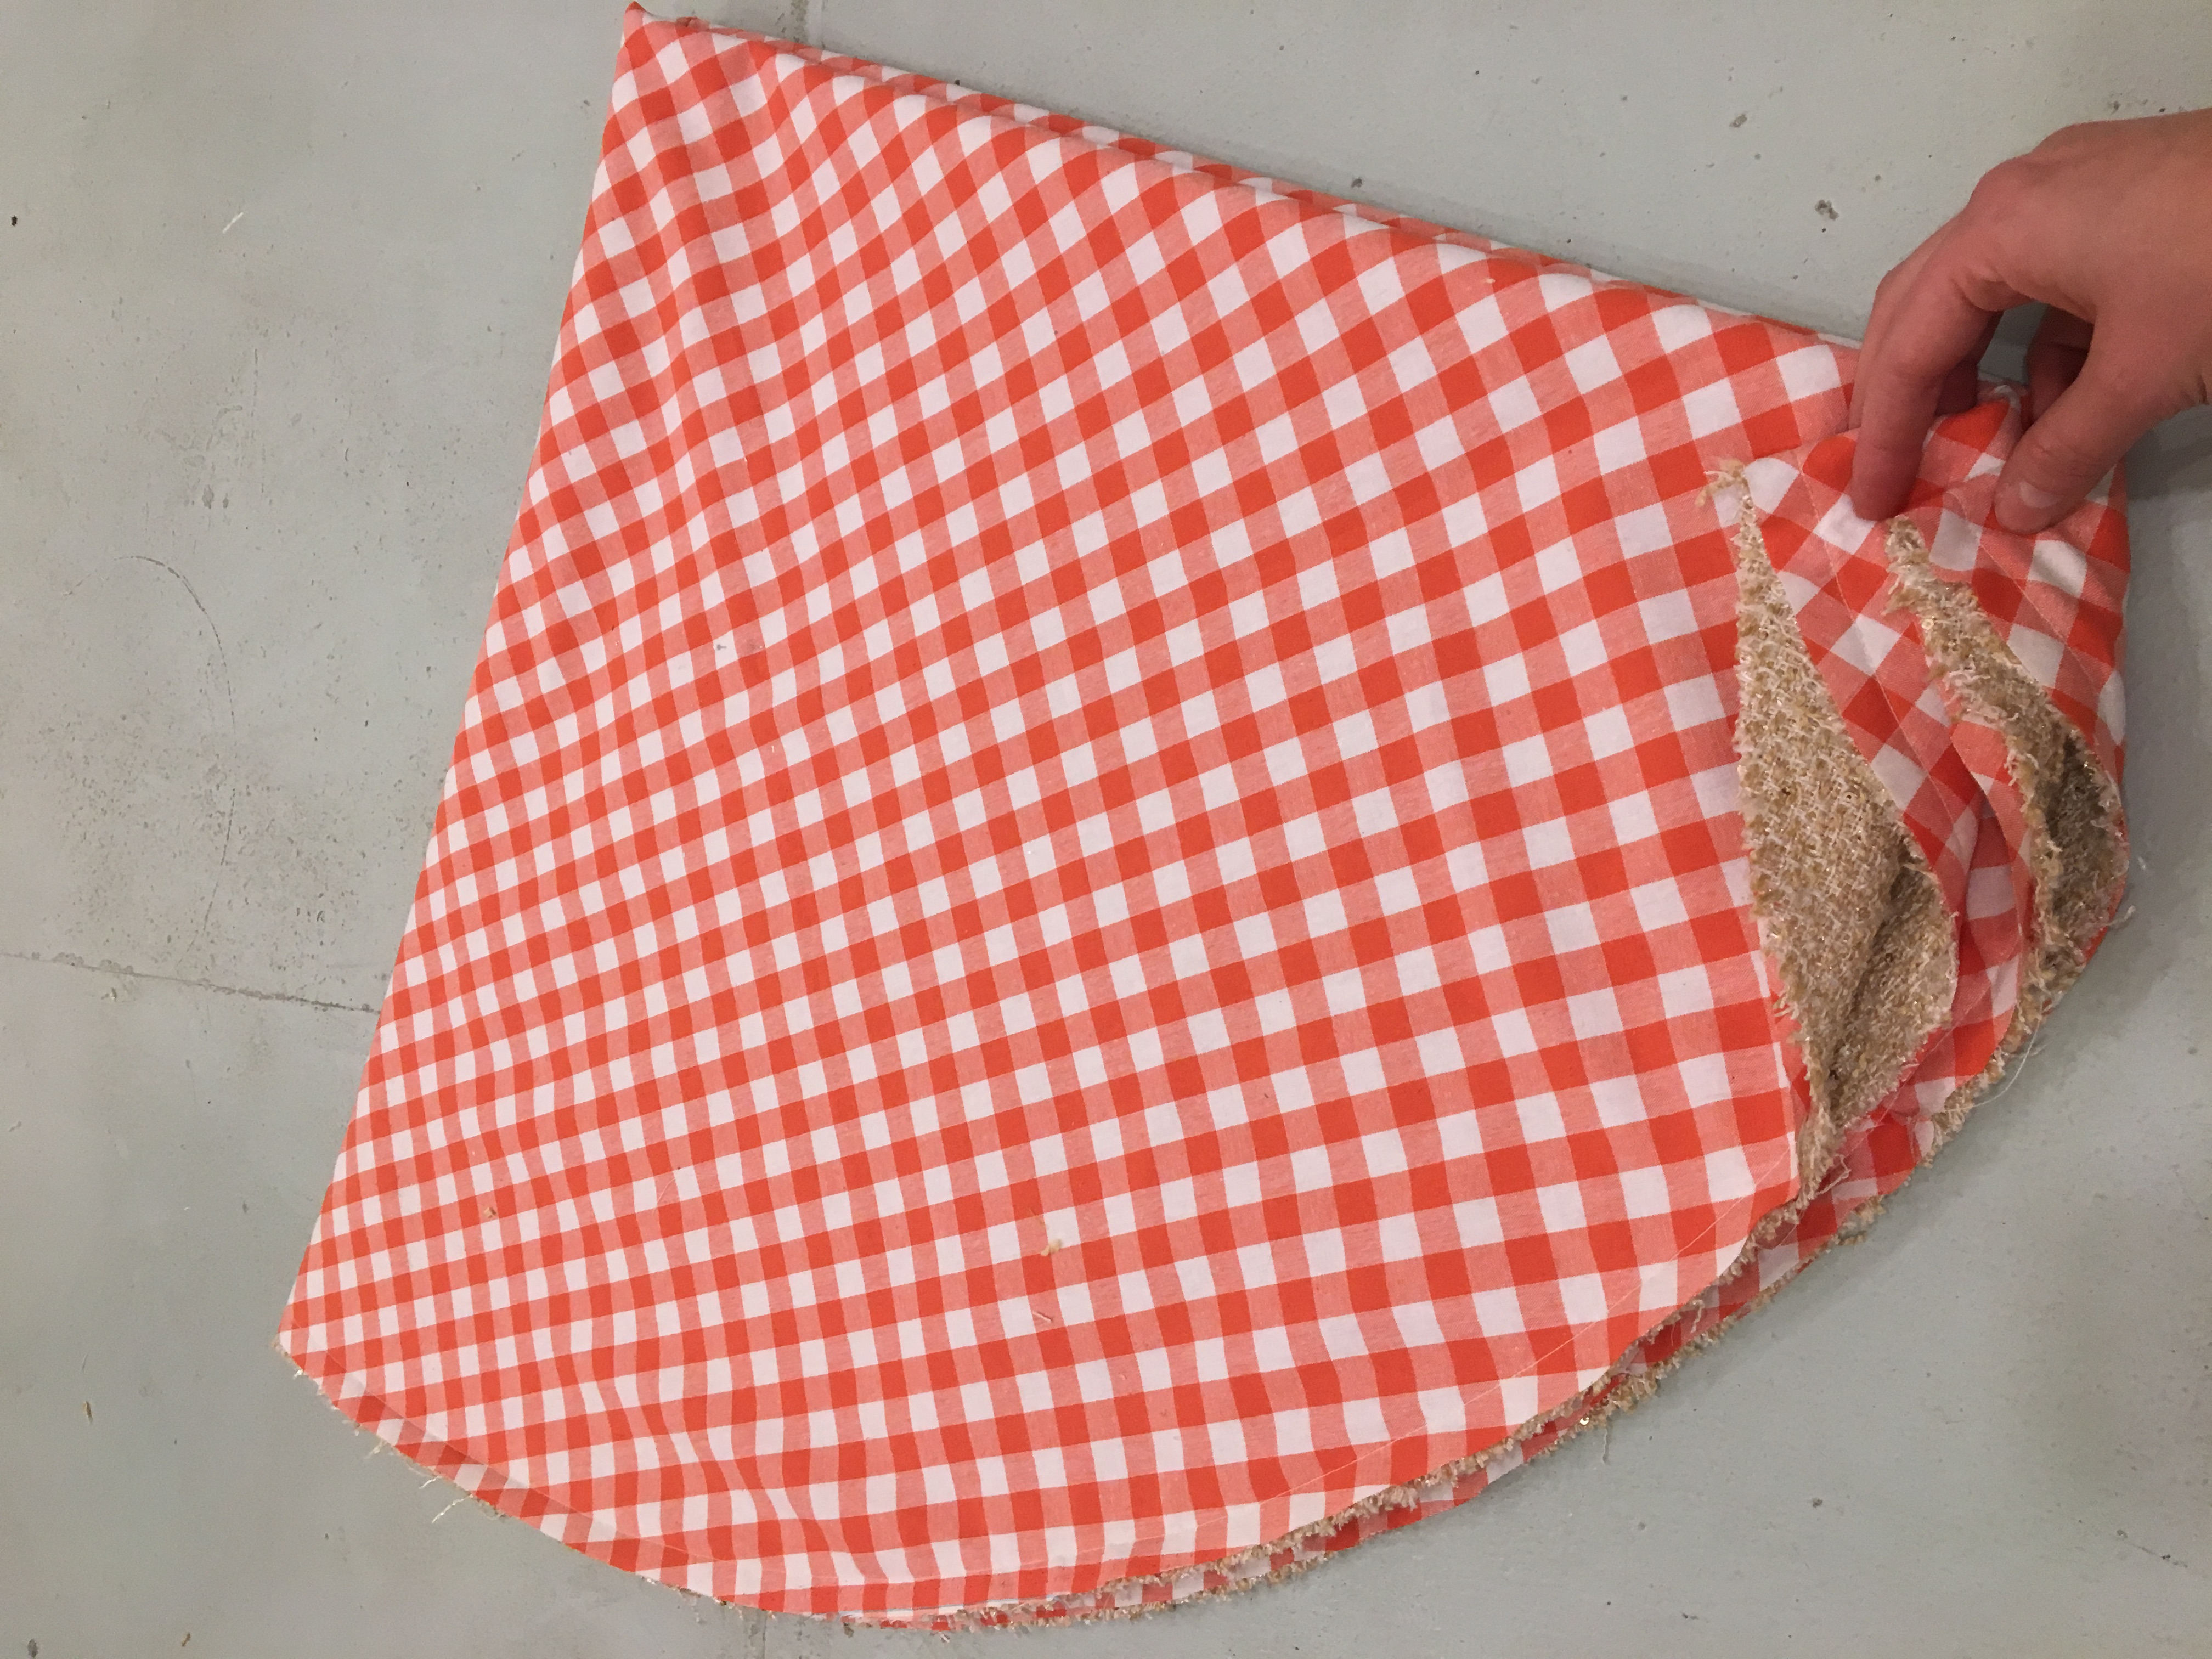
- Keep the circles pinned, right sides together, and sew along the outer edge with a 1/2-inch seam allowance.
Cutting the inner circle and the slit:
- Now fold the tree skirt in half, and then in half again, like you did with the lining at the beginning. It should look like a slice of pie.
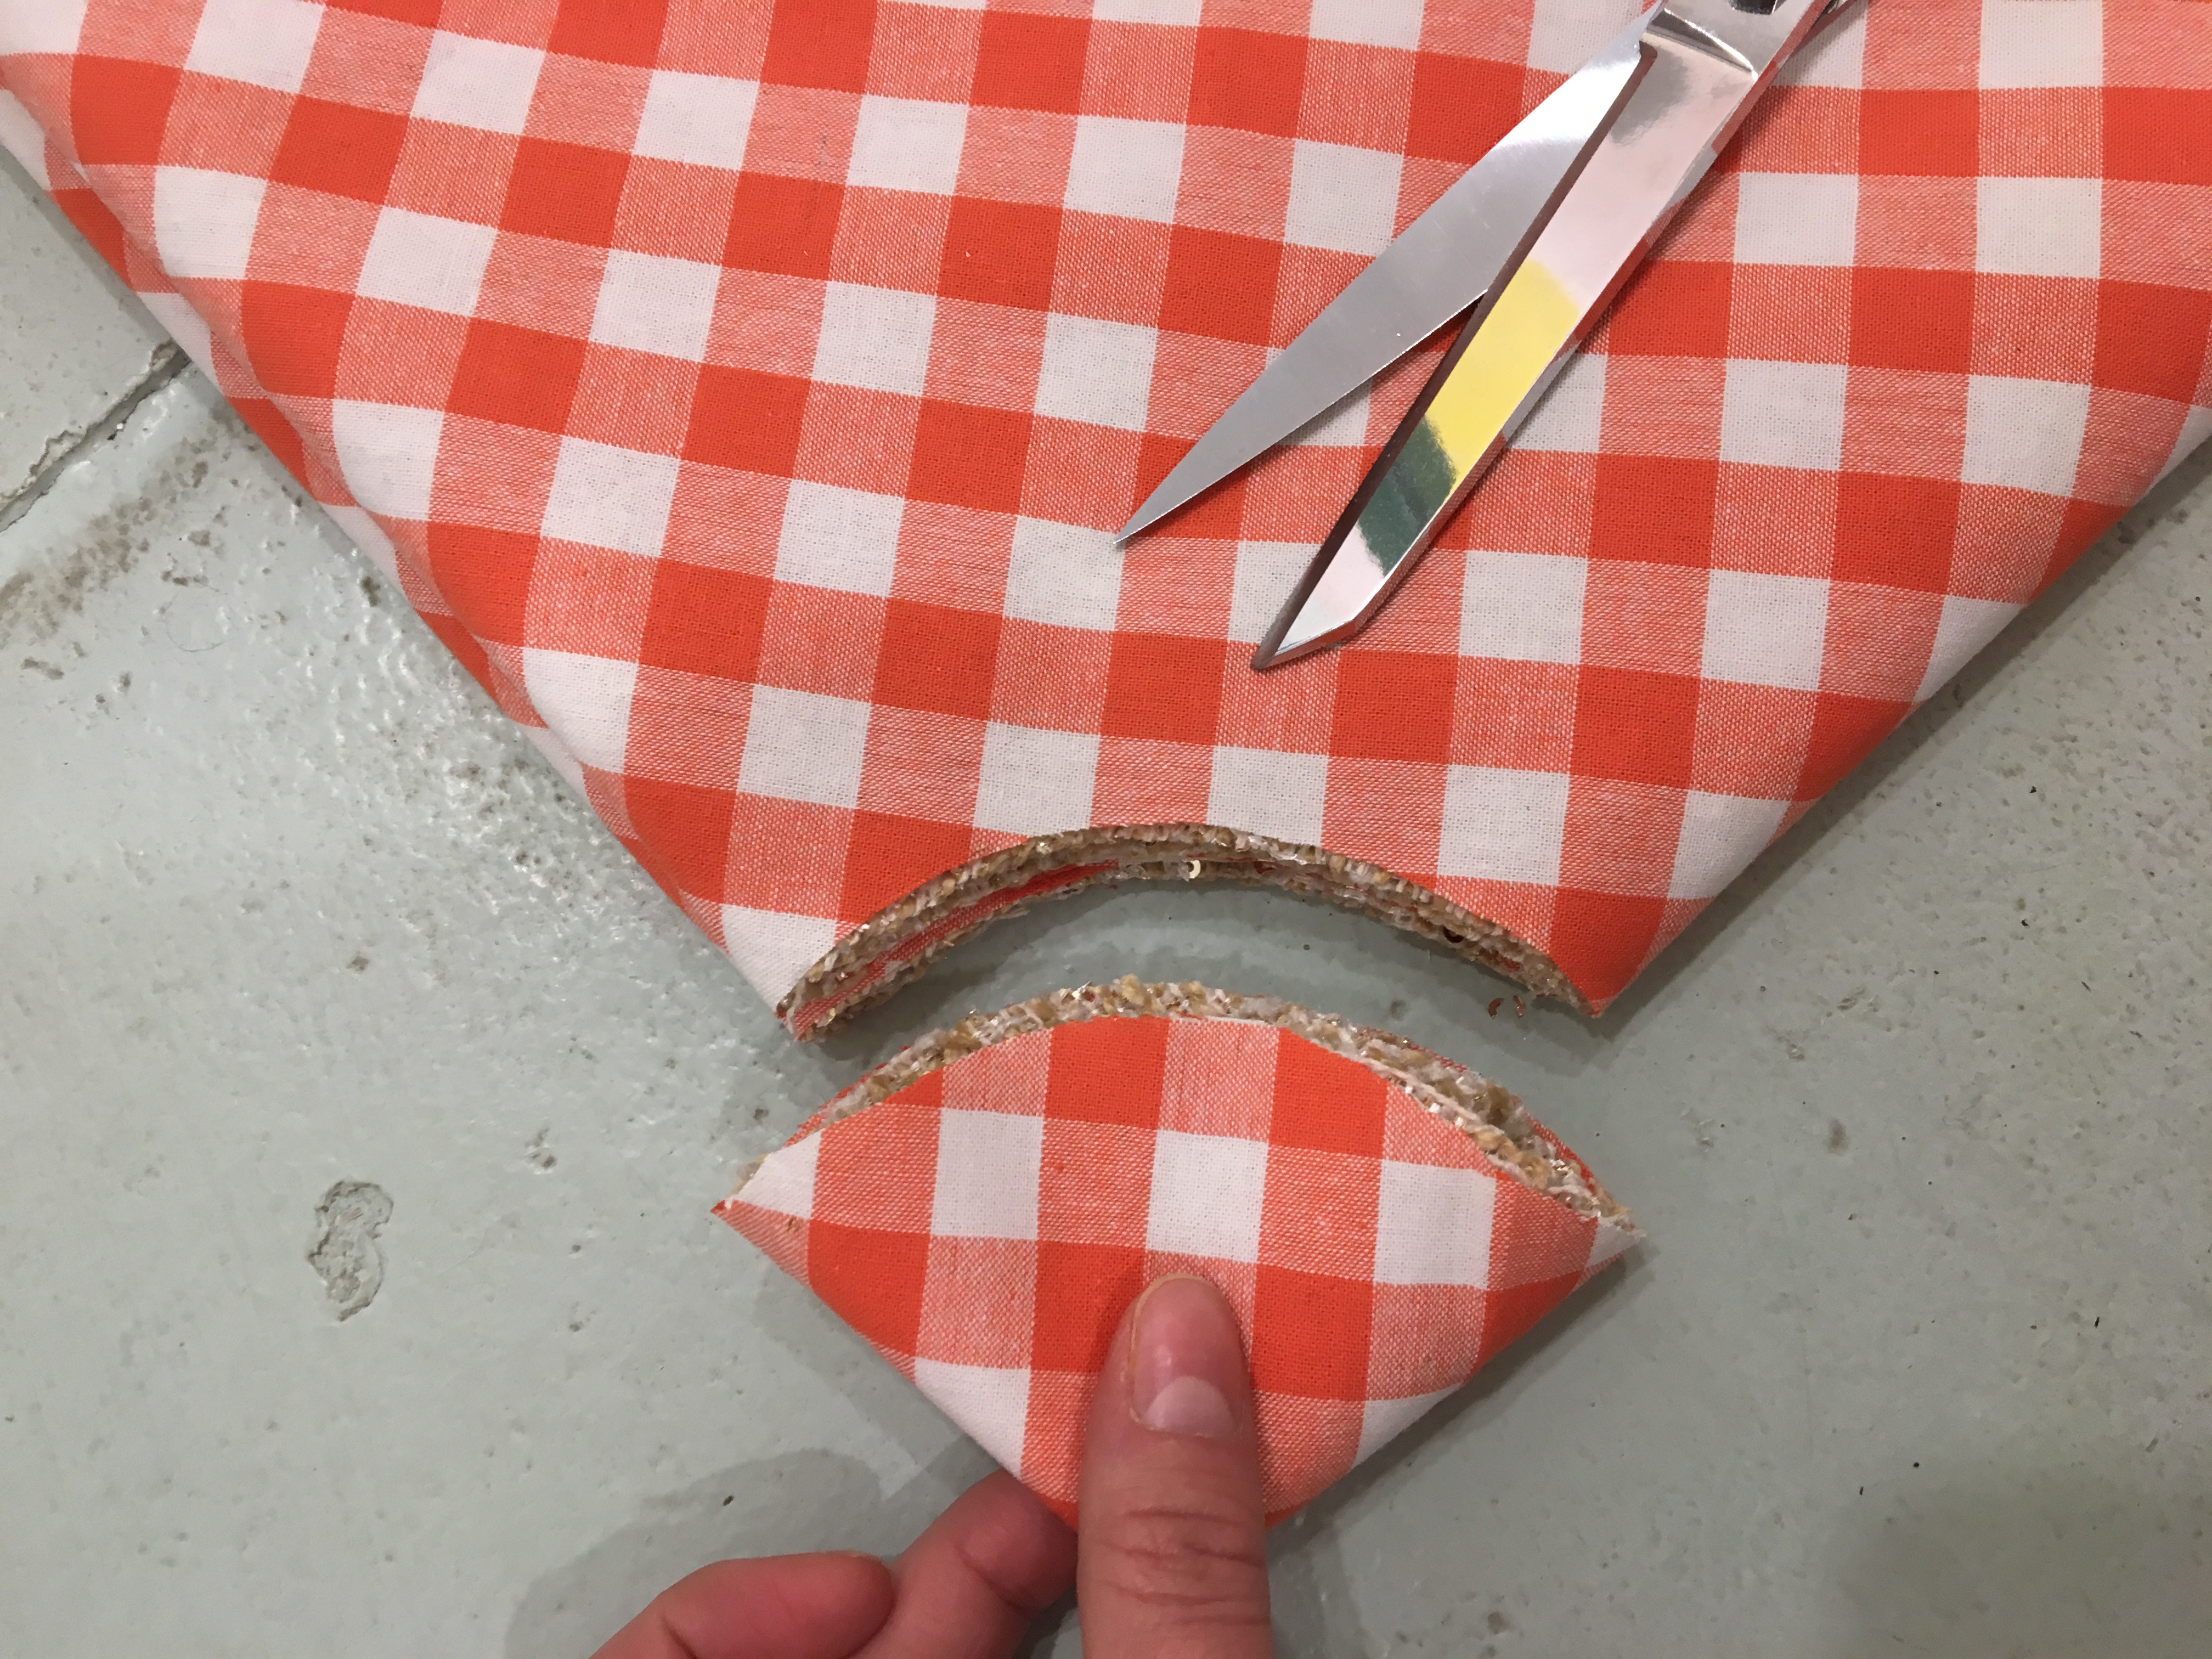
- Take the measuring tape and place it at the corner where all the folds meet. This time measure 2.5-inches outward and mark it. Move from one side to the other, until you’ve marked the entire tip of the pie. Cut off the tip to create a hole in the middle.
- Cut a straight line from the outer edge to the hole. this will allow you to wrap the skirt around the tree.
Sewing the Inner circle and slit:
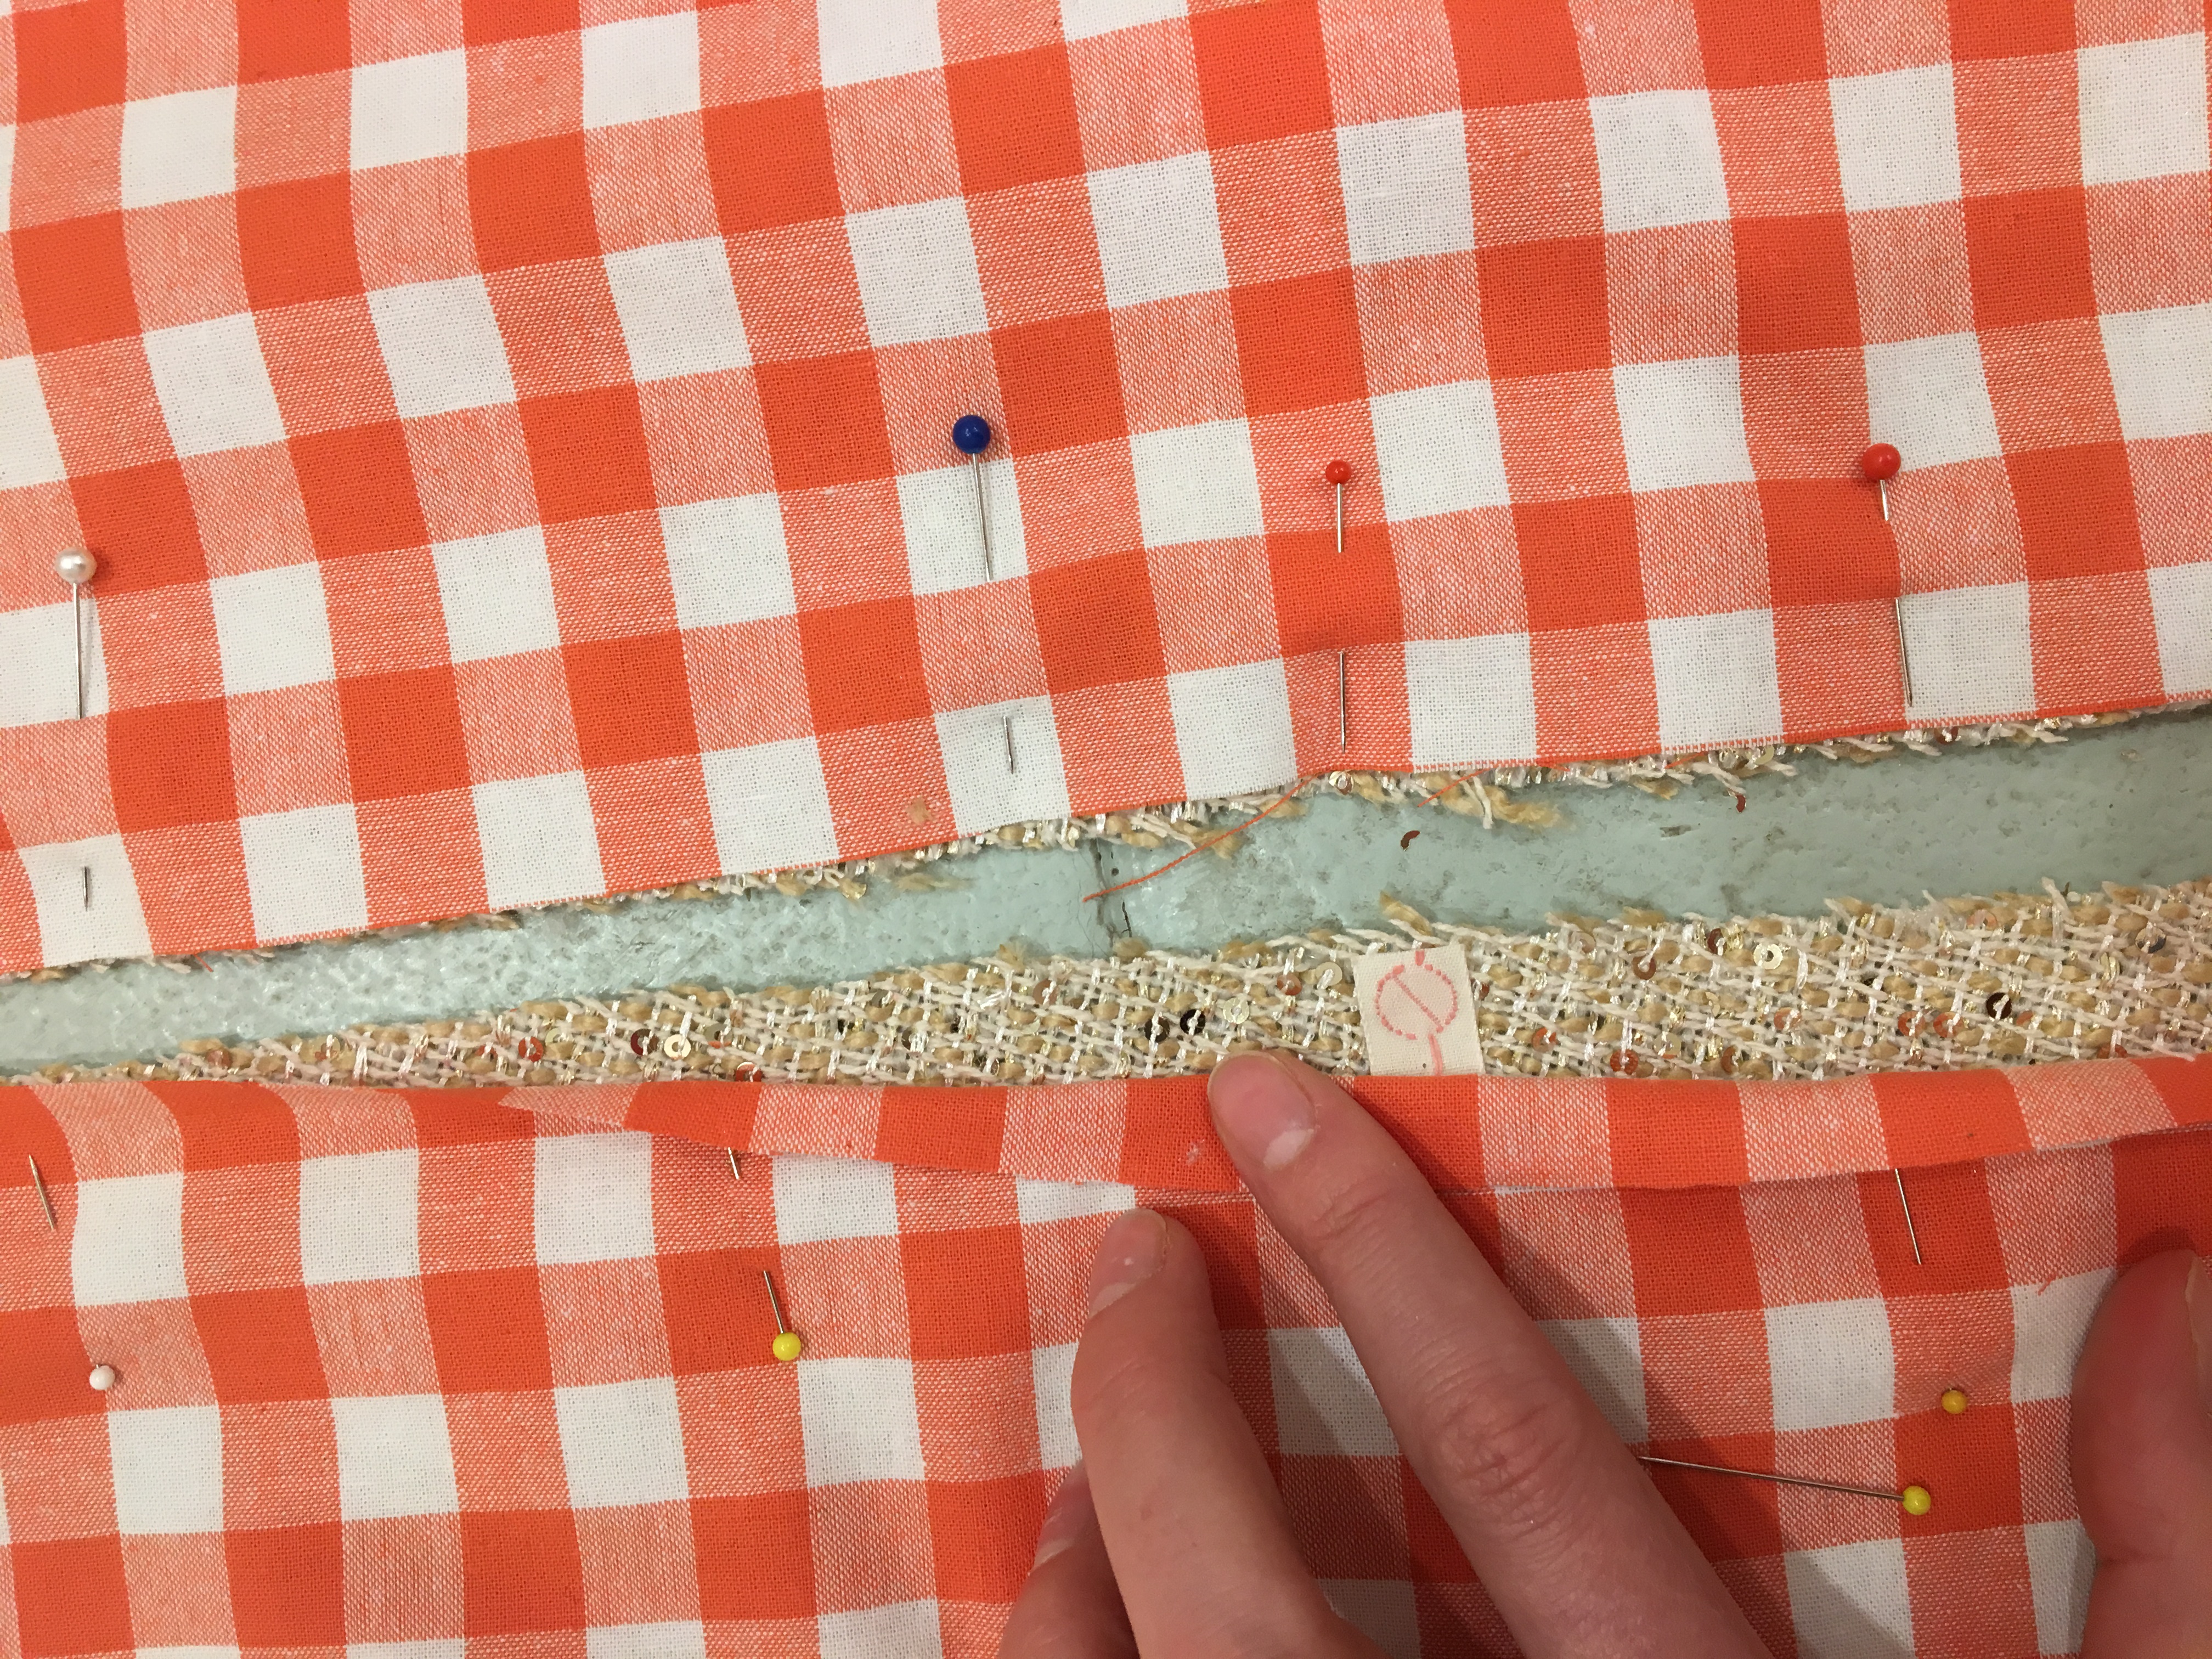
- Now pin the edges of the fabric together: up the slit, around the center hole, and halfway down the other slit.
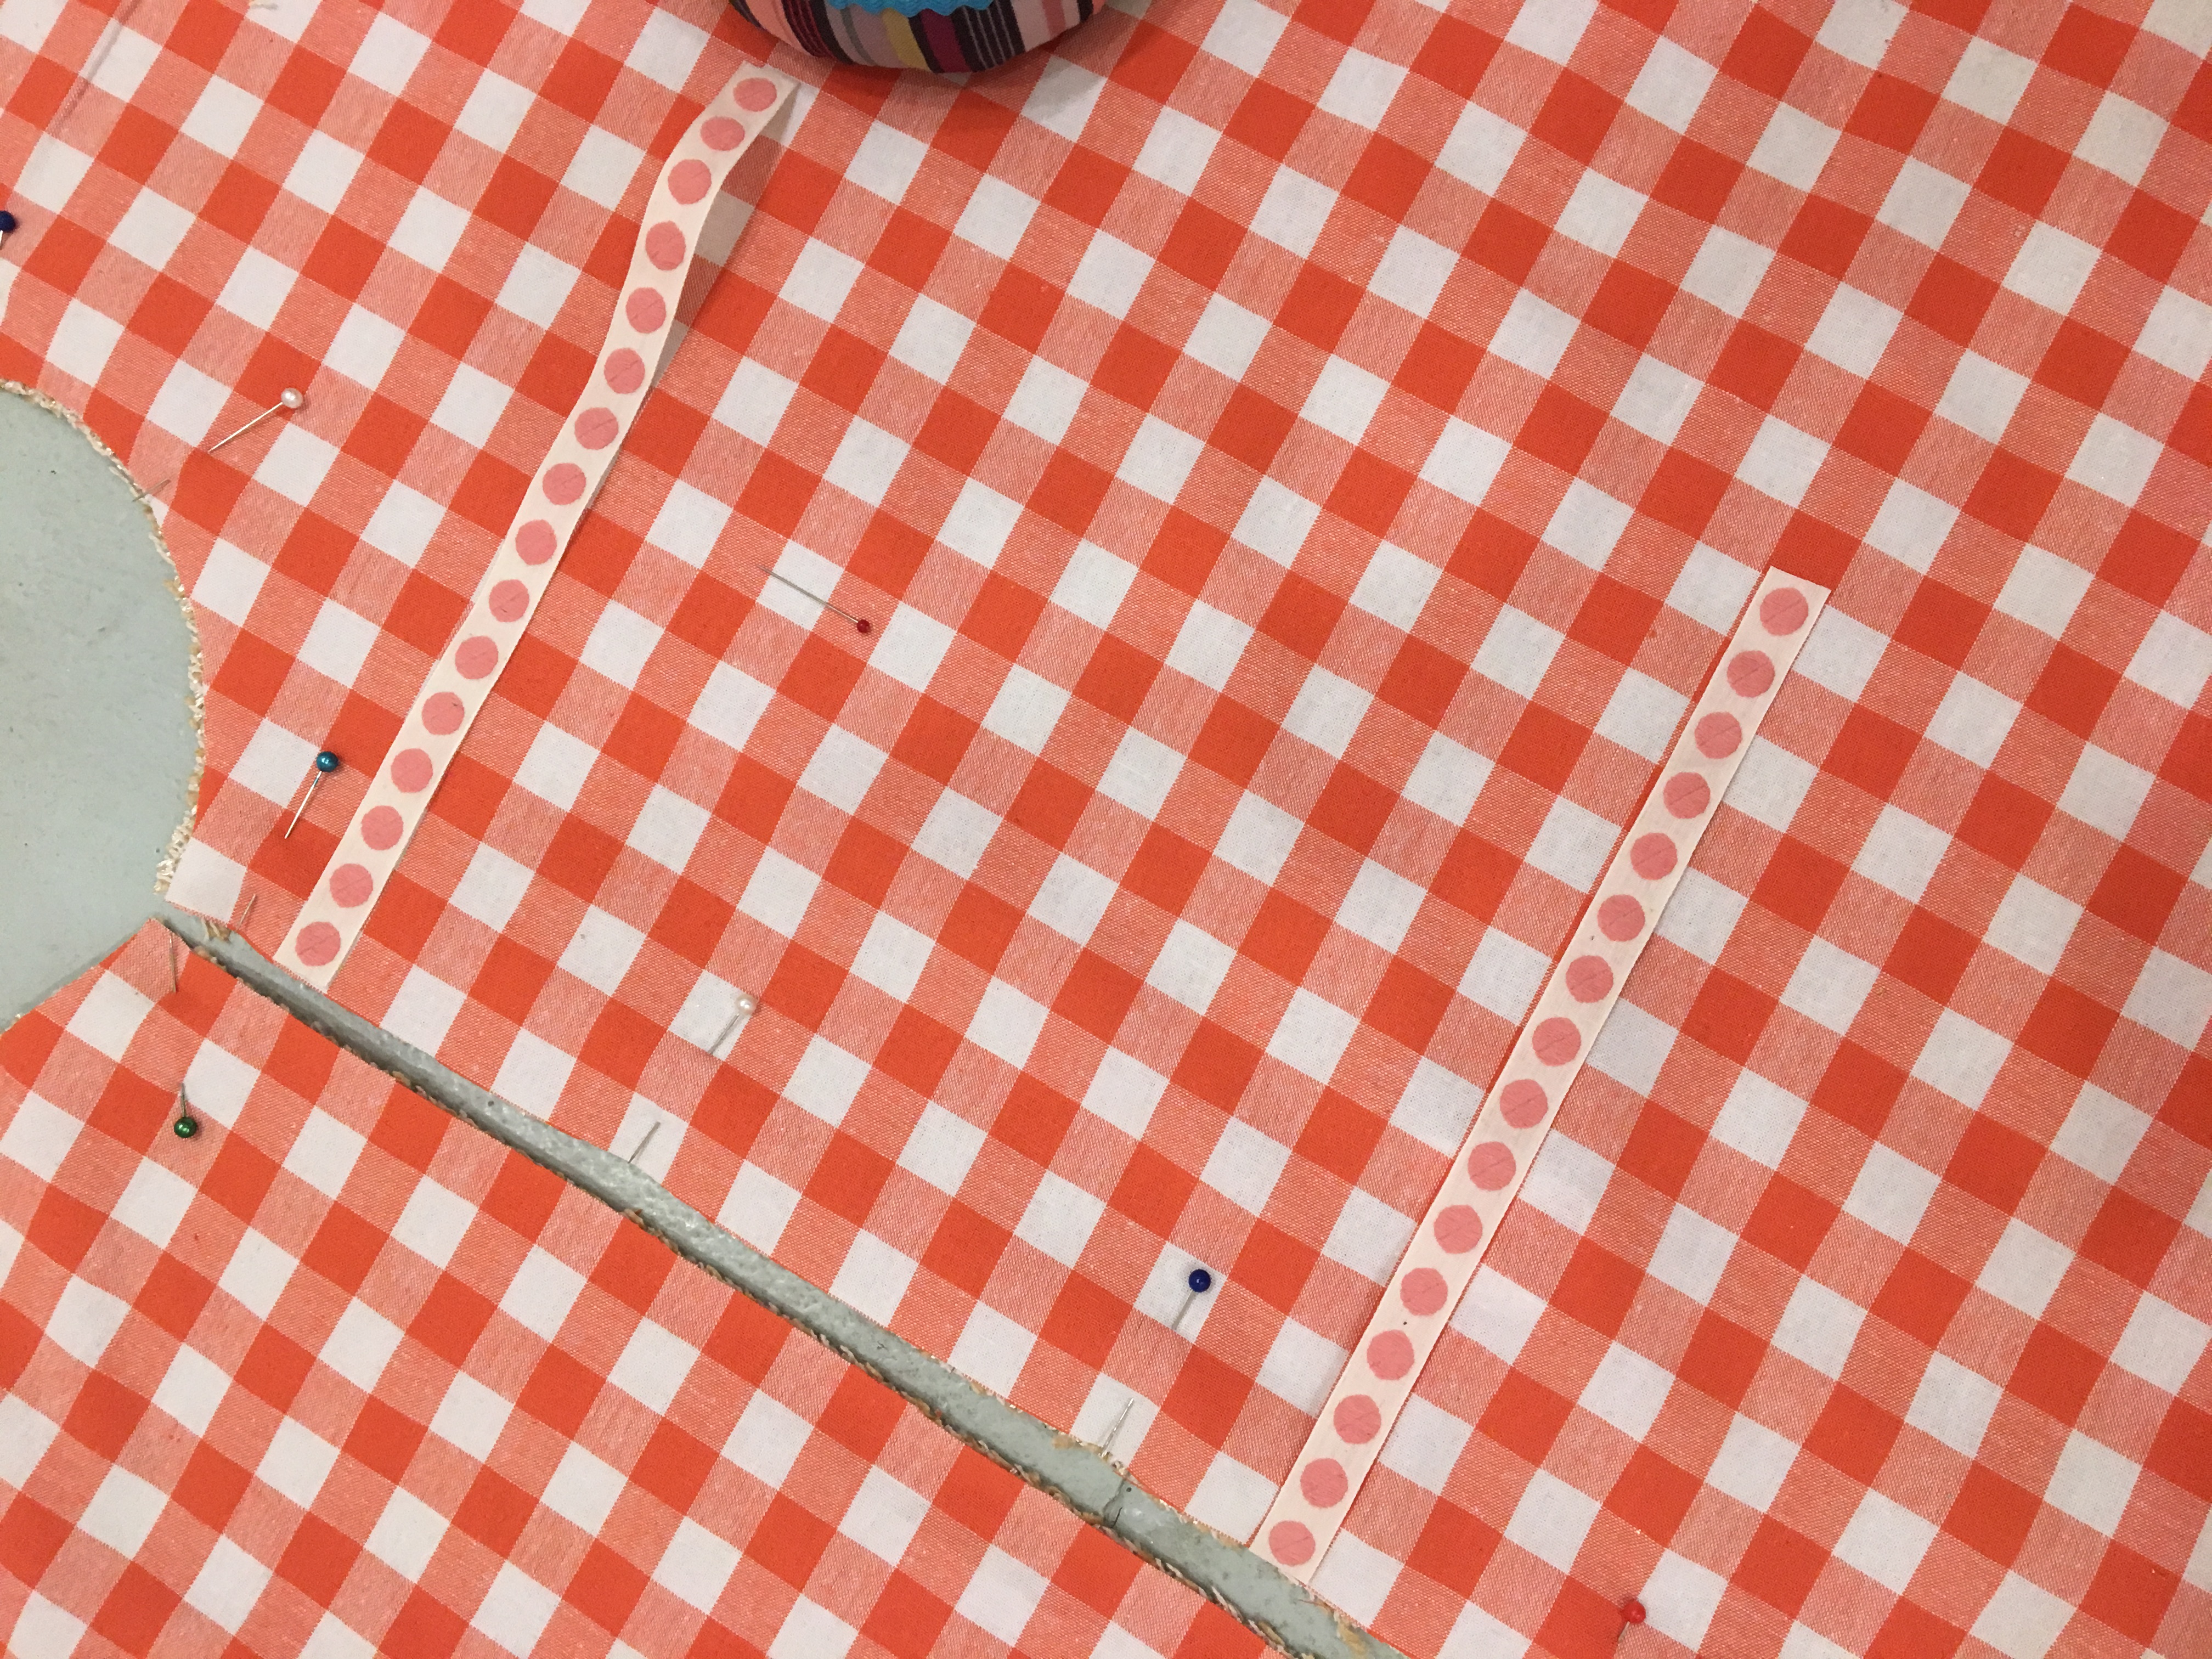
- For the ribbon ties, mark 3 spots equidistance from another along the slit of the tree skirt to identify where you’d like the ties; one at the top, one in the middle, and one near the bottom.
- Start on one side of the slit and sandwich the ribbons between the lining and the top fabric, making sure to line up the edge of the ribbon with the edge of the fabric and keeping the long end of the ribbon hidden between the layers. If the ribbon has a “right side,” position it so the “right side” of the ribbon is kissing the “right side” of the top fabric. I placed our ribbons about 10 inches apart from one another, with a little wiggle room on top and on bottom.
- Pin the other side together with the ribbons like you did the first side. You’ll want each side of the slit to mirror each other, so the ribbon ties are directly across from one another, at the same measurements.
- Sew where you pinned with a 1/2-inch seam allowance, making sure to stop once you’ve reached the halfway point on the other side of the slit.
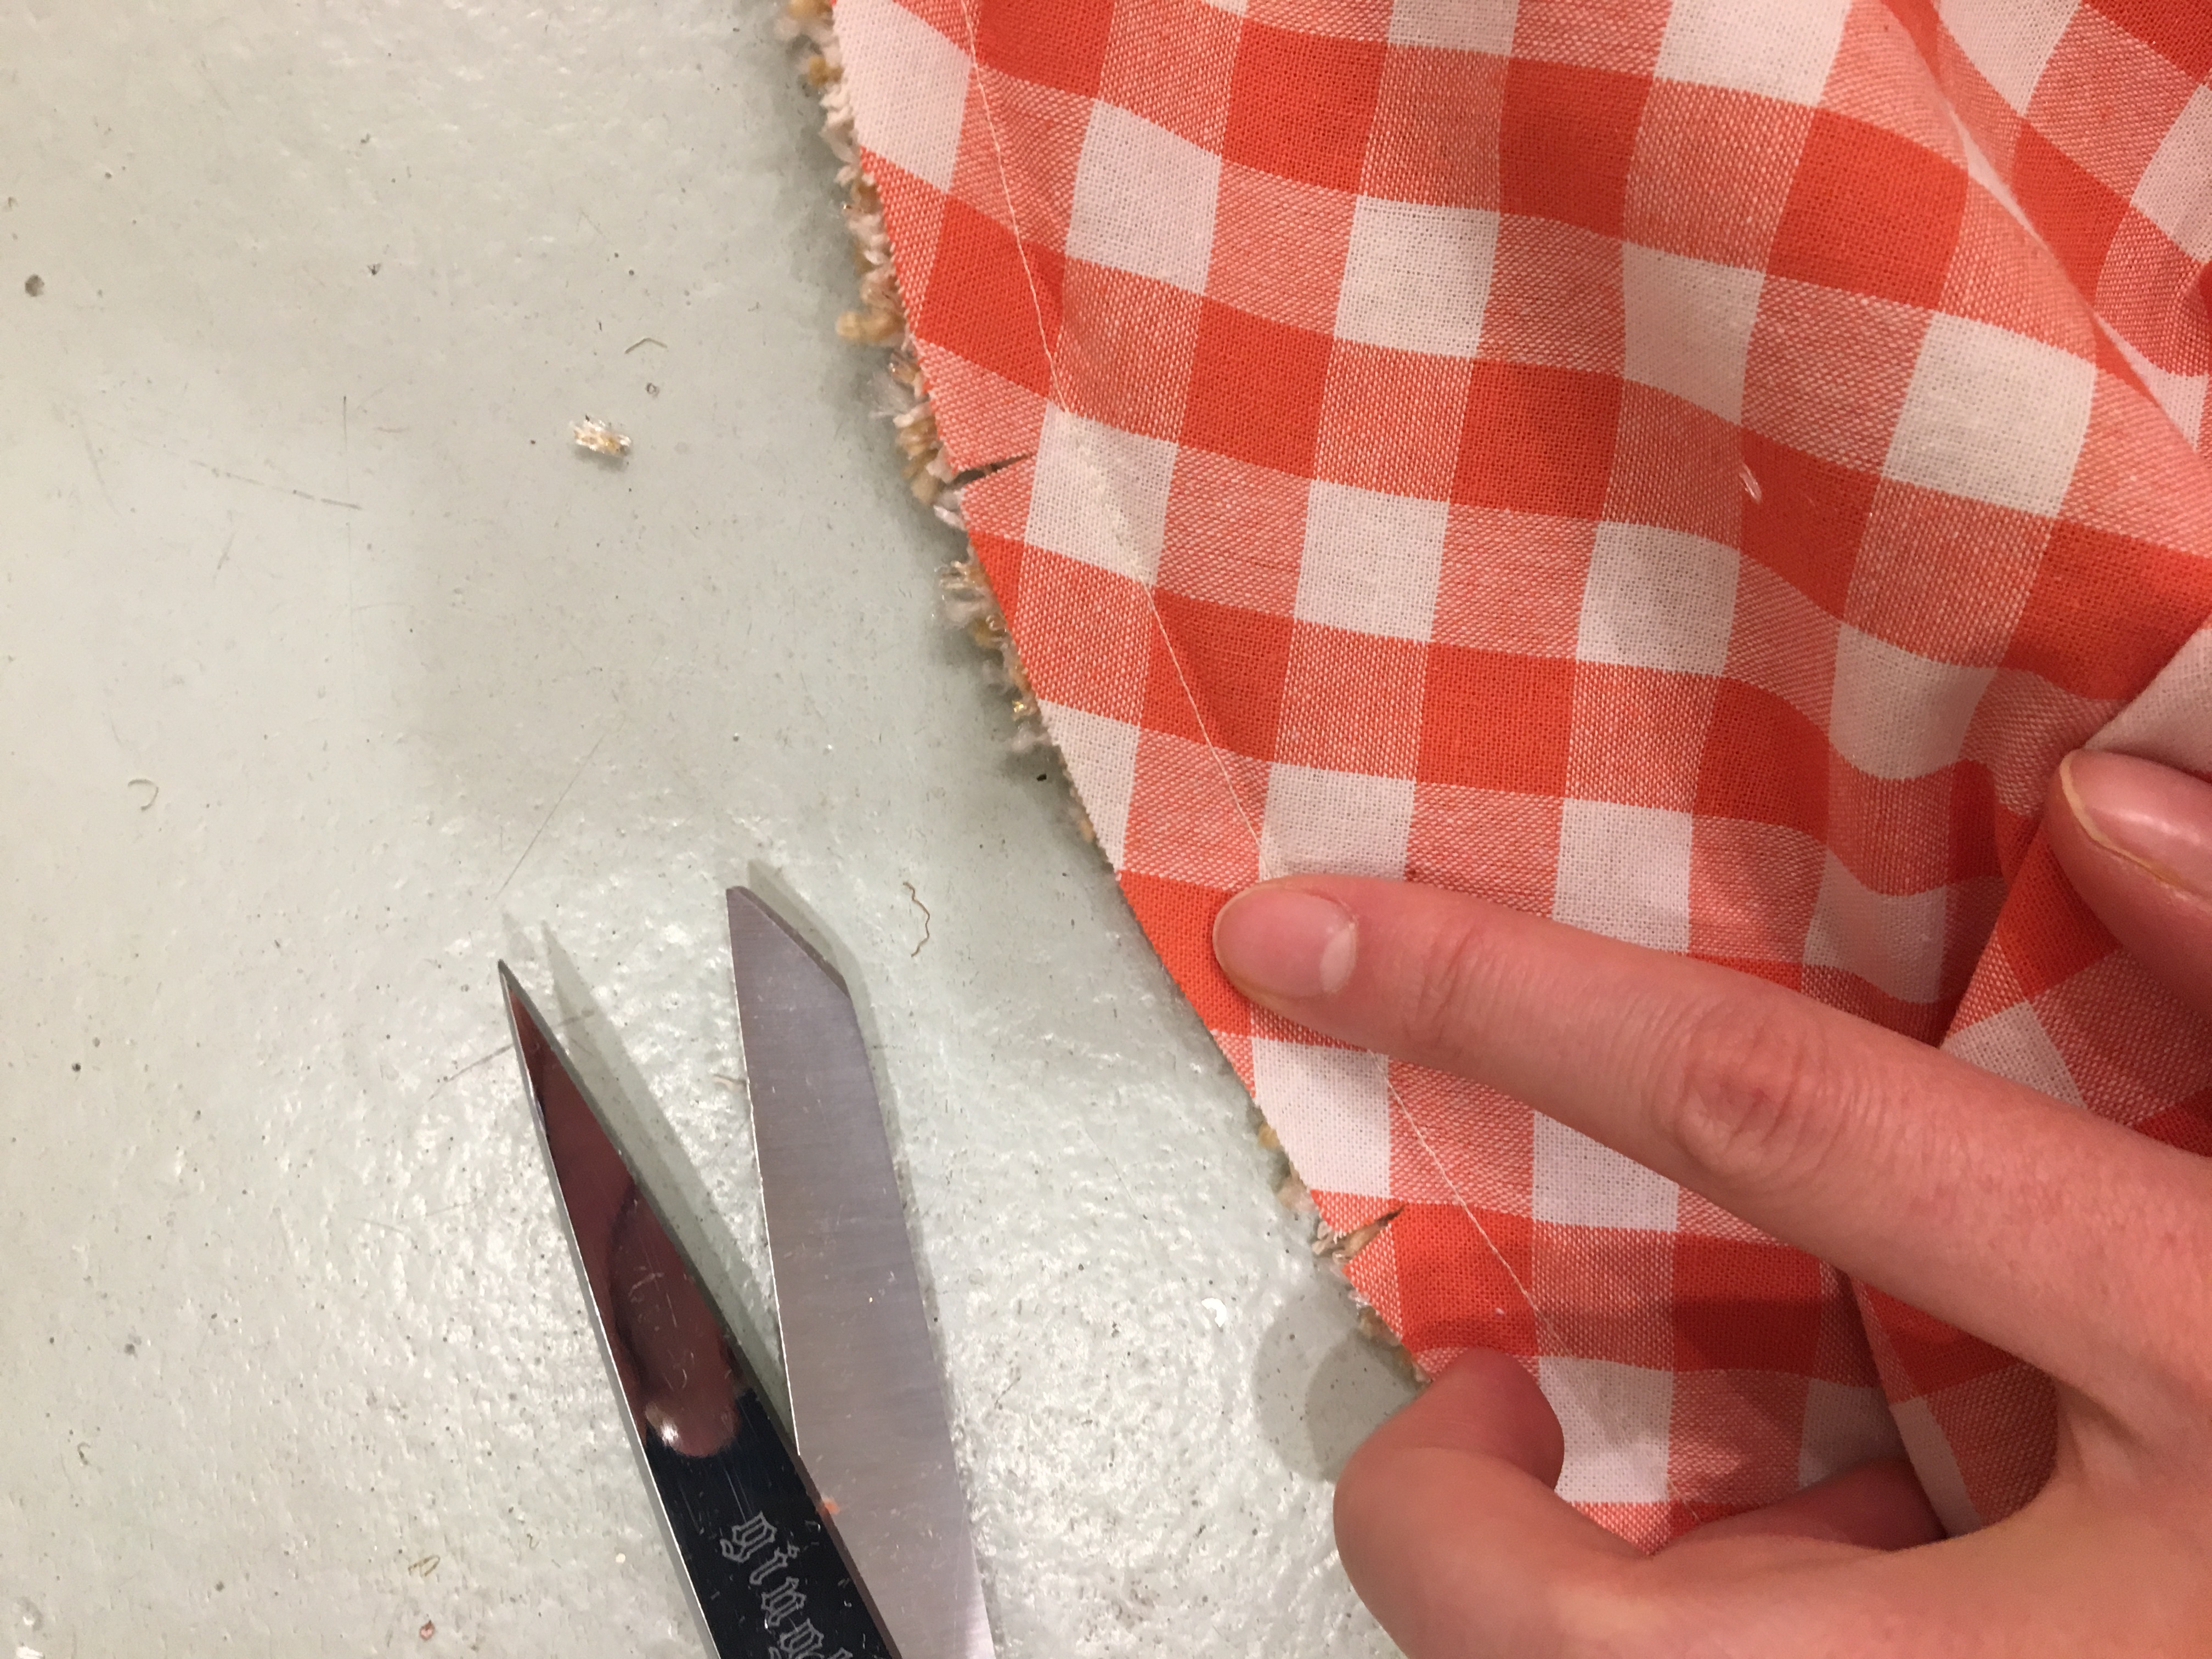
- Clip the outer edges and inner circle of your tree skirt by cutting small slits into the seam allowance, being careful to not cut through the seam allowance. This will allow the tree skirt to lay flat and not pucker when you flip it inside out.
Finishing the Tree Skirt:
- Flip your tree skirt right-side-out.
- Iron the seams flat and favor the edge so that the lining doesn’t show on the upper side.
- Where you left the seam open, iron the edge 1/2-inch under on both layers of fabric, so that it aligns with the portion of the skirt already sewn closed.
- Then pin the bottom half closed, making sure to insert any of the ribbon ties left.
- Top stitch the pinned opening closed, with a seam allowance super close to the edge.
Adding the appliques:
- Lay out your tree skirt, and arrange all your patches along the edges and along the inner circle of the tree skirt as you’d like.
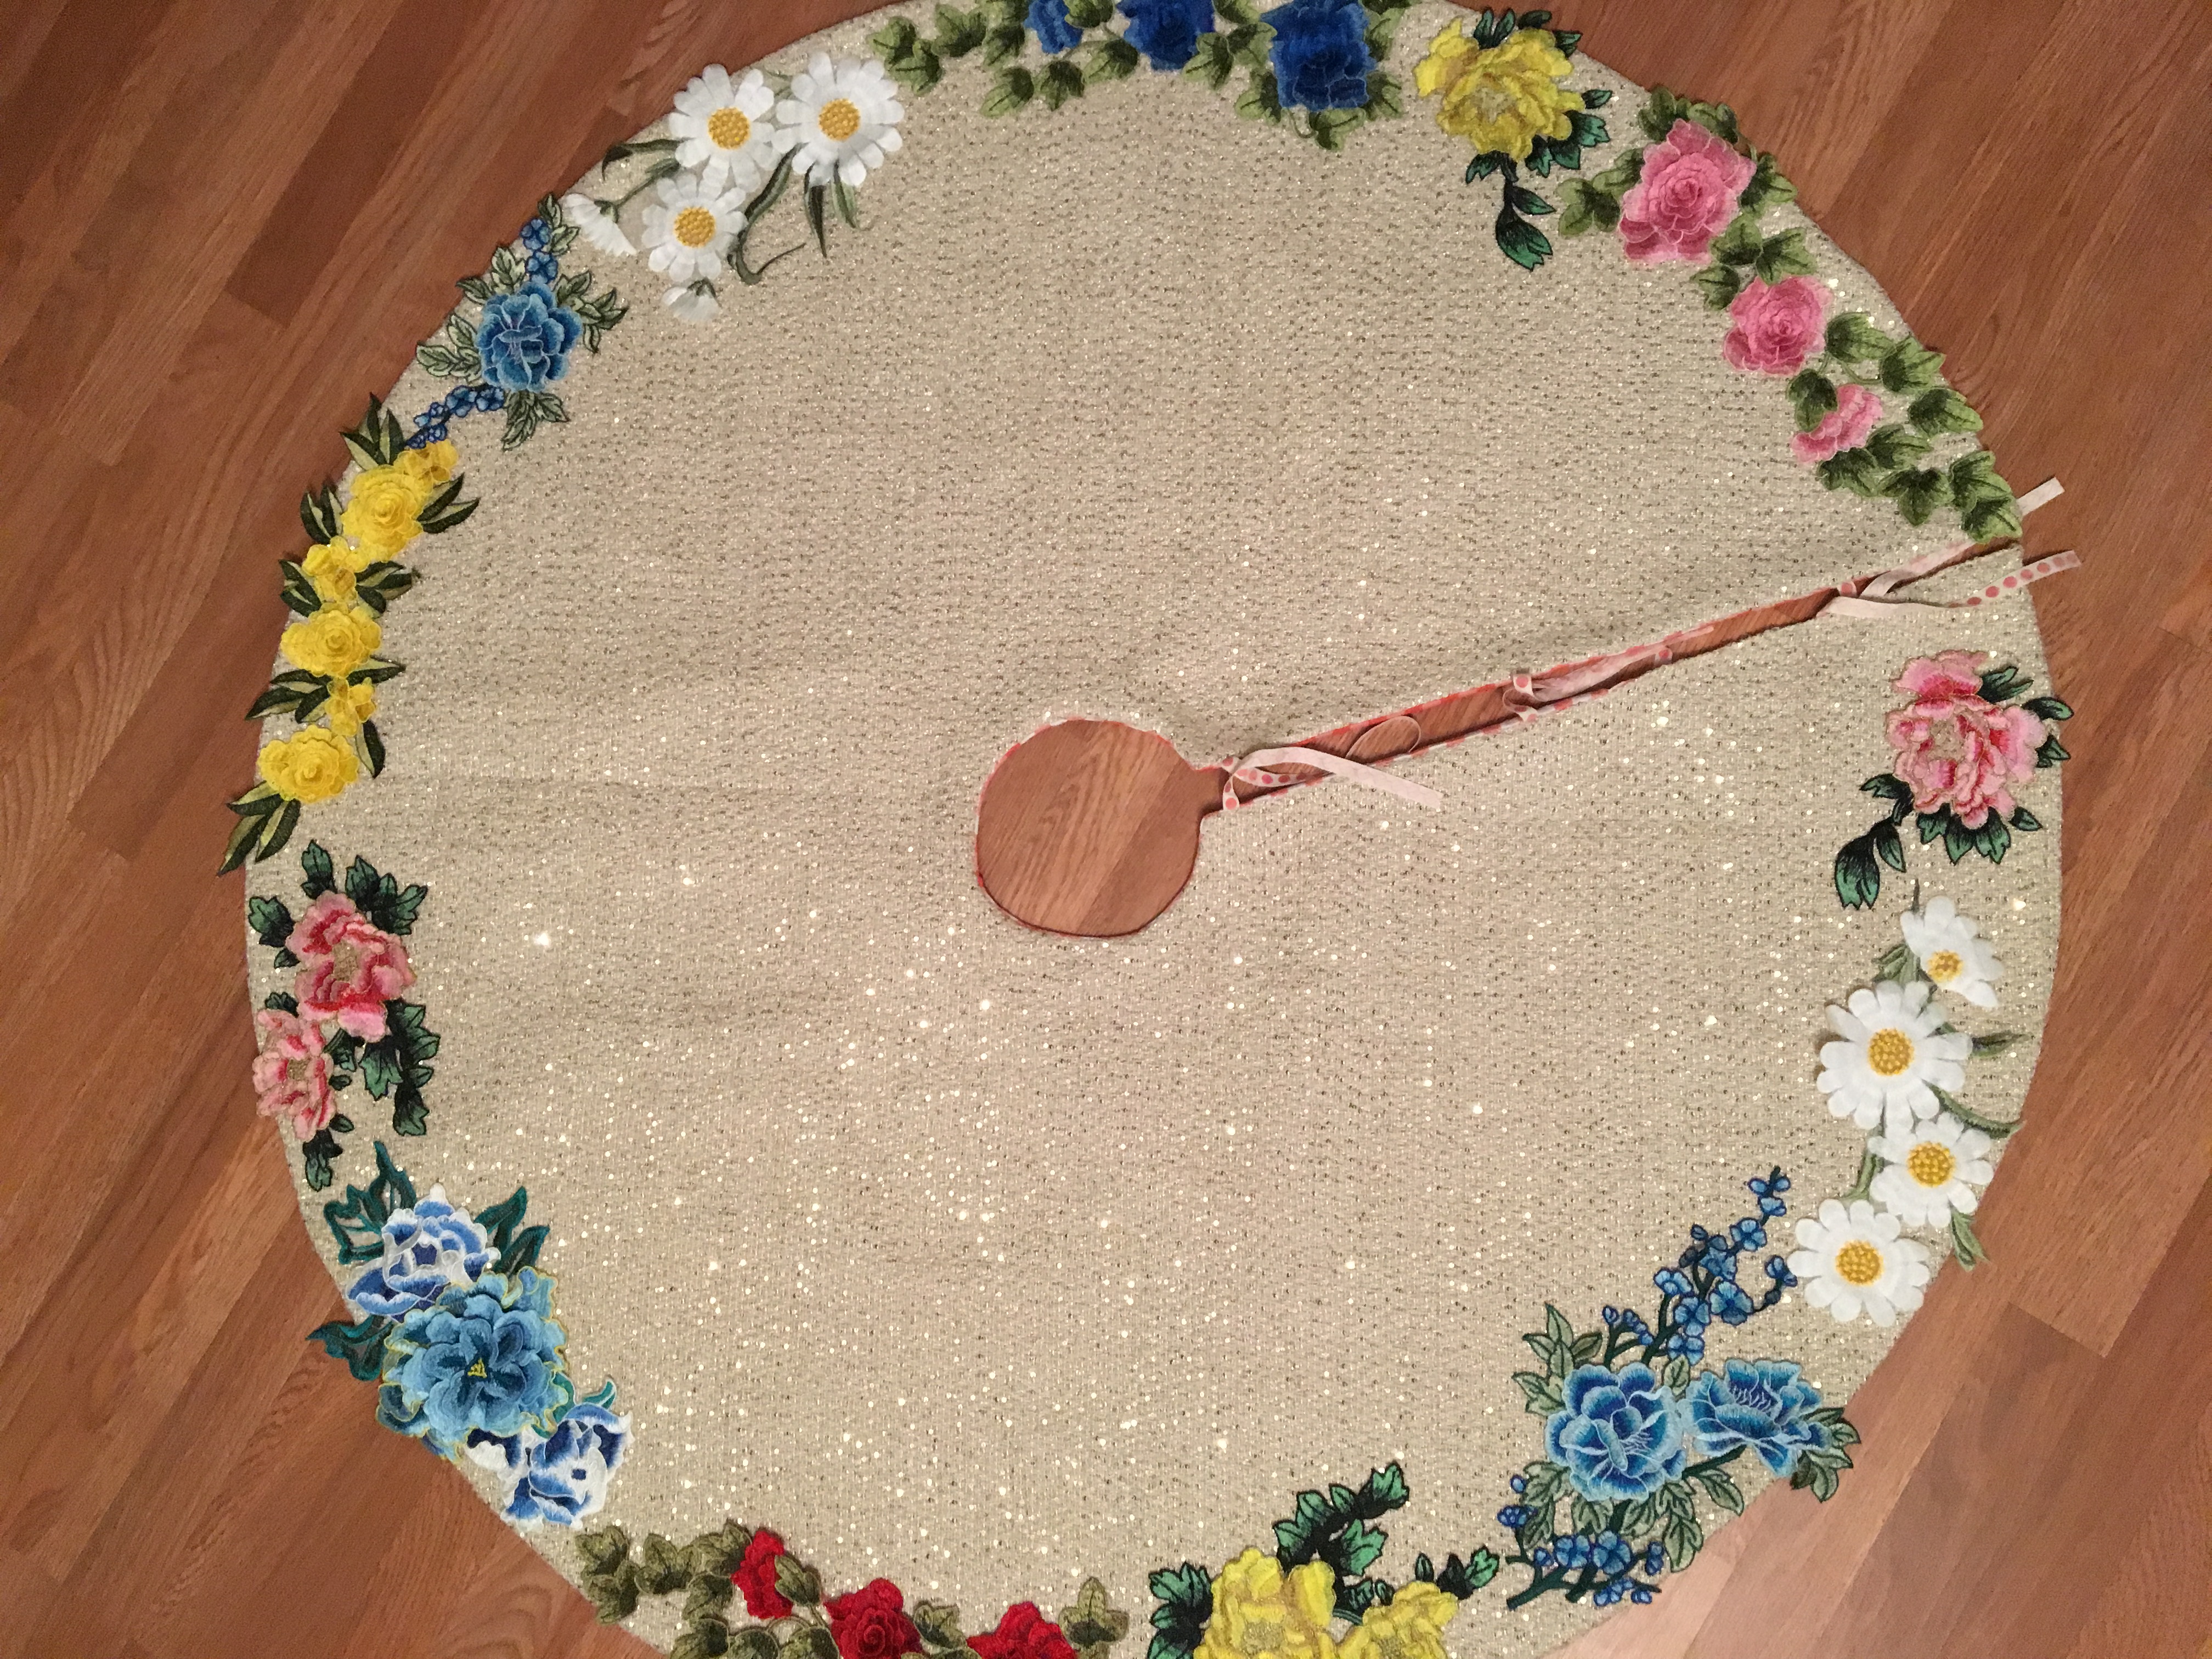
- I started by evenly spacing the large flowers around the outer rim and gluing them into place.
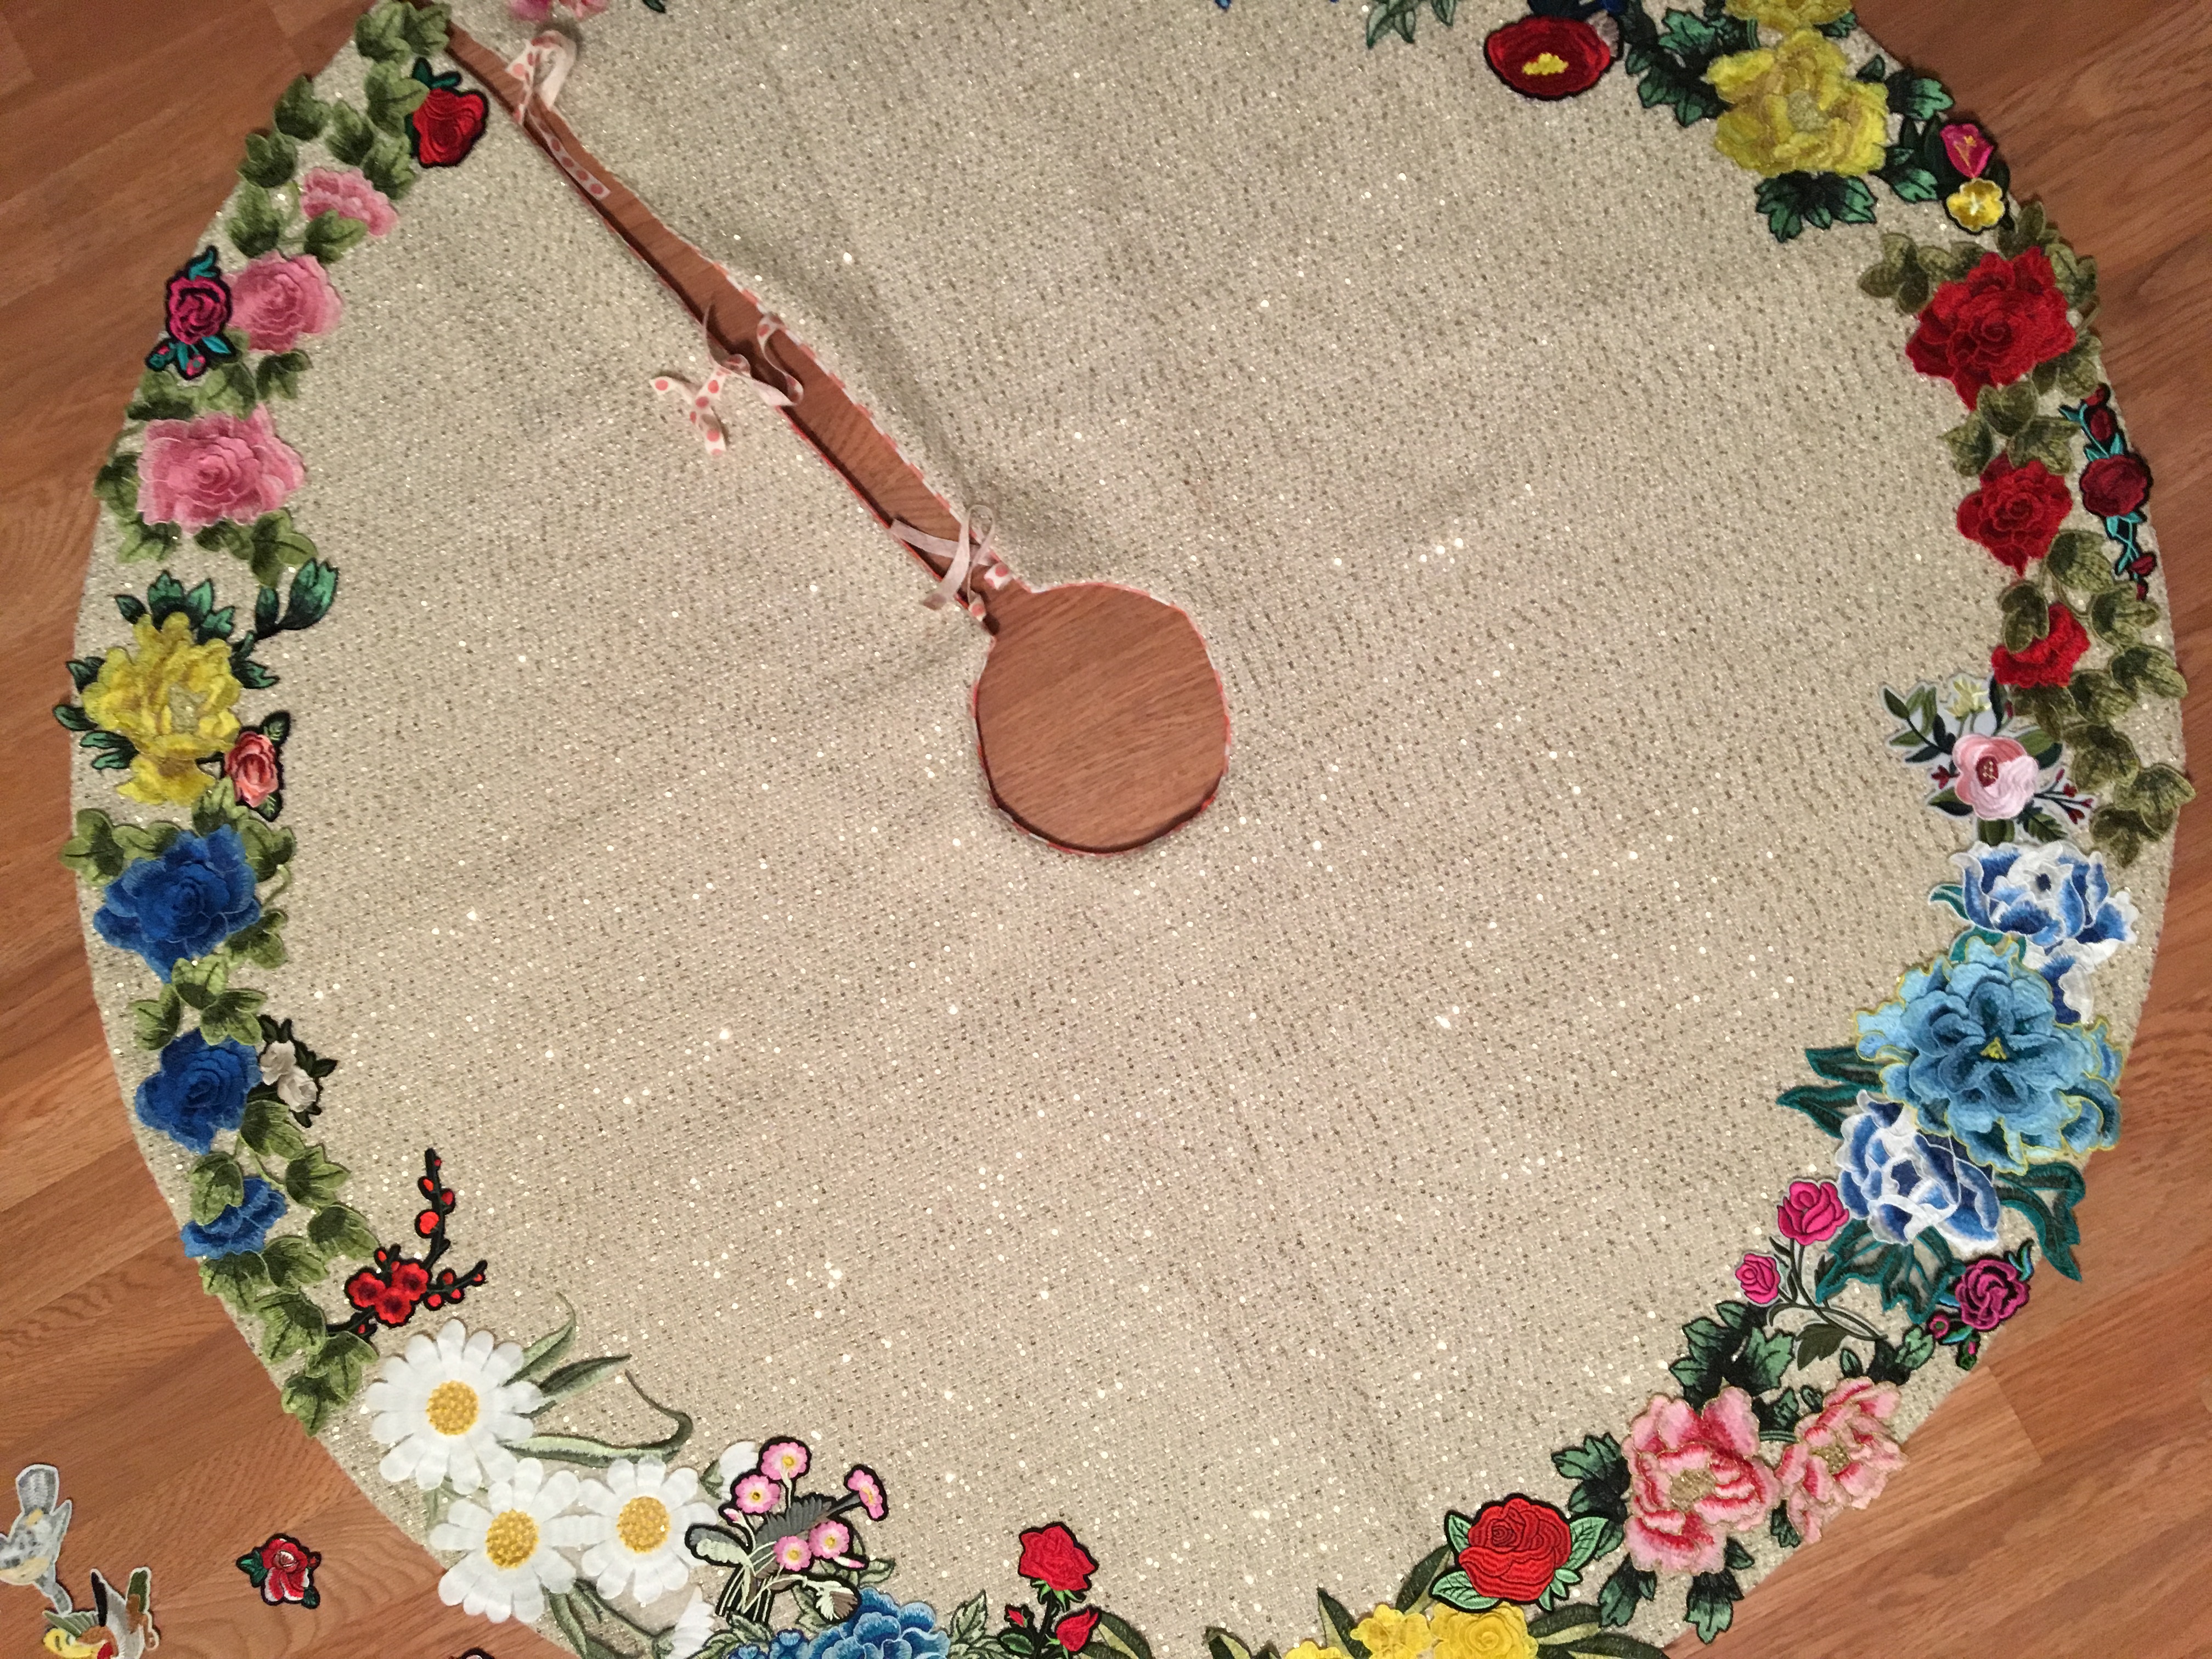
- Then fill in with some of the medium sized flowers.
- Next, add a few birds
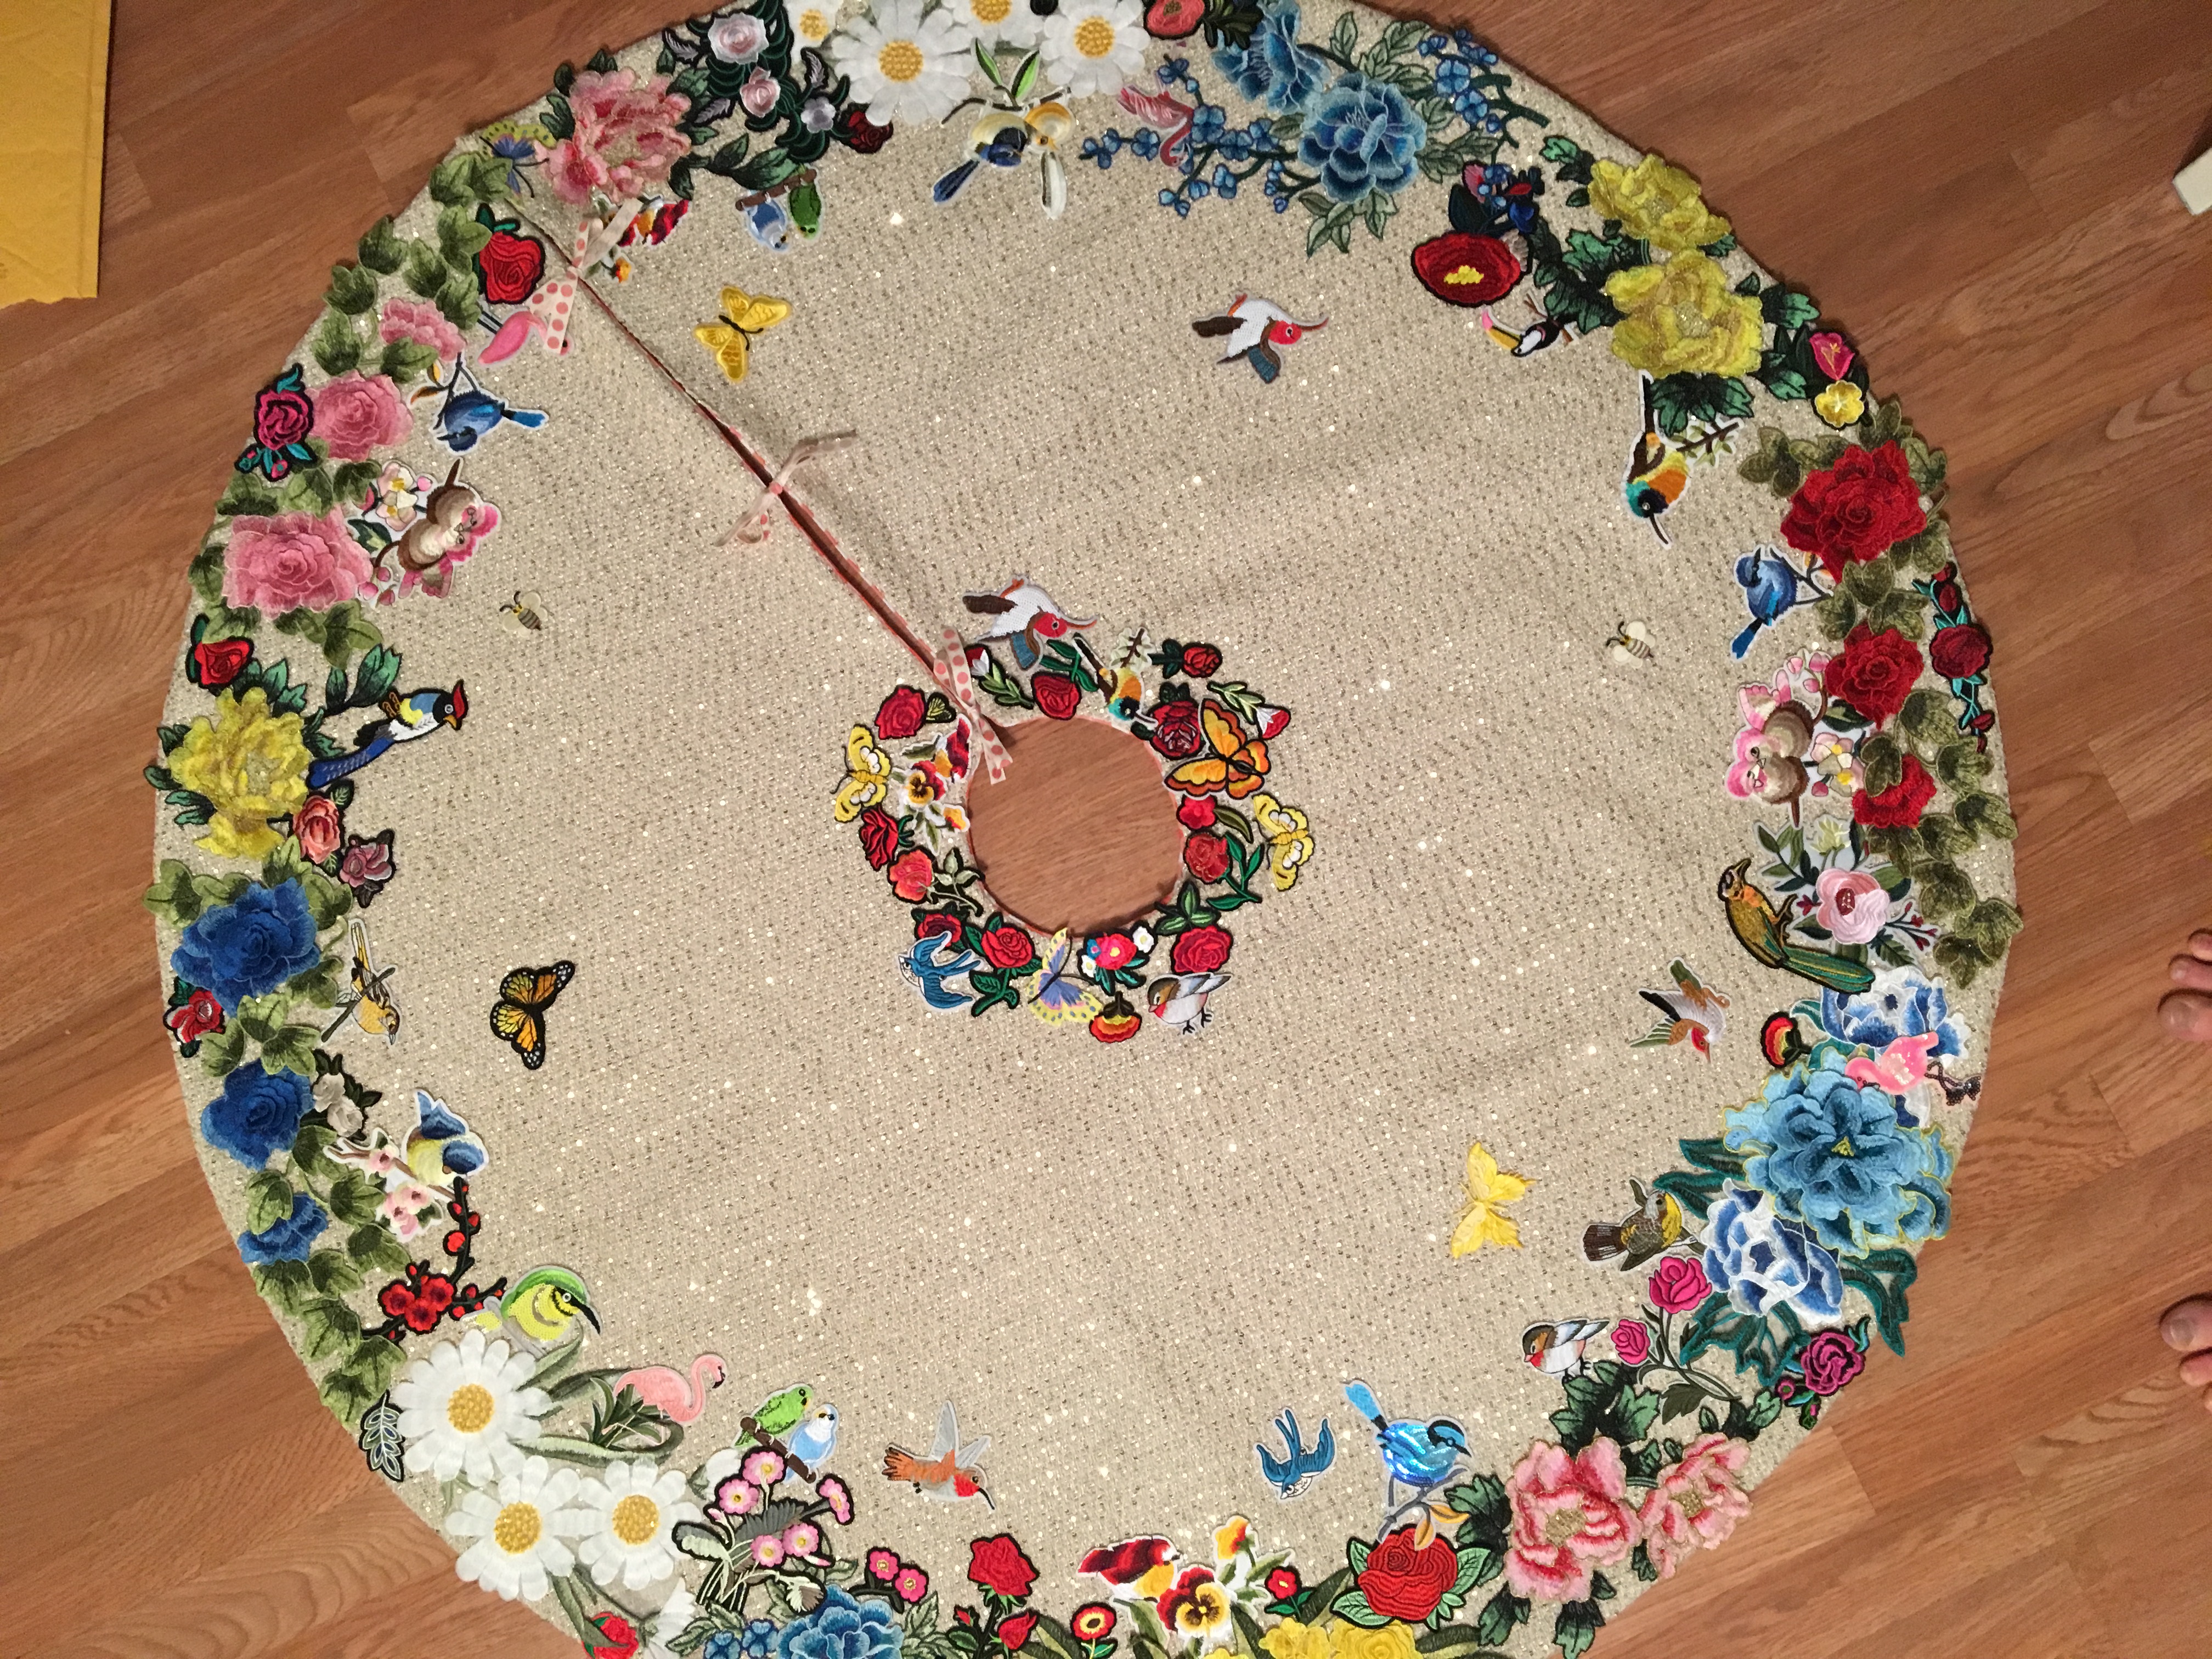
- Finish with the smaller flowers and additional birds and butterflies, remembering to go around the inner circle as well.
- Let dry overnight.
Wrap around your tree and bask in the glory of your stunning new Applique Tree Skirt Hack!












Comments