
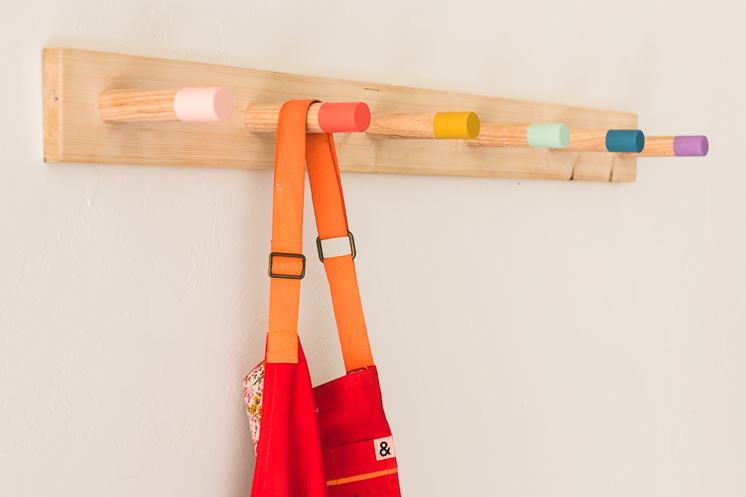
We’ve got a slew of “craft aprons” that I’ve been wanting to hang up for ages but kept putting it off. With the announcement of Fiskars new DIY Product line, I knew this was the perfect opportunity! This DIY Wood Coat Rack will only set you back $10 and looks SO much cuter than plastic stick-on hooks. You can customize the paint colors to fit your needs (we rainbow’d ours, of course), and with the new tools from Fiskars, it’s a breeze to put together. I’m already making plans to make one for my home!
Anyone who is an avid DIYer knows that having the right tools and supplies is key to your success in crafting. Who are you without your glue gun and multi-purpose scissors? Chaos breaks loose without my wire cutters and assortment of paint brushes. So the whole team was absolutely thrilled when Fiskars announced their new DIY tool line! Fiskars, the Queen of all cutting companies, certainly knows what they’re doing when it comes to scissors, so I had high hopes for their tools and I wasn’t disappointed! These products allow you to take your DIY dreams to the next level by facilitating your work with the “right” tool for the job at hand.
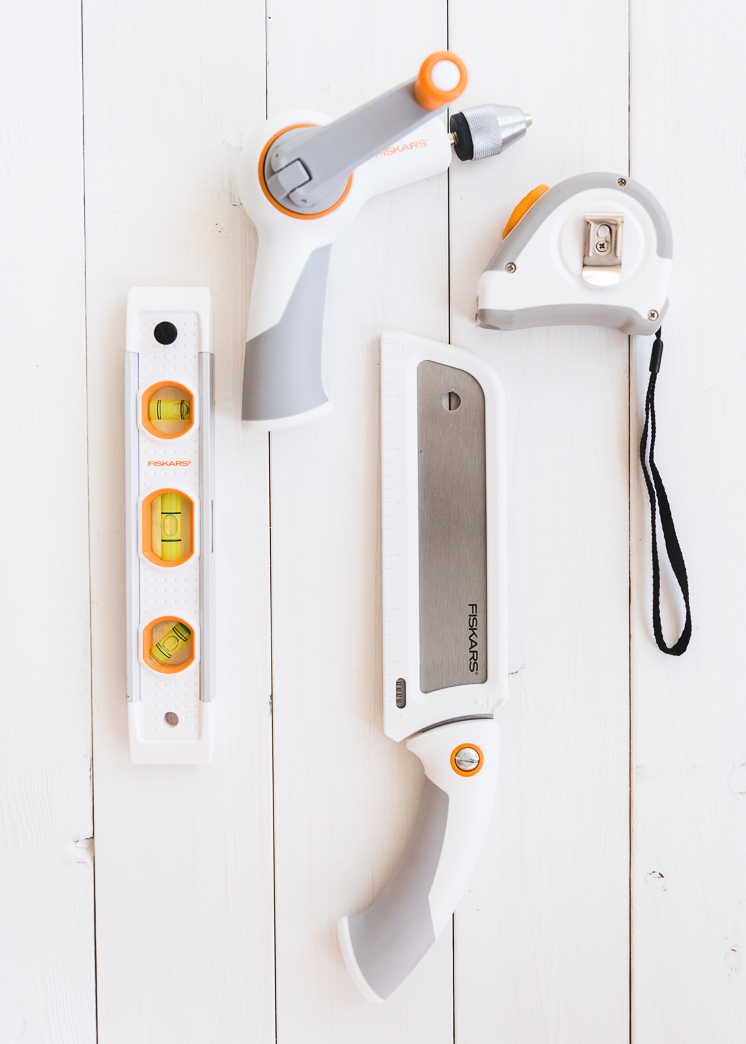
For this DIY Wood Coat Rack we used the following tools:
- Precision Hand Saw: The 7-inch blade cuts easily through wood, cardboard, and dowels, saving your grip from straining with scissors.
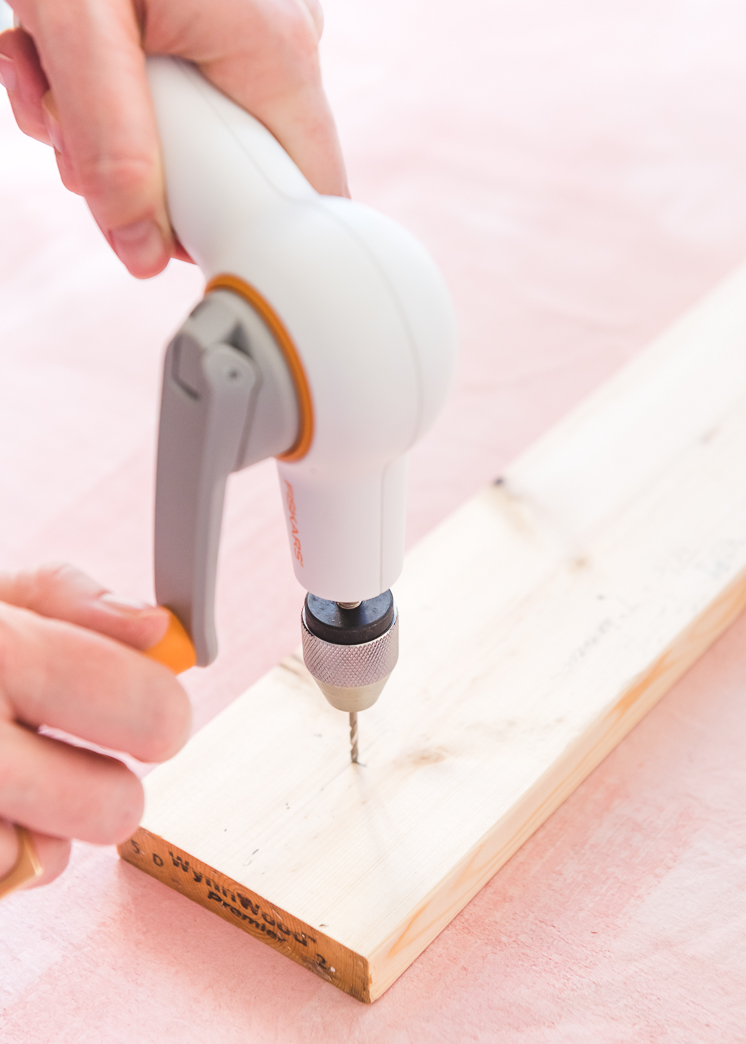
- Precision Hand Drill: This drill is cord free so you can take it anywhere without having to worry about charging the battery. It has a soft grip, which makes it easy to control, and you can go at your own pace with the hand crank. It comes with 4 standard drill bits to accommodate your various projects.
- Tape Measure: The tape locks in place and releases easily for accurate measuring.
- Level: The best part about this level is the magnetic strip on the side! It’s genius and makes storing a breeze. The level has three vials so you can make sure each angle is perfect.
Each tool is easy to use, no cords or plugins necessary. There is no need to be an expert woodworker for this project, this is something everyone can do!
DIY Wood Coat Rack
Materials:
- 1 piece of wood; ours is 3.5 inches wide by 39 inches long
- 1, 1-inch diameter wooden dowel, cut into 4.5-inch long pieces. We have 6 pegs on ours.
- Precision Hand Saw
- Precision Hand Drill
- Tape Measure
- Level
- Sand Paper
- 8, 2-inch wood screws
- Wood glue, optional
- Acrylic Paint
- Painters tape
- Paint brush
Instructions:
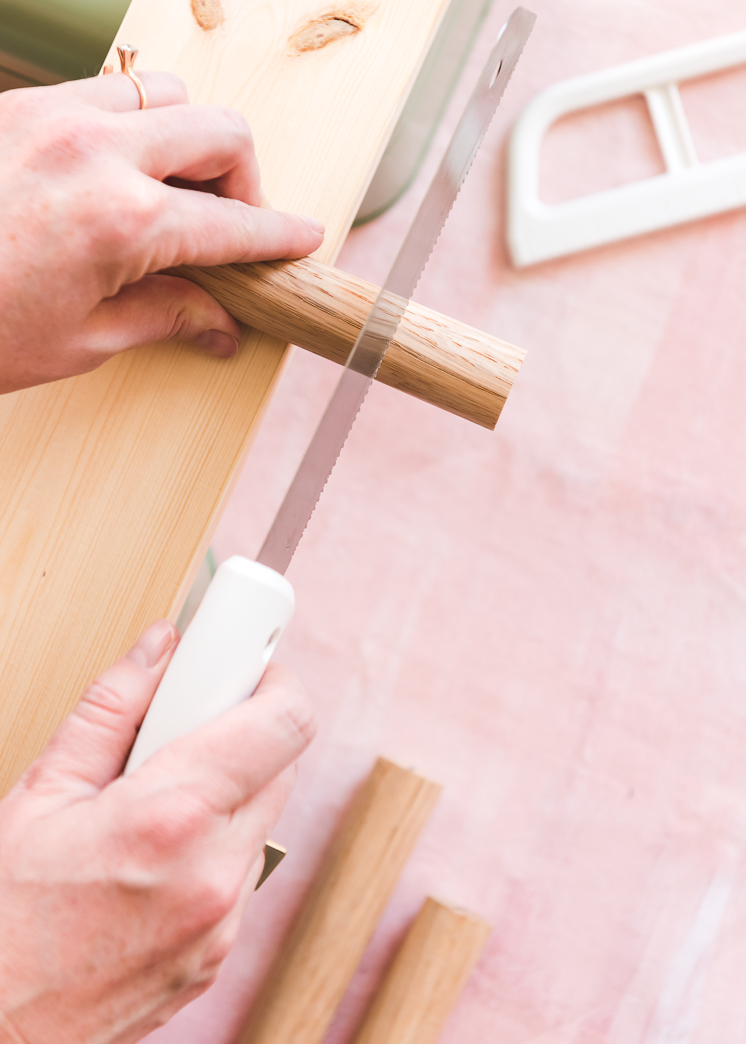
- With your Precision Hand Saw, cut the wooden dowel into 6, 4.5-inch long pieces. Sand one side of the peg so it doesn’t have a rough or sharp end.
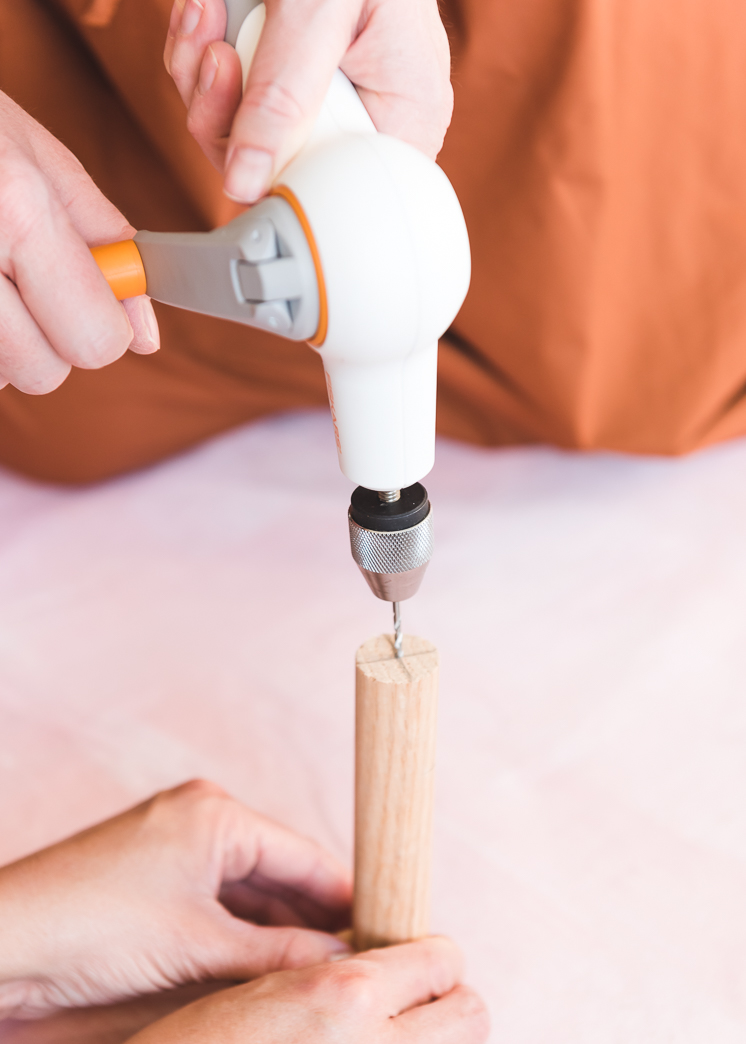
- Mark the exact center of each dowel piece, to identify where you’ll drill through the pegs. Set aside.
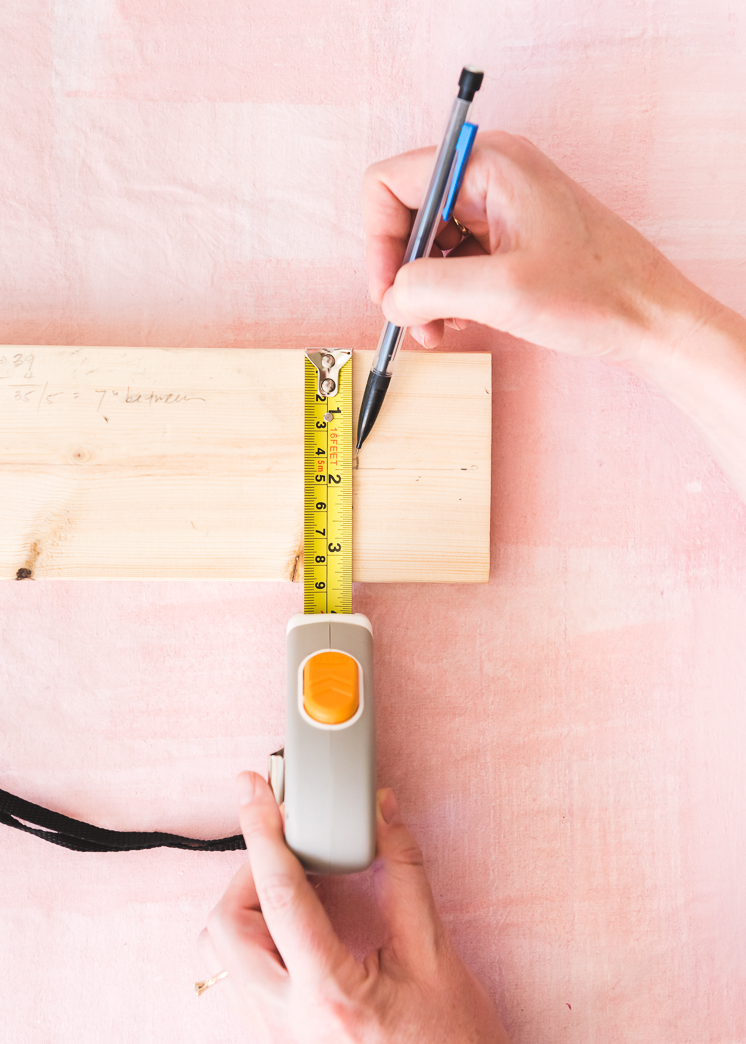
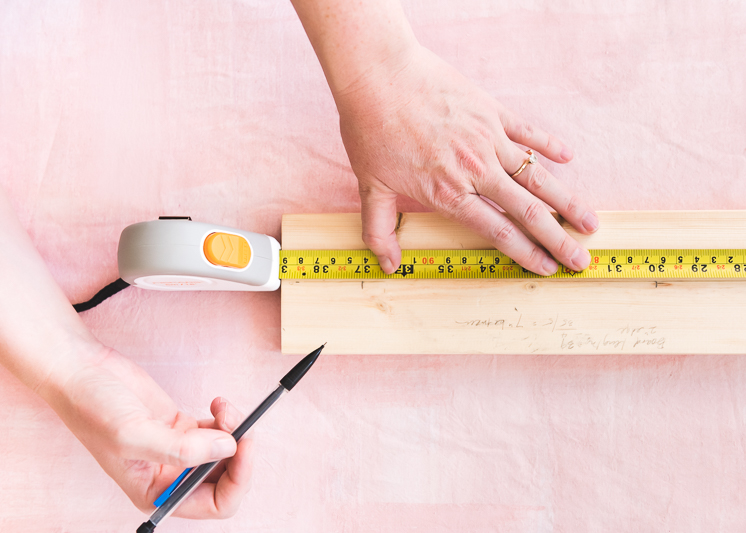
- Measure and mark where you’d like each peg to sit on the wood plank. Ours are 6-inches apart from one another with 1.5 inches of breathing room on each end.
- Use the measuring tape to make sure the marks are centered lengthwise and widthwise and mark with a pencil.
- With the Precision Hand Drill, drill a small hole onto the 6 markings you made on the wood board for the pegs. Start with a small bit so that you don’t split the wood. Then gradually increase the size of the bit until it matches the size of your wood screws. This will be the backside of the rack.
- Then do the same thing on the markings you made to the pegs. These will act as guide marks so make sure you drill into the right spots.
- Take one screw and place on the back of the board, aligned with the first mark you made. Drill through the board so the screw is just barely peeking out on the other side.
- Place a peg onto the screw tip, so the guide hole you drilled earlier lines up perfectly. Continue drilling through the peg until the peg is securely affixed to the board.
- Repeat for the next 5 pegs.
- Tape off your pegs to leave 1.5-inches of wood exposed on the tips. This is the area you will paint.
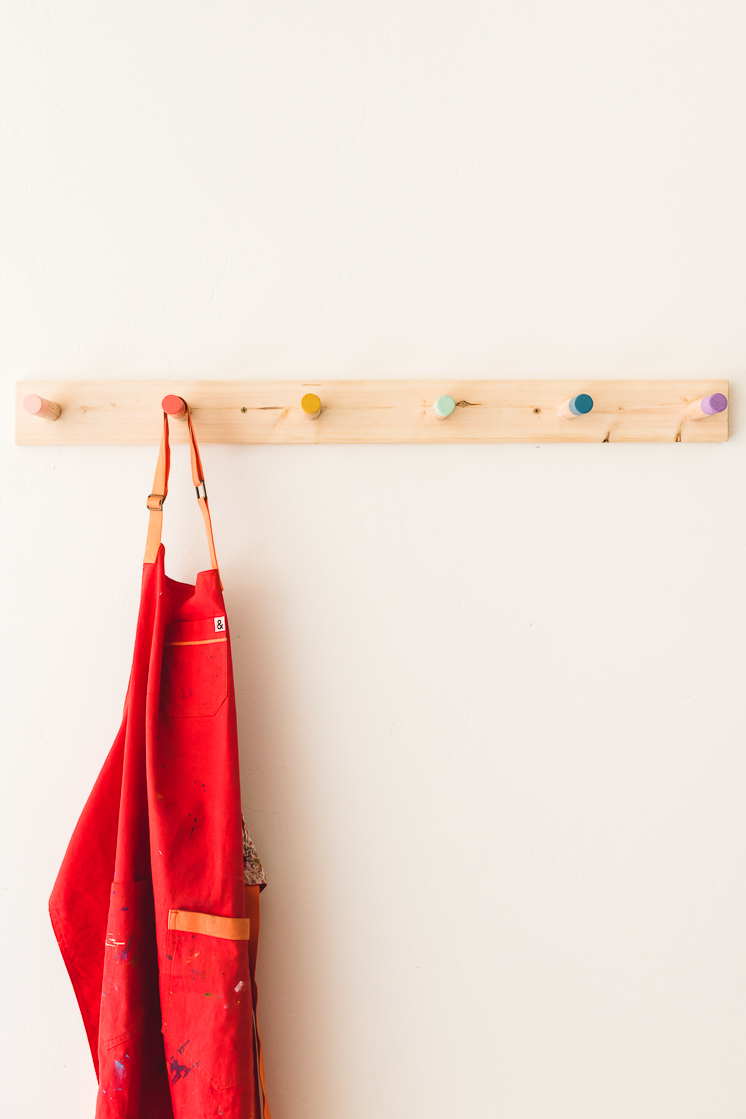
- Select a palette to paint each peg. We went with a muted rainbow palette and used a mixture of acrylic and house paints that we already had on had.
- Paint two coats on each peg letting them dry in between to achieve an even, saturated color.
- Once dry, hang onto your wall by drilling the remaining two screws on either end of the rack into the wall. (Again, pre-drill your holes first beginning with the smallest bit and then increasing the size of the bit until the hole is the size of the screws you plan to use.) Use a level when you are marking the holes in the wall, to make sure the rack is parallel to the floor.
**Make sure to use a stud finder to locate studs before drilling into the wall! This will ensure your drilling into a stable and strong piece of wall. The standard width between studs is 16 inches.
Now you can hang up your craft aprons, coats, backpacks, purses, or whatever you like! Eliminate clutter in style!
The post was sponsored by Fiskars. We’re big fans of Fiskars and their products and all opinions are my own. Thanks for supporting the brands that keep Lars thriving.







Comments