


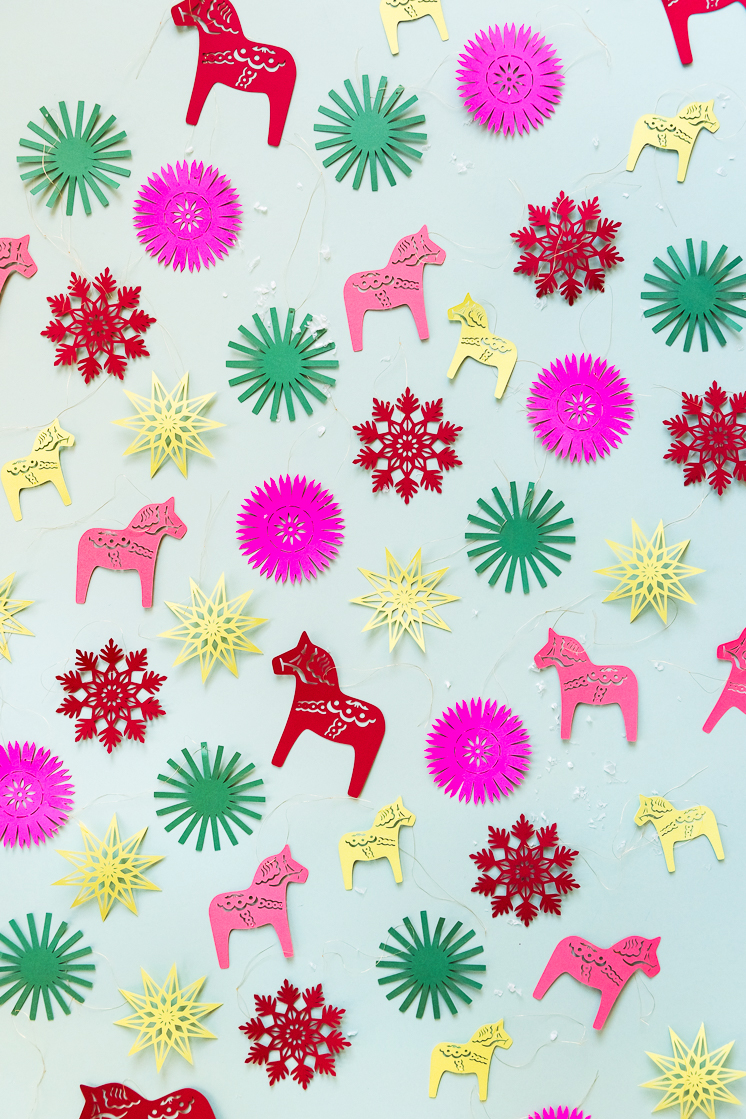
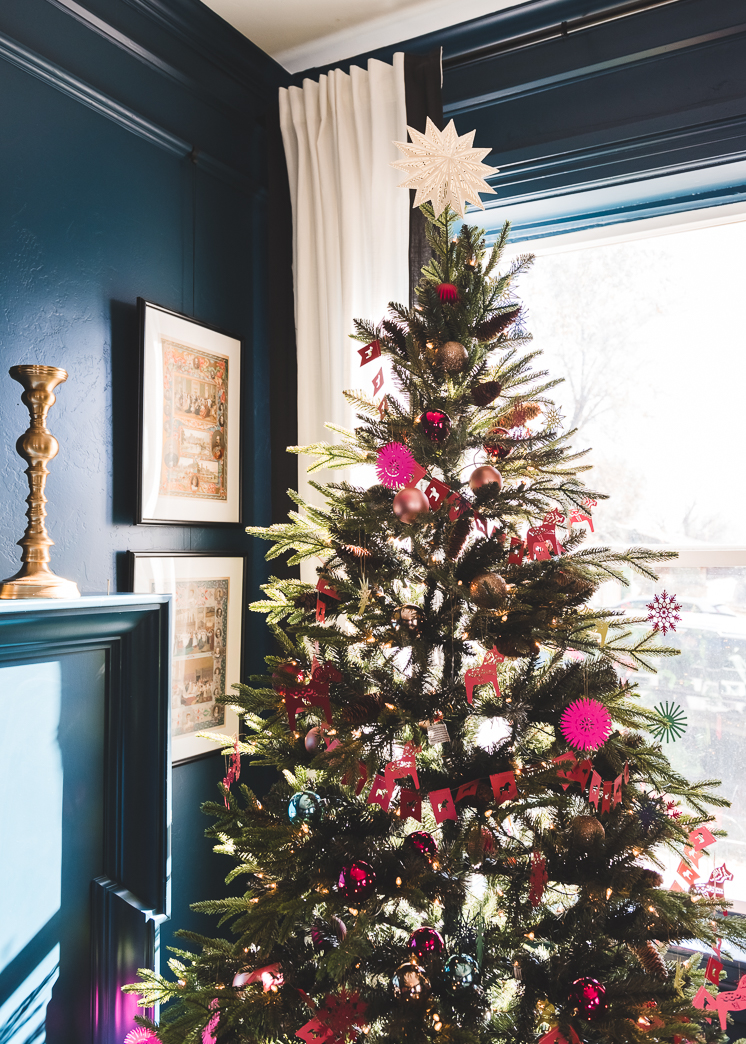
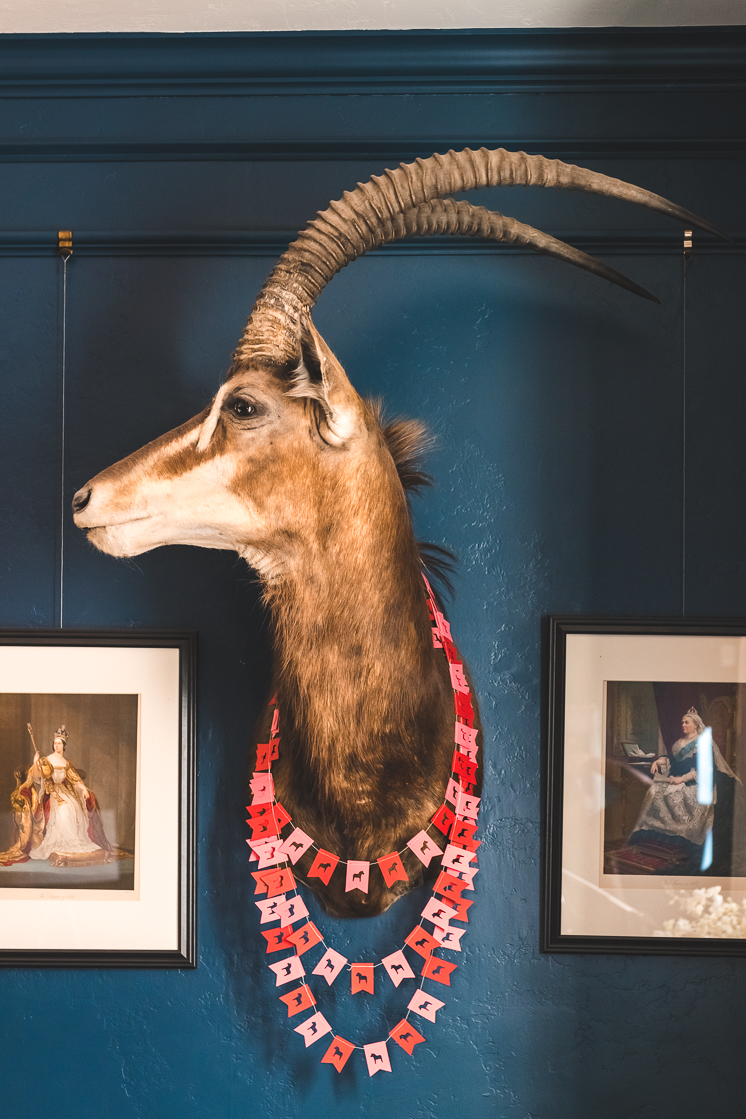
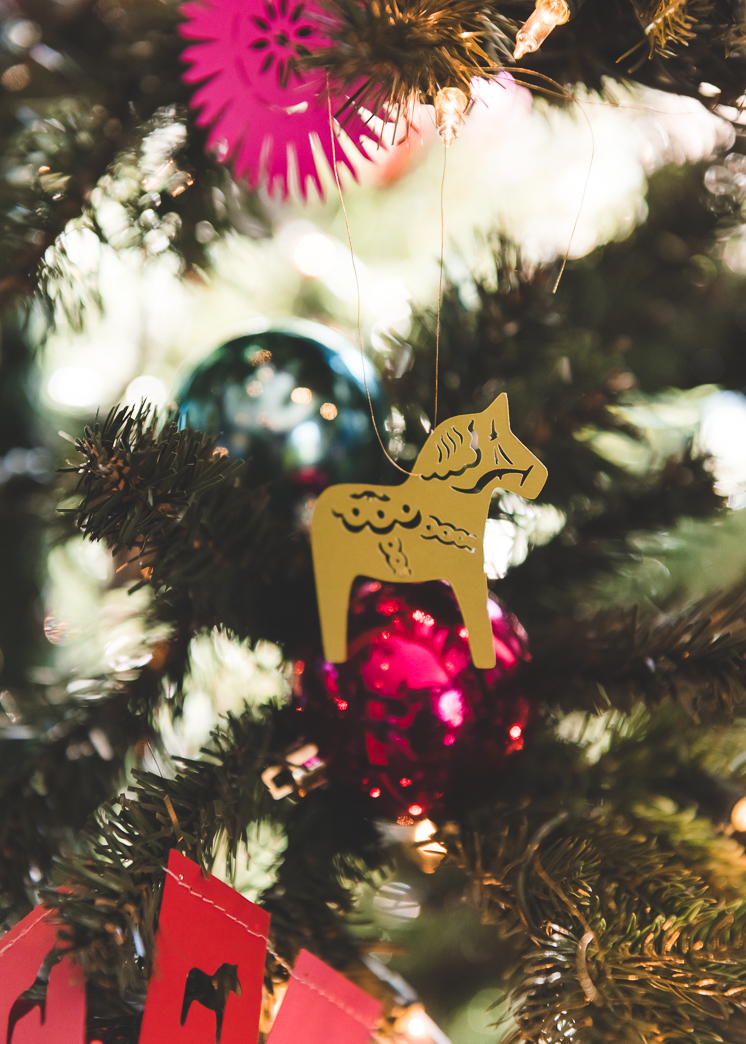
The Christmas season has arrived and everyone on the Lars team is putting up their tree! It’s always difficult determining how I want to decorate my tree each year: classic red and greens, all white, lovely pastels? However, changing your holiday decor each year can get a bit pricey… but not when it’s done with paper! This year we partnered up with Cricut to create a Head to Toe Swedish Christmas made entirely out of paper! That’s right, ornaments, garlands, tree topper, and gift tags that you can cut out with your Cricut machine and be done in a jiffy! We were inspired by traditional Swedish Christmas decor; Straw ornaments, Dala horses, and advent stars, all turned into paper versions. So DIY your holiday this year and tap into the Christmas spirit.
Get the templates to make your own!


All you need for these projects is a Cricut Maker and lots of paper! You can change the sizes of each image to fit your needs. The Maker is such an incredible resource because not only does it cut paper, cut also a variety of other materials. In addition, it can score, or create fold lines, and draw images. We use the machine at least once a week in the Lars studio.
Disclaimer: Many of these images take a long time to cut out on the Cricut because of their intricacy in design, so be patient! It’s worth it.

Head to Toe Swedish Christmas
Materials:
- Cardstock
- Cricut Machine
- Fine point blade
- Scoring wheel
- Cricut Mats
- Cricut Tools, optional but super helpful!
- Hot glue gun
- Glue stick
- Gold thread
- Scissors
-
The House That Lars Built Cricut Holiday Collection


Instructions:
- Insert the desired image from The House That Lars Built Head to Toe Cricut Collection into Cricut Design Space.
- Adjust size if desired.
- Cut out following the directions on your Cricut Machine.
- Follow the below instructions for more details on how to construct each element below
Ornaments:
- Attach loops of gold thread for hangers.

Dala Horse Garland:
- Alternate two different colors. Sew together along the top of the bunting.
Gift tags:
- Fold in half along score line and attach to gifts with twine or ribbon.
- Write to and from on inside of tag
Tree topper:
- You’ll need 7 point pieces for both the front and the back of the star, so 14 total for a complete topper.
- Fold along the score lines. You may need to go over with a craft knife to sharpen the score lines.
- Glue 1 star point to another along the fold tabs with a glue stick.
- Continue until you’ve glued all 7 points together for the front
- Repeat for the backside
- With a hot glue gun glue the front of the star to the backside along the upper fold tabs.
- Leave an opening if you’d like to slip over the top branch of your tree.


This is a sponsored conversation written by me on behalf of Cricut. The opinions and text are all mine.
Comments