

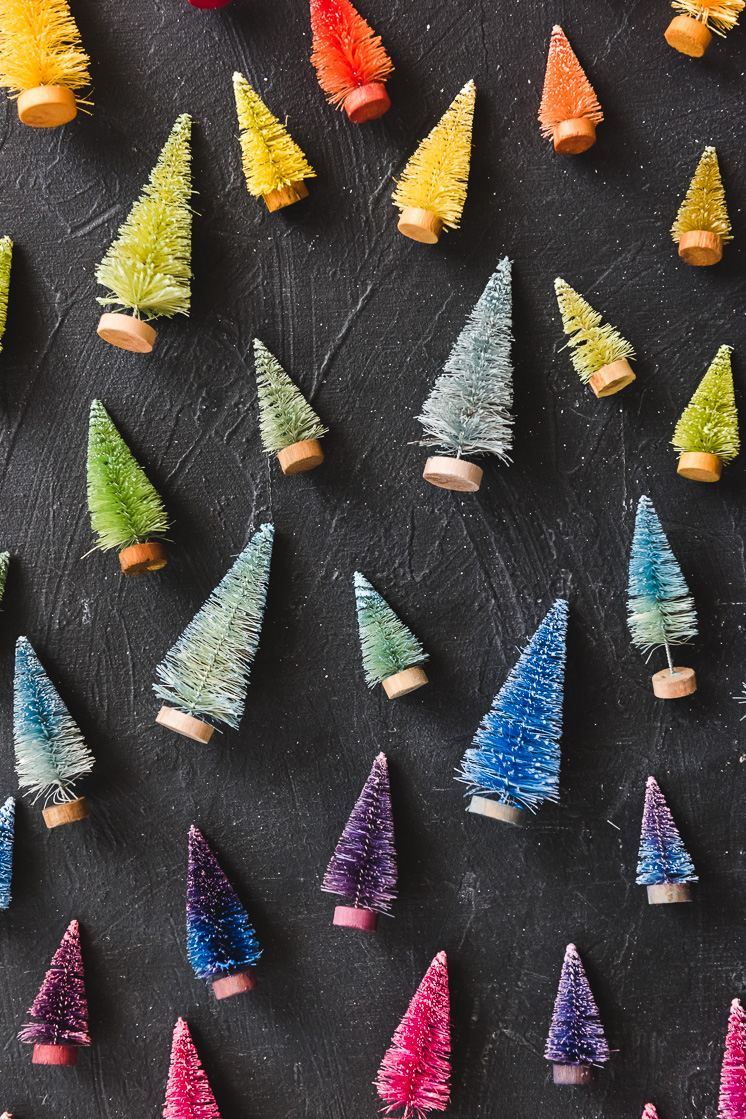
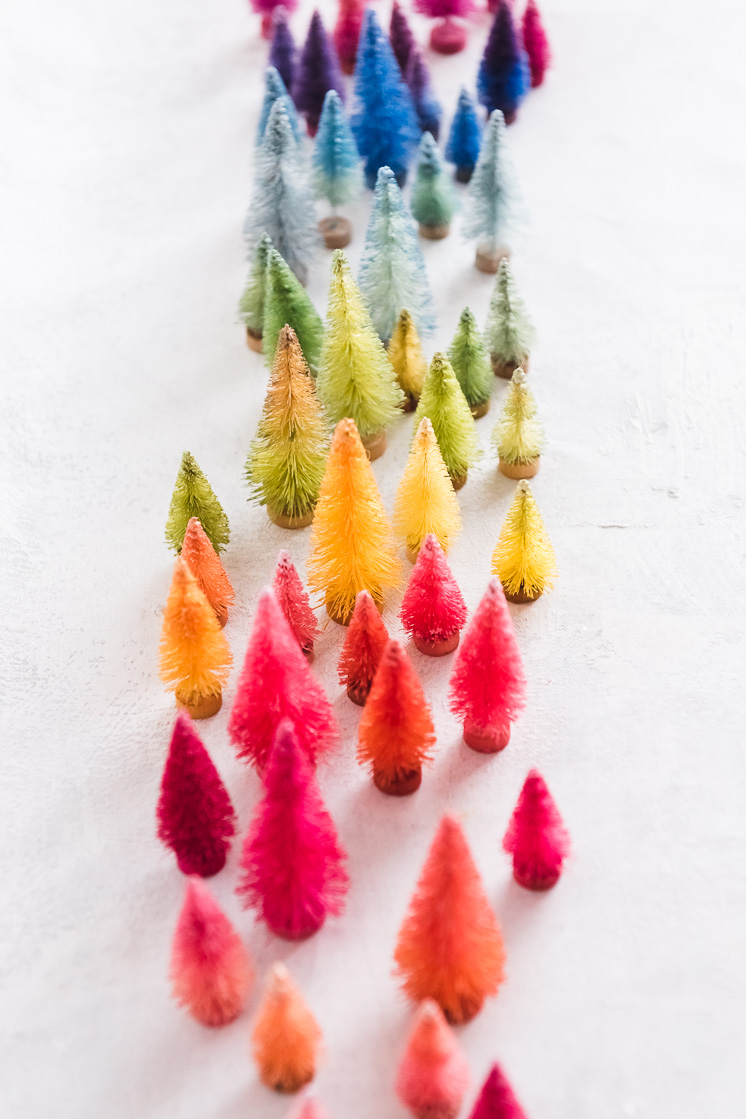
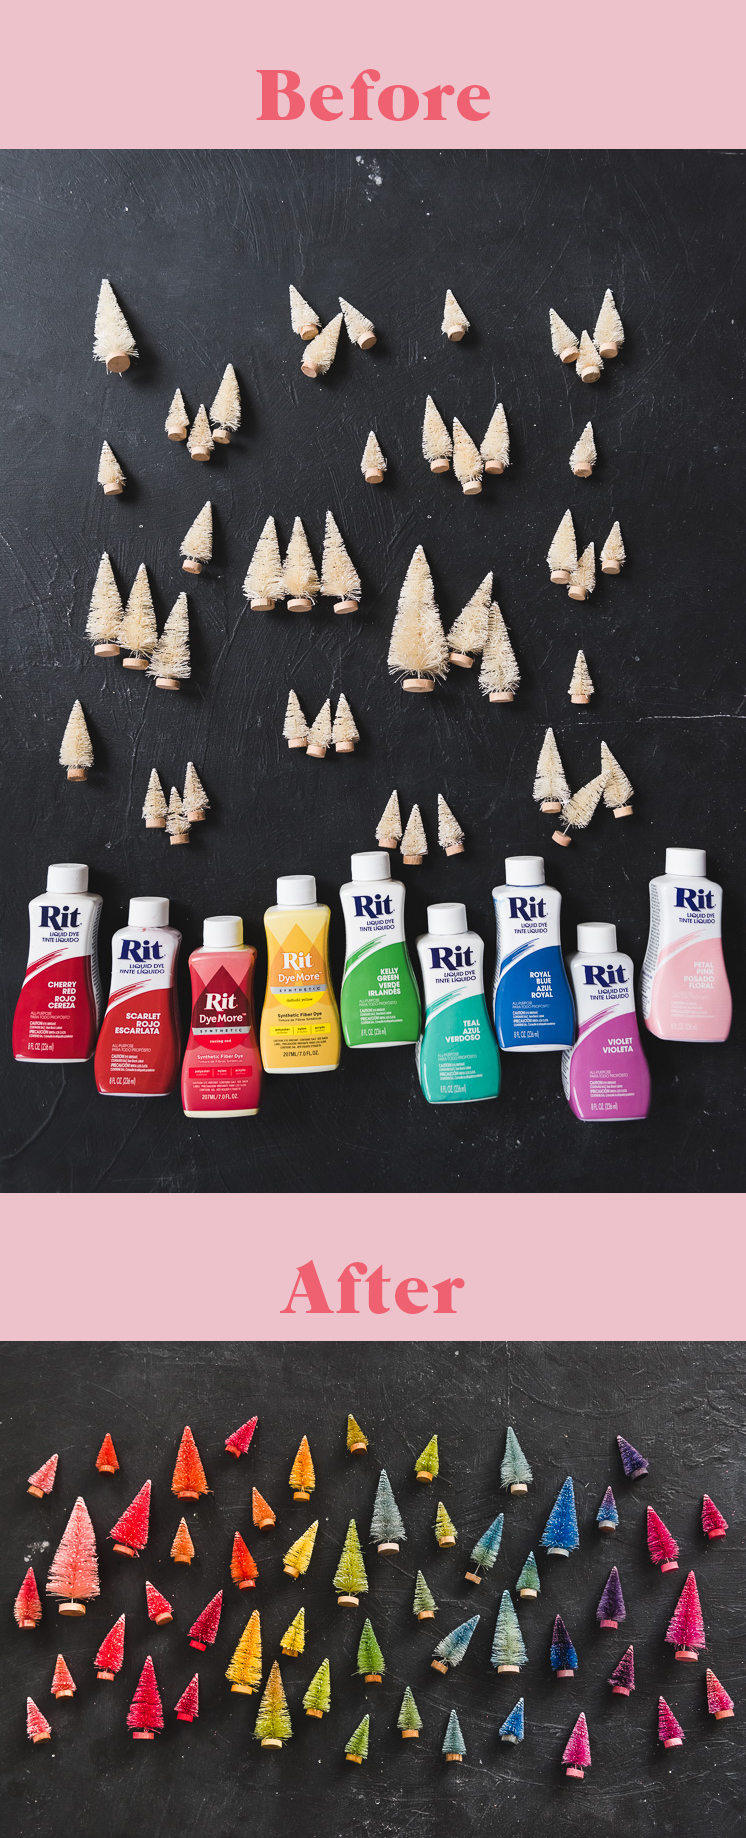
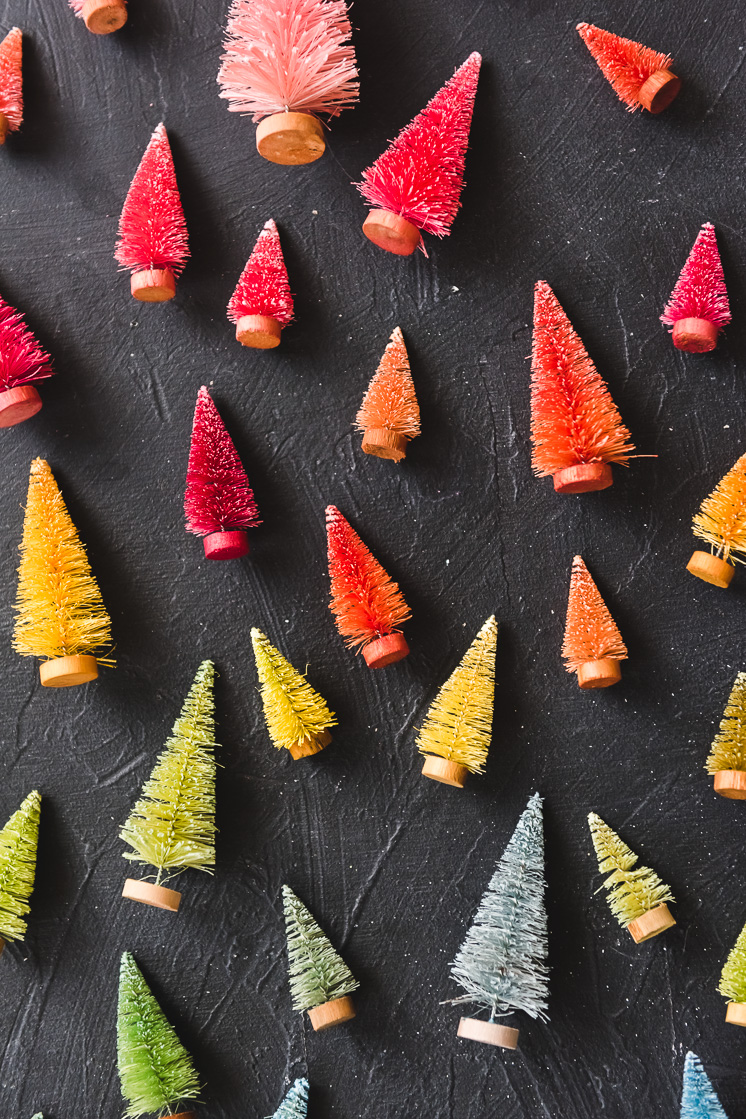
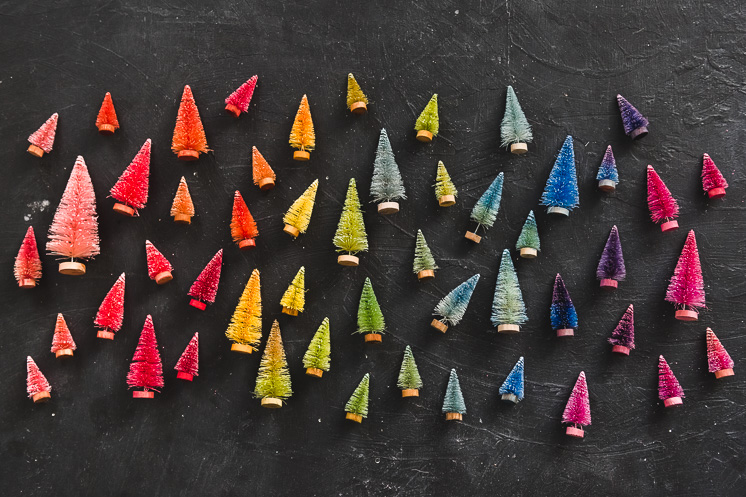
What’s not to love about bottlebrush trees? They are sweet, come in all sorts of colors and sizes, and look great in just about every setting! The downside is, they tend to be a little pricey and you can’t always find the exact palette you want. So of course, the only option we were left with was to diy bottlebrush trees on our own (and with color!) And you know what? It’s incredibly easy! We are already making plans for more.
Materials:
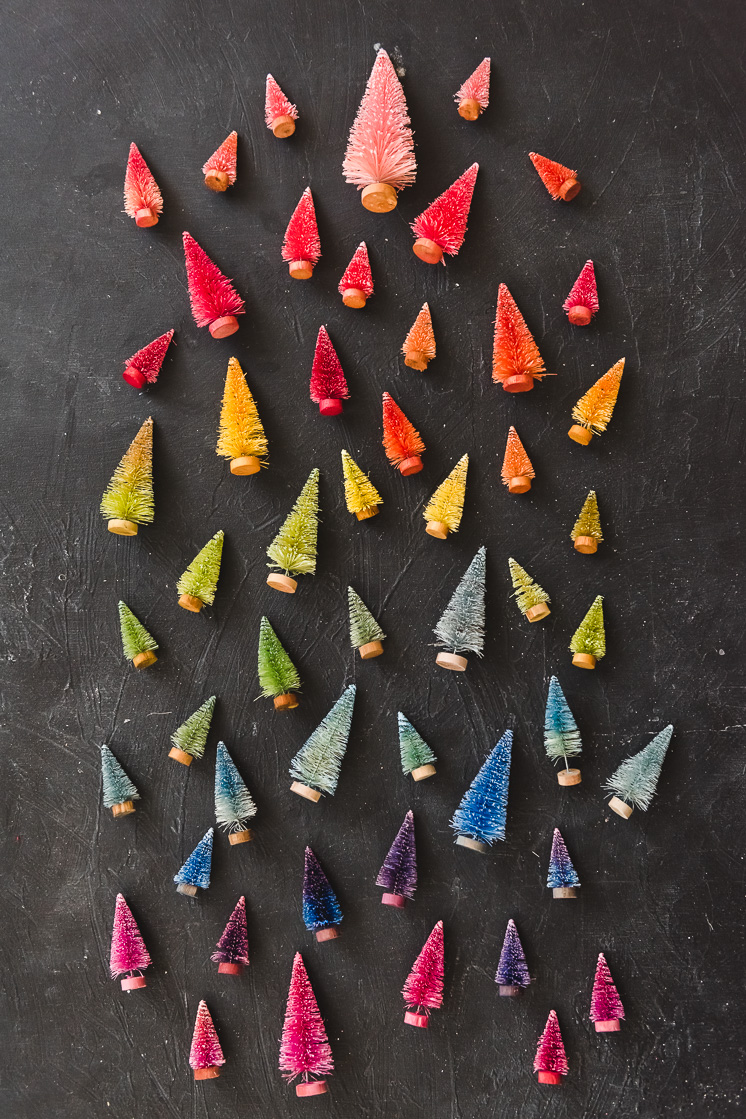
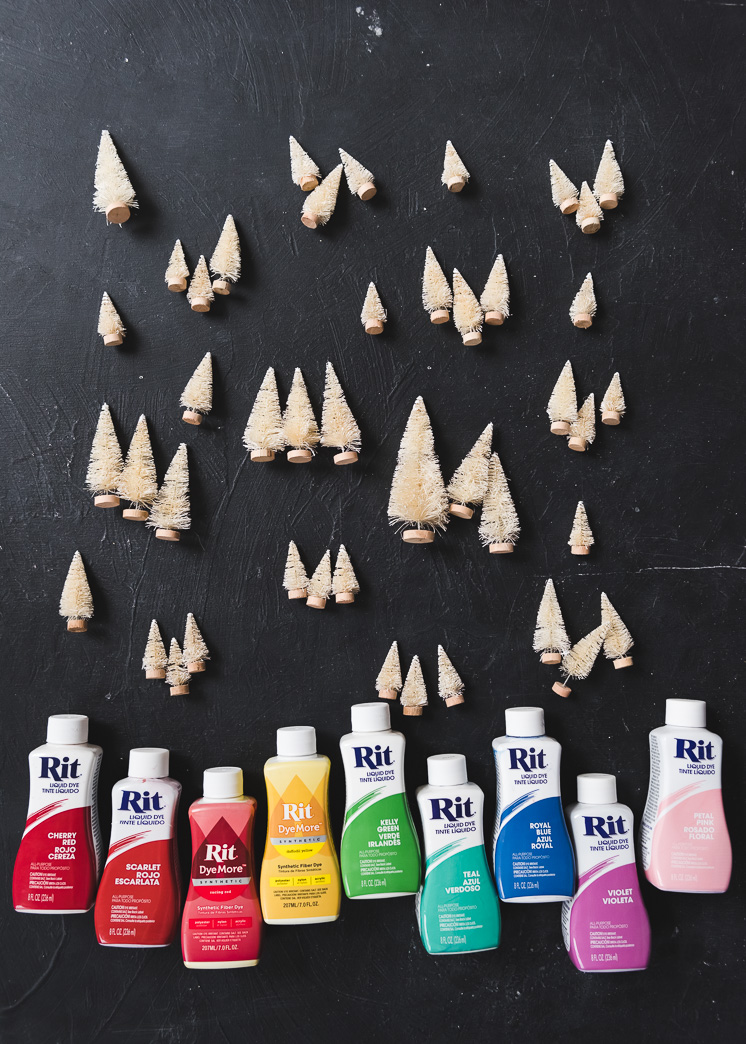
All you need are some natural sisal trees, which we found online, and basic liquid or powder dyes. We chose a jewel tone palette for this round, but I’m already dreaming up a pastel wonderland to try next. I love how these look sitting atop a mantel or in big glass cloches to look like oversized snow globes. 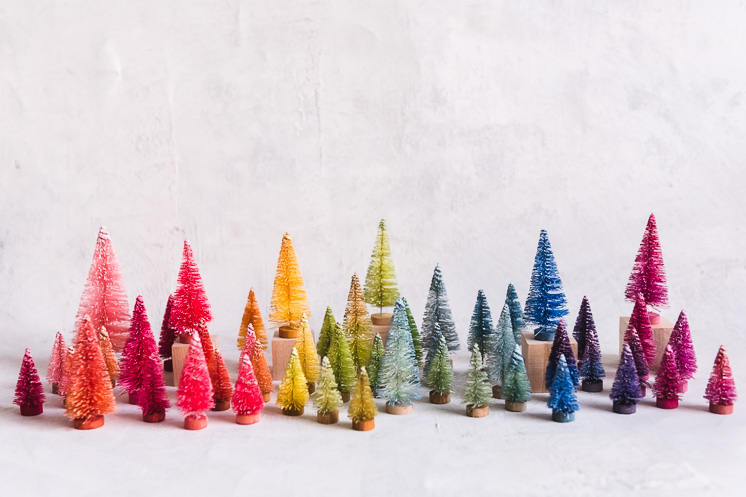
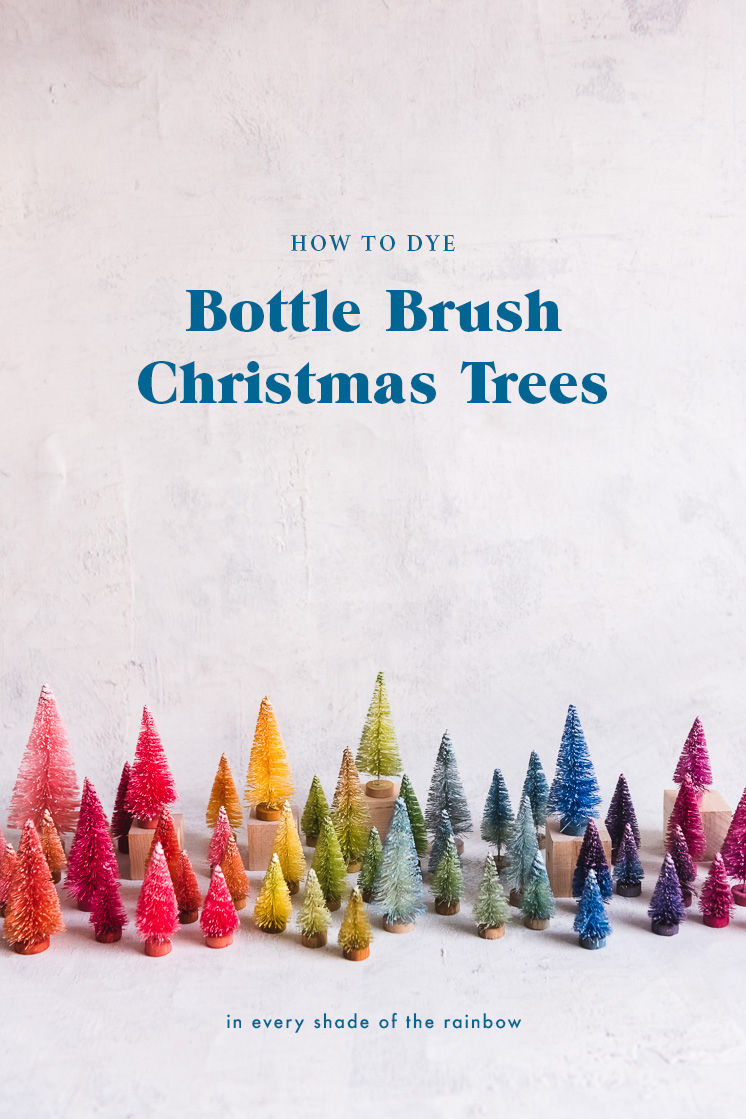
Take a look at how to dye your own Bottlebrush Trees
How to DIY Bottlebrush Trees with Dye

TIPS:
- To create an ombre-look, dip into one color until desired shade is reached, then dip halfway into another color for a few minutes.
- To create custom colors, mix dyes together. We mixed yellow and green to create a chartreuse.
Instructions:
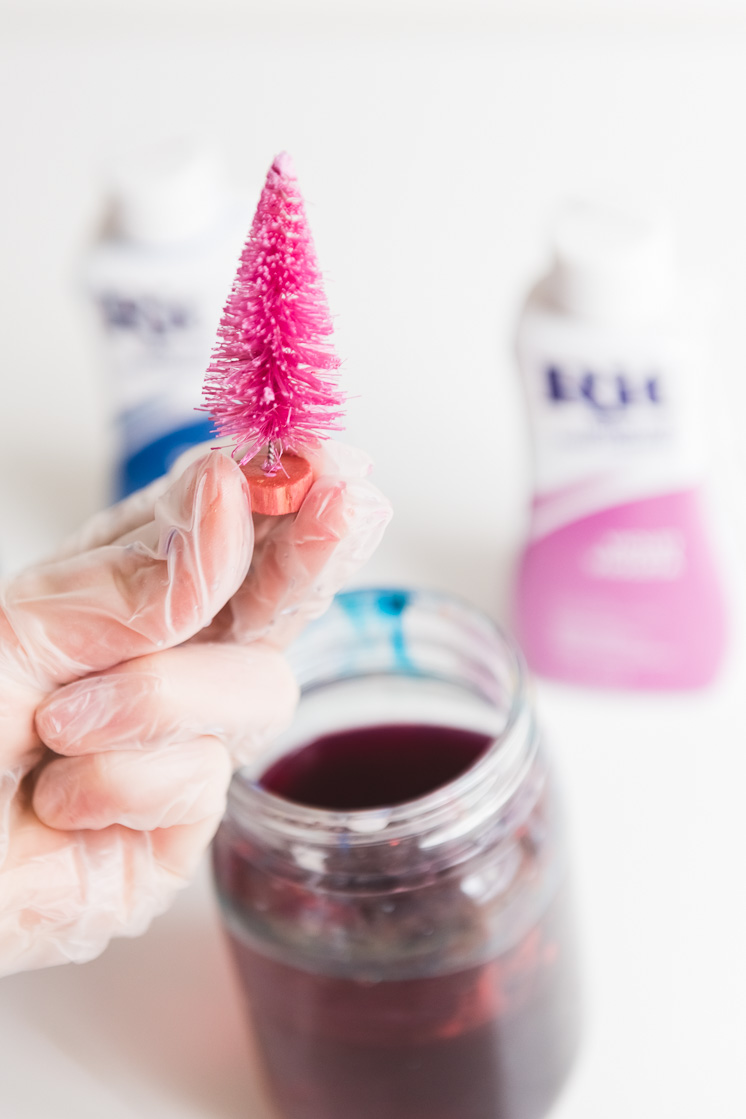
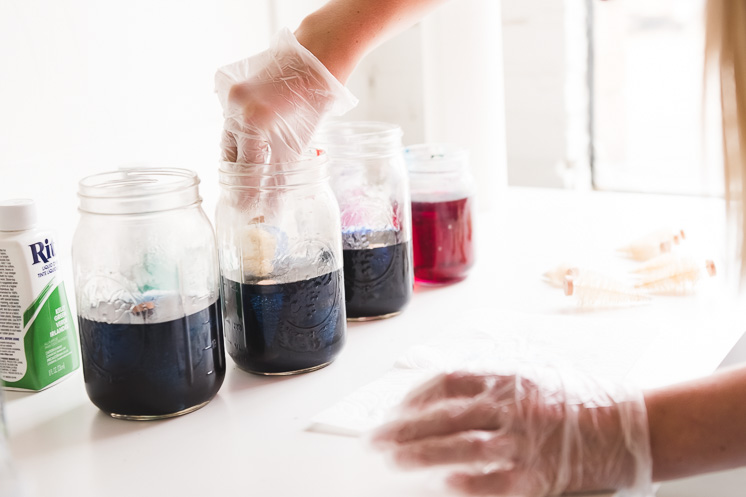
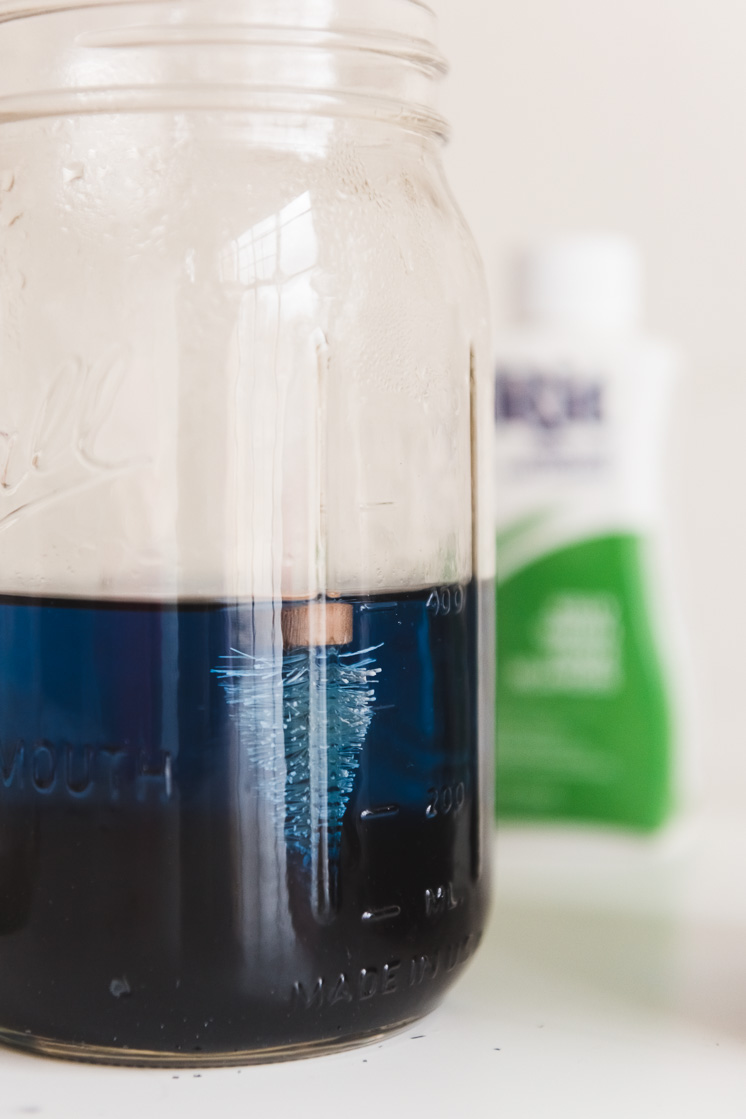
- Fill each glass with enough hot water to cover your trees when immersed.

- Then pour your dye into the glass and stir until incorporated. We used about 1 Tablespoon liquid dye in each jar. Leave one jar with clean water.
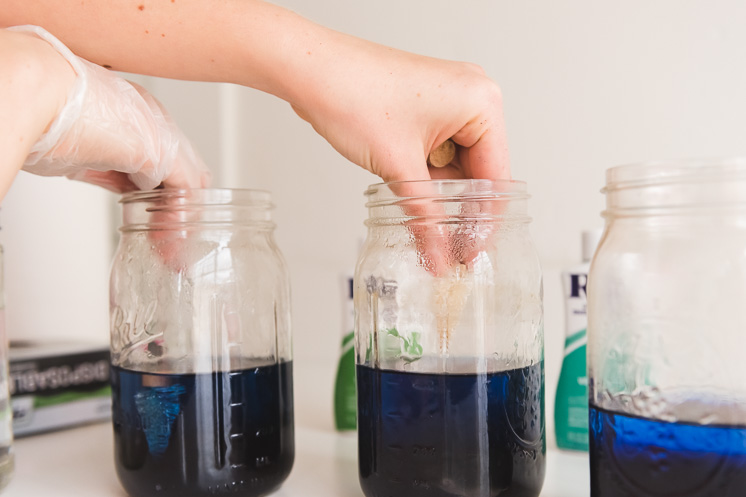
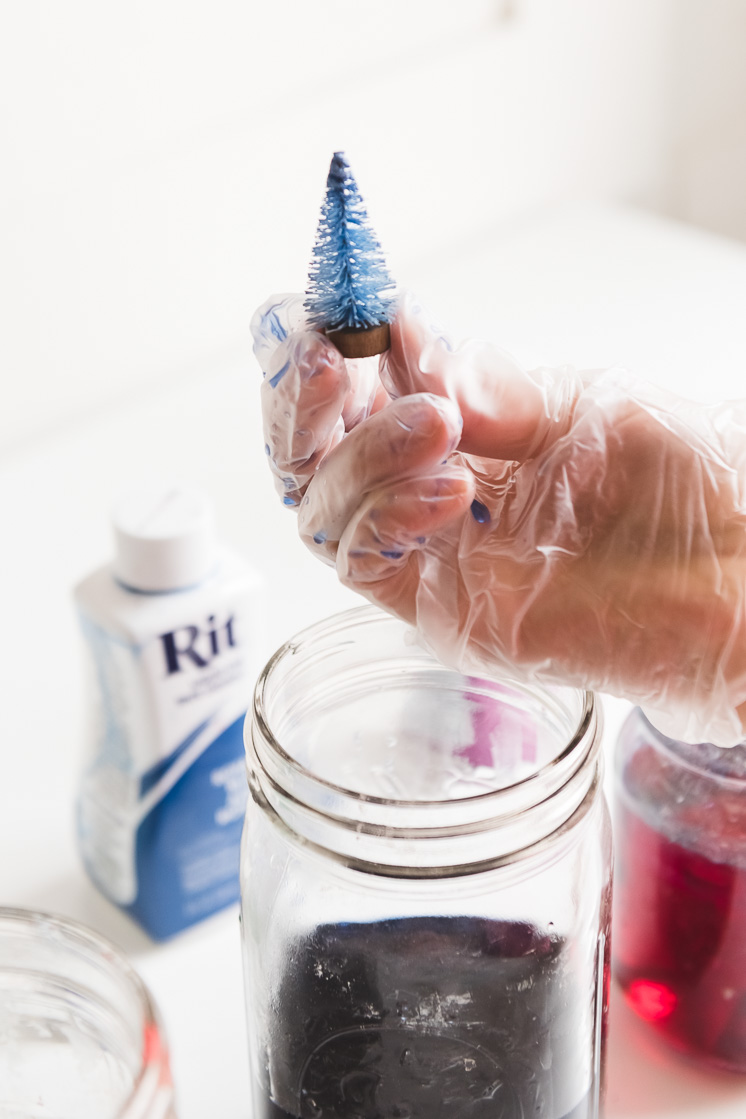
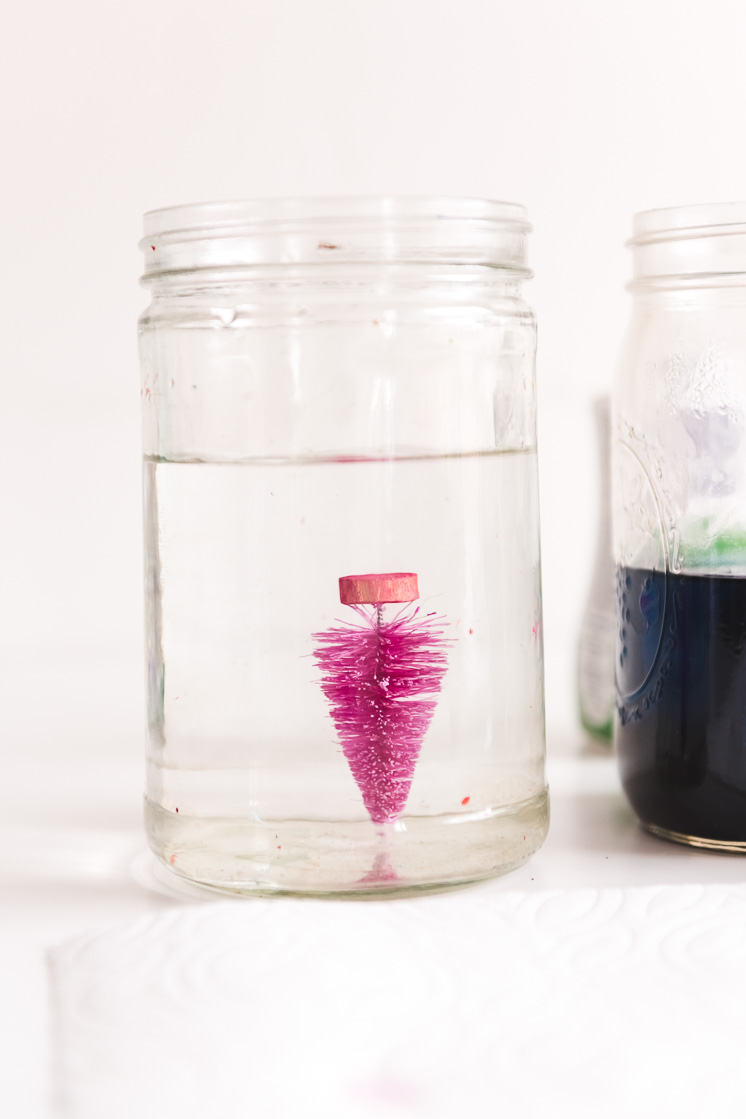
- Dip each tree into your desired color with tongs, or put on plastic gloves and use your hands. Place the tree upside down, so the wooden base is at the top of the water.
- The amount of time you leave the tree in the dye will affect the intensity of the color. Some we kept in for 2 minutes, others for 10. Just take out each tree to check on the progress, and re-submerge if you think it needs more time.

- Take out each tree just before they’re the desired shade, as they’ll get slightly darker after you take them out.
- Once you remove from the dye, place in the jar of plain water for about a minute.
- Remove from the water and let dry on a paper towel, or use a hairdryer for a quicker process.
Comments