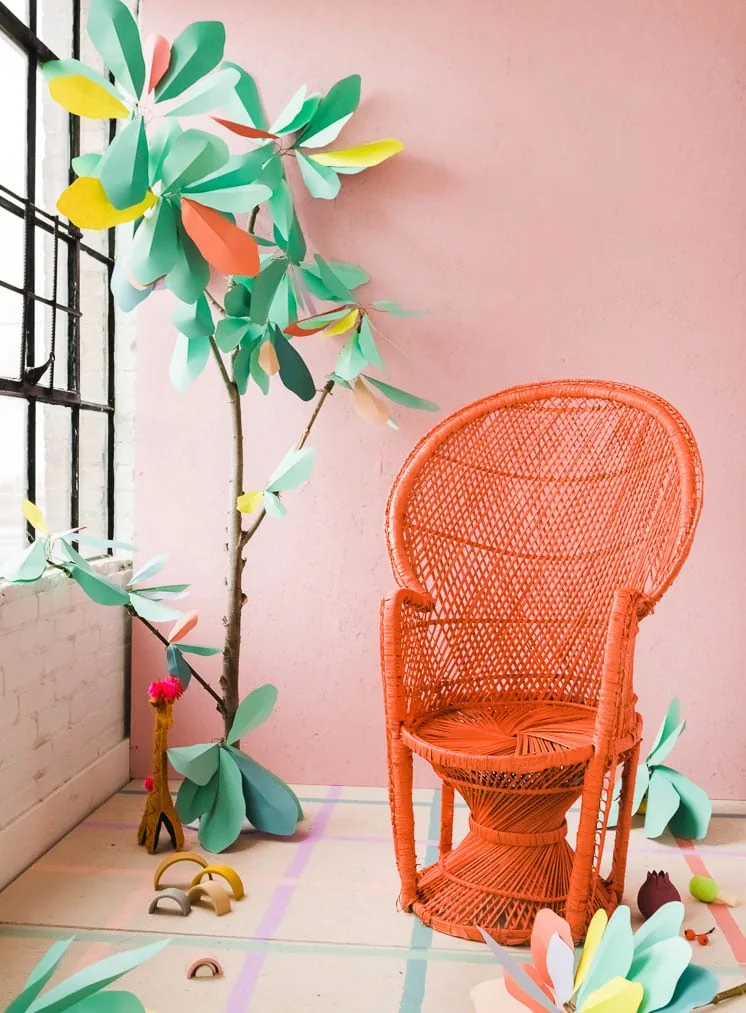
With our recent Wildbird release, we received a ton of requests to demonstrate how to make the rainbow paper tree prop we made for it. I have to admit that I love how it turned out and I think it would be an awesome accent piece to make for a kids room or for every day. Plus, you don’t have to water it, which is always a good thing, no? You can’t kill it with negligence! Just don’t let it live outside and you’re all good.
DIY Paper rainbow tree
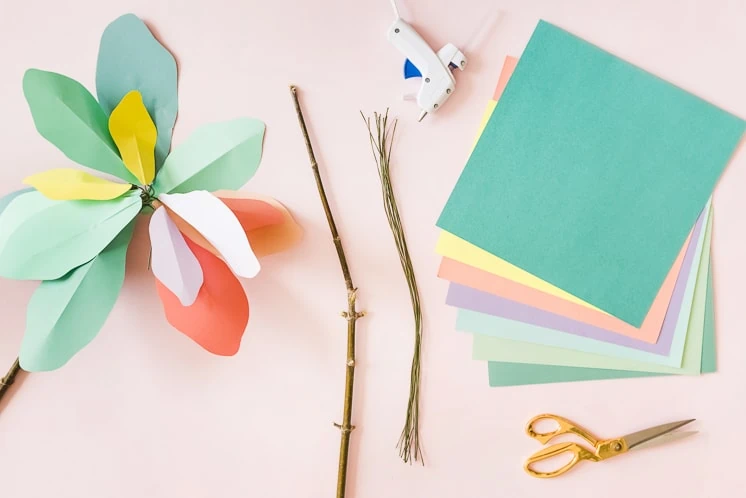
Materials:
- cardstock
- scissors
- glue gun
- wire
- sticks and branches
- leaf template
- bone folder or scoring device
- metal ruler
- pencil
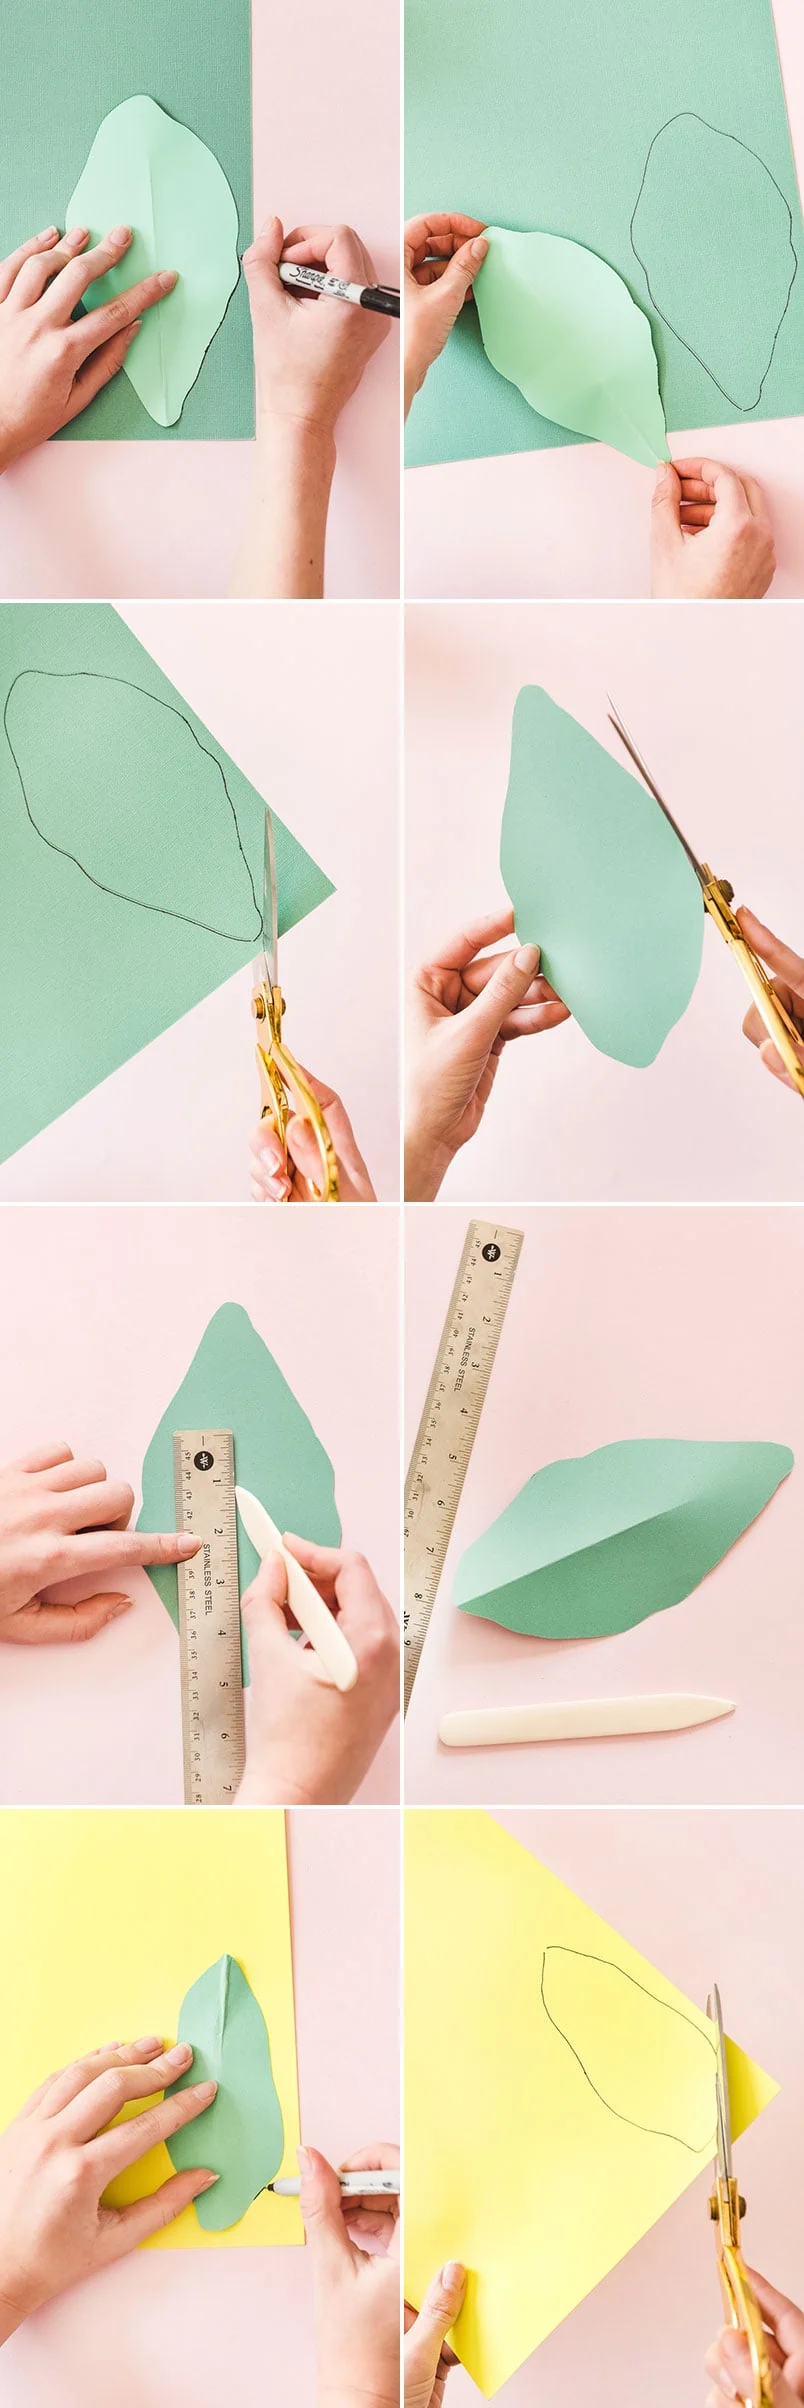
- Start by cutting our the leaves in three different sizes using our templates
- With your scoring device, score down the middle of the leave against a metal ruler for a straight line
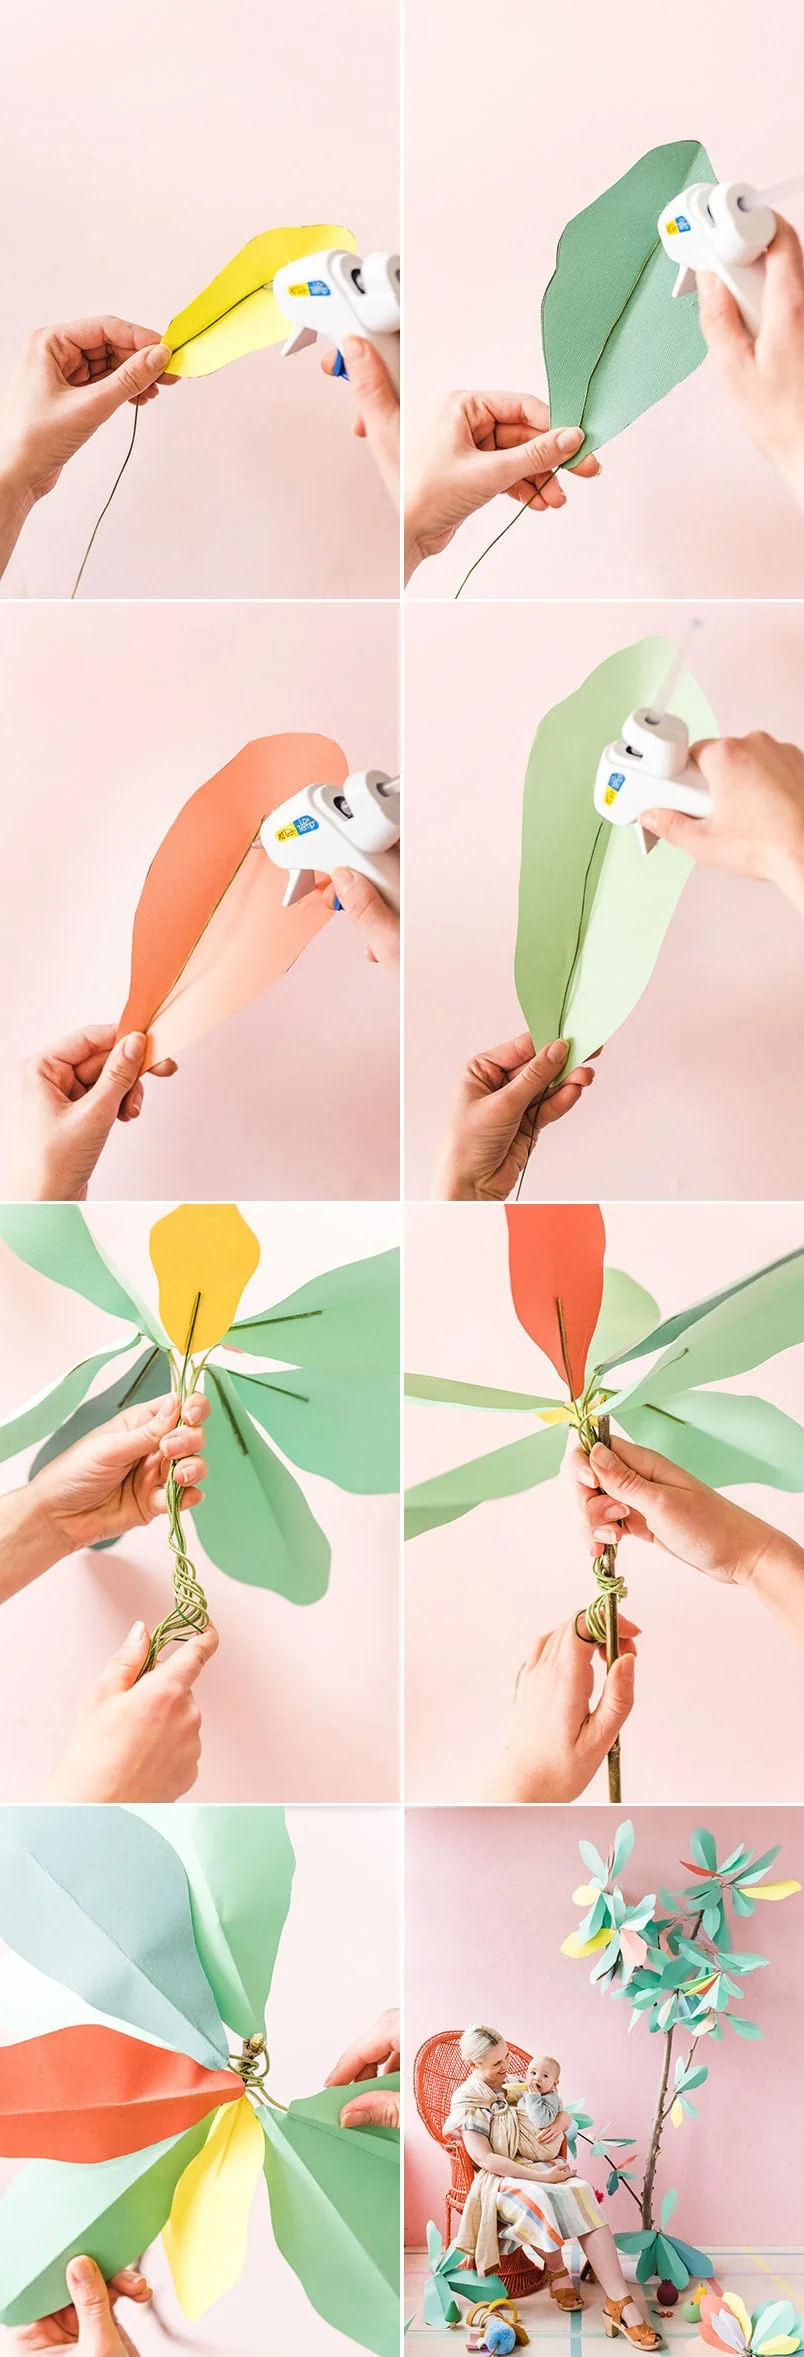
- Glue a piece of wire under the folded line
- Assemble a number of leaves together to form a bunch and spread them evenly around. Connect them by twisting them together and then surround a stick.
To make the base:
- We were lucky to get a welder to help us with the base
- He got a circle piece of metal from the home improvement store and attached a piece of metal rod to it.
- We drilled a hole in the bottom of the branch and inserted it into the metal.
Would love to see how you use your own rainbow tree!
Thank you to Tanner Boyes for welding for us!





Comments