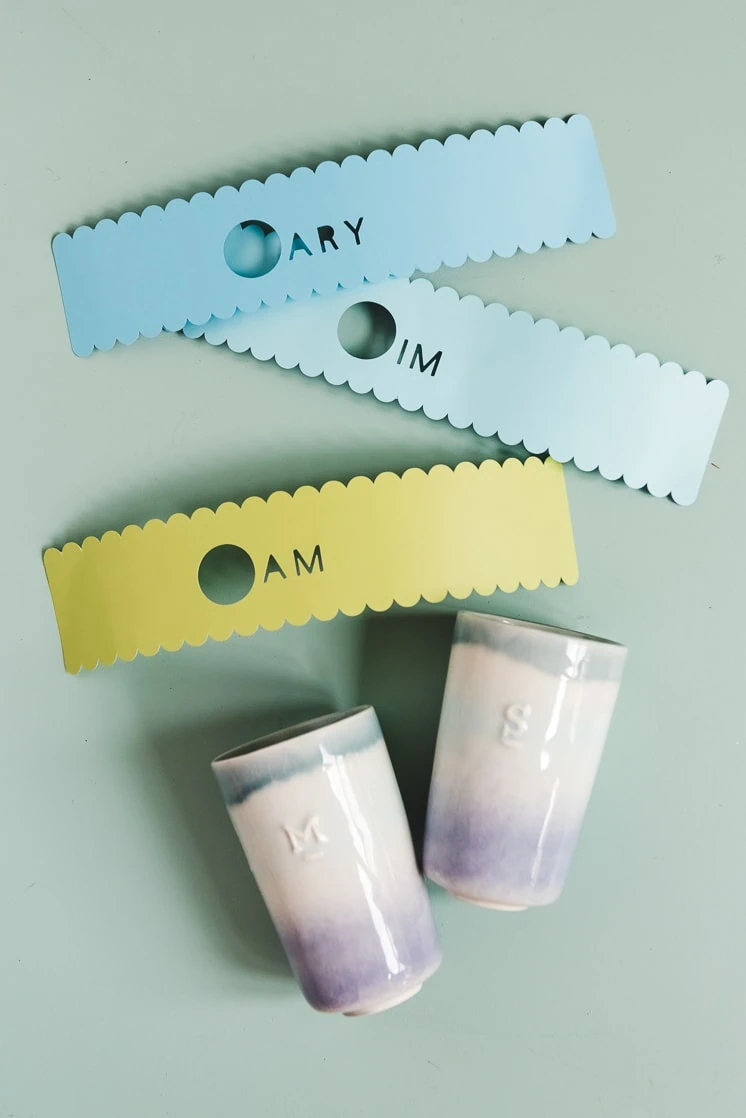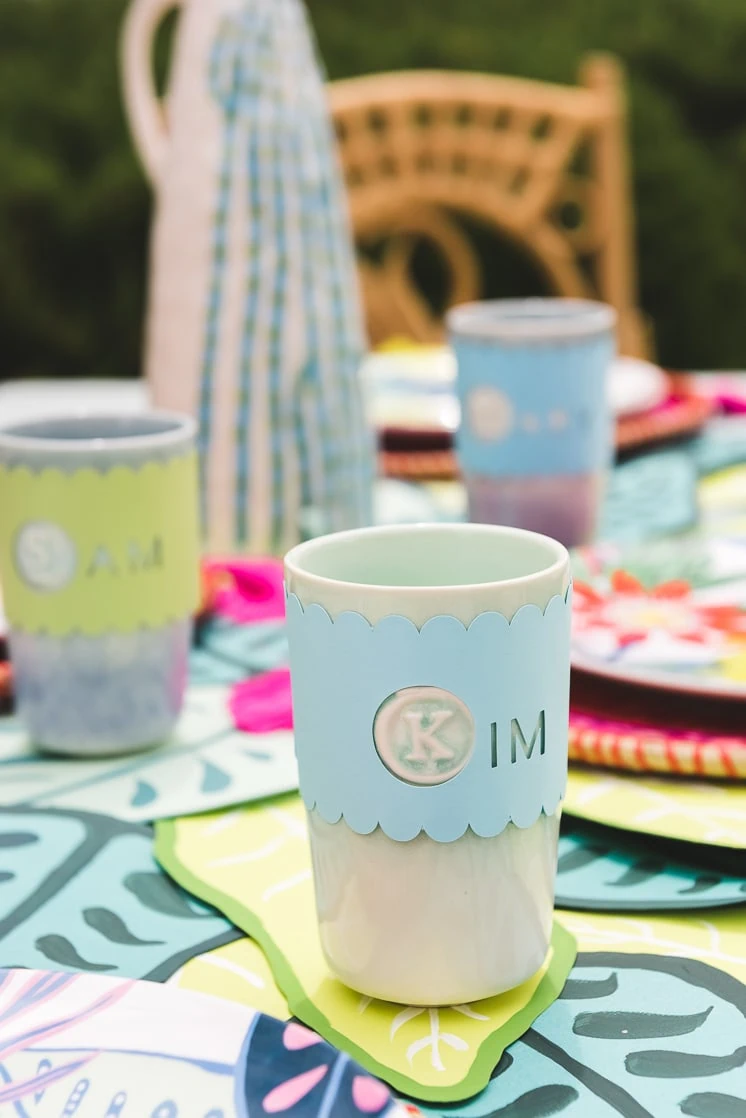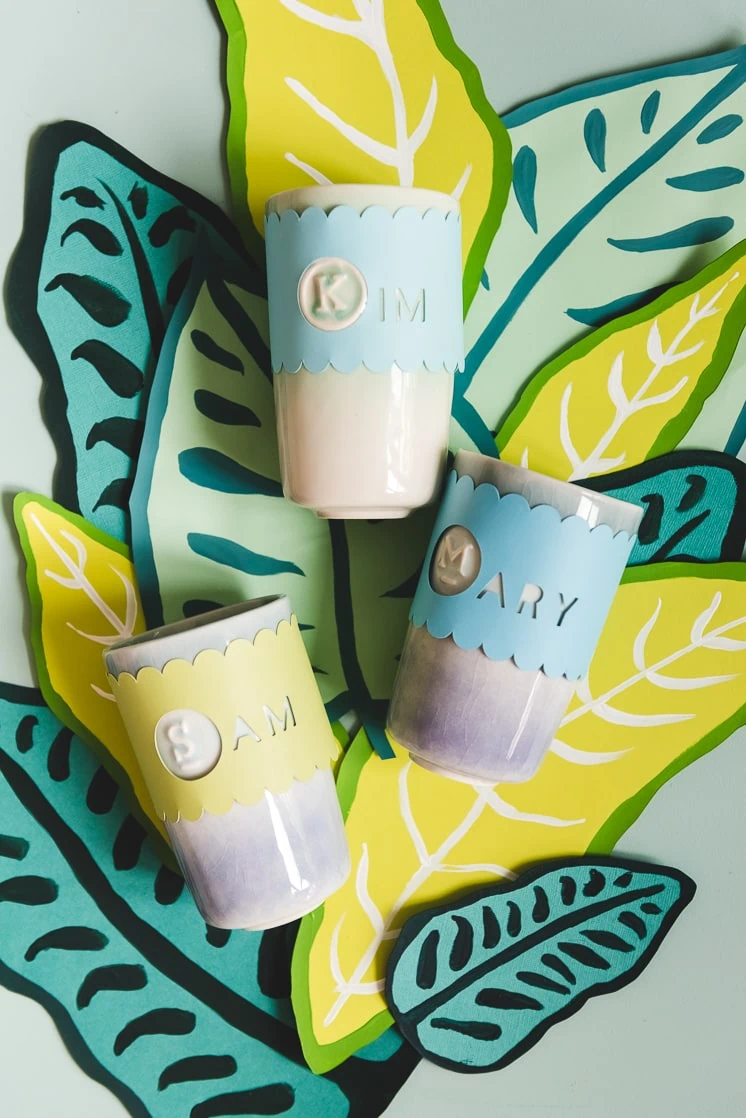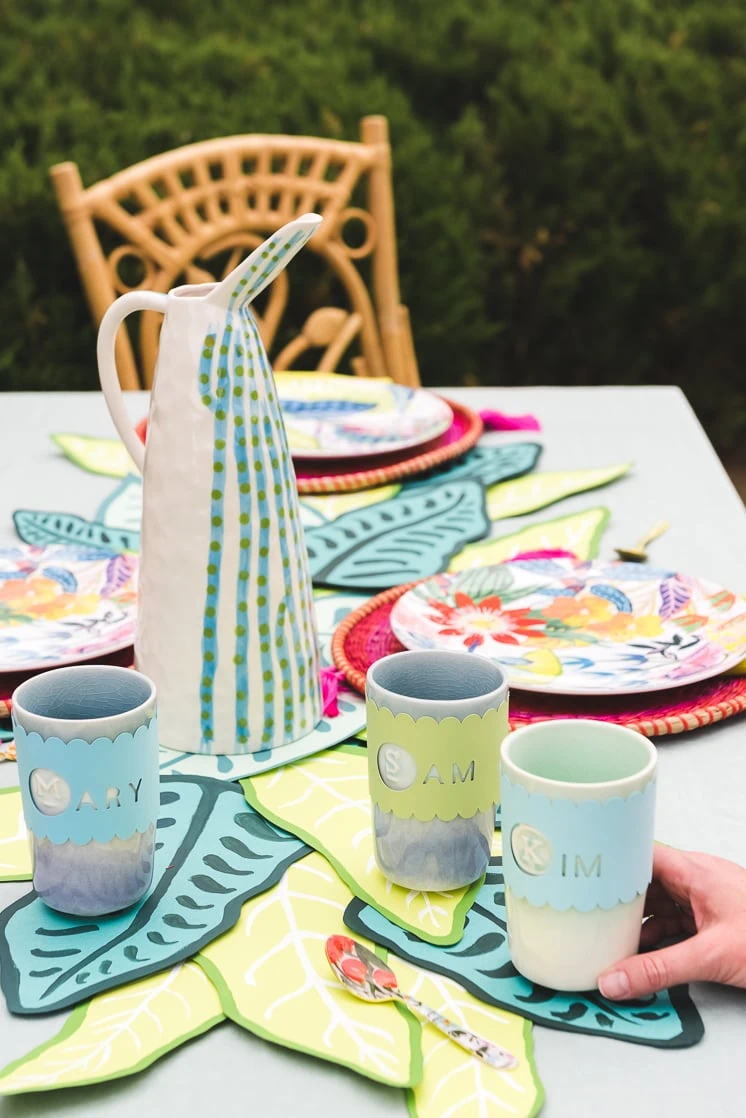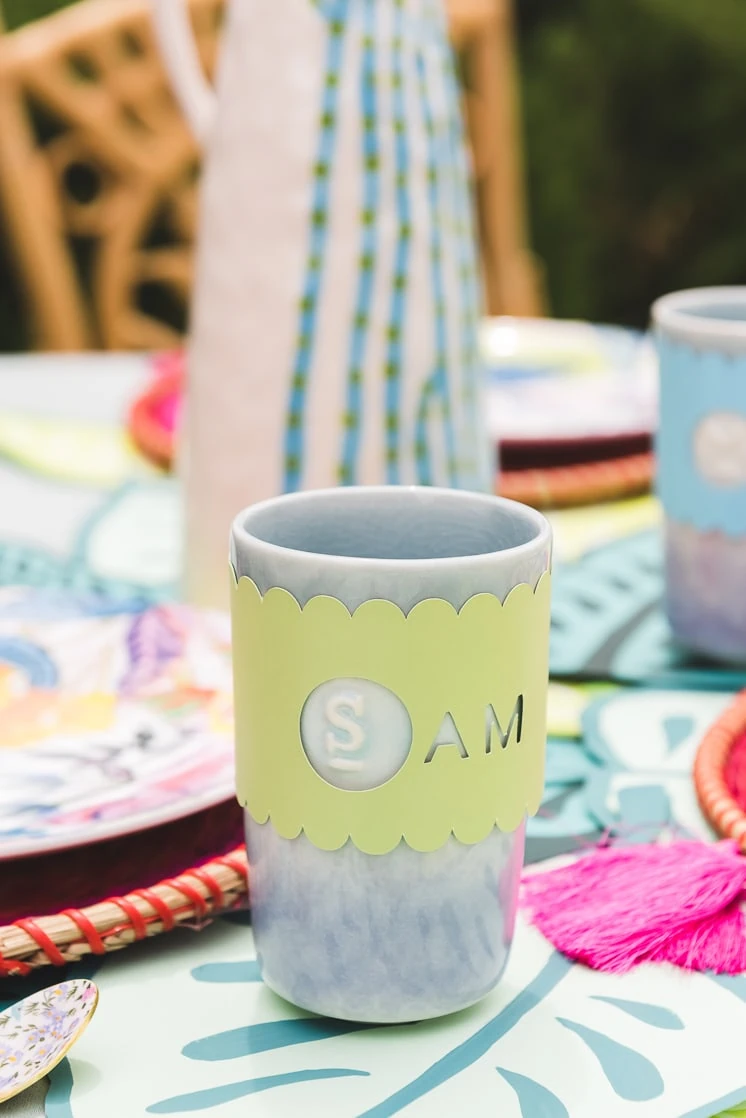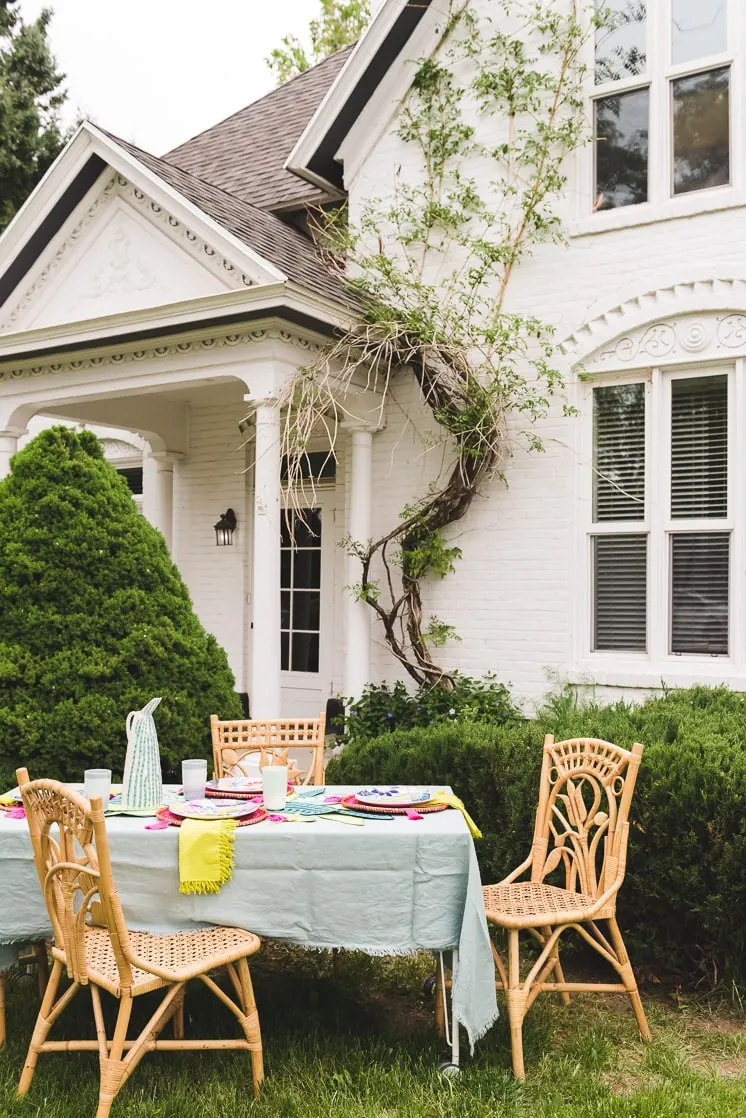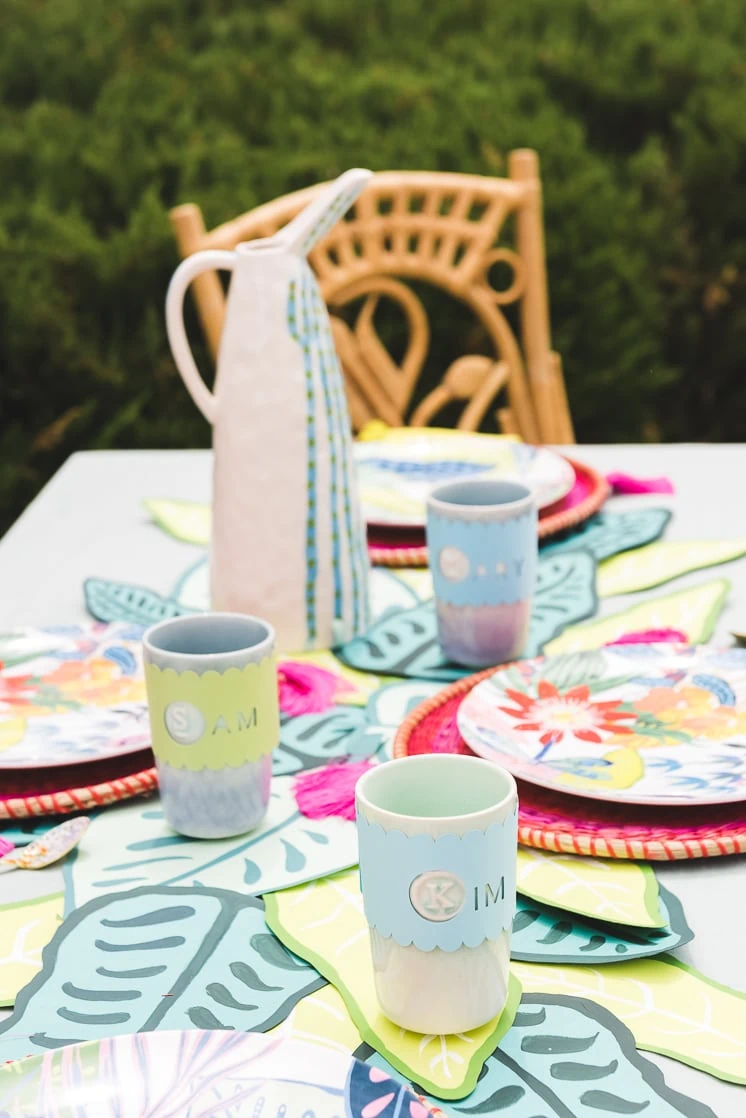
Today we’re sharing our second custom project (see the first one here) from the Anthropologie Workshop Event! I fell in love with these Monogrammed Tumblers and decided they were a must on our tropical table spread. We thought they would serve as the perfect place settings with these monogrammed scalloped labels. Use the labels on your table or throw them around the tumbler and gift them off, either way, they are the perfect way to personalize the tumblers for the people you love most! They’d even make a wonderful gift–always love a monogram!
 DIY Monogram Scalloped Labels
Materials
- Cardstock
- Template
- Cricut machine (or craft cutting machine) or Scissors
- Monogrammed Tumbler
Instructions
We cut our labels with our trusty Cricut machine, but here’s a tutorial on how to cut out the labels and handwrite the names in.
- Download the template
- Write in the letters to personalize the label or create your own template for the Cricut, below
- Place small pieces of double-sided tape on the back of the label so it will stay in place.
- Wrap the label around the tumbler with the cut-out circle framing the featured letter.
- Overlap the remaining label and secure in place with double-sided tape.
To cut your labels with a craft cutting machine (we used our Cricut) (there’s a video below the written instructions)
How to use a Cricut machine to make a monogram scalloped label
- Go to Cricut Design Space
- Click on the “shapes” and select the circle.
- Creates a circle that is .5″ copy and paste the circle until you have 20 .5″ circles.
- Select the 20 circles, copy and paste the selected 20 circles so you have a new row of circles.
- Line the new row of circles up 2″ below the row top row of circles.
- Click on the “shapes” and select a square.
- Unlock the square by clocking the lock icon on the bottom left.
- Stretch the square to be a rectangle lining the sides of the rectangle up with the edges of the circles.
- The top and bottoms of the rectangle should be placed halfway between the rows of circles.
- Select all of the circles and the rectangle and press the “weld” button (bottom right of the screen) to create one shape.
- Create a circle that is 1.25″ place on the scalloped shape.
- Select the shape and the tool and click on the “slice” button on the bottom right.
- Click on the circle, delete the first layer, click on the circle again, delete the second layer.
- Select the “text” tool, type the letters needed to complete the name.
- Resize the letters to be 1″ tall.
- Place the lettering in the correct place.
- Select the letters and the scalloped shape and click “slice”
- Repeat step 13 on the letters.
- Click “Make It” in the top right corner.
We’d love to see your projects! Make sure to tag us with #LarsMakes!


