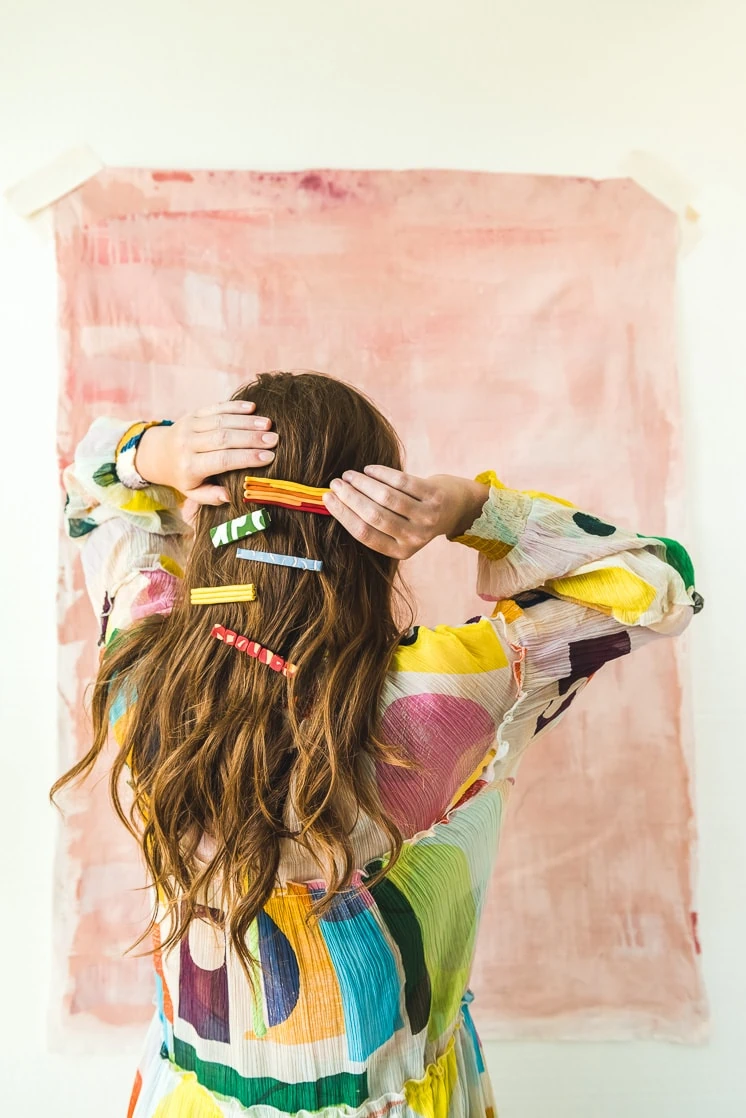
Have you tried out the huge hair clip trend? We are ALL over it! It’s about time hair gets a little bling! There are so many good ones out there, but we had a specific palette and design in mind and we had to try it out. Turns out, they go with everything! It’s easy and cheap and you can make whatever you’d like. We tried ours out with clay and it was the perfect medium for doing so.
DIY clay hair clips
Once you start, you won’t want to stop. These are so fun to make!
DIY clay hair clips
Materials
- Sculpey clay (this pack is awesome!)
- parchment paper
- alligator clips
- knife
- jewelry glue
- ruler
- rolling pin
- acrylic paint (for green clip)
- paintbrush (for green clip)
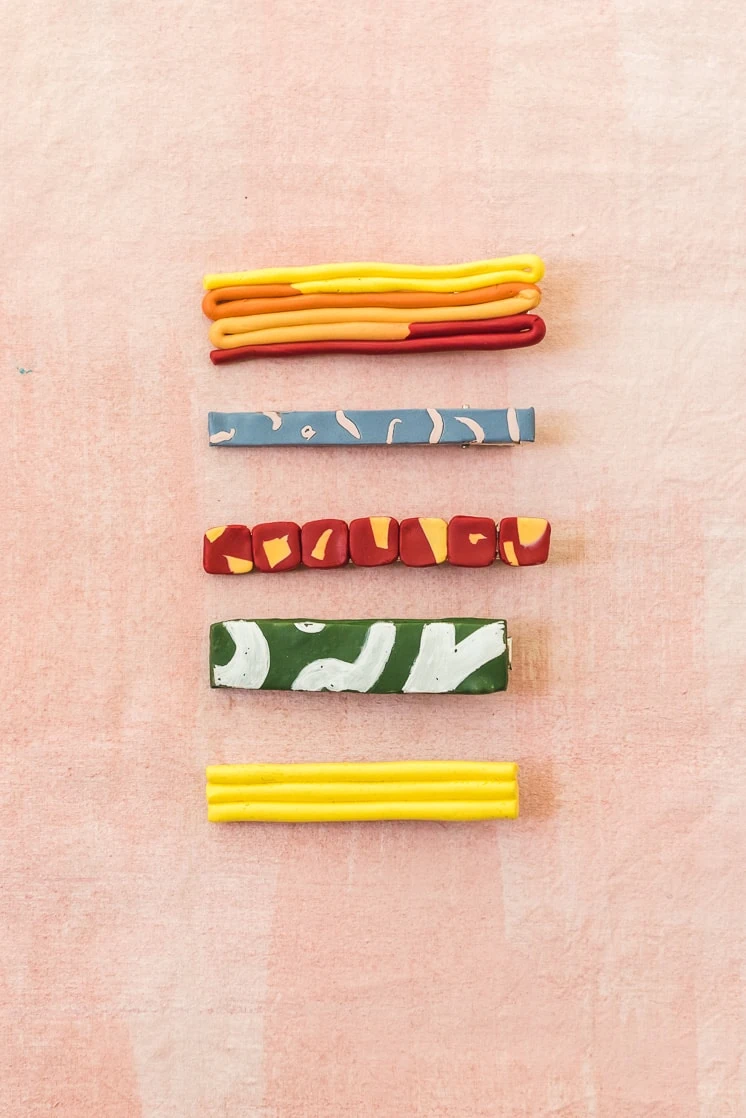
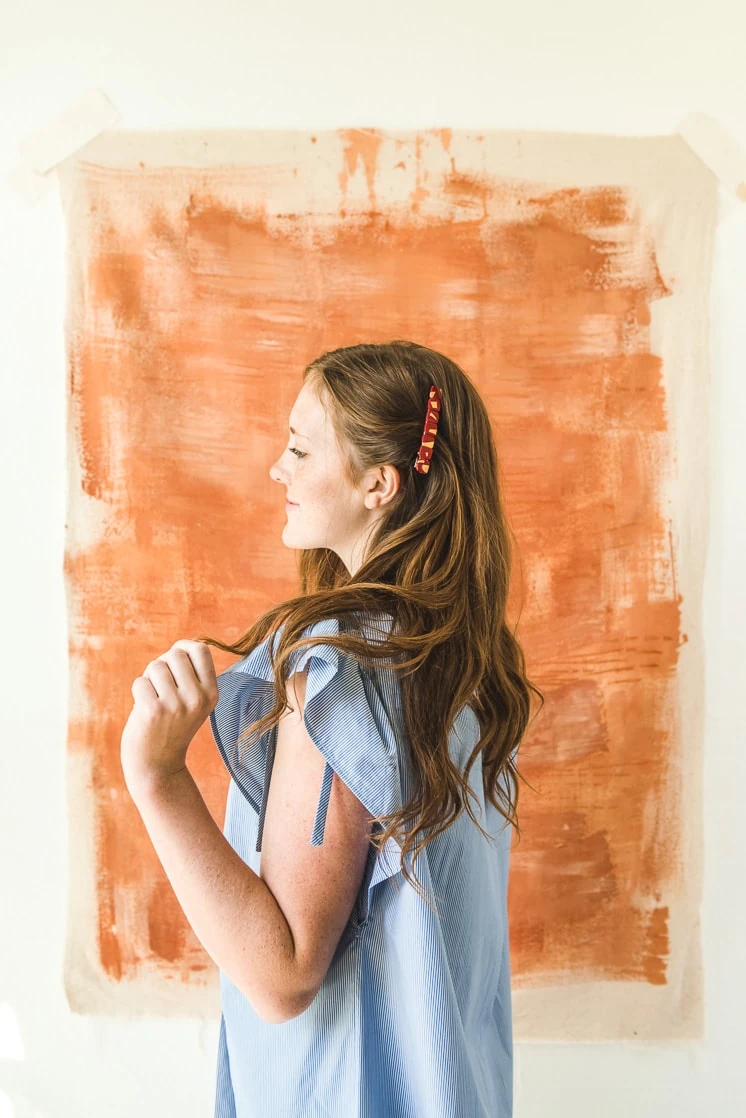
Multi yellow/peach/red clip:
- Roll out the clay piece to the desired width, longer than the length of the clip. Do that for four colors.
- Attach the ends of each color to create one long clay noodle.
- Bend the colors to the width of the clip.
- Repeat steps 3-6 from the previous.
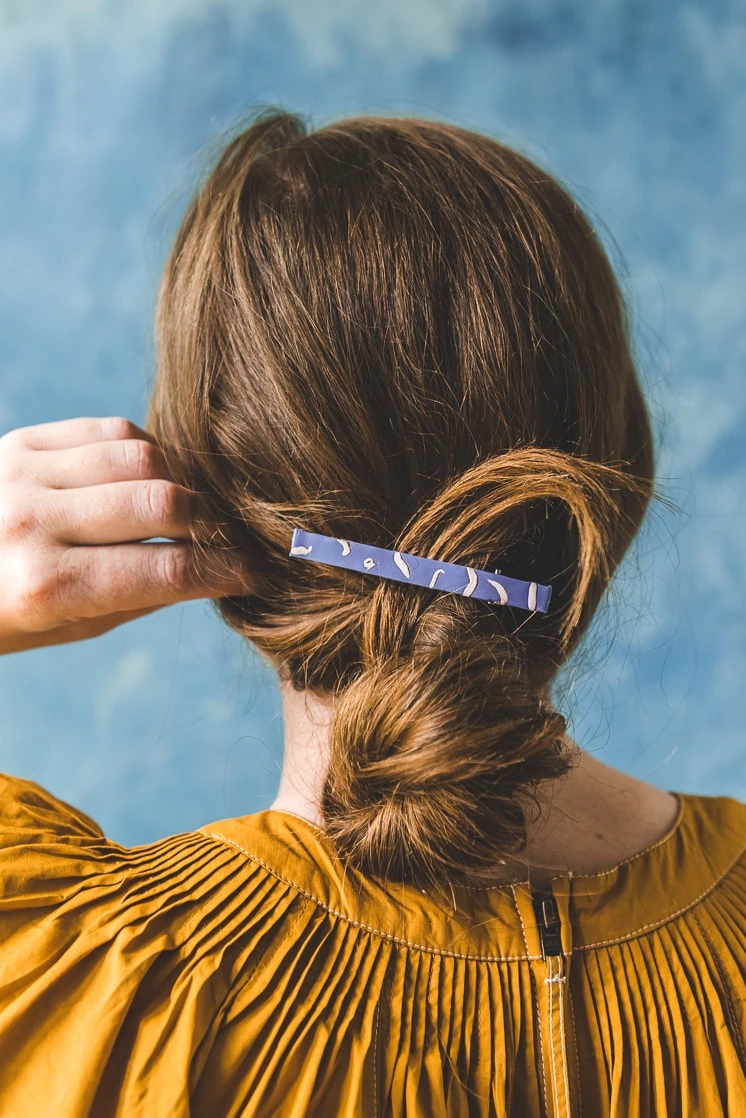
Blue clip:
- Roll the clay flat, larger than the clip.
- The contrasting colors are scraps taken from other colors and twisted into little shapes.
- Use a rolling pin to roll over the top and compress the two colors together.
- With a knife, cut out a rectangle the size of the clip. Use a ruler to make straight lines.
- Repeat steps 3-6 from the first clip.
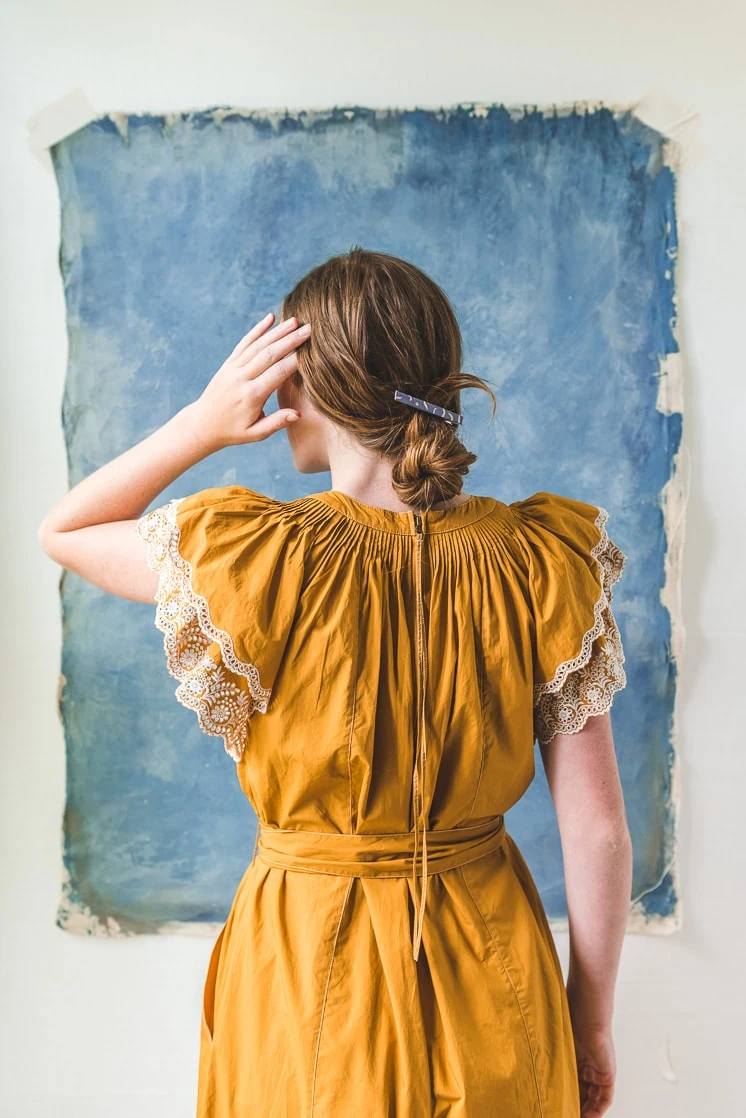
Shop the post: Mustard jumpsuit
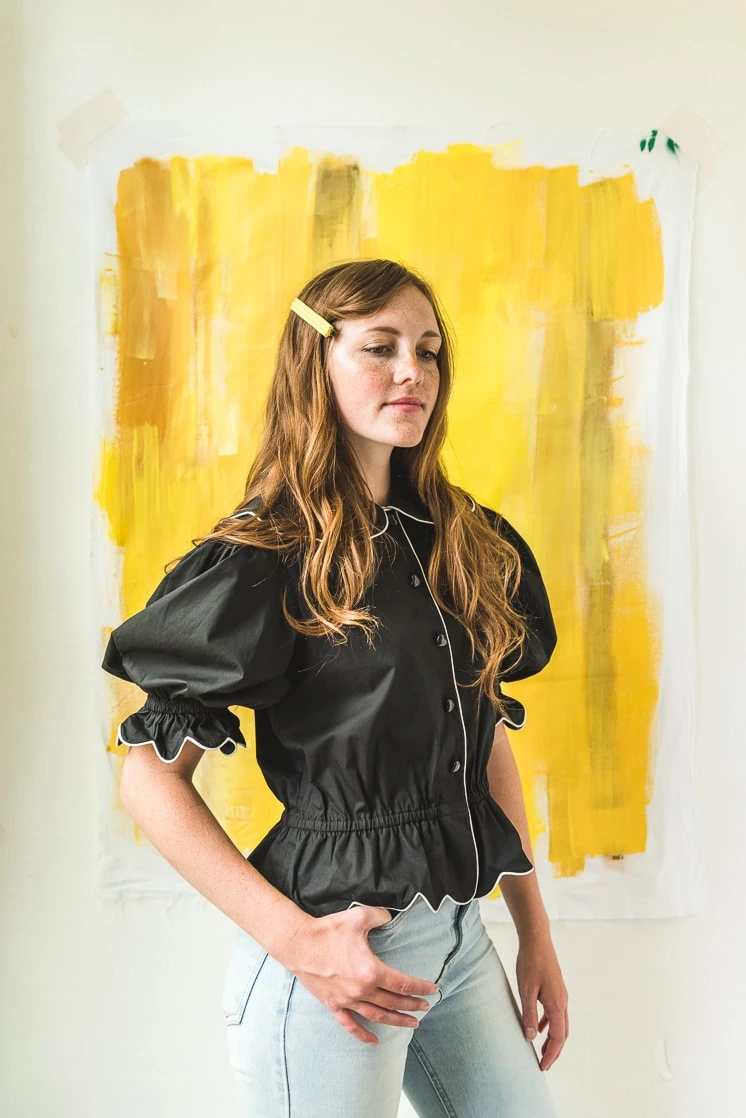
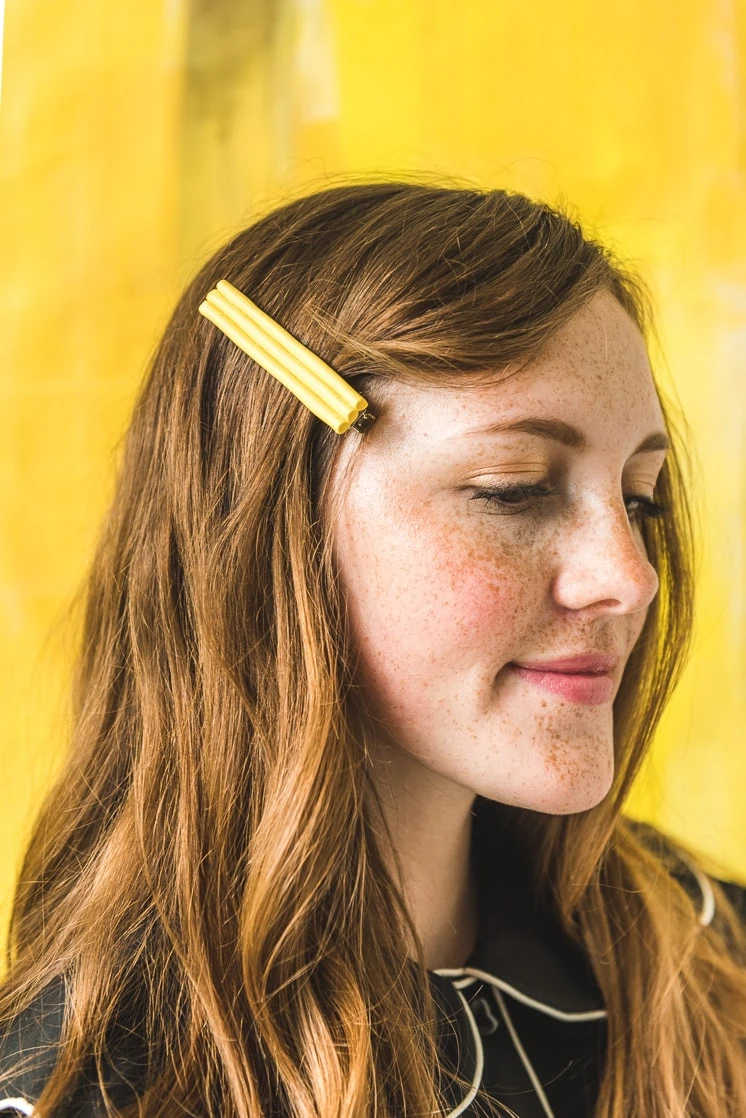
Yellow clip Instructions:
- Take a piece of clay and warm it up in your hands to form a long worm. Once you received the desired length and thickness, cut it down to the width of your hair clip. Repeat this 2 more times to form a row of three.
- Cut a clean line to the desired length with a knife (we recommend cutting it to the length of the clip).
- Put your design on parchment paper.
- Follow the instructions on the back of the package to know how long to bake it for.
- Once it’s done baking, let the design cool for the recommended time.
- Add glue the top of the clip and place the design on top and hold for at least 30 seconds. Set it aside and let it dry for 24 hours.
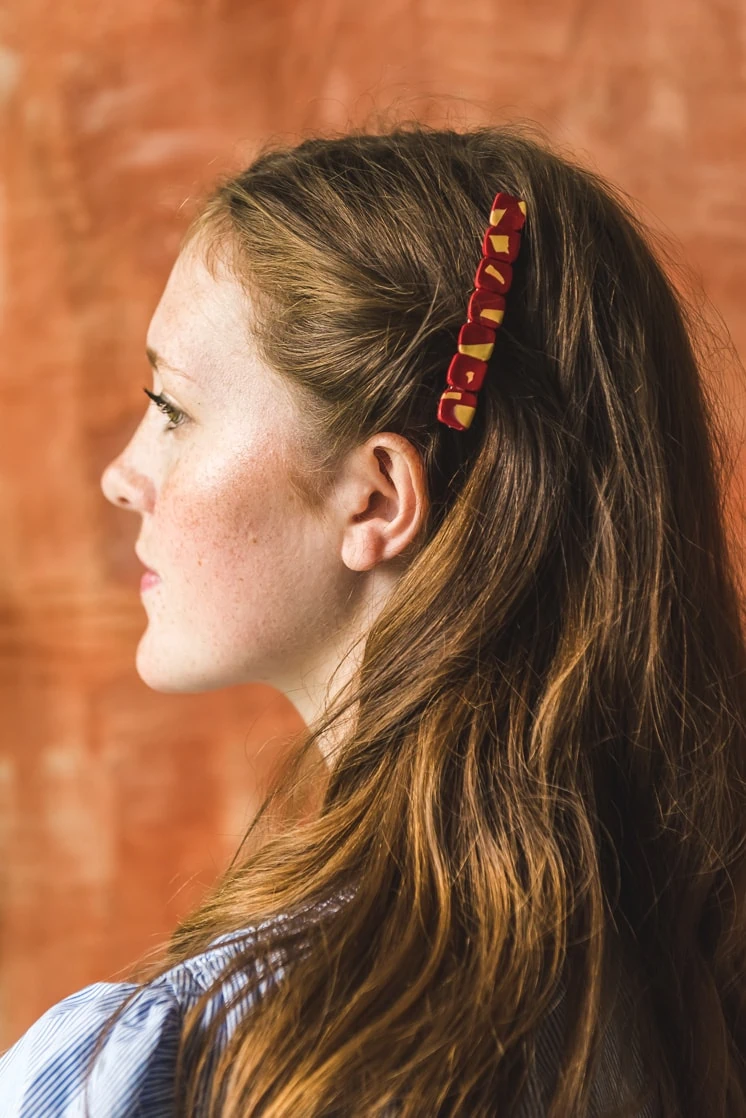
Red clip:
- Repeat the steps of the blue clip but once the rectangle has been cut out, cut them into small squares and place on the baking sheet.
- Repeat steps 4-6 from the first tutorial.
- Glue the individual squares onto the clip.
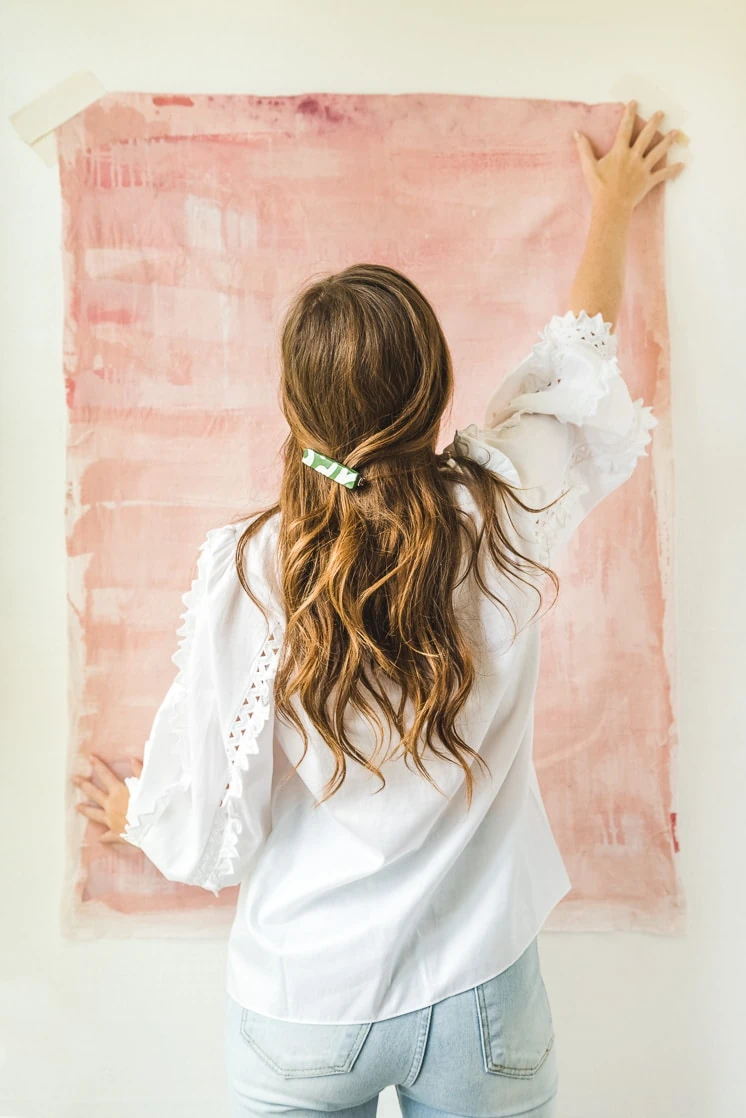
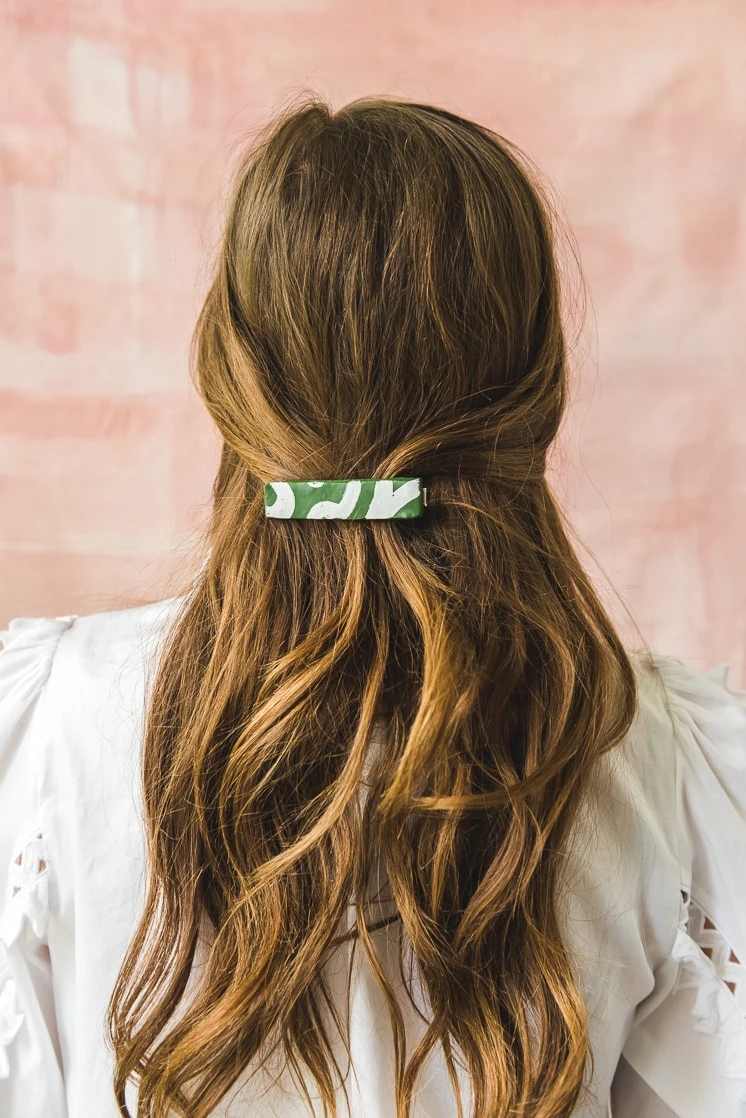
Green clip:
- Follow the steps of the blue clip (without the small pieces added in).
- Once the clay is baked, paint abstract squiggles onto the clay with acrylic paint.
Shop the post:
Mustard jumpsuit | white blouse | blue blouse | black blouse | abstract dress
Would love to see your creations! Tag us with #LarsMakes so we can take a lookie! We love sharing our favorites on our Stories!



Comments