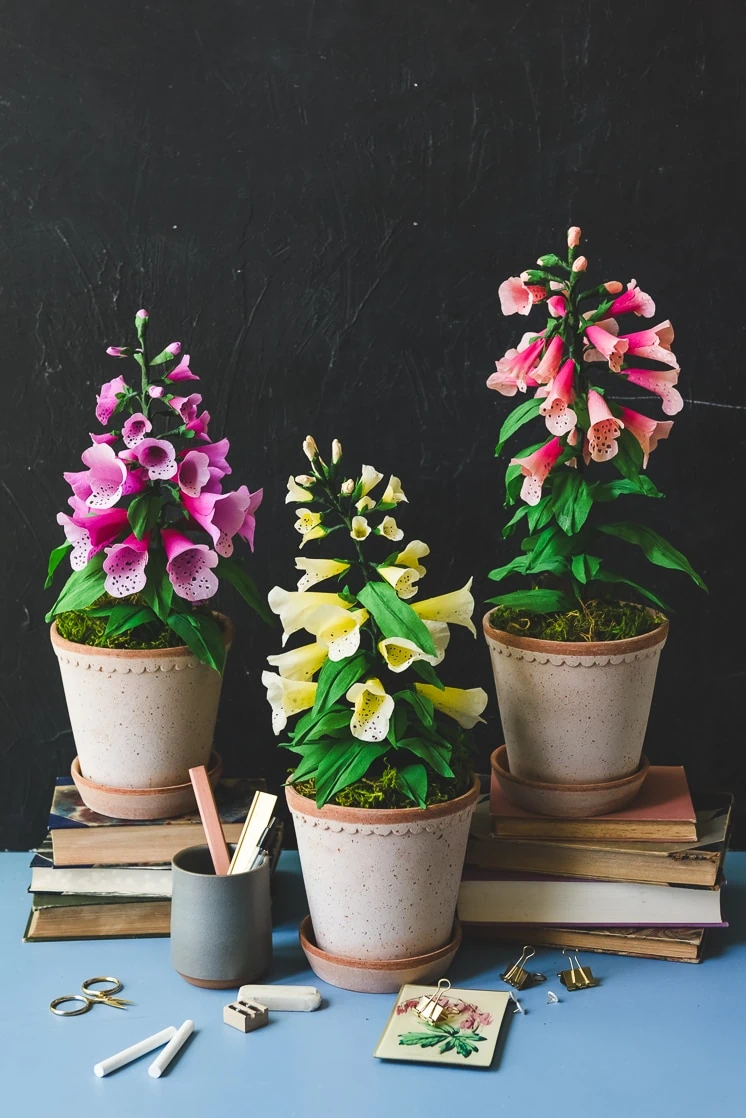
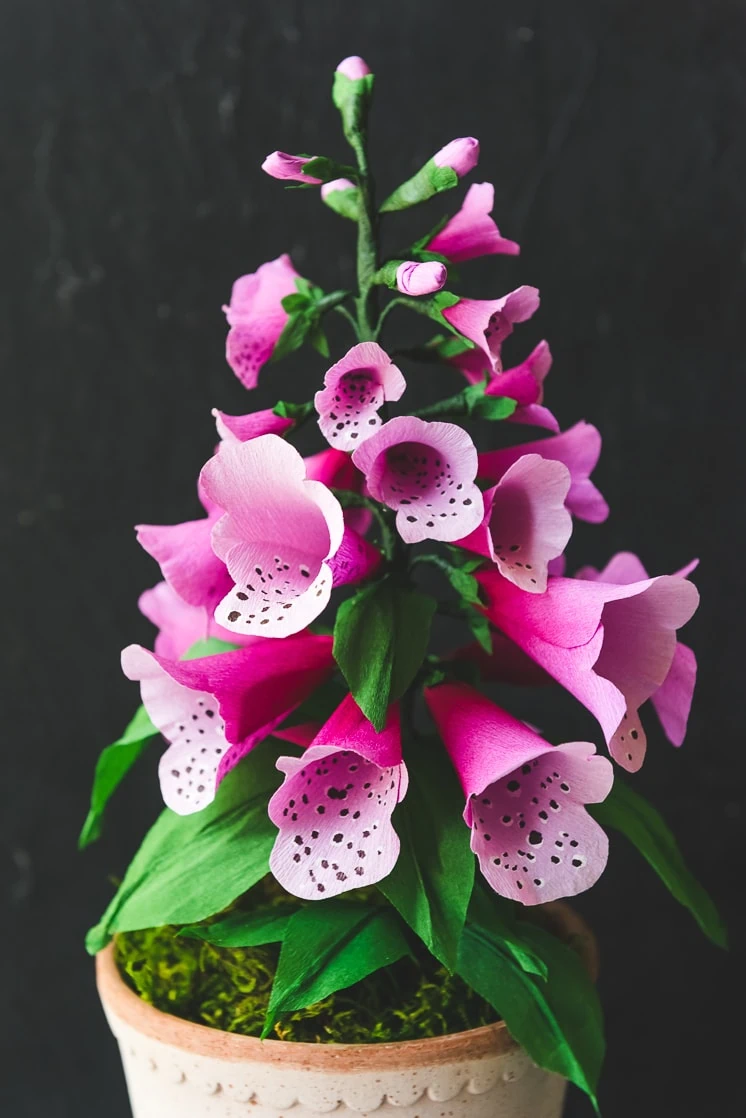
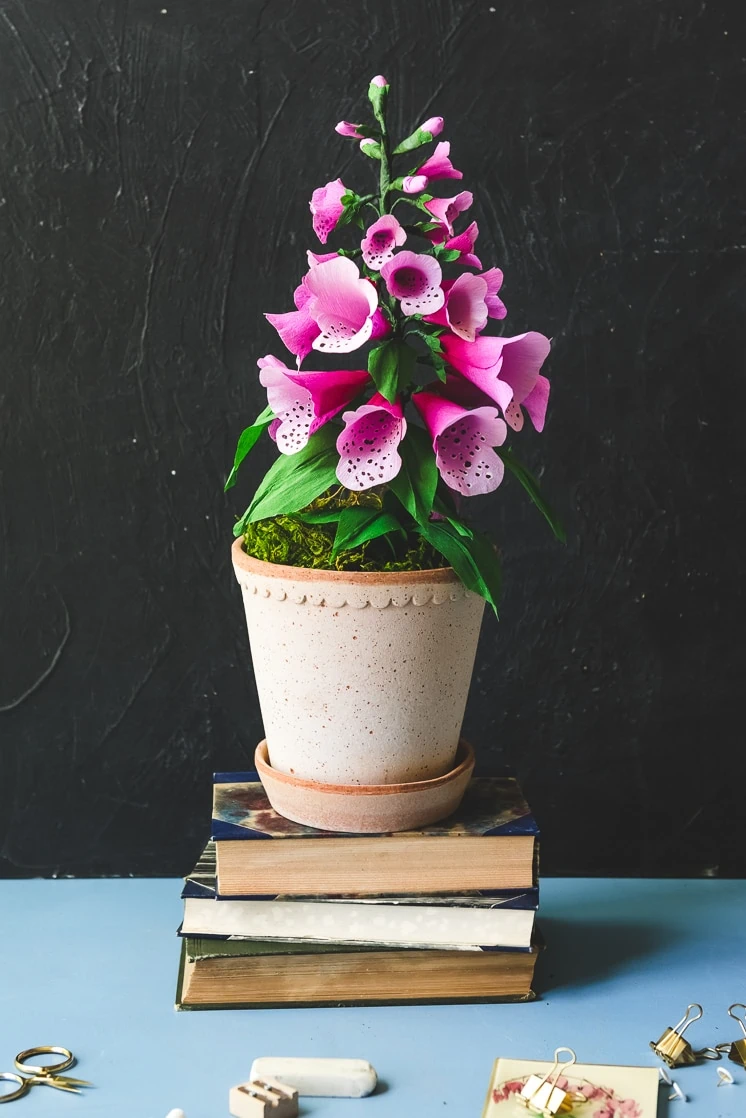
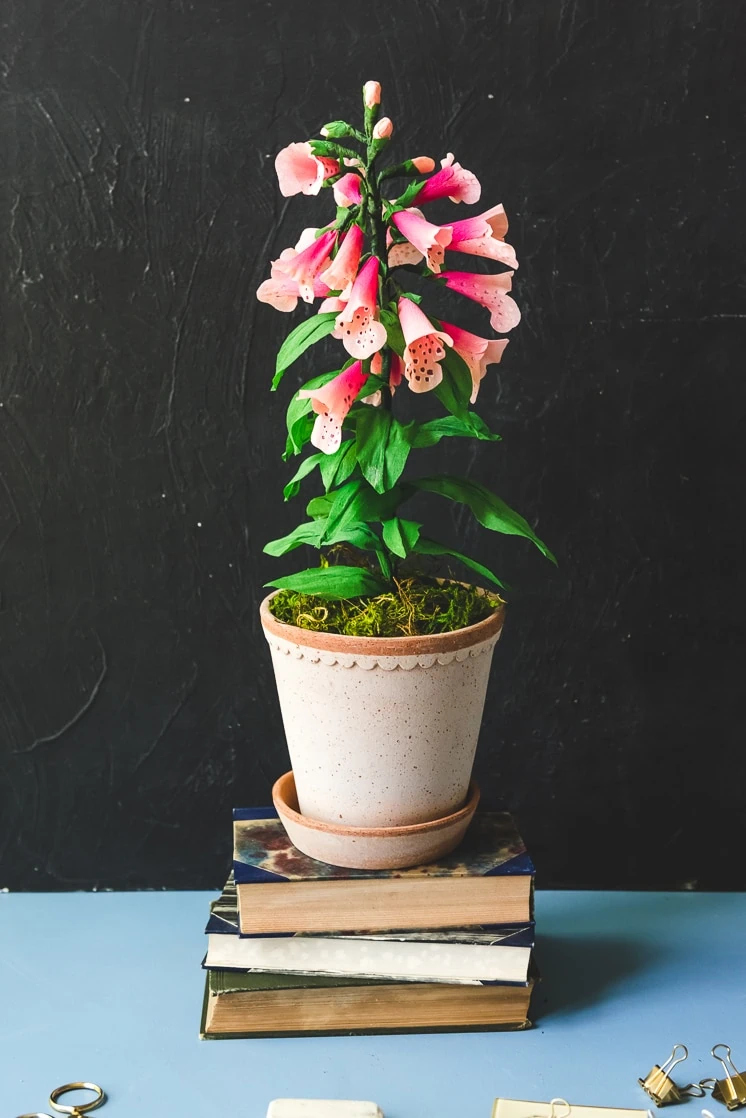
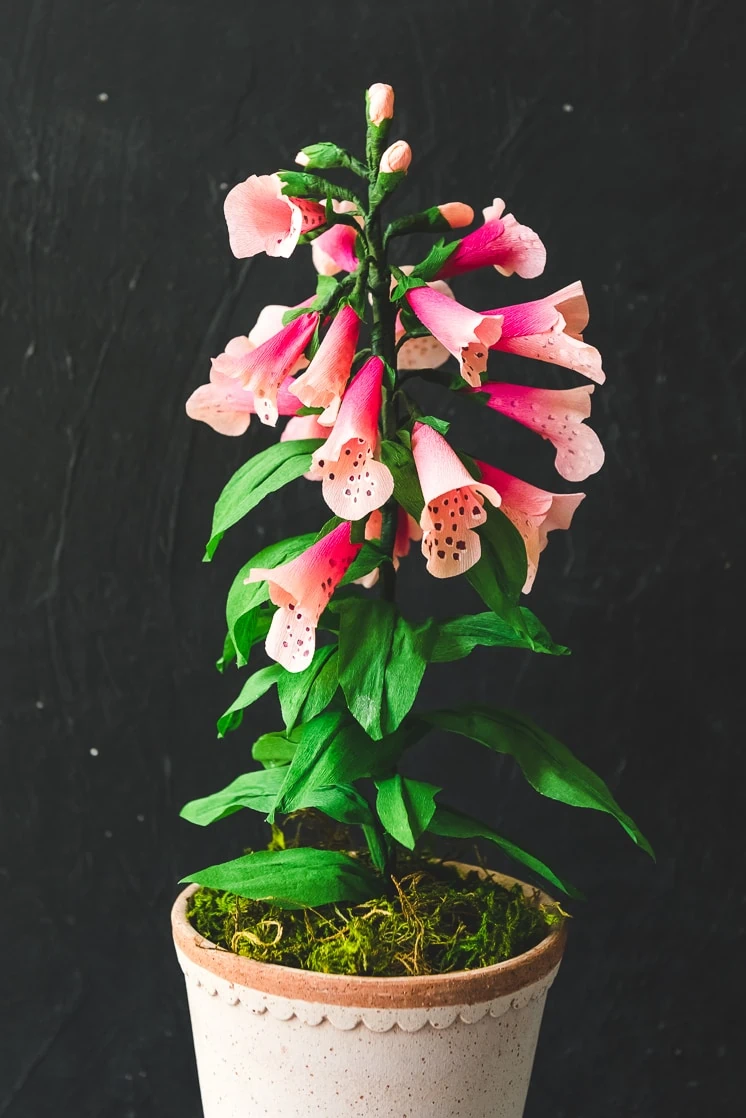
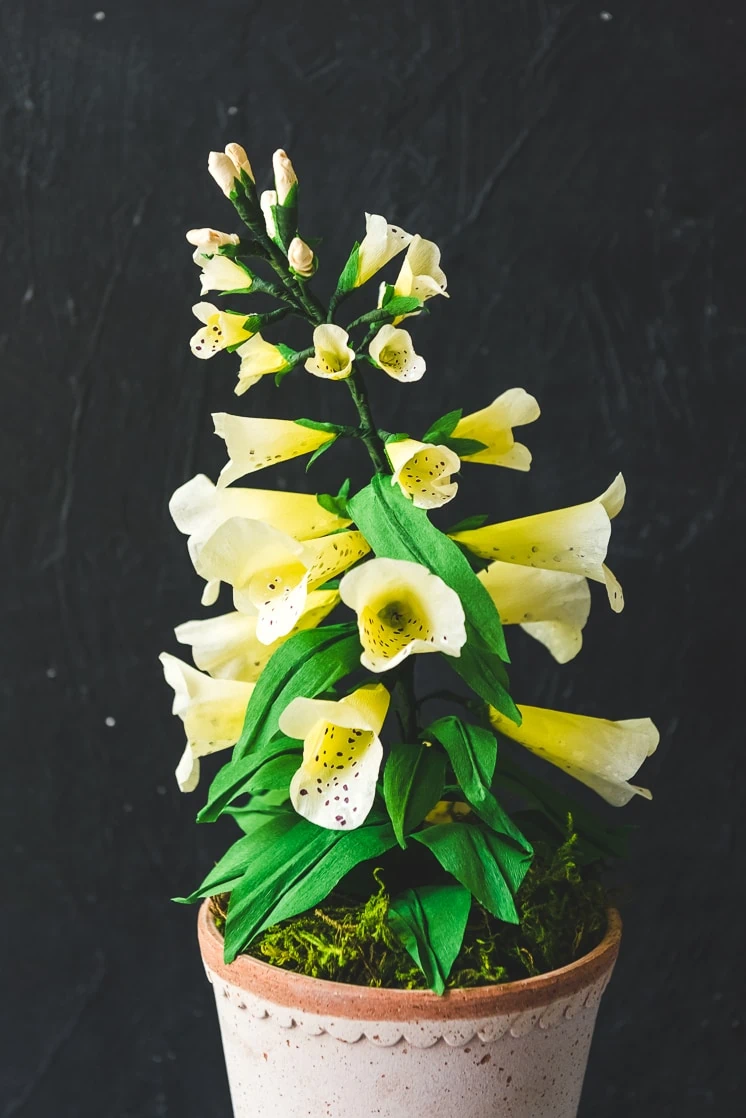
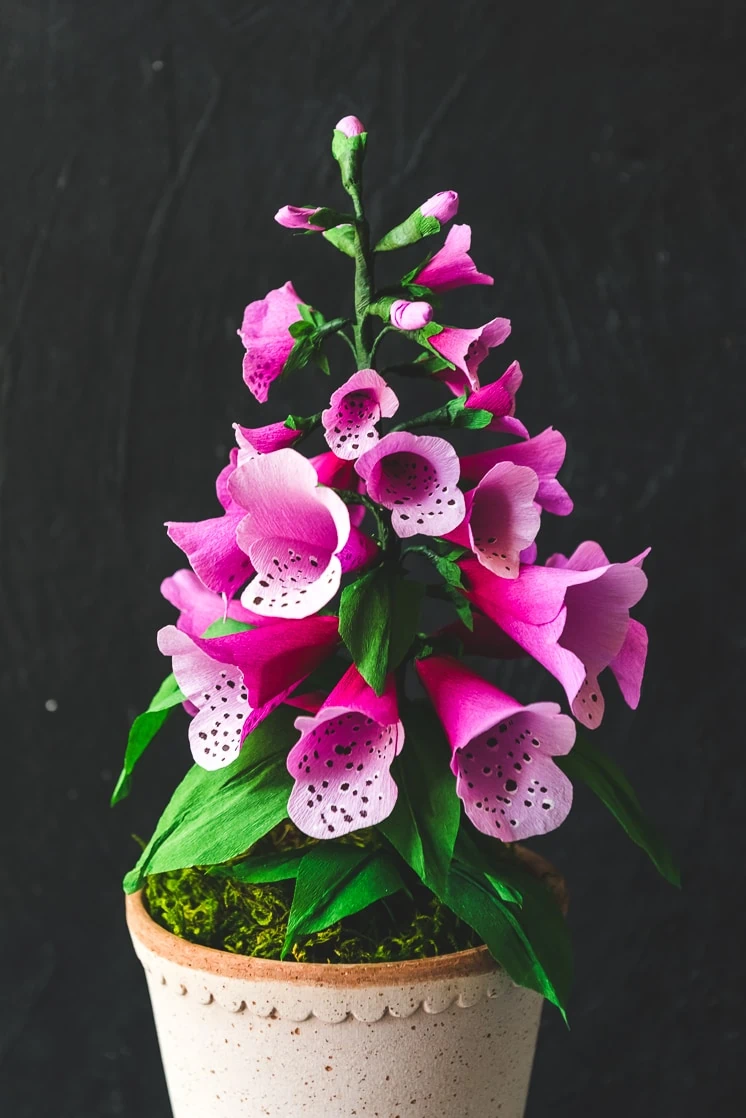
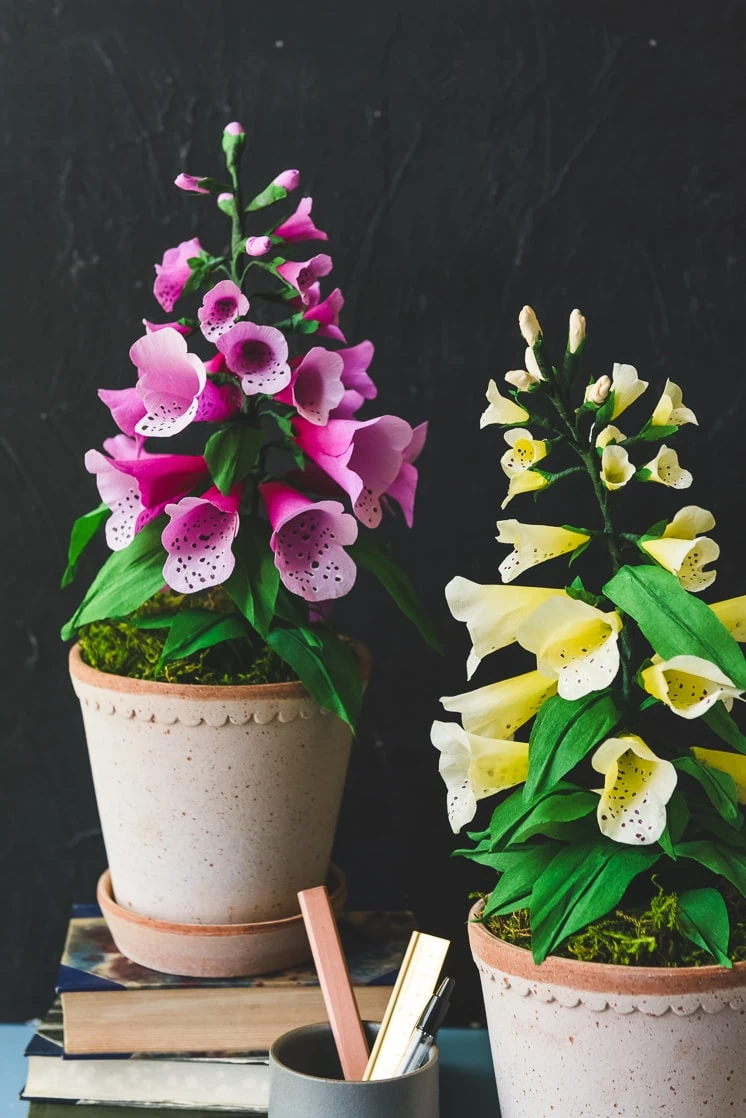
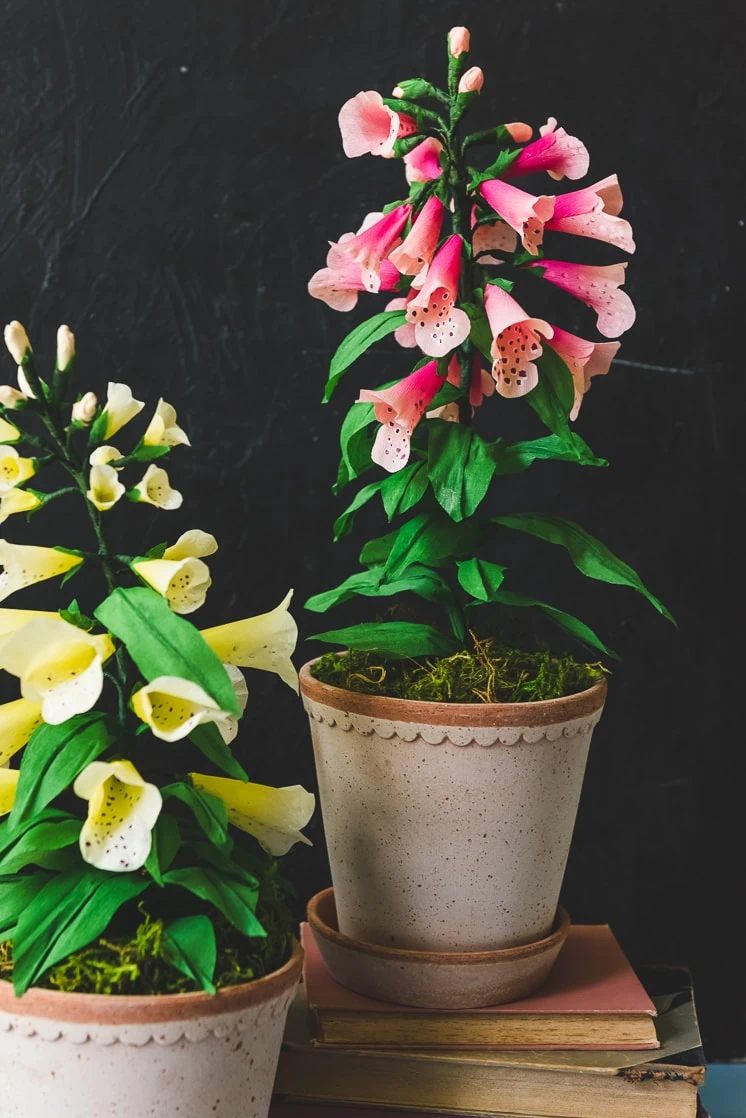
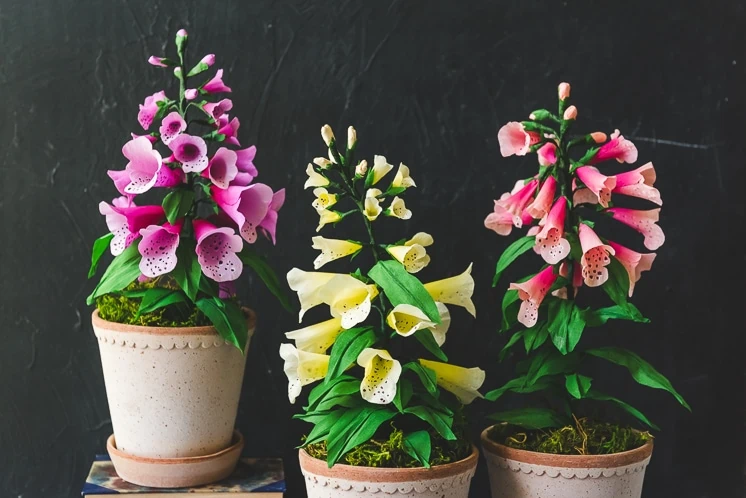
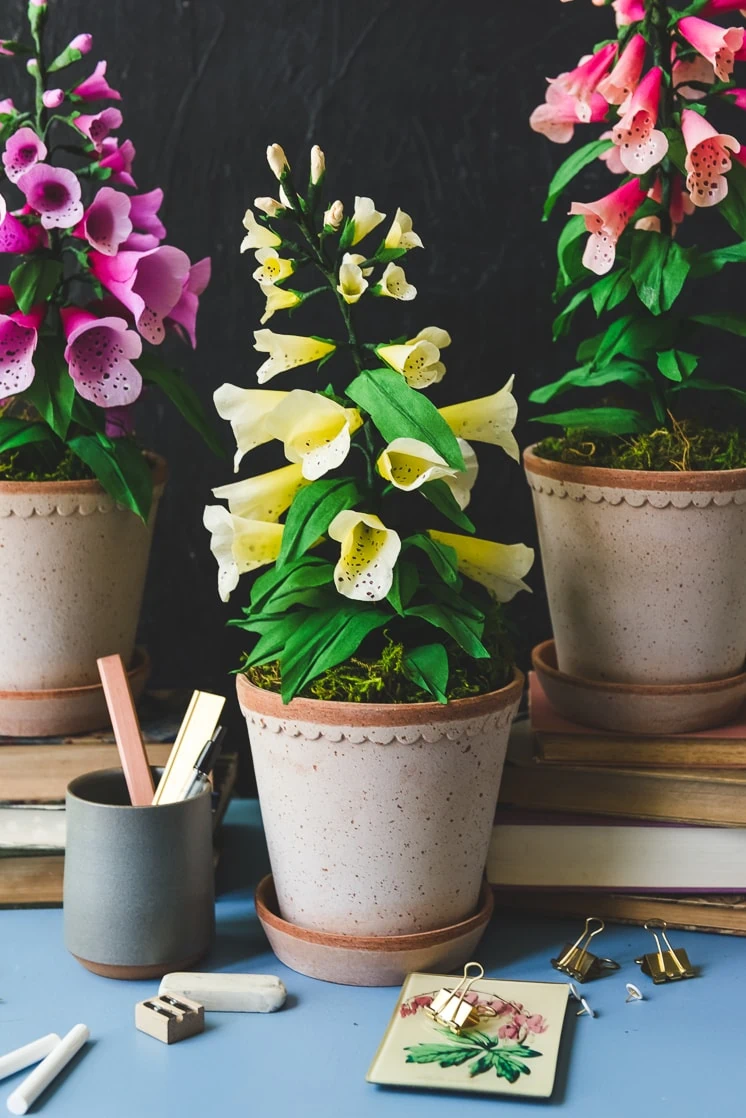
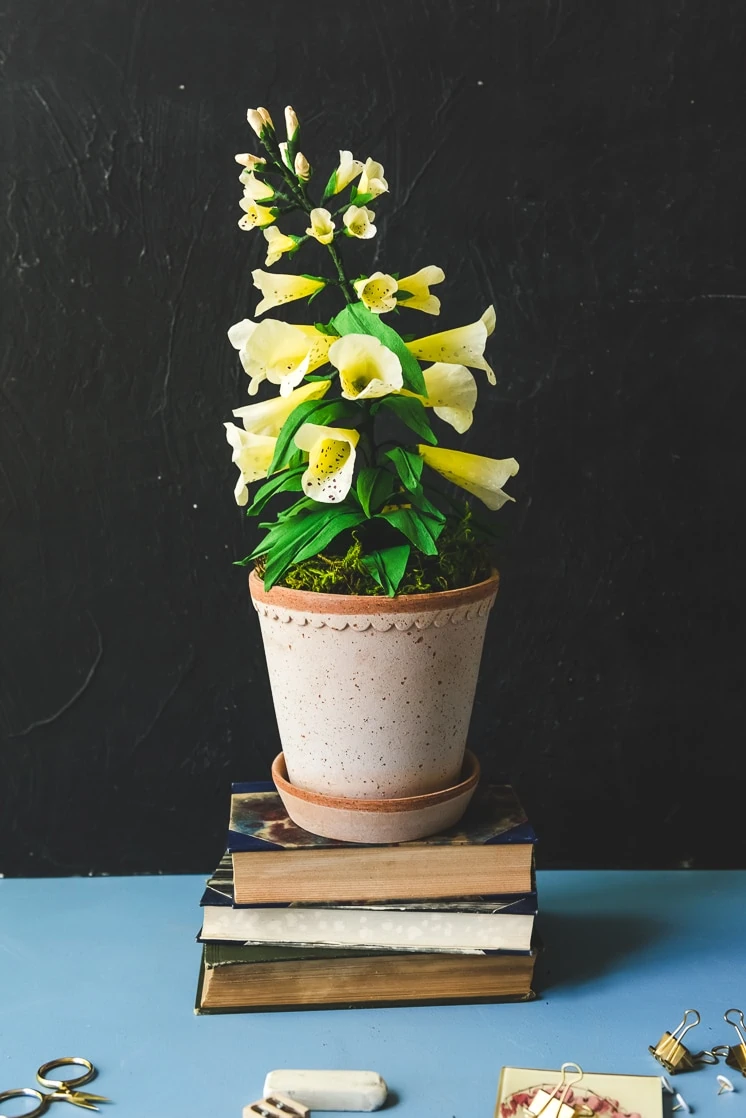
This spring I planted a some foxgloves in my entry pots by my front door and though they’ve currently gone the way of the dodo bird, I’m just as much a fan as ever. The height they can reach is extraordinary, not to mention their exquisite colors and watercolor quality. It’s this watercolor quality that made us want to dig in and try it out with paper. Didn’t they turn out lovely. Wish I could keep them outside in my pots, but these beauts will never move from my office where they currently sit!
Learn how to make these paper foxgloves below!
Paper foxglove
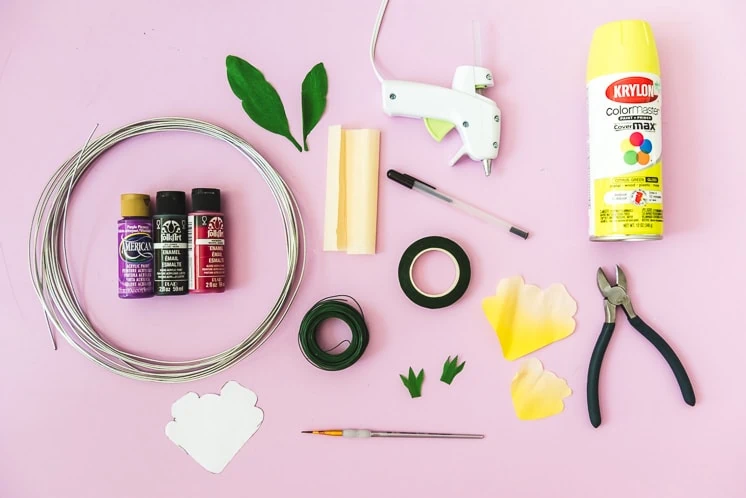
Materials:
- crepe paper in greens and in the color blossom of your choice (we used a thin crepe for the leaves and a doublette for the yellow and thin for the other two colors)
- spray paint in contrasting color to the crepe paper
- glue gun
- pen
- thin paintbrush
- wire cutters
- templates
- floral wire
- floral tape
- thick wire
- template
Instructions:
- Choose the color you would like as the base color for your blossoms.
- You will have 3 sizes of blossoms from this template. Trace the different sized stencils onto the selected base color.
- Cut out 10 large blossom templates, 5 medium blossom templates, and 8 small blossom templates (or you can cut as many blossoms as you want depending on how full you want the foxglove to be).
- The extra paper you have left over can be used to make the flower buds for the foxglove.
- After all the variation of sizes are cut out, choose a color of spray paint that goes with the flower color you selected (we chose a spray paint that was a darker shade than the base color of the flower).
- Take each petal and spray paint one side of each blossom.
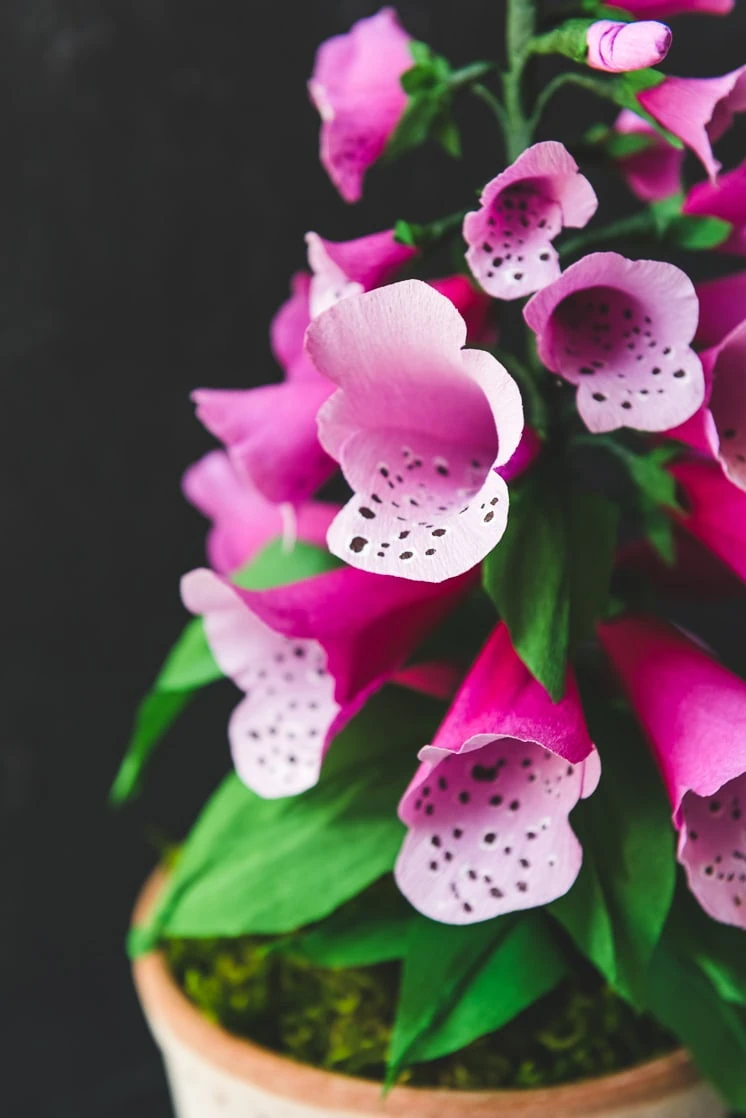
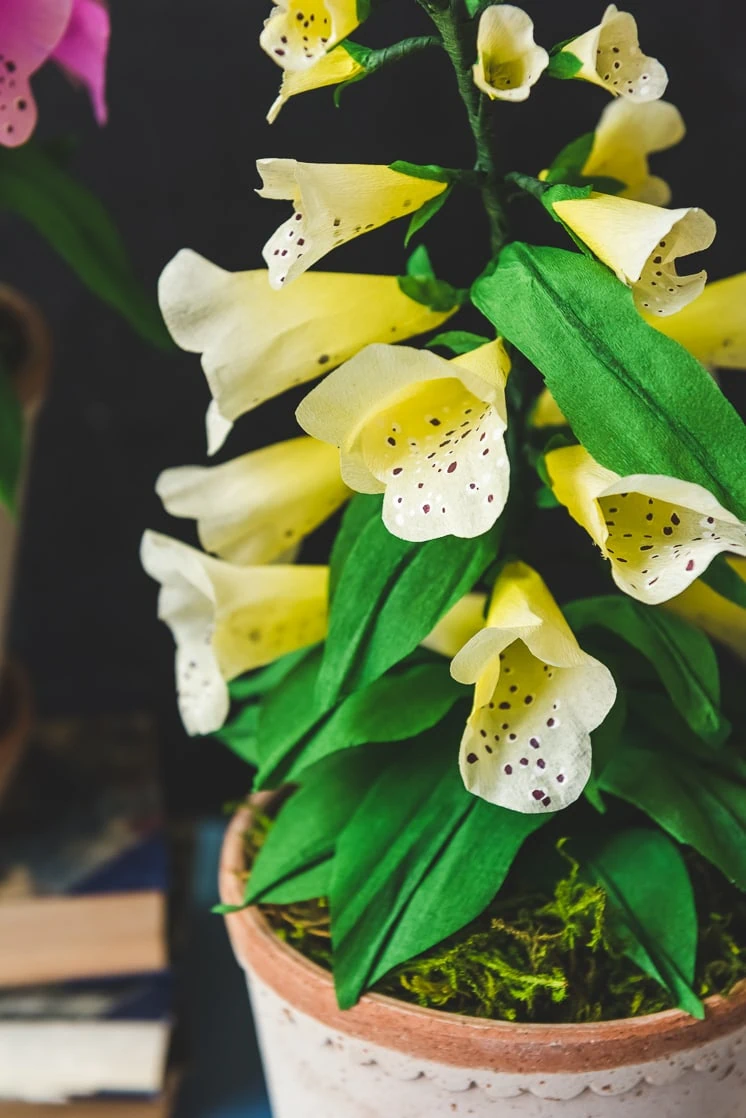
- After the spray paint has dried, flip it over and start to paint a speckled designed. You will be adding paint to the longer petal from the blossom template. Start with white dots and then add a darker colored dot on top of the white.
- Take a hot glue gun and glue a 2 inch piece of floral wire to the center of the bottom of the blossom. There should be about 1 ½ inch of wire poking out of the bottom of the blossom.
- Next, gently roll one of the blossoms together and apply a small strip of hot glue to the edge to create a full bloom.
- When the glue has dried, twist the bottom of the blossom.
- To make the “bell” shape of the flower, put the pencil into the flower, push down and twist gently to create a bell shape.
- Repeat step 8-11 with the different sizes of flowers.
- Make sure with each flower you stretch the tips of each petal (if using crepe paper) and roll downwards to create a lip for the bell shape.
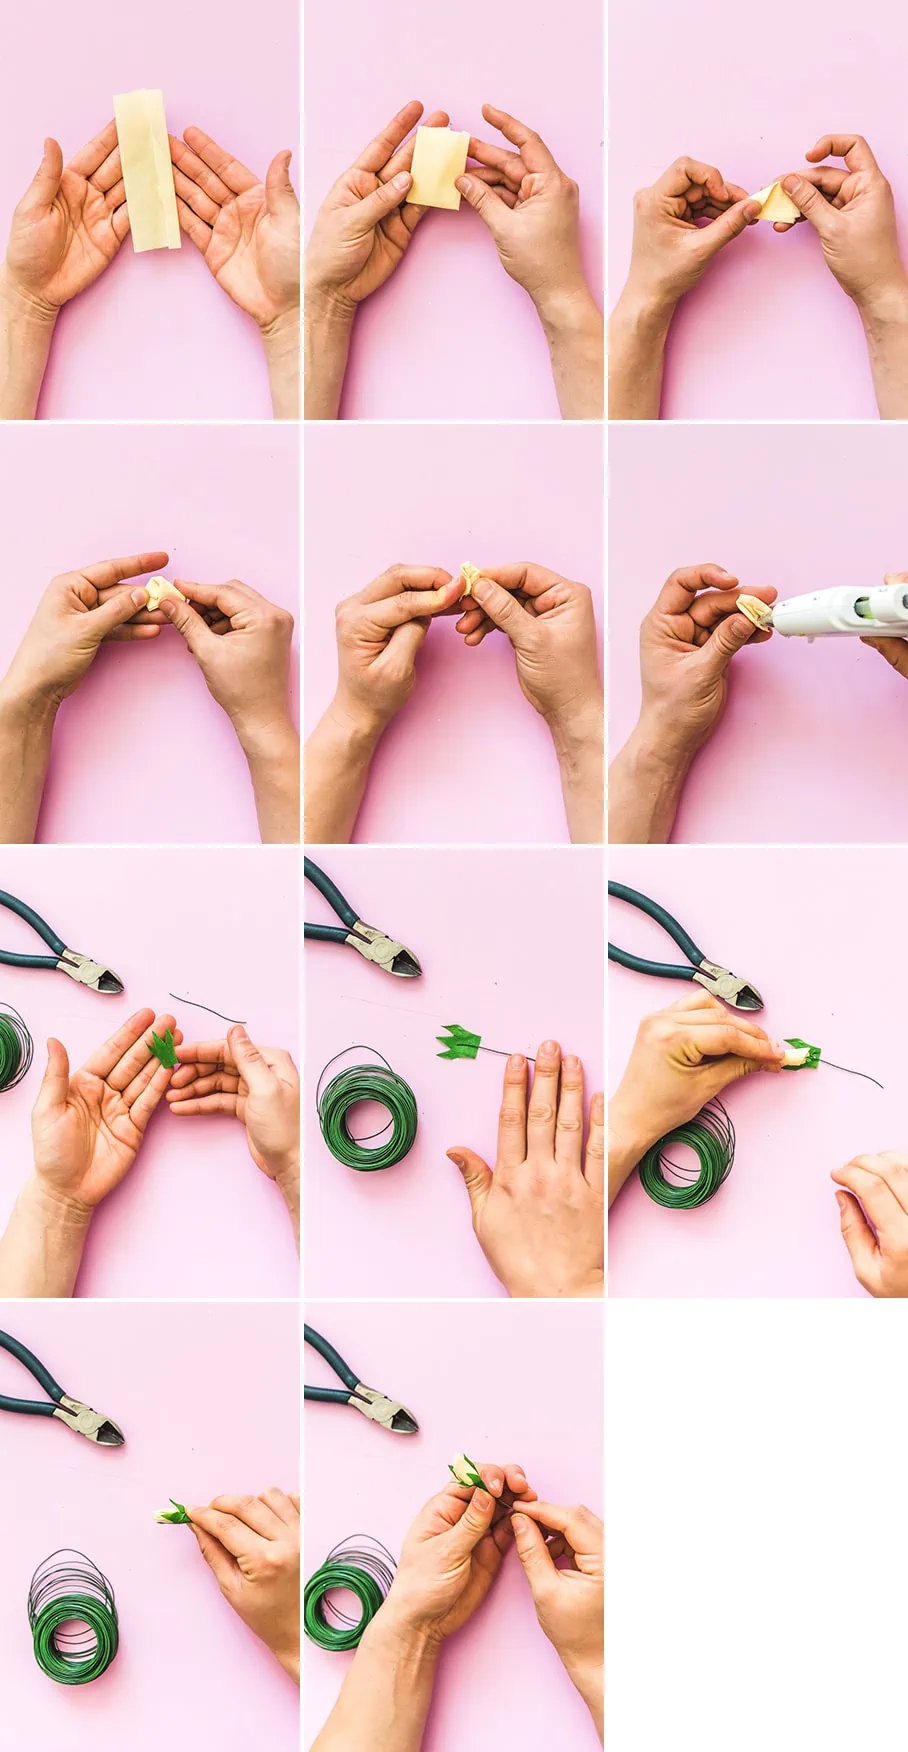
- To make the foxglove buds, take the extra paper you had and fold them multiple times until you get a rounded bud shape.
- Add a dab of glue and secure 2 inches of wire to the bottom of the bud (just like the flower step).
- Trace the template for the Sepal (the green cup under the blossom) that will be placed under each blossom.
- Once cut, wrap them around each blossom and bud and glue the end to secure.
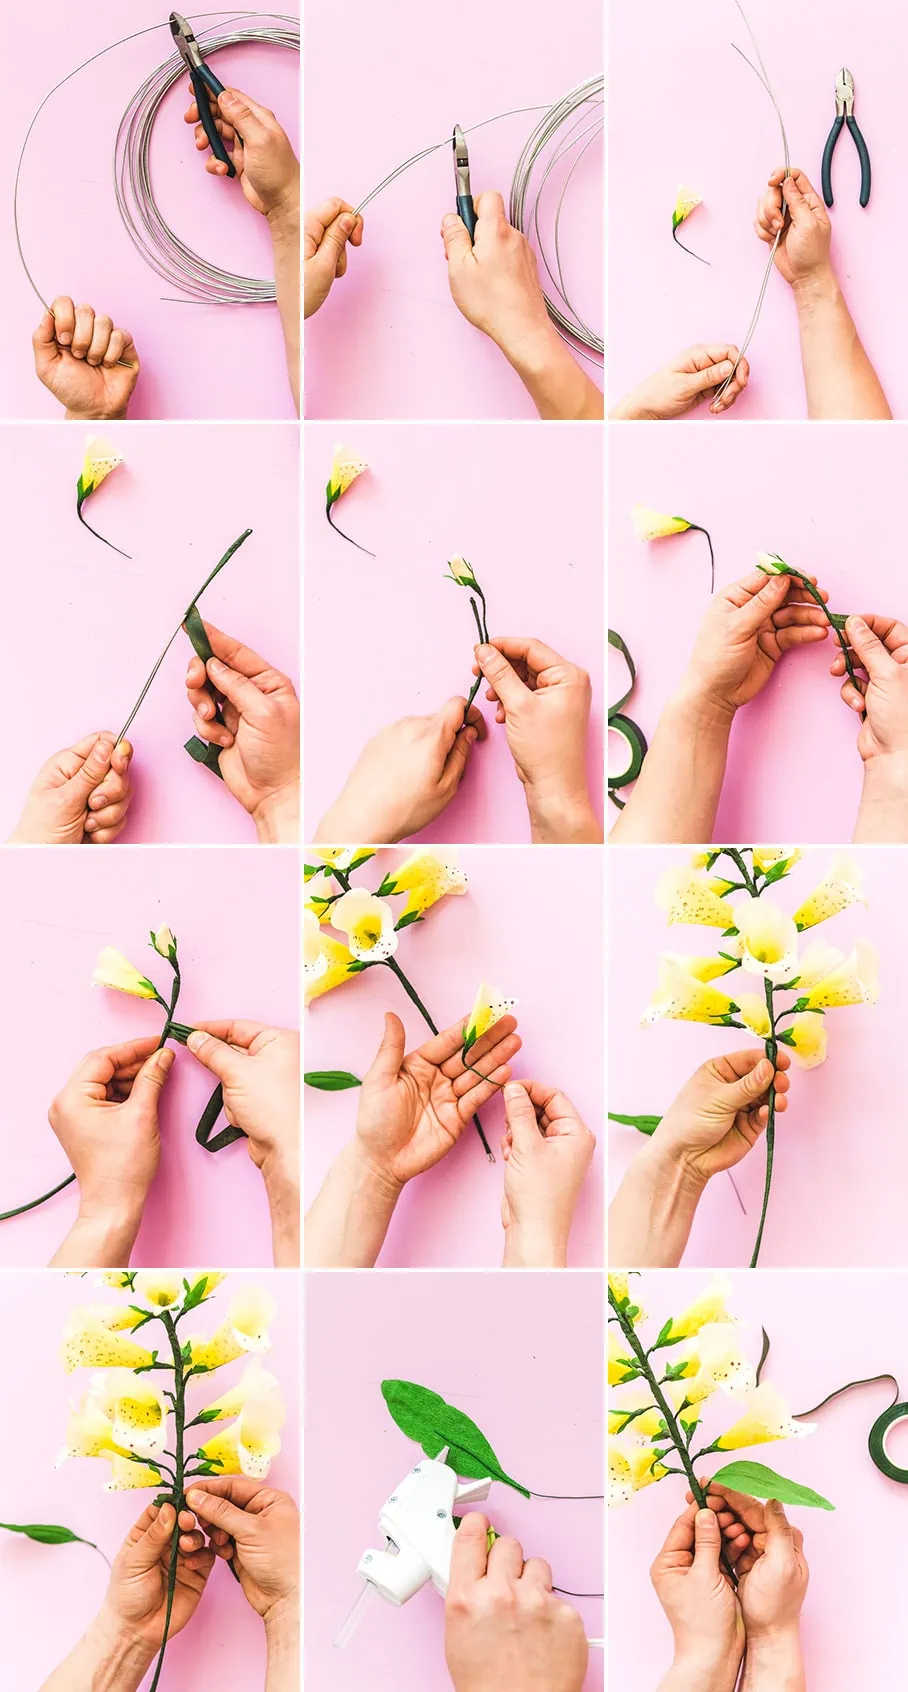
- Next, cut your thick wire to the desired height you want your foxglove to be. Then cut another piece of that wire about ¾ shorter than the original length.
- Once both pieces of wire are cut, stack them together and secure them with floral tape all the way down. The base of the 2 wires should be thicker than the top because one wire was shorter. This creates the stem.
- Start by taking your floral tape and wrapping the buds individually to the top of the stem.
- Next tape on the small flowers, then the medium flowers and lastly the large flowers. Stagger them all the way down the stem. Leave about ¾ of the stem for the leaves.
- To make the leaves, fold a strip of green paper in half. Trace stencils on and cut the leaves out. Stretch out each leaf to give it more texture.
- Fold the leaf in half and fold up again on a diagonal.
- Apply a line of thin wire to the back of the leaf with glue, repeat with all of your leaves.
- Gently place leaves in at desired spots and continue wrapping to the base of each plant.
- Take each blossom and angle it down. Foxglove blossoms tend to droop, so this will make them more realistic.
- Place floral foam into the planter you are using.
- Place stems of the foxglove into the planter you are using, your leaves should cover the base hiding the floral foam.
How to make a foxglove blossom

How to make a foxglove bud
How to make a foxglove stalk


Would love to see how your foxgloves turn out.



Comments