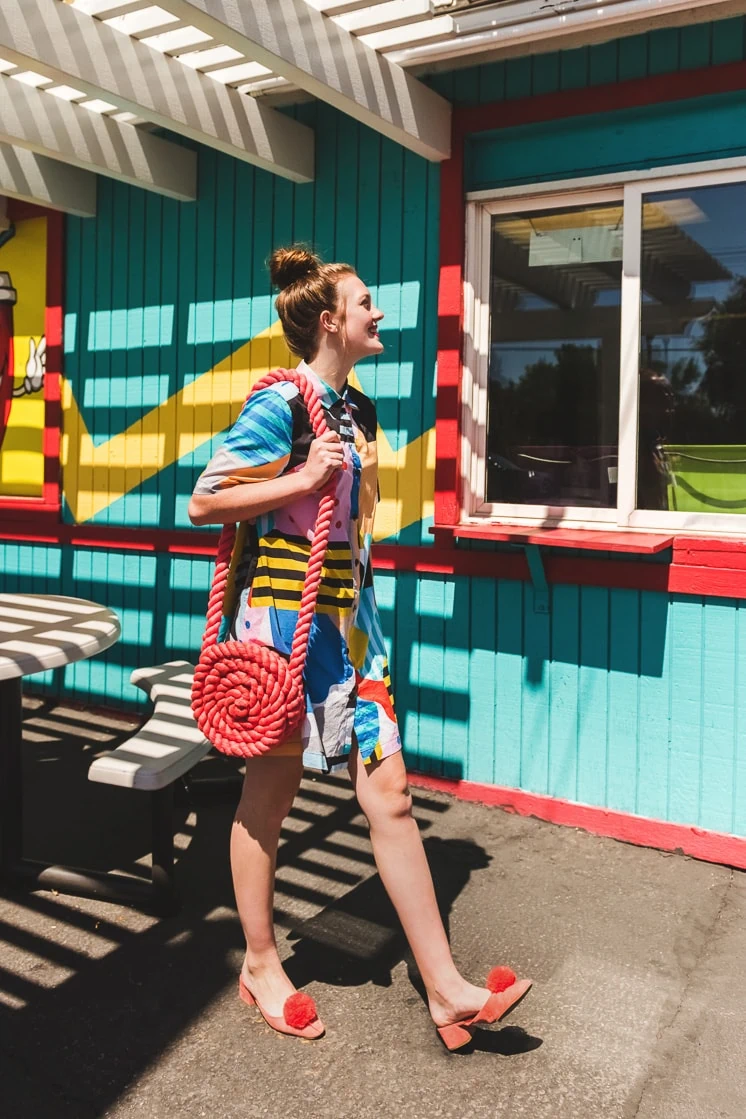
 Okay Lars family, has anyone else had their eyes on rope purses as of late?! It seems like everyone is doing a version of one, and our favorite part is all the beautiful colors that come with them! Whether it’s a simple shoulder bag or a tote, we’re really loving all of it. And as you all know, if there’s one we really love, it’s making our own version of the things we think are beautiful. We’re not going to lie, this one started out a little tricky; our first version ended up having some knots we’re pretty sure even the Boy Scouts don’t know. We decided to go for some simple spirals on our second try which, we’re happy to report, went very well!
DIY Rope bag
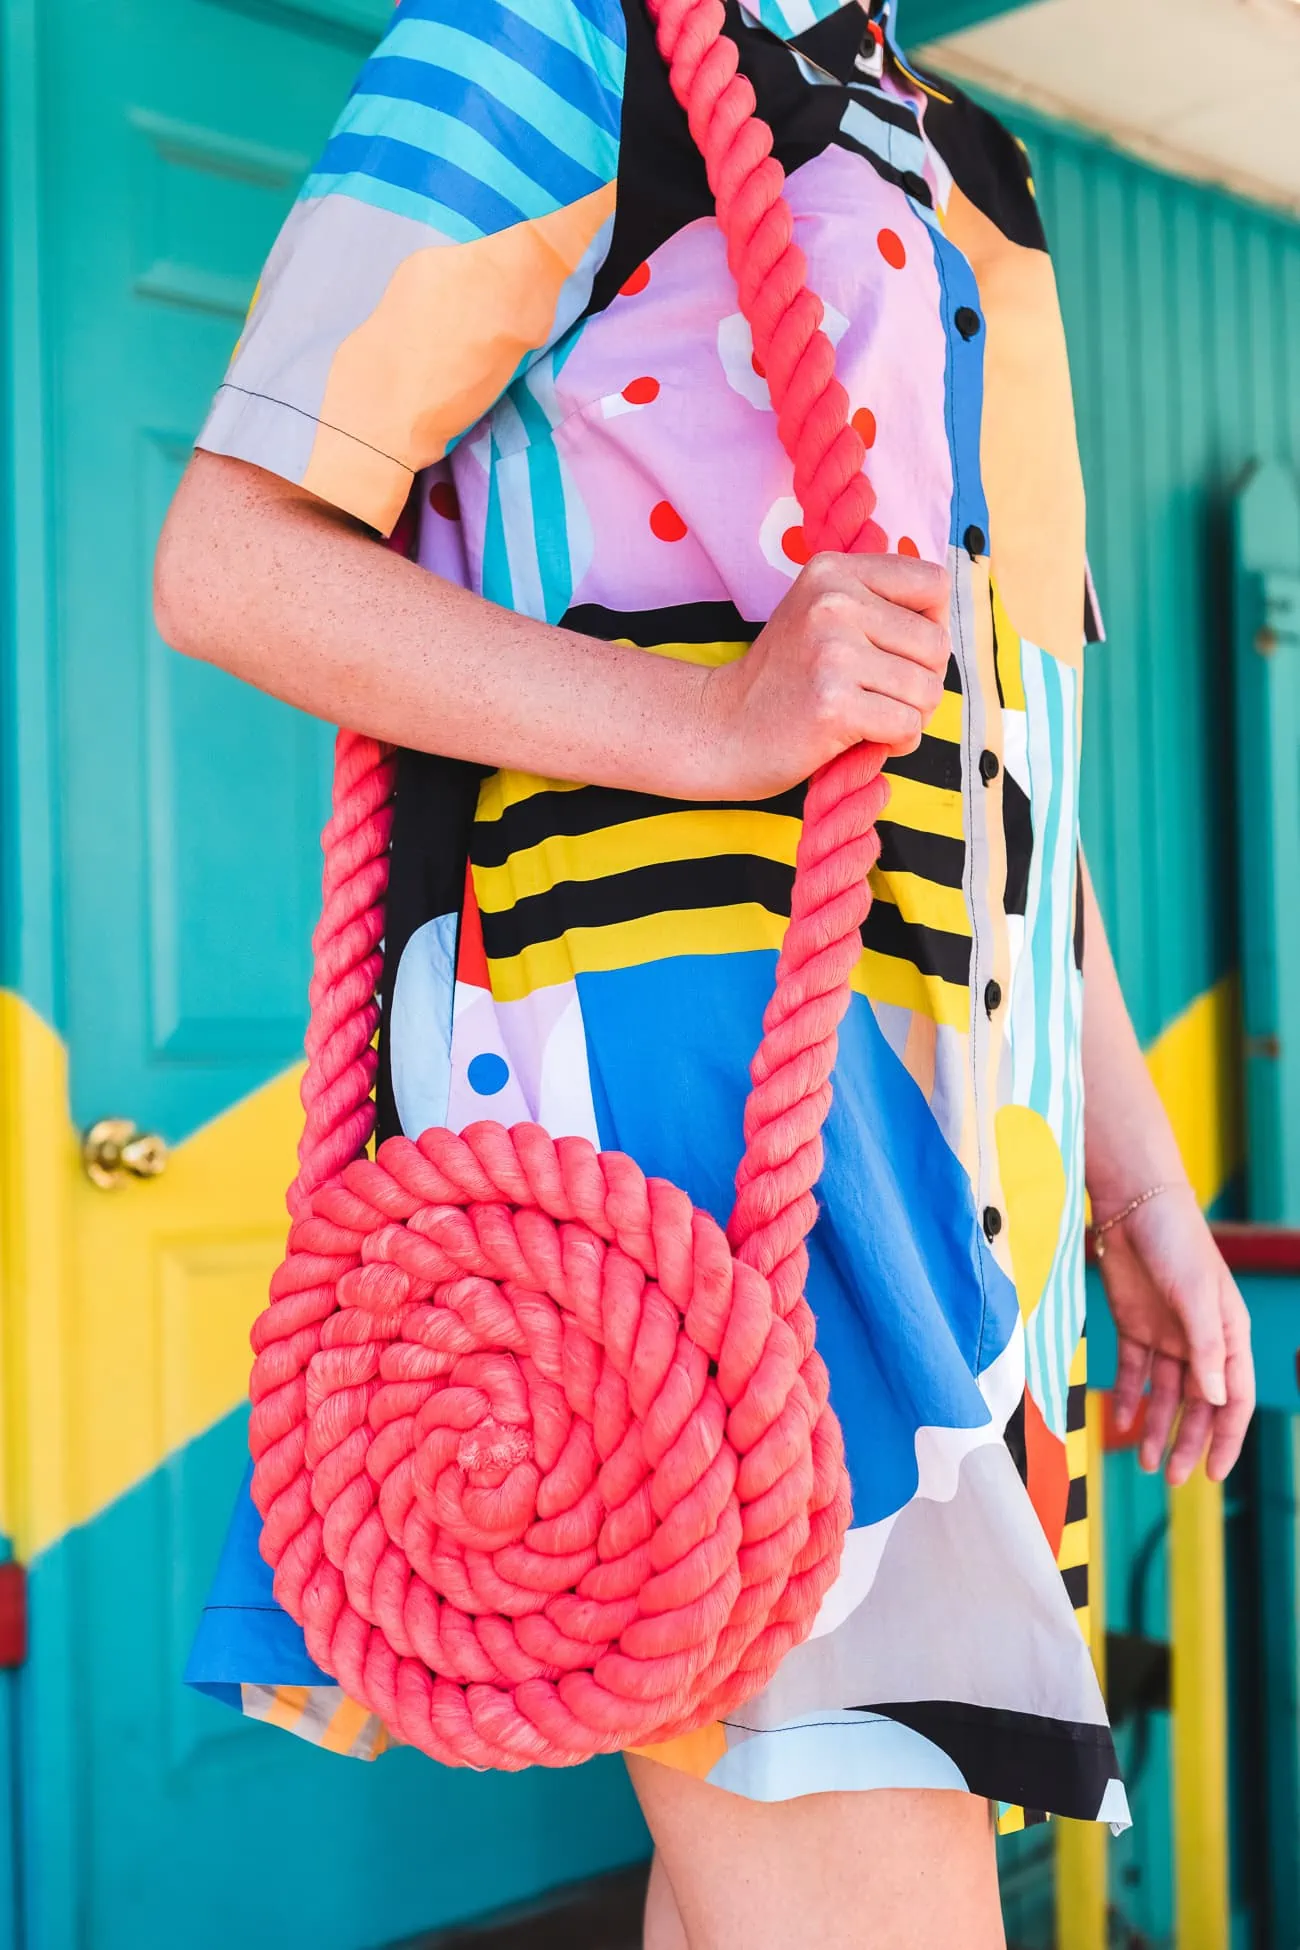
Making a bag out of rope sounds like the Home Ec project of nightmares, but it’s a lot easier than you think, and just look at these photos! The bag is the perfect size to simply grab and go, and of course, you can never go wrong with pink. Throw your wallet, phone and whatever else you need for the day and head out! Trust us, you’re really going to love this bag!
Material:
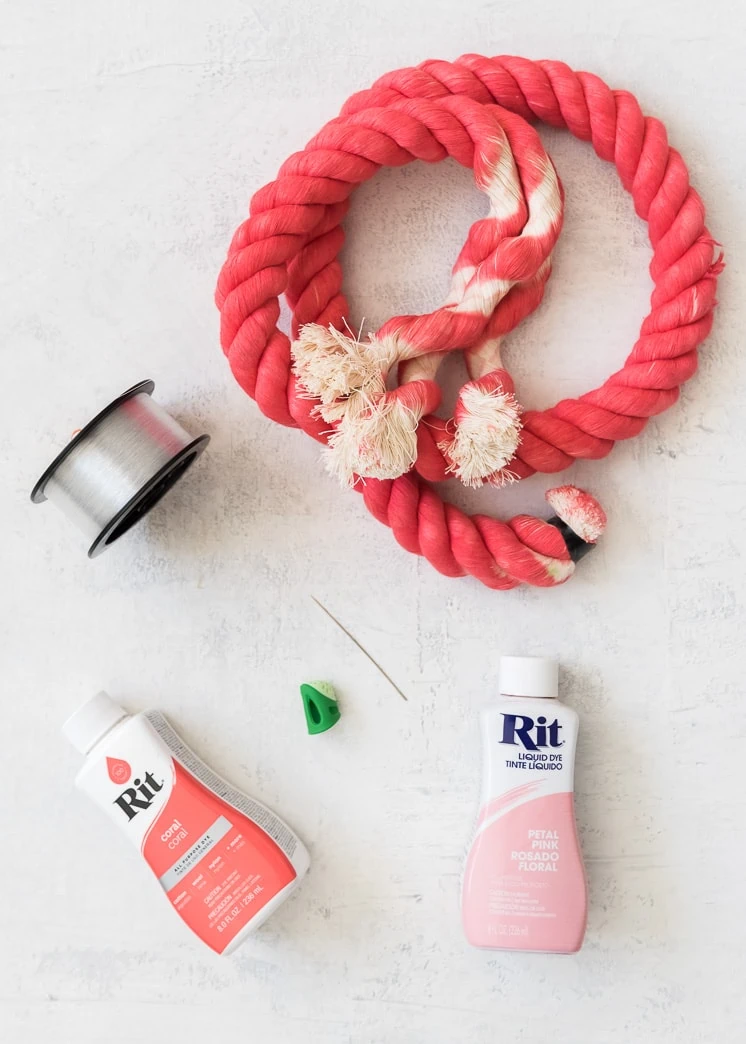
- 1” rope (we think you could definitely go smaller if you want!)
- Fishing line
- Rit Dye
- 4-6” sewing needle
- Embroidery Thread (a natural tone that can be dyed to the same color of the bag)
Directions:
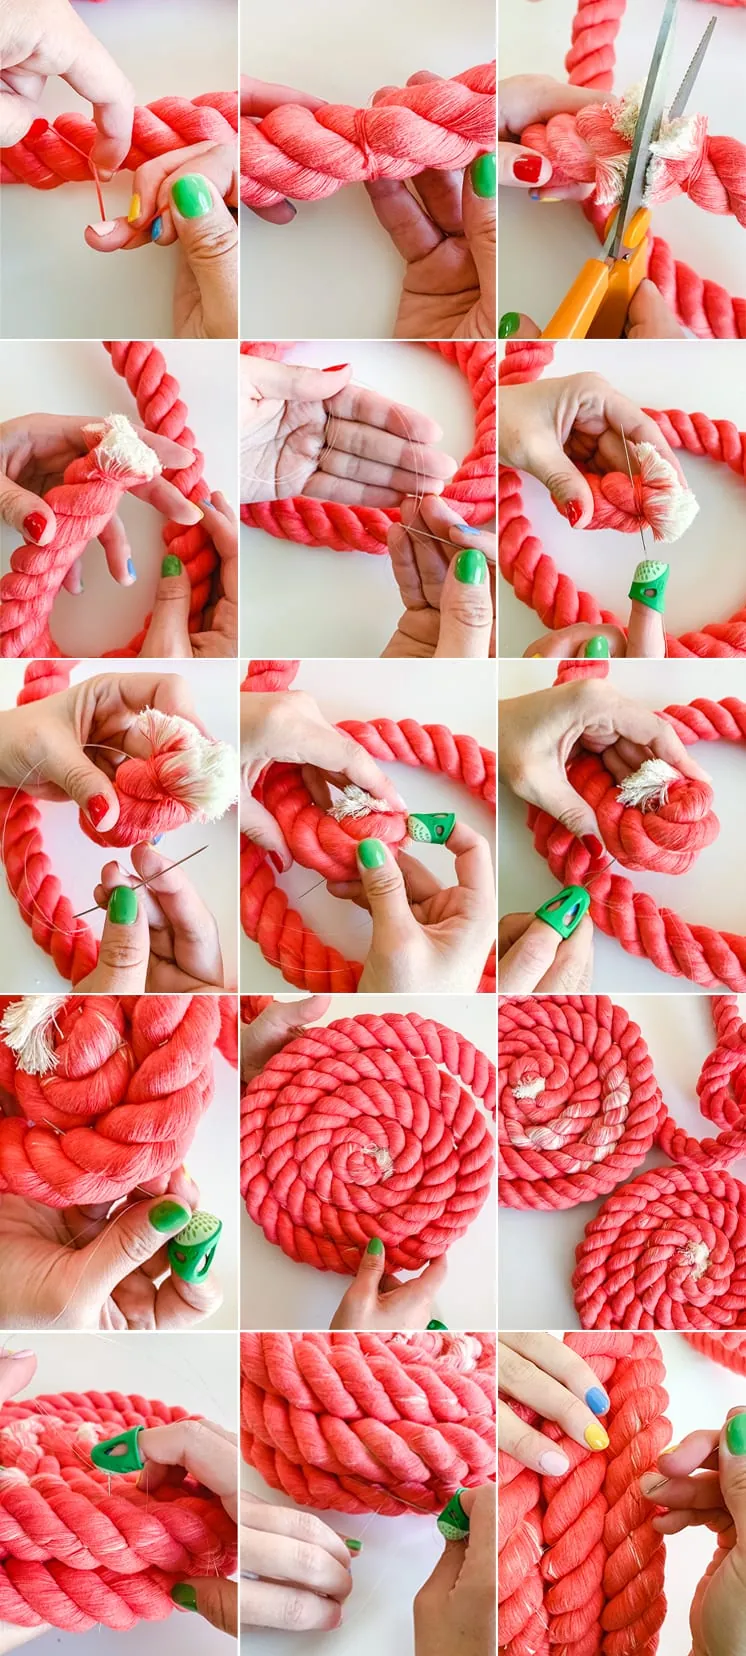
- Take one of your taped edges, and 1” below the tape wrap the embroidery thread tightly to secure the end and tie it off.
- Using sharp scissors cut below the tape so that the tied-off end becomes your finished edge.
- Prepare your needle with fishing line thread, we double our thread to make sure it was nice and strong.
- Take your fresh cut edge and wind it in on itself one round.
- Sew through your rope at a top point and loop it back through to secure your thread otherwise it will go through the rope. Every time you need more thread you will need to repeat this step.
- Sew through the first edge of the rope, then the second leg of rope and depending on how you have begun your spiral you may even have a third leg of rope to put it through. Secure the center of your spiral by repeating the threading through as many times as you need
- Begin adding more rope to your spiral, sew through the top toward the center, and attach it to a small but substantial portion of the already sewed and secured portion of the bag
- Continue spiraling the rope and attaching it with the fishing line until you have four rows out from your center on each side.
- Repeat steps 1-8 on the other side. You will want to make sure you are spiraling in the opposite direction of the already spiraled side so that your bag will come together without any hiccups.
- Once both sides are spiraled you will need to make sure they are the same size on both sides (this is something you can periodically check while you are making it to see if you should be pulling your spiral tighter or looser).
- If they match up gently lay them on top of each other. Anchor your thread to the top of where you would like your bags to start connecting and begin stitching your sides together following the same method used for the bag. Be sure to pull theses stitches taught so they are nice and strong!
- Tie off your end once you have reached the point where you would like your bag opening to finish.
- Prepare your dye, and dye your bag to the desired color.
- Allow 24 hours for the dye to set and dry!
Dying Direction:
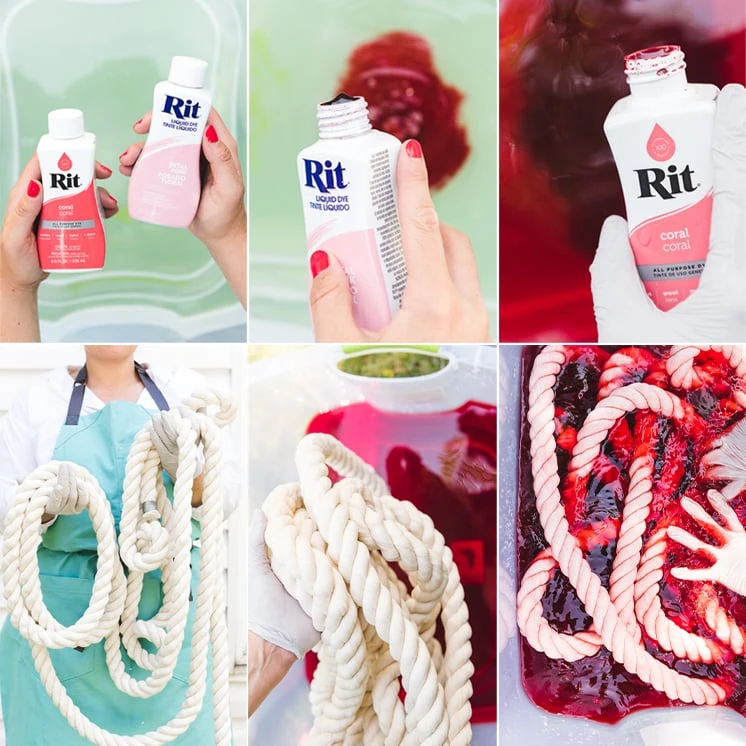
- Find a large container and fill will warm water.
- Mix your dye into the water.
- Test the color of your dye with a scrap piece of fabric of paper towel (the paper towel does a great job picking up color!)
- Wet your bag so the rope can absorb the color easier.
- Once your dye is adjusted to the right color, place your wet bag into the dye.
- Let your bag absorb color for anywhere from 15 minutes to a couple of hours. The longer you leave it in, the richer the color will be. We left ours in for about an hour.
- Take the bag out of the dye and let dry for 24 hours.
Note: We ended up dying both before and after we sewed but realized after that we should have just dyed it post making.
We love seeing your creations! Make sure to tag us #larsmakes so we can see what your bags look like!




 Dying Direction:
 Note: We ended up dying both before and after we sewed but realized after that we should have just dyed it post making.
Comments