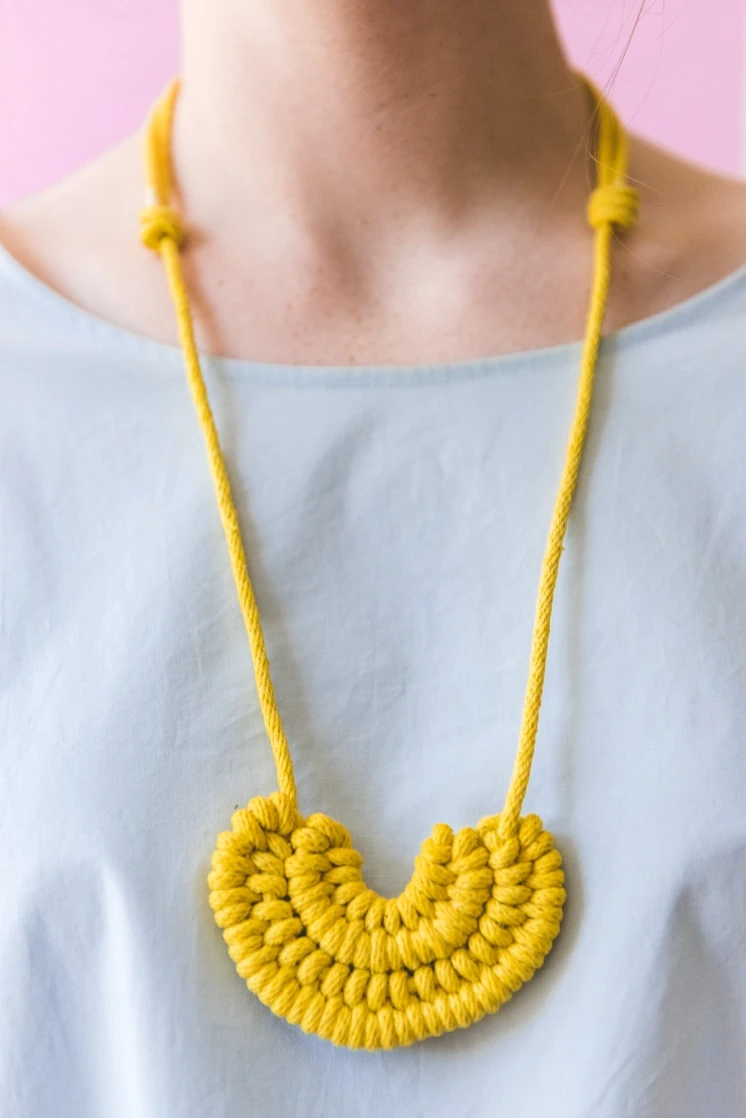
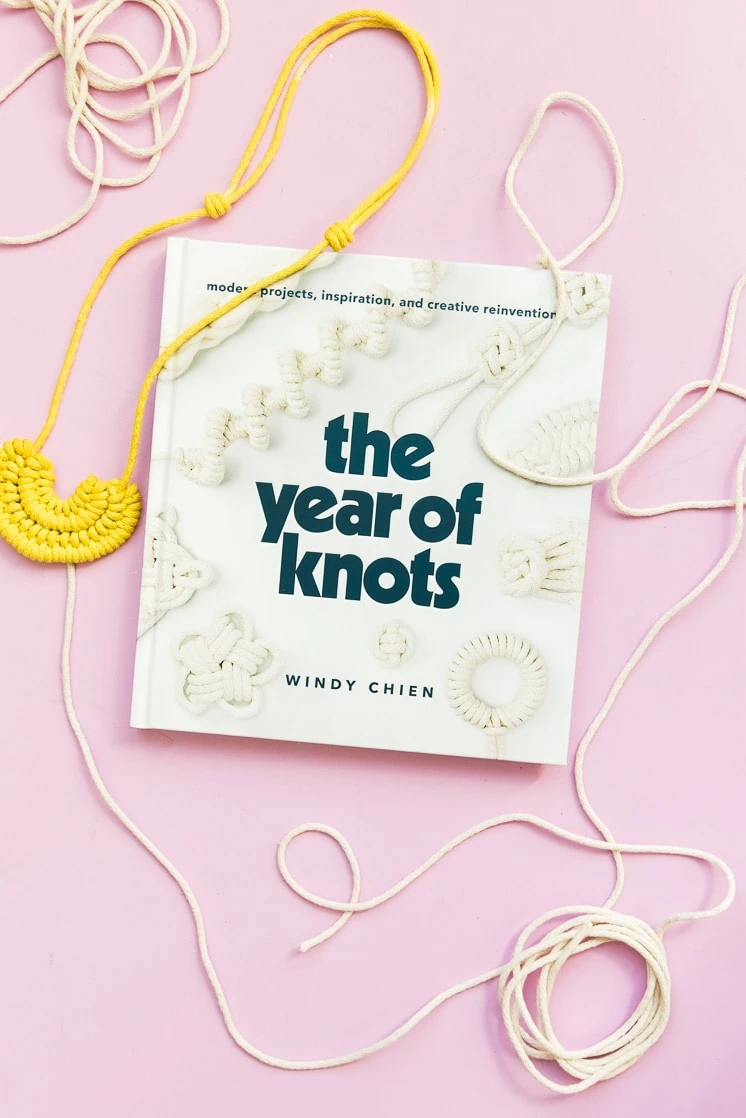
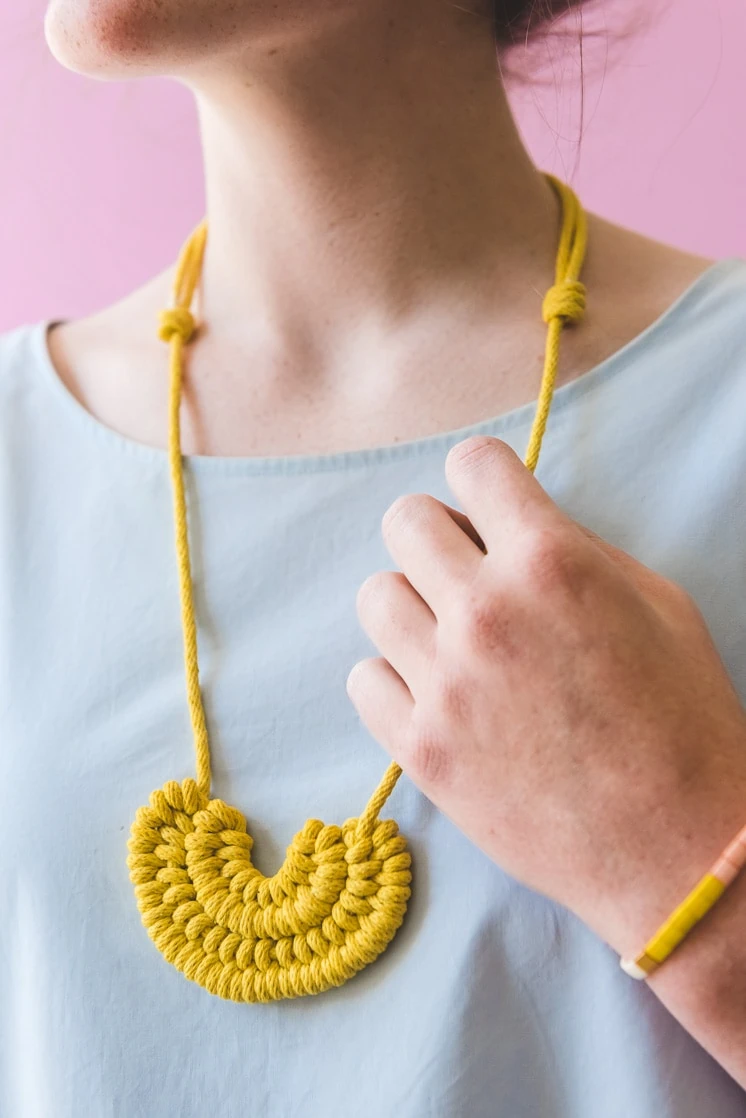
 Okay Lars fam, we’ve stuck craft book gold again and we can’t not share these things with you! Our friends over at Abram Books (our very own publisher!) sent us the most incredible book “The Year of Knots” written by the one and only Windy Chien. The book just launches TODAY and it needs to go in your craft library. It offers tutorials ranging from home décor to how to adorn your shoes. Just in case you needs a little more convincing on just how fabulous this book is we have included a tutorial on this wonderful knot necklace!
We went ahead and made a few modifications to the original necklace by adding in a second semicircle on it but the bones and idea behind the necklace are all attributed to the very talented Wendy Chien! This necklace is simple yet intricate and the perfect accessory to pull together any outfit! Seriously, everyone in our office tried it on and it looked great with evert single outfit! Trust us, every outfit you own needs this necklace!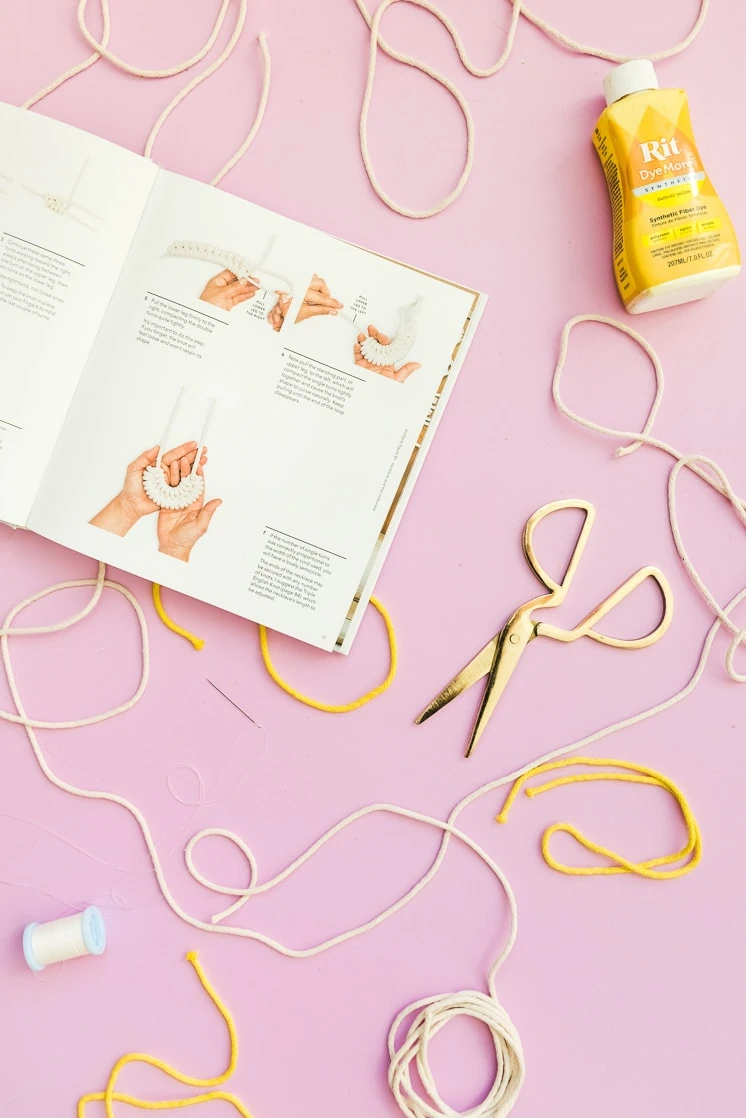
- -¼” rope (2 pieces of rope, one 4.5’ and another 9.5’)
- -Thread and needle
- -Hot glue gun
- -Rit Dye
Directions:
Inner Semicircle:
- Start with the 4.5’ long rope. At the 6in point, double the remaining 4’ of rope back about 1’, forming a skinny horizontal loop, and begin knotting here. The remaining 3’ of rope below the skinny horizontal loop is the working cord.
- With the working cord, wrap one tight turn around the standing upper leg of the loop, ending by drawing the working cord back to front through the loop.
- Hold the first turn tight against the tabletop with your left fingers, then wrap two turns around the lower leg, again ending by drawing the working cord back to front through the loop hole. (This is the figure 8 shape with an extra turn on the lower leg.) Note: Work with the part of the line that’s already at the point where the turns are. Make the turns, then pull the long working end through the loop back to front.
- Continue these same three turns working toward the right, always alternating between one turn on the upper leg, then two turns on the lower leg. Make tight turns, not loose ones. Note: To keep the knot in place, always use your fingers to hold down the last couple of turns.
- Count the turns on the upper leg. You want eleven turns on the upper leg with two turns on the lower leg after.
- Pull the lower leg of the remaining loop firmly to the right, bringing the double turns tightly together. Don’t forget this step! If you do the knot will feel loose and won’t retain its shape.
- Now pull the left hand side of leftover rope to the left, which will bring the single turns tightly together and cause the knot’s shape to curve. Keep pulling until the end of the loop disappears.
- Your knots should now be in a semicircle. Secure the ends of the necklace by trimming the excess rope on both sides of the semicircle and hot gluing the ends to the side that you want to be the back of the necklace.
Outer Semicircle:
- Start with 9.5’ of rope. At the 1’ point, double the 8.5’ of rope back about 2’, forming a skinny horizontal loop and begin knotting here. The lower 6.5’ of the rope is the working cord.
- Repeat steps 2-4 of the inner circle instructions.
- Count the turns on the upper leg. You want twenty turns on the upper leg with two turns on the lower leg after.
- Repeat steps 6-7 of the inner circle instructions.
- Your knots should now be in a semicircle. You should have extra rope on both sides of the semicircle, these will be used to create the “strands” of the necklace.
- To attach the two semicircles together flip the necklace so the back of it is facing up. Attach the small semicircle to the large semicircle by sewing them together with a zig zag pattern.
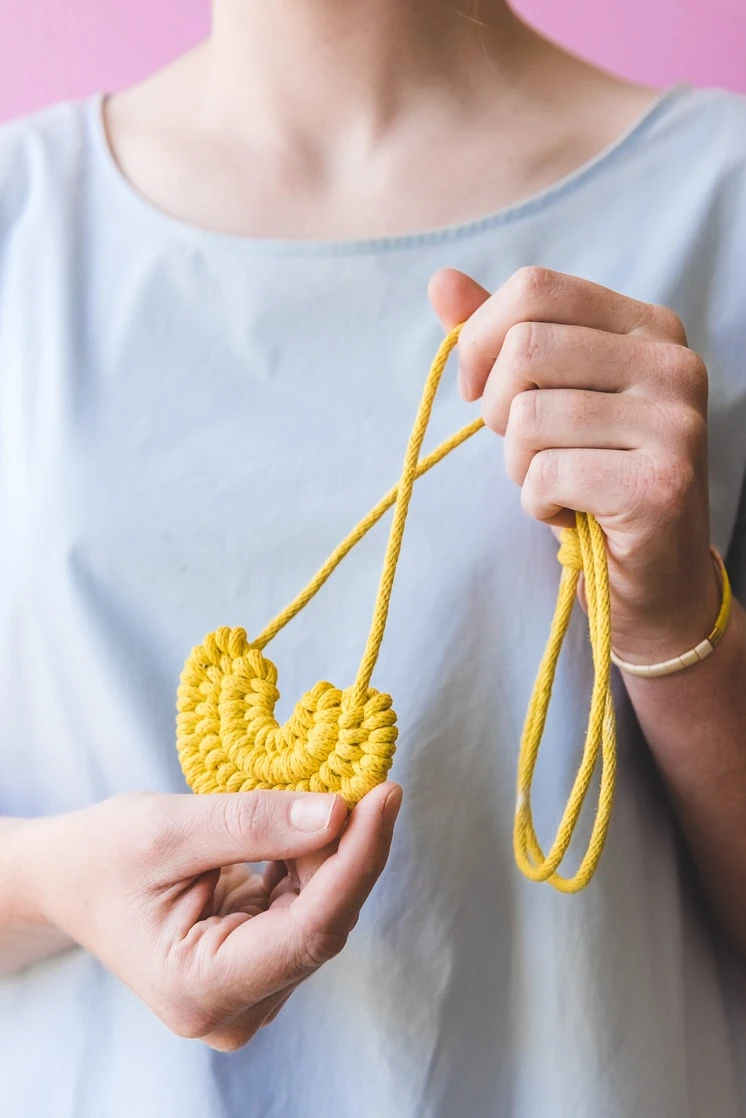
- Secure the ends of the necklace with two Sliding Knots.
Sliding Knots:
- Lay the necklace down on the table top vertically with the front side facing up. Grab both ends of the necklace and loop them to the other side half way down.
- On the right side of the necklace, about half way, down take the left necklace strand (the working cord) and form a small loop and hold it on top of the other strand (standing cord).
- Take the working cord and wrap it (wrapping to the right) around the loop and standing cord three times. Make sure the loops are slightly loose.
- Take the end of the working cord and stick it through the loop from behind and pull tightly. Pull very tightly, this knot is never supposed to come undone. Cut off the excess working cord, cutting it off right where it comes out of the knot.
- To finish, flip the necklace over, so the back of the necklace is facing up, and repeat steps 3-4 of sliding knots.
- Prepare your dye and dye your necklace to the desired color. Allow 24 hours for the dye to set and dry!
Dying Directions:
- Find a large container and fill with warm water.
- Mix your dye into the water.
- Test the color of your dye with a scrap piece of fabric of paper towel.
- Wet your necklace so the rope can absorb the color easier.
- Once your dye is adjusted to the right color, place your wet necklace into the dye.
- Let your necklace absorb color for anywhere from 15 minutes to a couple of hours. The longer you leave it in, the richer the color will be.
- Take the necklace out of the dye and let dry for 24 hour.
You can find The Year of Knots here!
We love seeing what you have made! Be sure to tag us with #larsmakes so we can see how this knot necklace ties your outfits together!



Comments