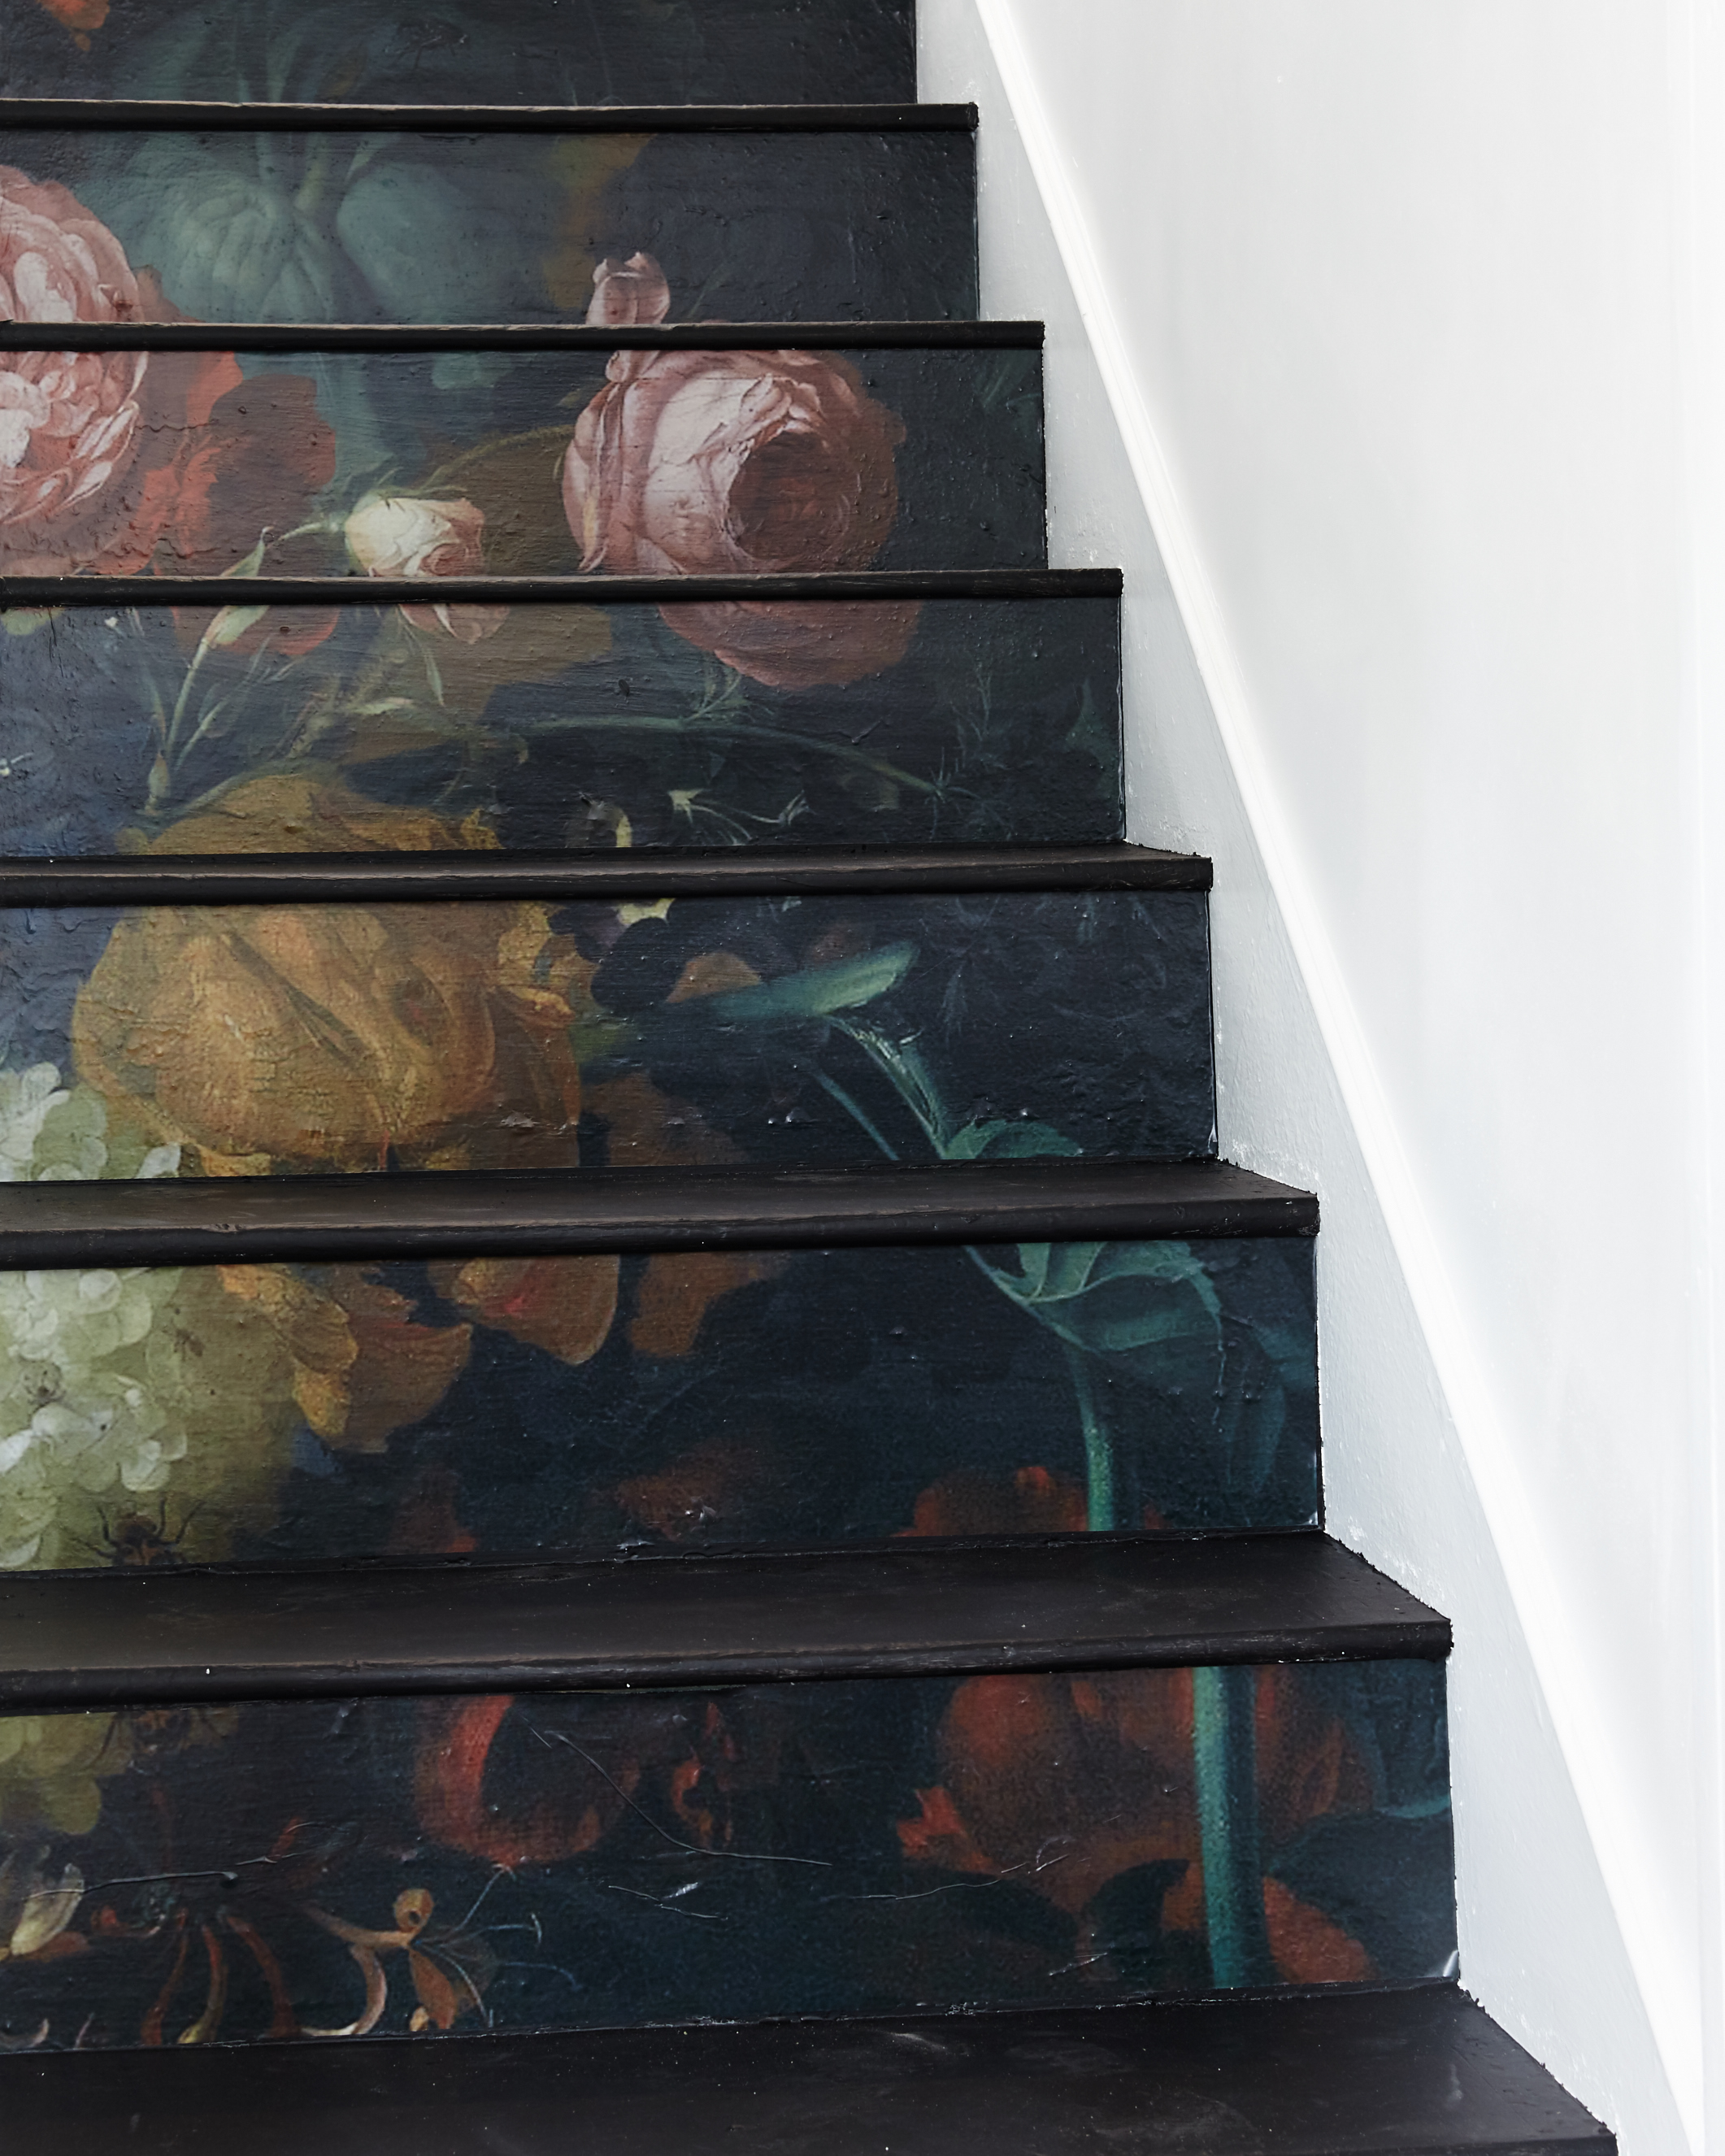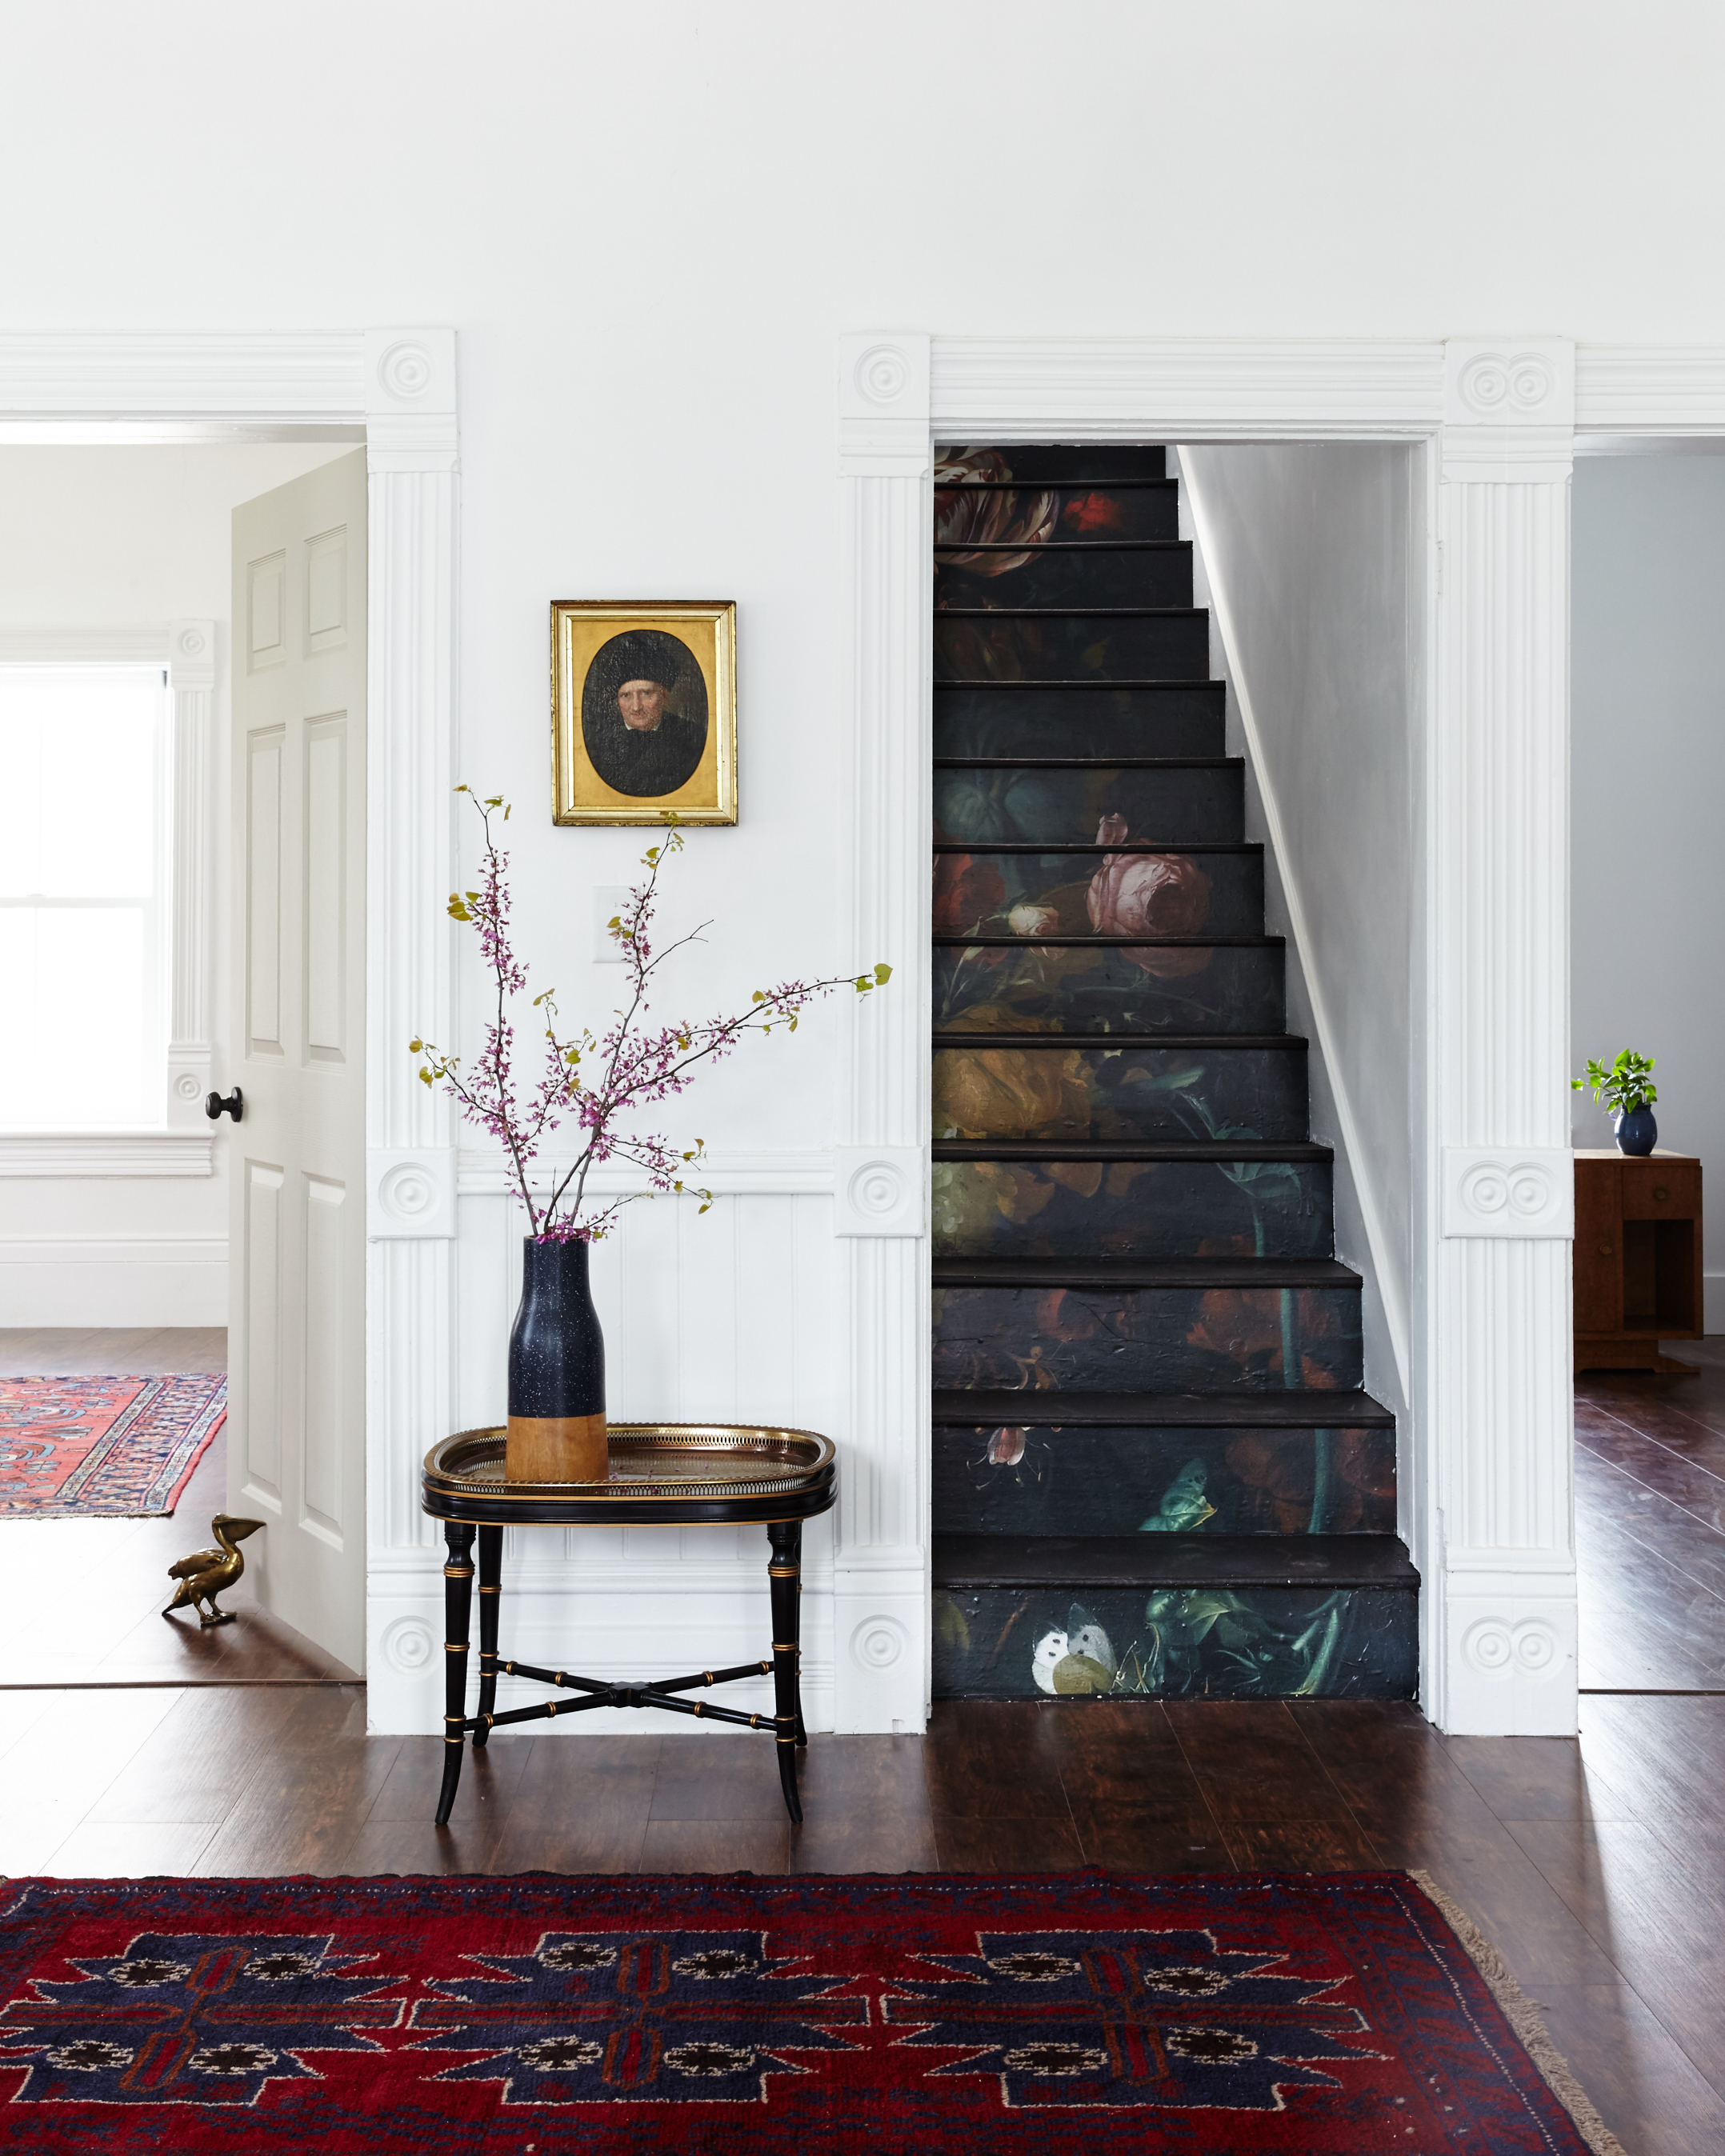
DIY floral staircase from Old Home Love

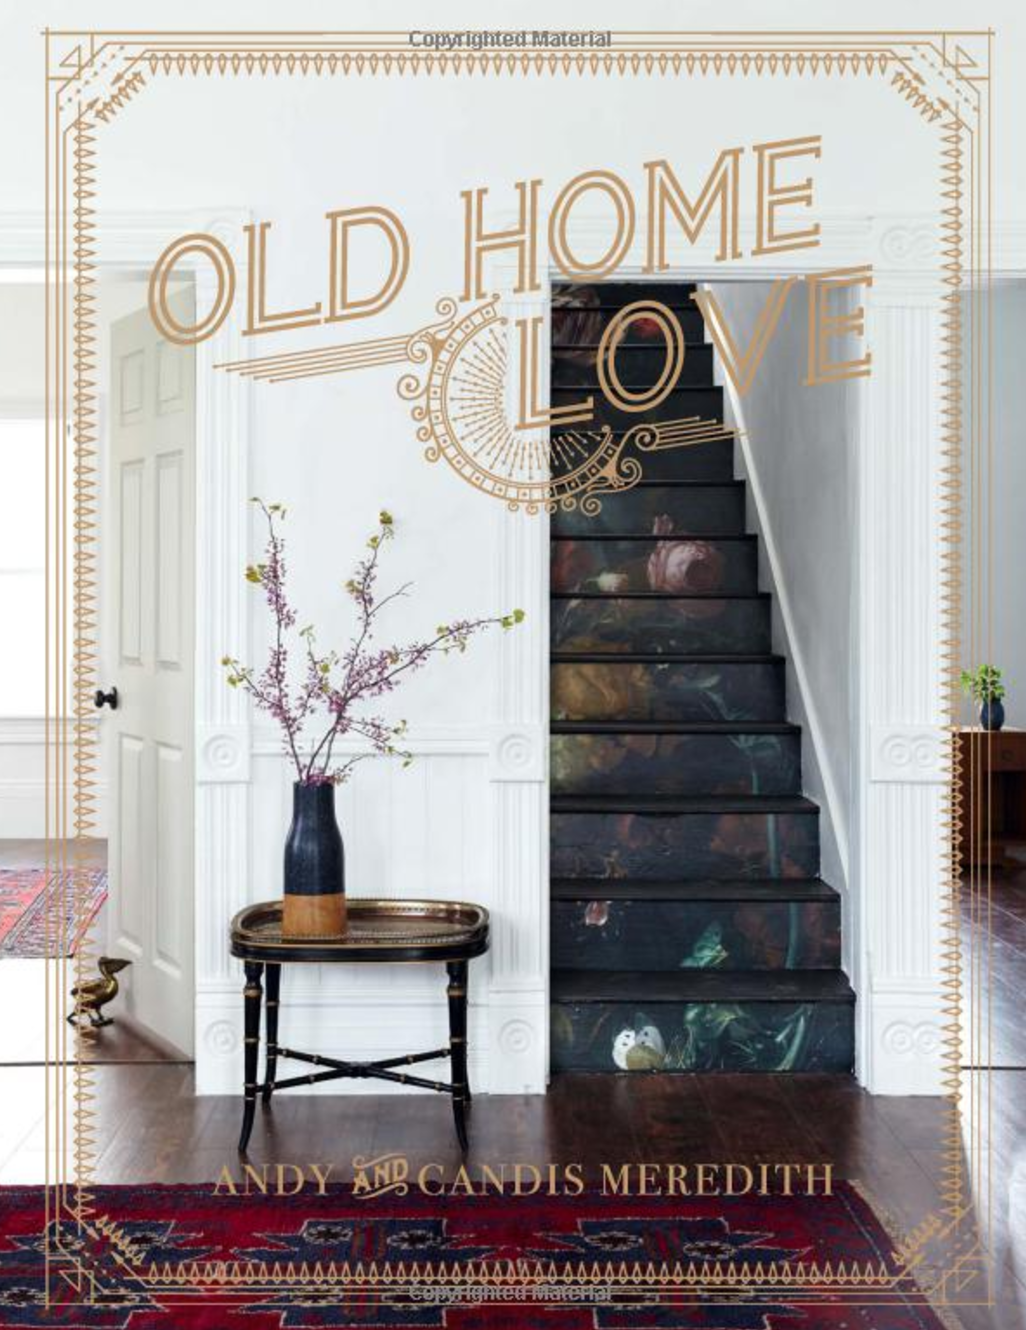
I’m pleased as punch to present two special guests to Lars today. Andy and Candis Meredith, from HGTV’s Old Home Love, recently released their first book of the same title, Old Home Love, and it’s gorgeous! If you’ve seen their show or know anything about them, you know that they love old homes and this book is an ode to it. It’s part love story, DIY, and inspiration. It’s also a special book for so many other reasons (go and find out!) and one of them is because it all took place here in Utah, was photographed by Chaunte Vaughn, who also photographed our upcoming book, and styled by my good friend Meta Coleman, assisted by my own sister, Caitlin Watson Boyes. And a couple of my own pieces of furniture and plants even make a special appearance 🙂 Candis and Andy are here today to share a tutorial NOT featured in the book but I know everyone is wondering about: How did you make that floral staircase featured on the cover?! Aren’t you curious?! Let’s find out! 
Hi Friends! I am so excited to share this project with you. I have been a fan of things with big scale for a long time and I am so happy that we got to showcase these beautiful stairs for our new book. This project has such a huge impact for little effort and I think it adds a PUNCH of happiness and color to our understated white space. What’s great about this idea is that you can use almost any image that you love! Landscapes, old photographs, random patterns, portraits! The sky’s the limit. And don’t be overwhelmed by the idea of doing this–it really is SO easy and took less than an hour!

Old Home Love book

Here we go!

Old Home Love by Andy and Candis Meredith

How to make a customized staircase

Materials:

  • Image of your choosing–just make sure it’s as high of resolution as you can
  • Outdoor vinyl
  • A credit card or the likes
  • A pin or needle

Old Home Love by Andy and Candis MeredithStep 1: Measure your stairs

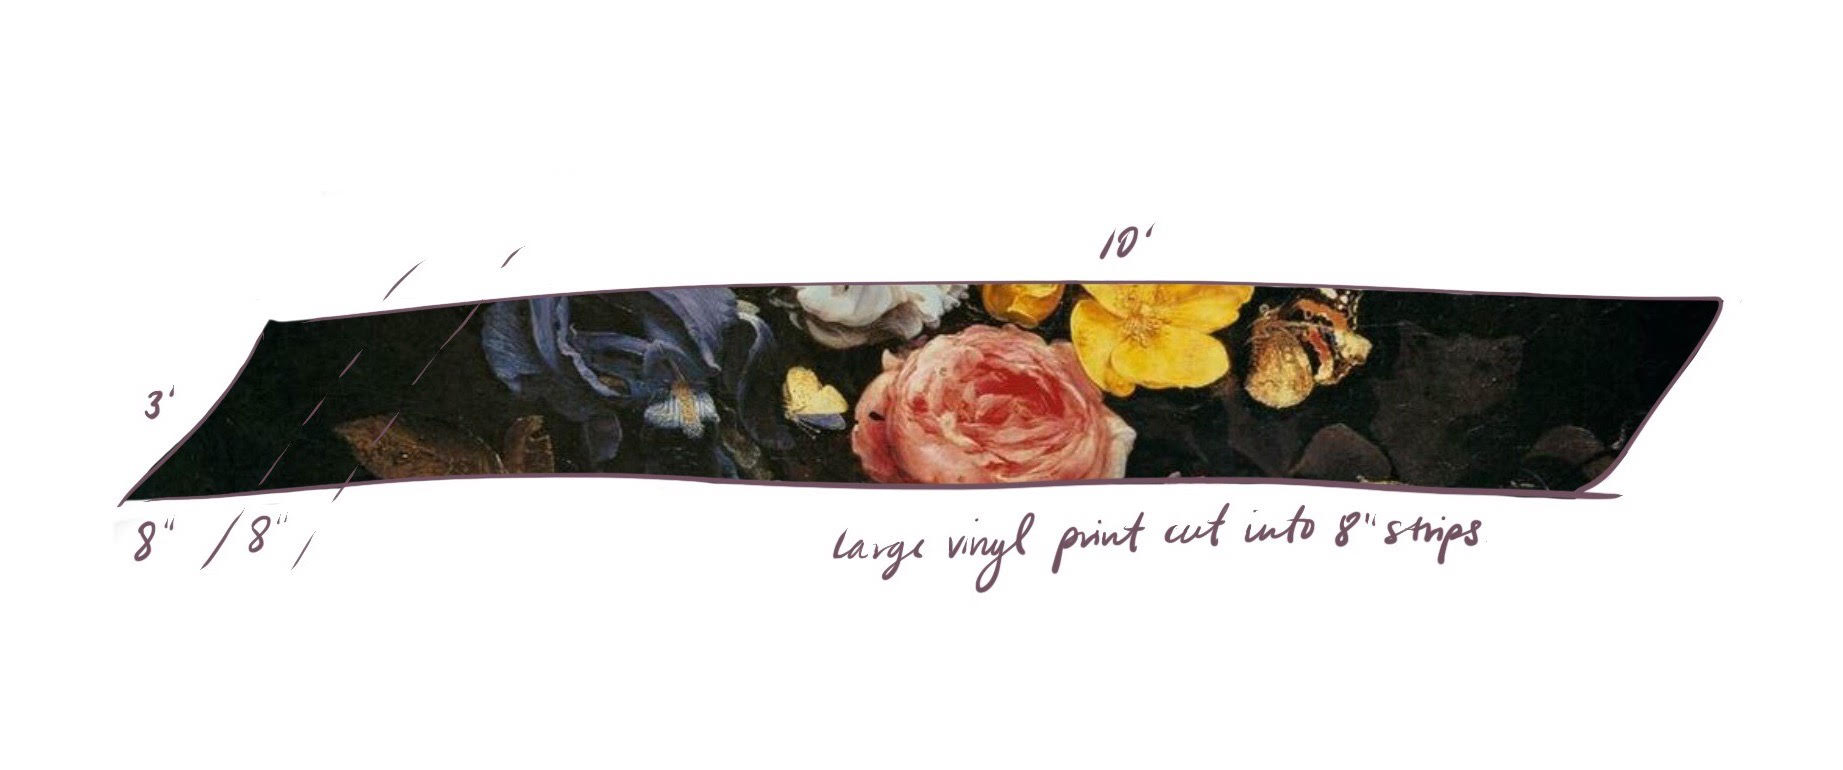
You don’t have to be totally exact here, but I measured each step and found out that they were approximately 34” wide and 8” tall. We work almost exclusively in old homes, so not every stair was precisely the same and that’s ok. Add the height together and that gives you your overall size for your vinyl. In our case, it was 34” x 128”

Step 2: Choosing your image!

I used a high resolution download from a museum website. There are so many amazing museum collections that are available for private (and sometimes even commercial) use and we use them for all sorts of projects! I love the metmuseum.org, the LIFE photo archive and The Getty to name just a few.

Step 3: Paint your stairs

If you already have perfect, wood stairs you can skip this part. For ours, I picked the dominant background color of my image (in my case, black) and painted the stairs with a matte black chalkboard paint. This helps hide imperfections and inconsistencies in the size of the treads, plus it’s super durable!

Step 4: Size your image and print!

Once you have your image and your measurements it’s time for the fun part! I opened my image in photoshop and cropped it to the overall size on the portion of the painting I loved the most. Photoshop is great because it automatically tries to make it look good large (it will add a little Gaussian blur etc when you scale it.) I let the program decide the dpi, since I knew I was taking it to a professional shop to print.

Step 5: Send your image to a sign shop

Find a local sign printing shop that prints on outdoor vinyl. Most cities have at least one or two and tell them you need a 3’ by 10’ piece of outdoor vinyl printed and cut into 8” strips (or whatever your size is.) They will look at you like you’re crazy, but that’s ok. I used a lighter weight outdoor vinyl because I knew I wanted the imperfections of the 150 year old steps to come through. The best part about vinyl…it comes with an adhesive back!! (I used Signs by Tomorrow in Pleasant Grove, Utah) Most sign shops will adjust your ppi or dpi for you, so don’t stress about that too much. I would just tell them to make it look as good as they can large.

Step 6: Apply the vinyl

Now that you have your strips of your giant painting (I numbered the back of mine, just in case) it’s time to start putting them on the stairs! The easiest way I found to do it was peel the top inch or so of the backing off and line it up on the top of the tread. Then you just start peeling and slowly using the credit card to smooth out any bubbles or wrinkles! It’s really quite fun and if you mess up, you can pull it off a bit and re-try that area. Since my print is very dark and my stairs are very dark (I did that on purpose because I was honestly scared it wasn’t going to work and I wanted the security) you couldn’t really see any mistakes unless you looked suuuuper closely.

Step 7: Final look

After I applied each step, I just went back with my credit card and did another smoothing out. If there were bubbles that I couldn’t get out I simply pricked them with a needle and smoothed them as best I could!
Enjoy your masterpiece! It took me about an hour to apply everything and I paid $100 or so.
This is by far one of my favorite projects and you can do it on any staircase large or small! The best part is that it’s not permanent so you can feel freedom to create. I can imagine this in new modern homes as well as historic–change it as your tastes change! After you have tackled the stairs, imagine what else you could put vinyl on, haha! I hope you enjoyed this little project. Thank you so much, Brittany, for allowing me to share!
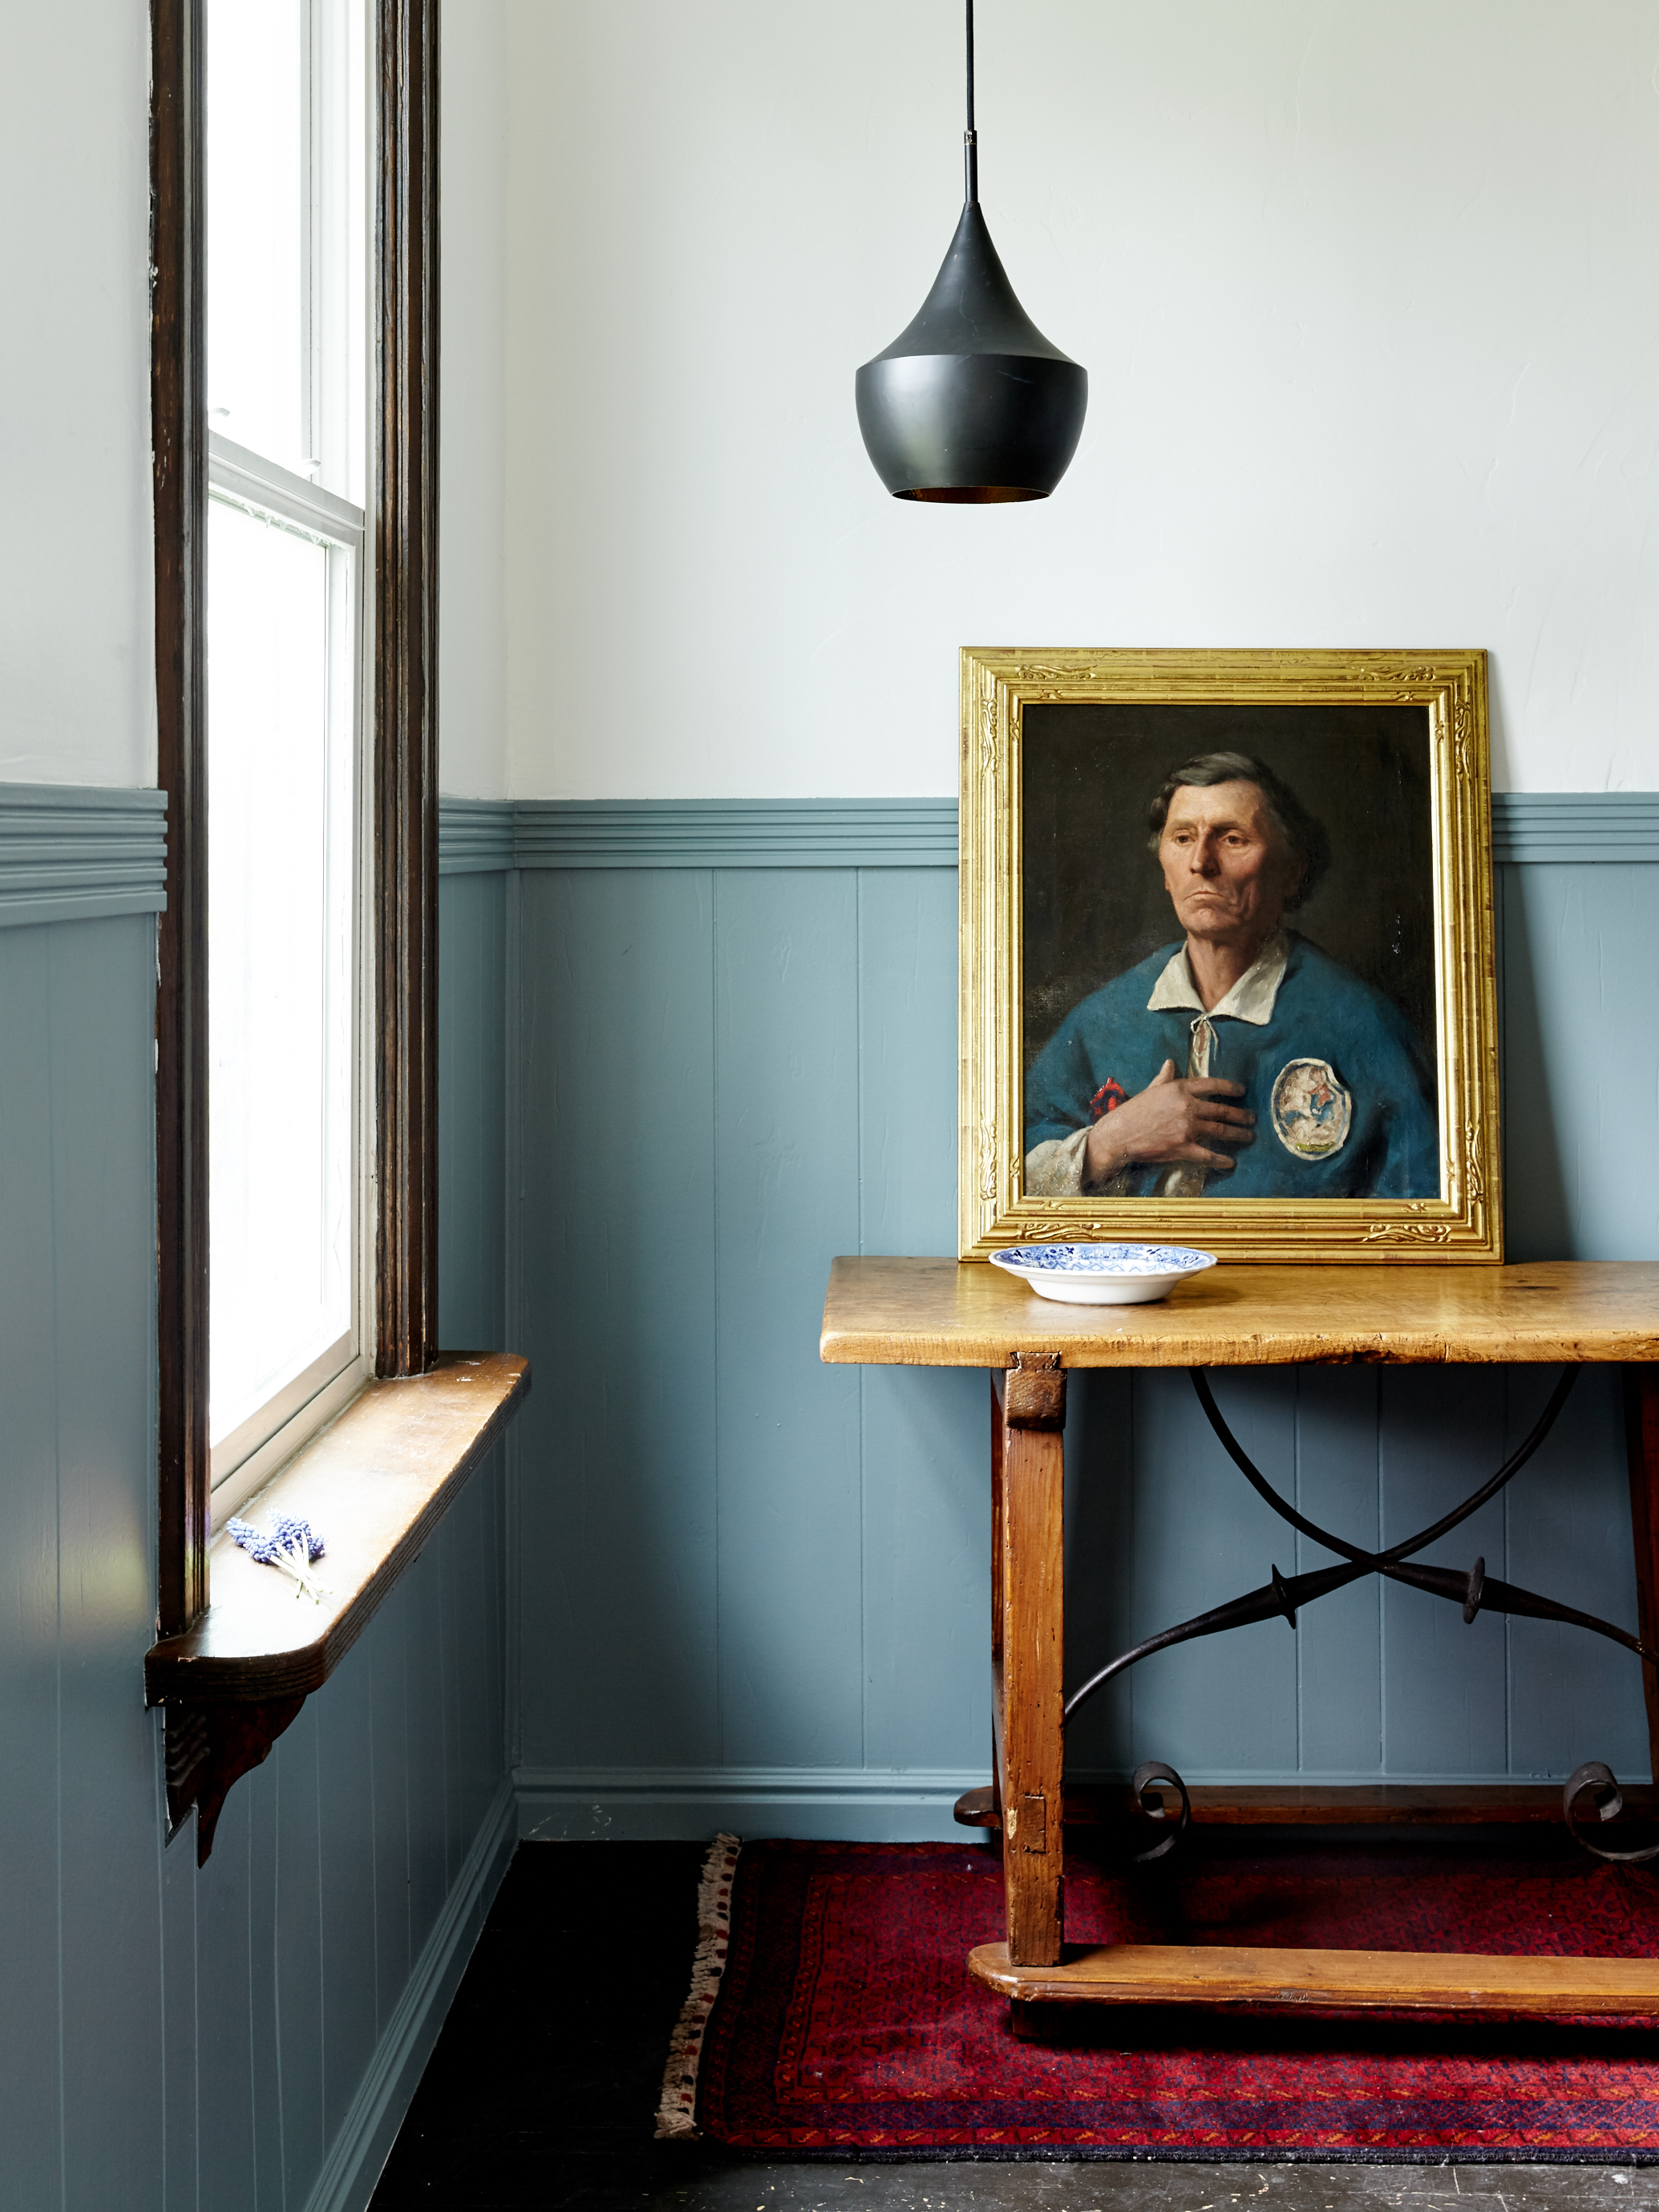
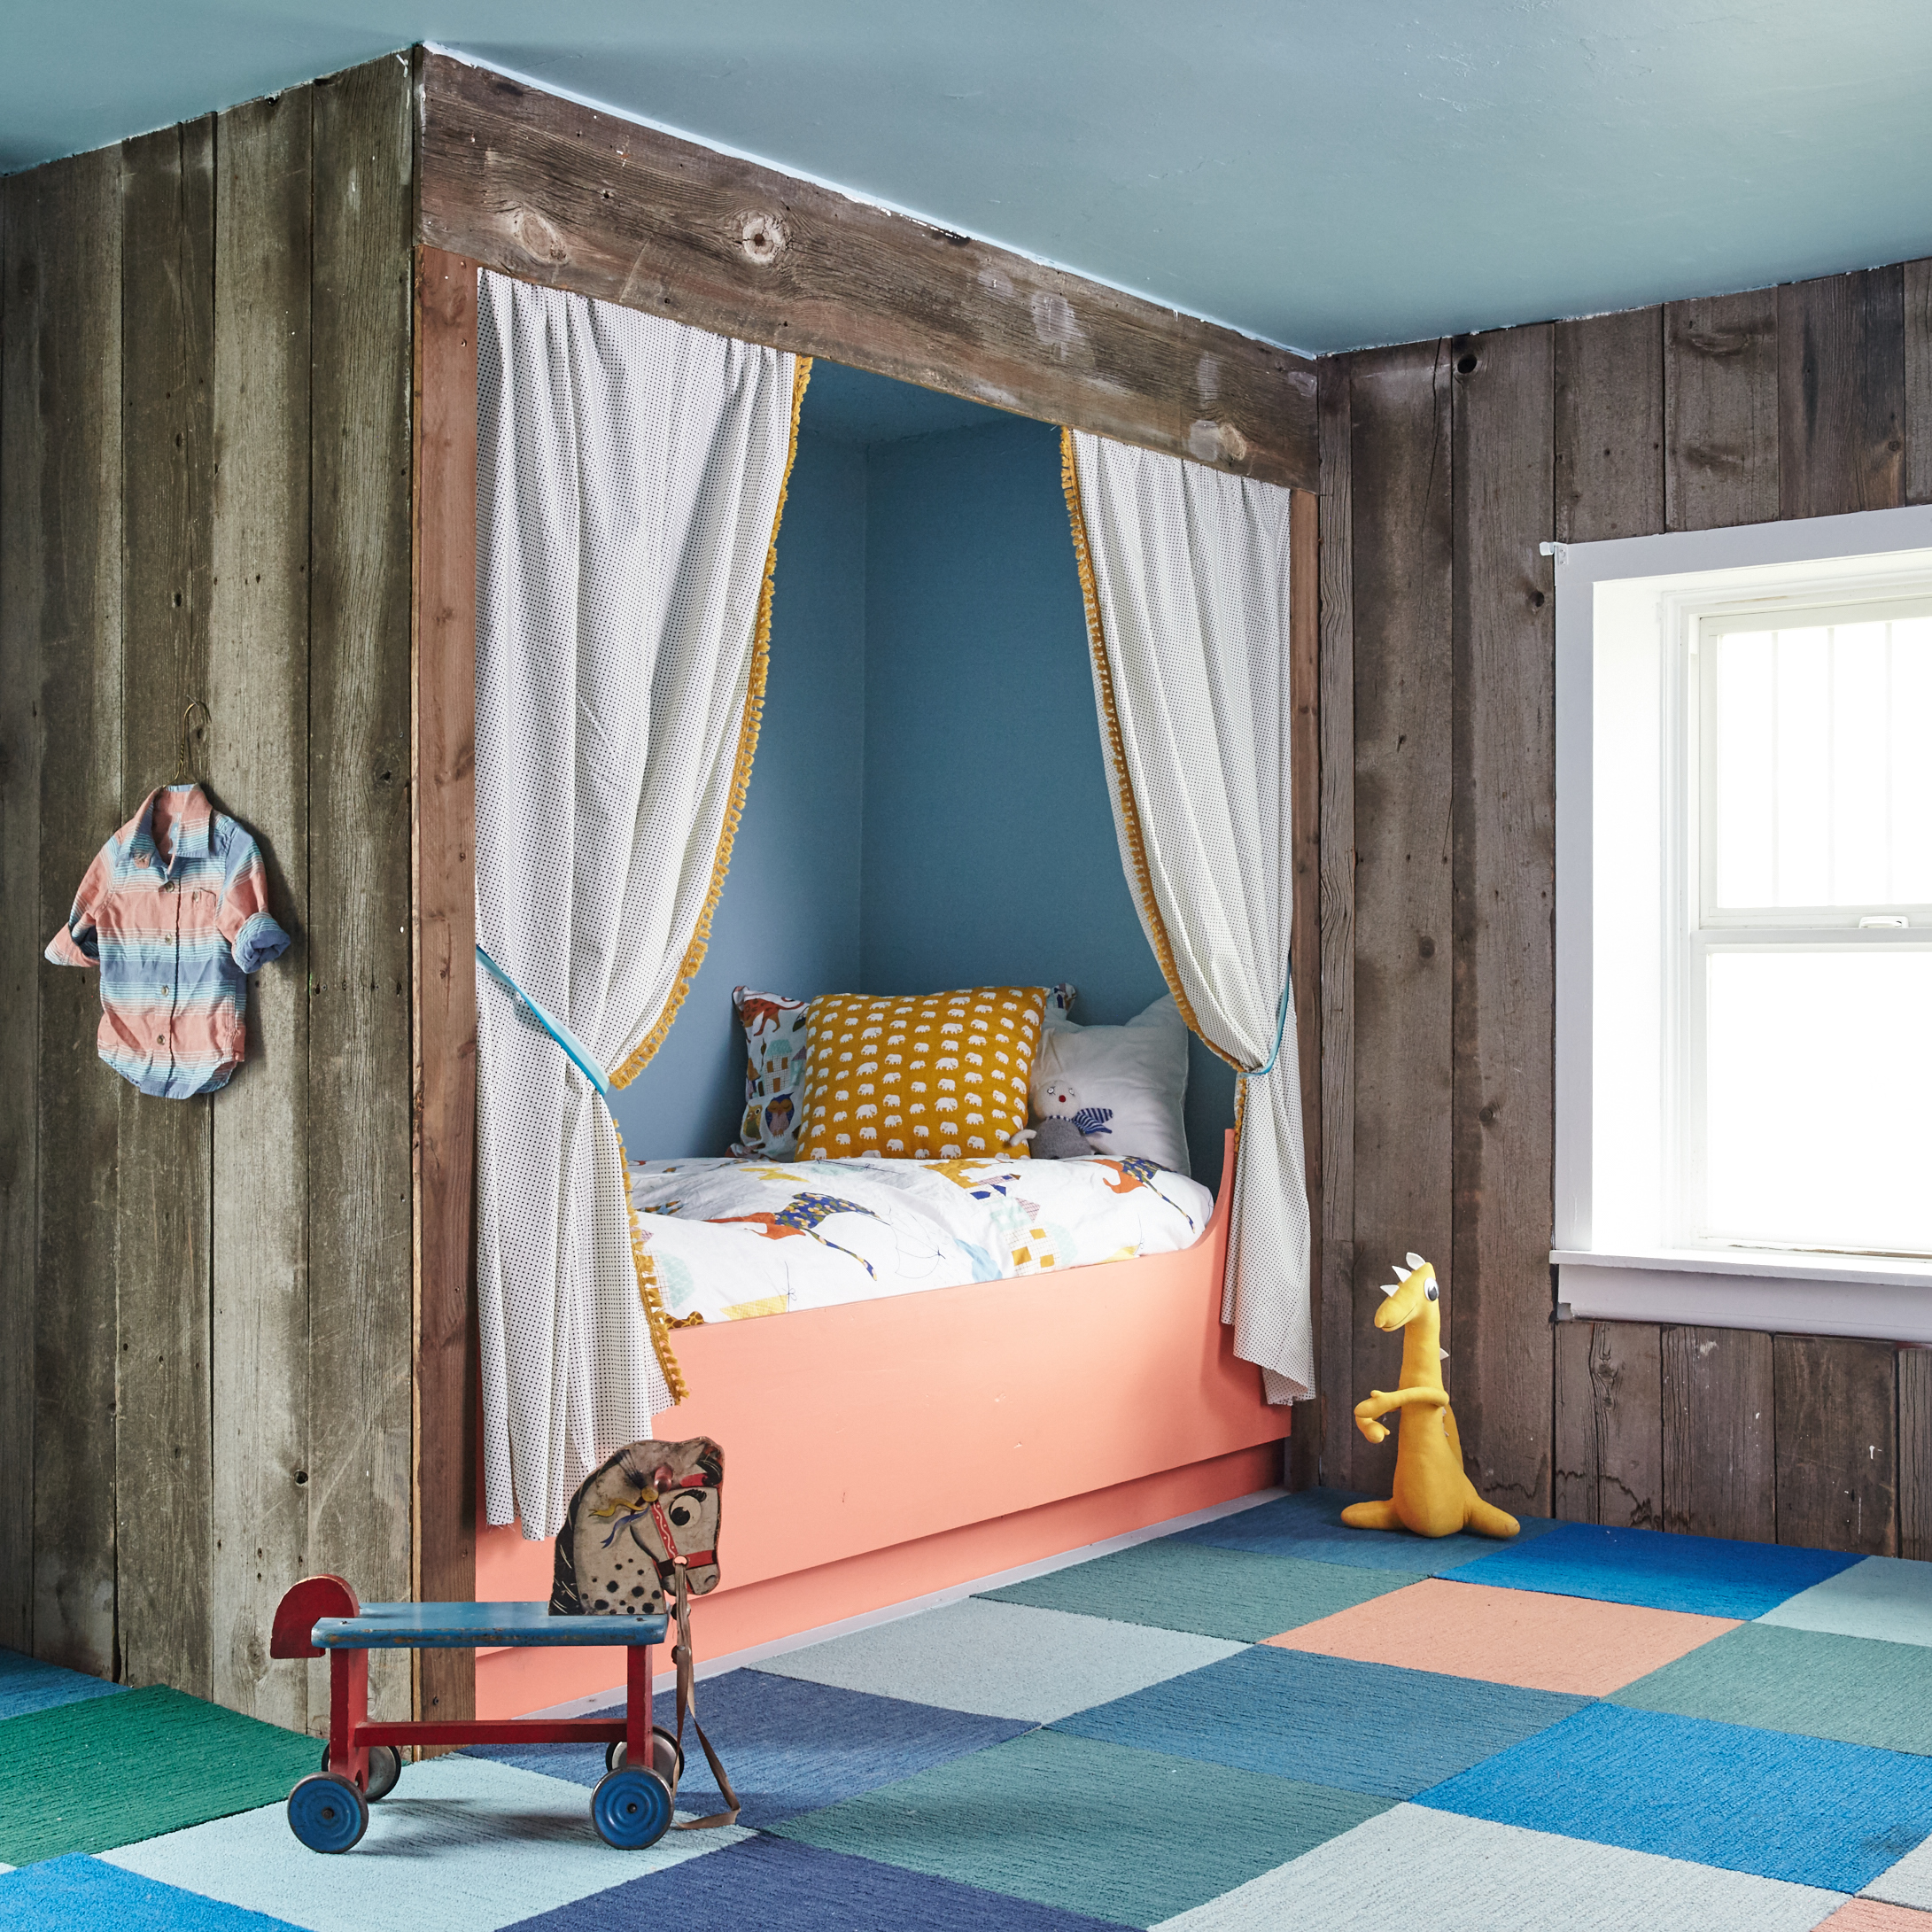
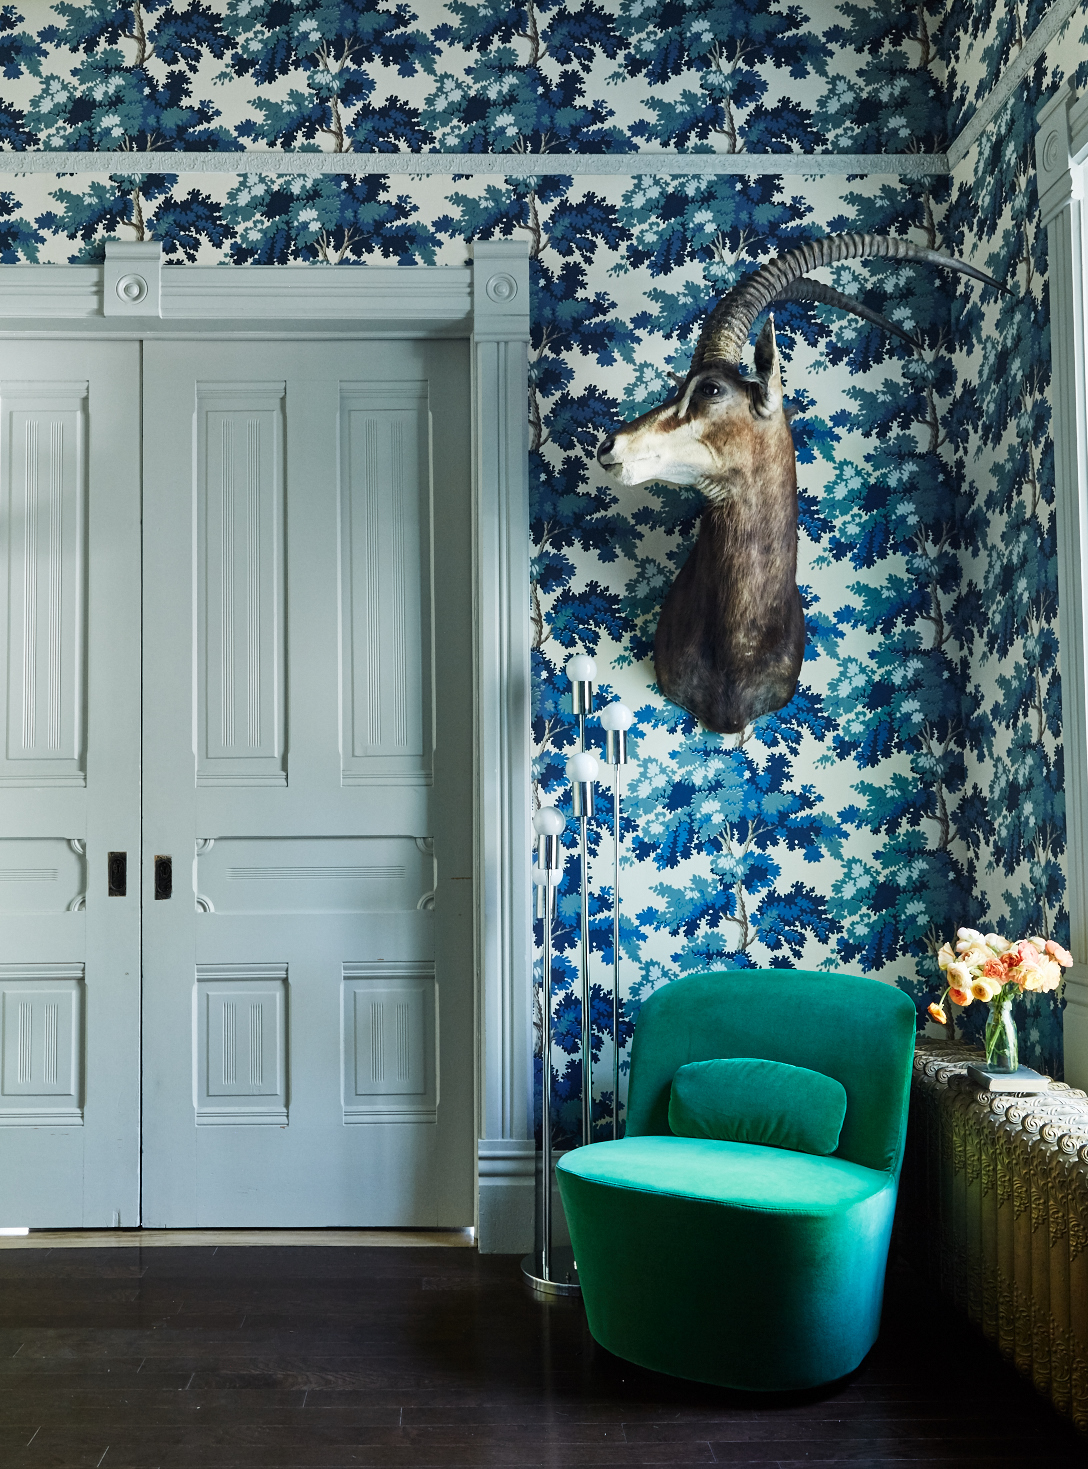
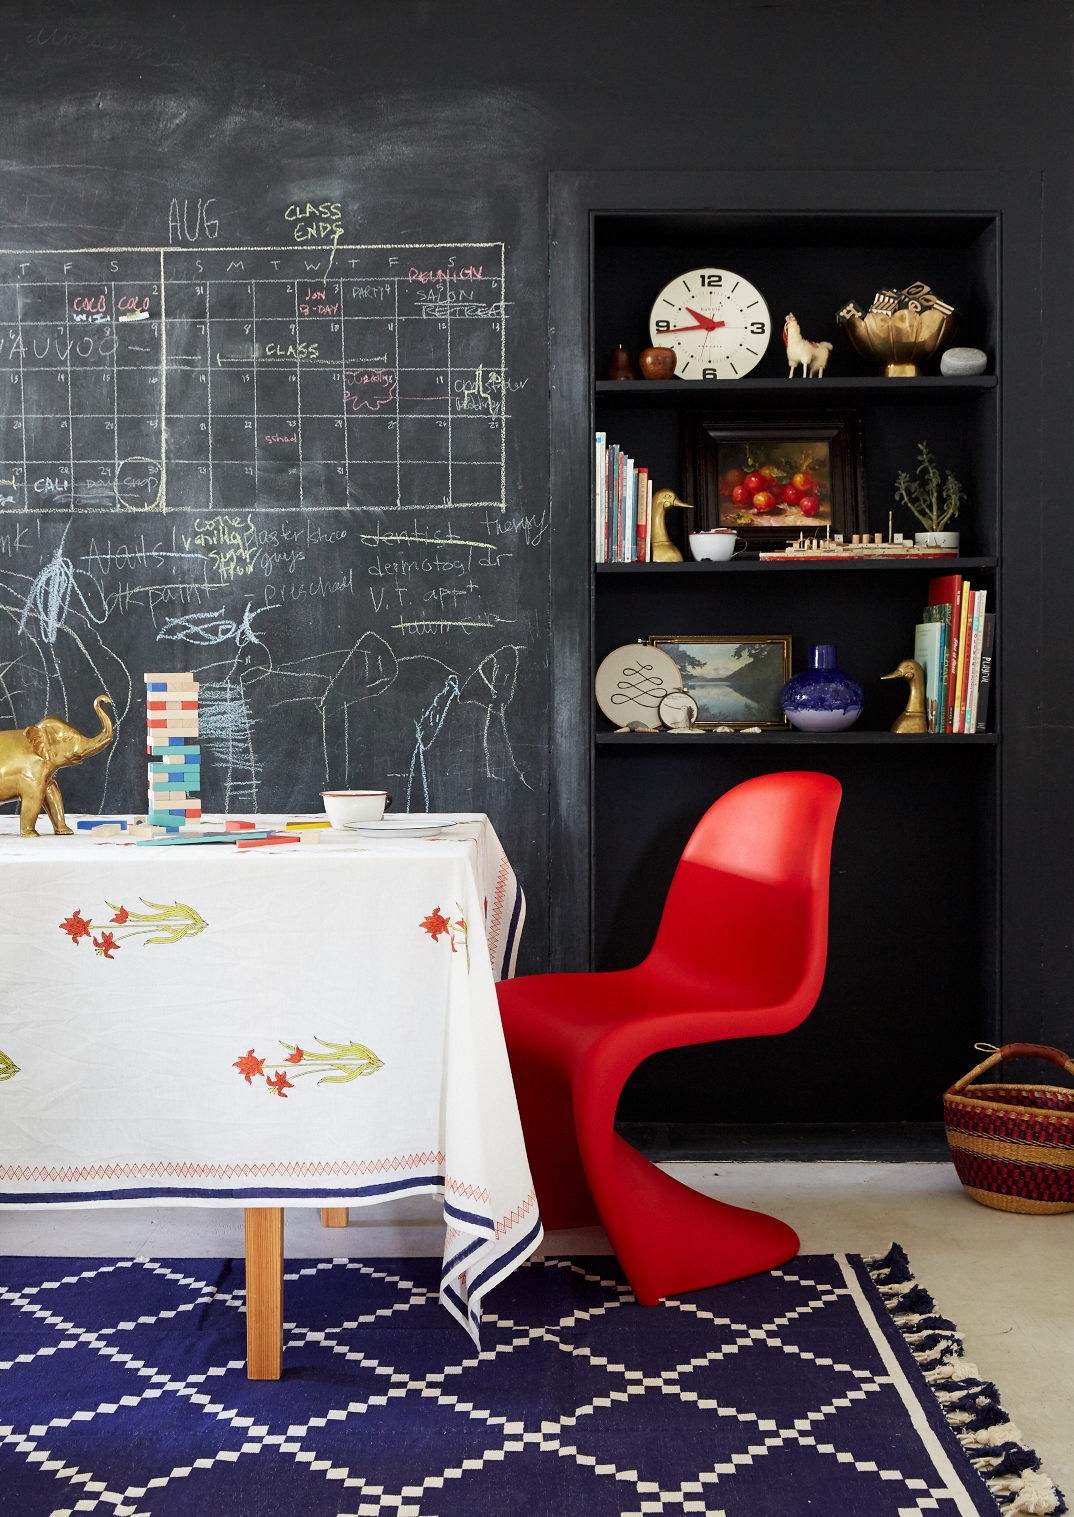
Does that whet your appetite? I have to share some of my favorite images from the book. They’re so beautiful! Old Home Love bookOld Home Love bookOld Home Love bookOld Home Love book

Photos by Chaunte Vaughn  |  Styling by Meta Coleman

4 COMMENTS

LEAVE A REPLY

Please enter your comment!
Please enter your name here

Trending Articles

DIY Beaded Chandelier

The Inspiration You've probably seen this amazing bead chandelier before, as it has made its way around the internet (others found here and here and...

DIY Palm Leaves

DIY Palm Leaves Palm leaves are an incredible material that has been used by humans for thousands of years. They come from various species of...

Recent Articles

The Bauhaus That Lars Built–our new Casetify Collection!

The Bauhaus That Lars Built--Our new Casetify collection Casetify has quickly become one of our very favorite partnerships because it's a great opportunity to share...

Casetify Phone Case: Honest Review (Updated)

This post contains affiliate links. Any time you buy something from our affiliate links, we get a small commission at no cost to you! Honest...