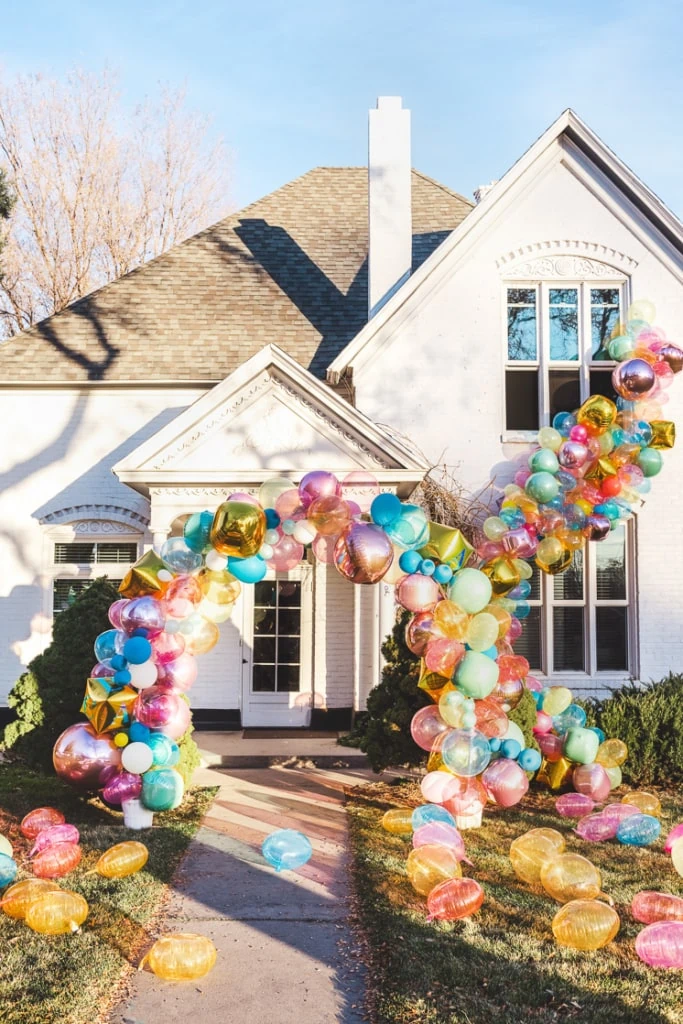
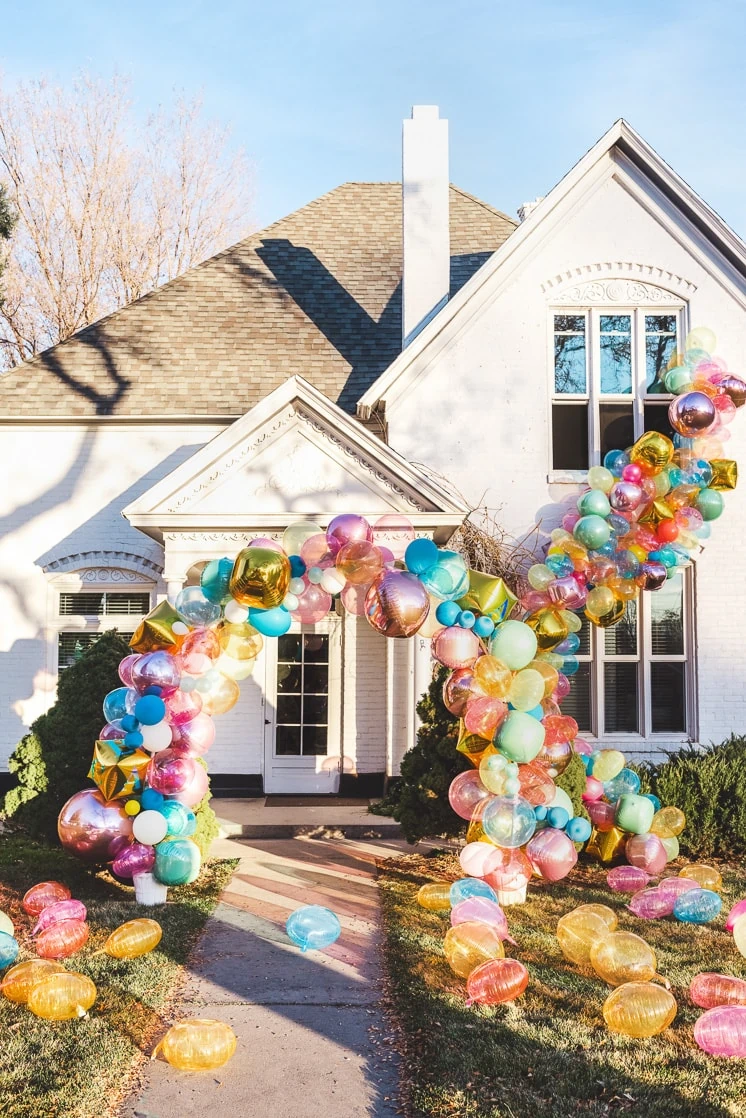
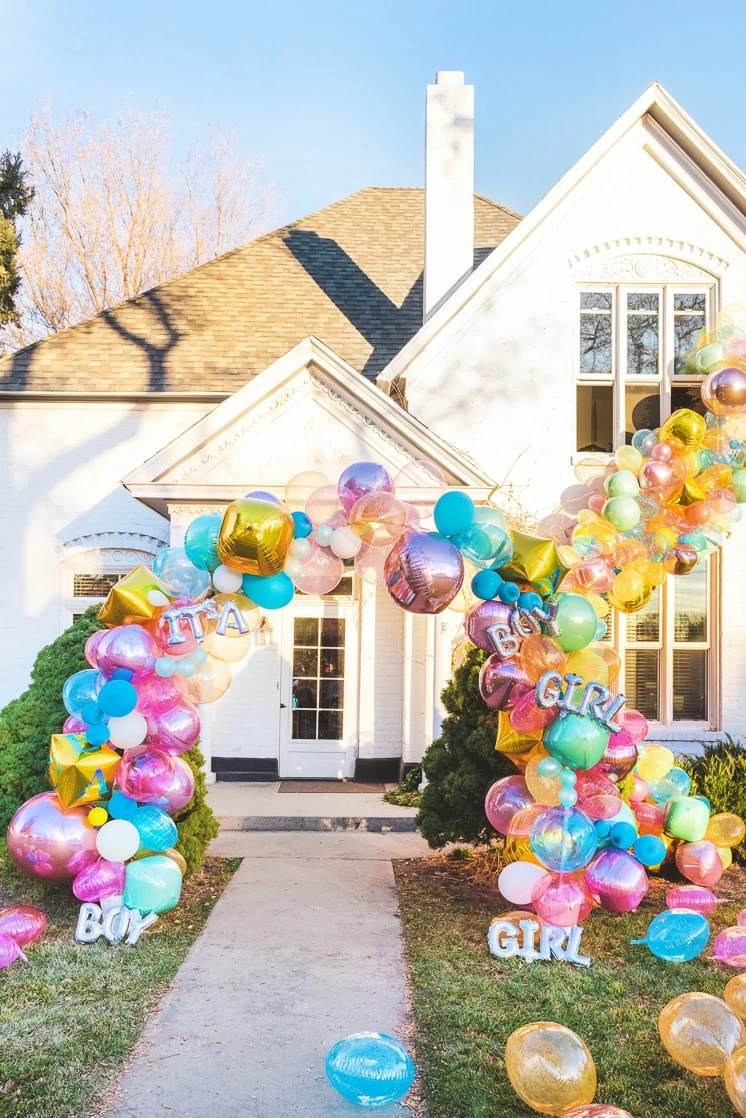
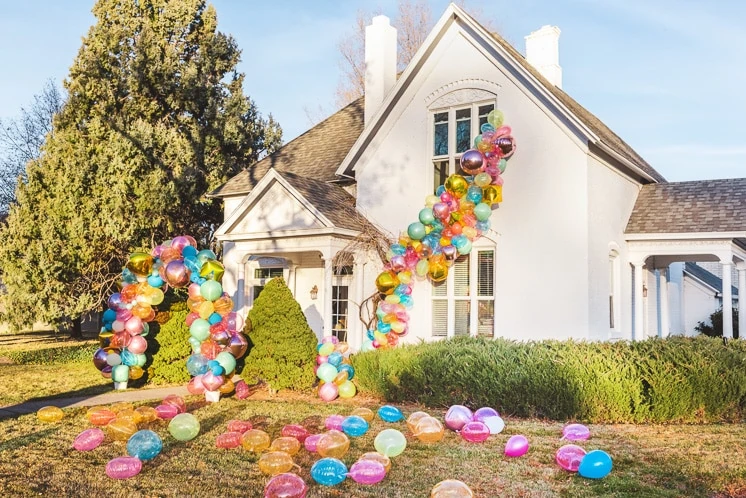
We have big things happening here, and I’m not only talking about all our product launches lately, but specifically with one of our team members, my sister, Caitlin. Caitlin is our product designer and all the pretty things you see coming from our shop is because of her. Caitlin is also expecting twins this January! And she already has a one year old! Gah! We are stoked for her (and realizing the babysitting game will be stepped up!). Multiple babies mean big celebrations and we couldn’t help but go all out for Caitlin’s baby shower. We had to create the most beautiful balloon installation your eyes have ever seen.
You might remember our first balloon arch that we did just a little over six years ago (six years! Where does the time go?!) I have been waiting for the perfect opportunity to try out a new technique and Caitlin’s twin s were the perfect excuse. I had the vision and luckily our friends at Anagram provided the Balloons and the balloon arch was in motion. This balloon arch is different from any arch we have done before for a few reasons:
1) Balloon arch tape 2)Our pre-made PVC arch from our Pumpkin Arch tutorial 3) Foil and plastic balloons.
How to make a Foil balloon arch
These 3 elements are what we call the “dream team” for balloon arches. Here’s why:
- We love the look of our chicken wire method and were searching for a new method for people who wanted something a bit faster. We brainstormed a balloon tape and then realized it was already on the market! Ha! Great minds. It’s a plastic strip with small holes for the tied off ends of the balloons to be pulled through, we had to do a little modifying with Foil balloons and use a little tape to secure the end.
- The PVC arch, we knew everyone needed these before we created this installation but now we are telling you, you need one of these! The pre-made arch is sturdy and serves so many needs and pulls apart for easy storage. Now the most important part, the foil balloons.
Foil and Plastic Balloons
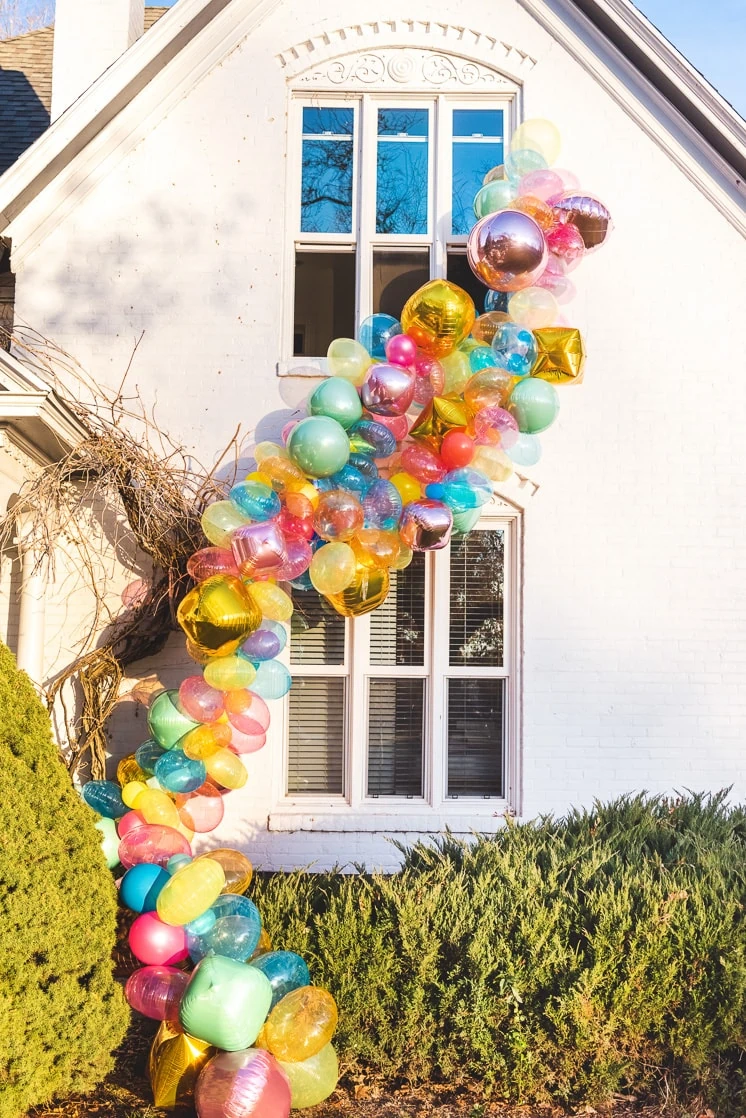
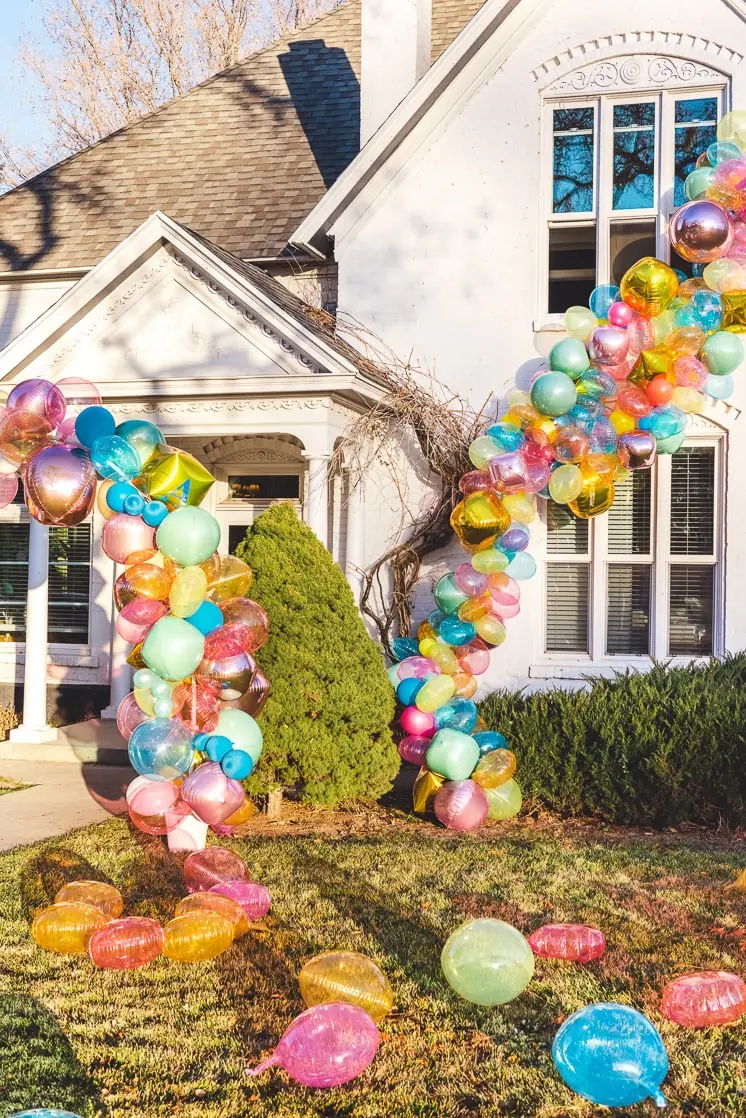
The foil balloons were a game changer on this arch. We selected an assortment of beautiful metallic and clear globes that make up the bulk of our arch (we used just a few latex for variation in size and color for a little something extra).
Here’s the most amazing part of foil balloons. They’re reusable! If you have made a balloon arch before, you know they can get a little pricey. The fact that these balloons can be taken down, stored, and used for your next masterpiece is a real game changer. Not to mention the fact that once you get the air out of them they are nice and compact. Many can go in a box, making them an easy item to store. So you could say that the Lars family are believers in Anagram’s foil balloons! They made all of our baby shower balloon arch dreams come true and we are itching to make our next balloon masterpiece!
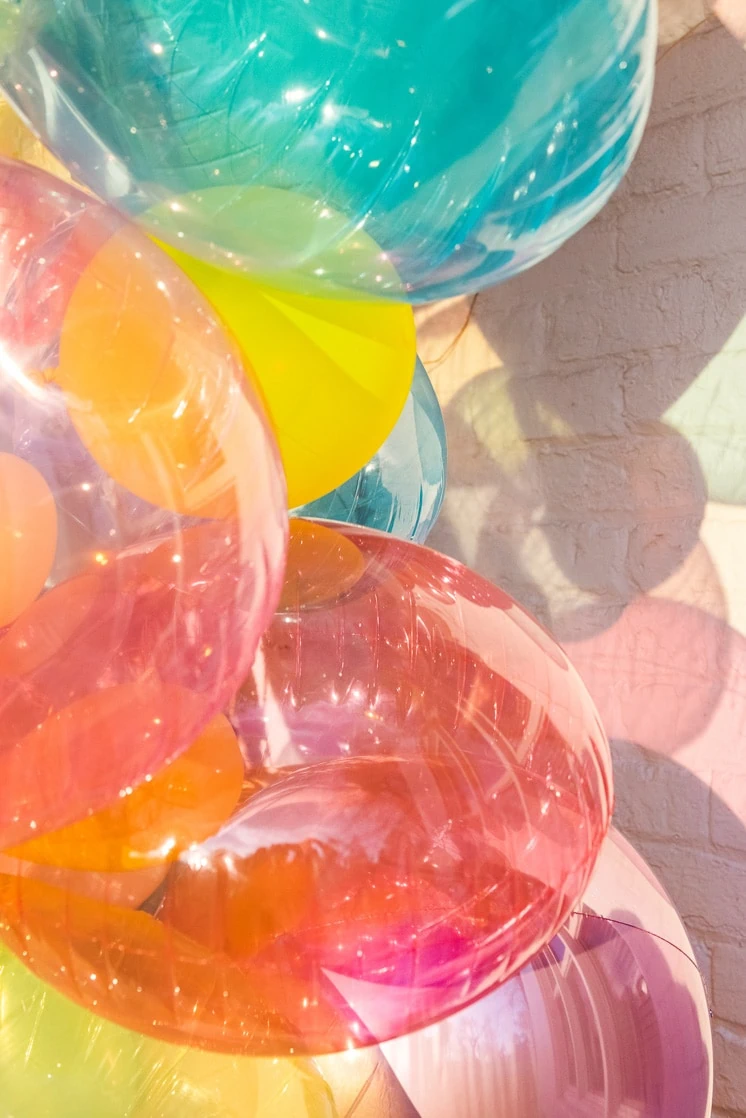
And for the first time, we tried out their clear plastic balloons, which are gorgeous! They produce a really lovely glow, almost a jewel-type sensory experience. And they produce a lovely reflection.
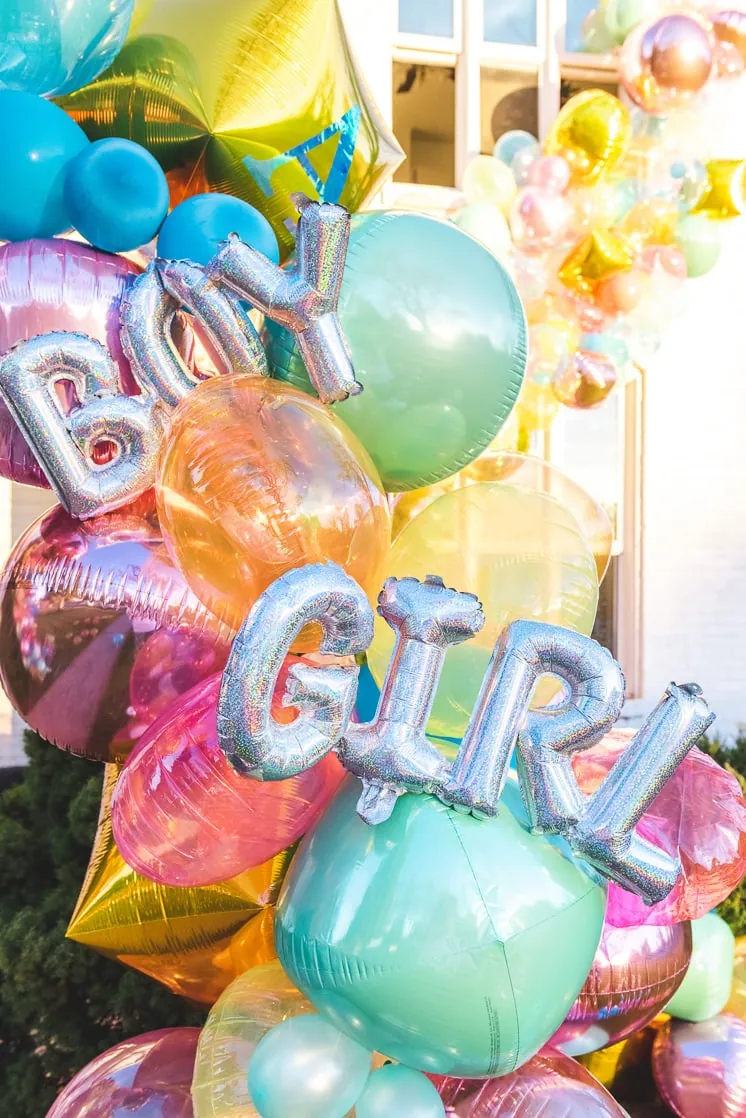
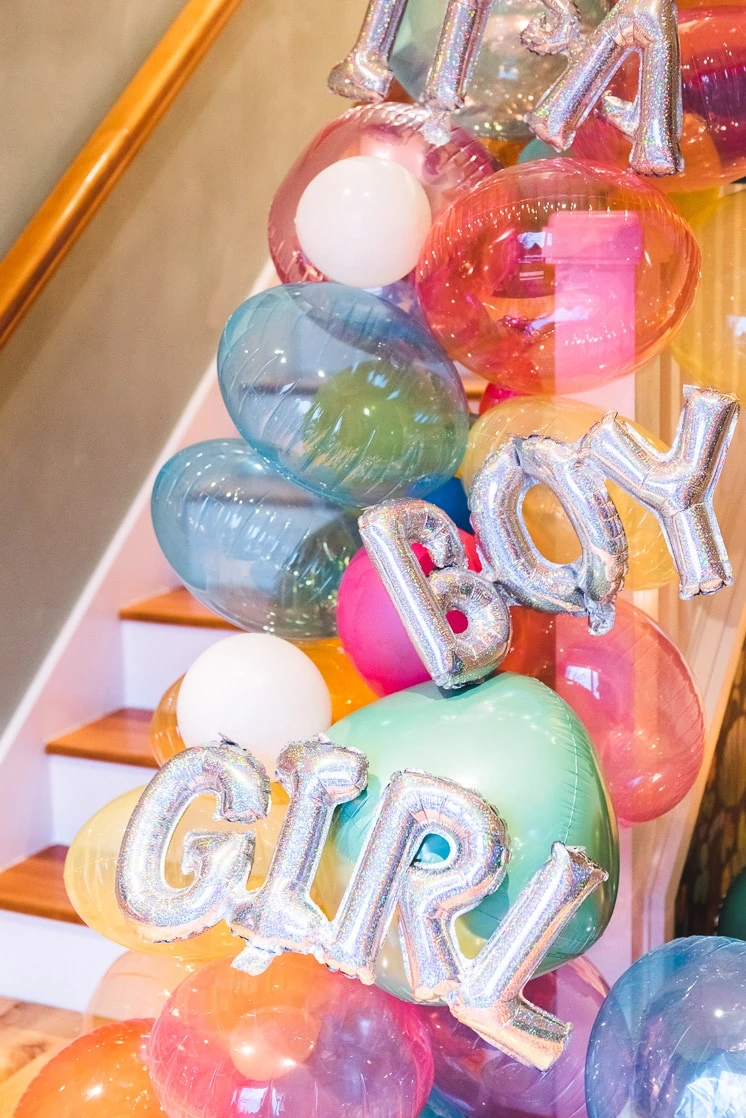
We added in some of Anagram’s text balloons that say “It’s a Boy” or “It’s a Girl”, which we had to use both because Caitlin is having both!
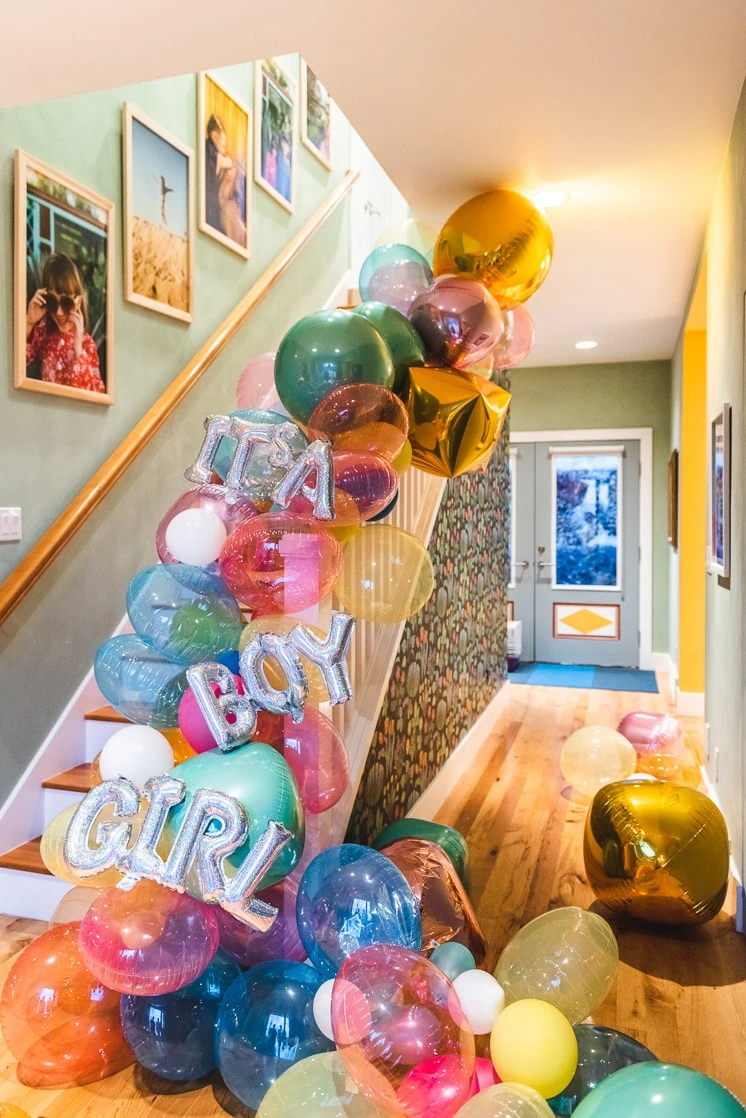
Foil Balloon Swags
We added some swags into the house for maximum impact.
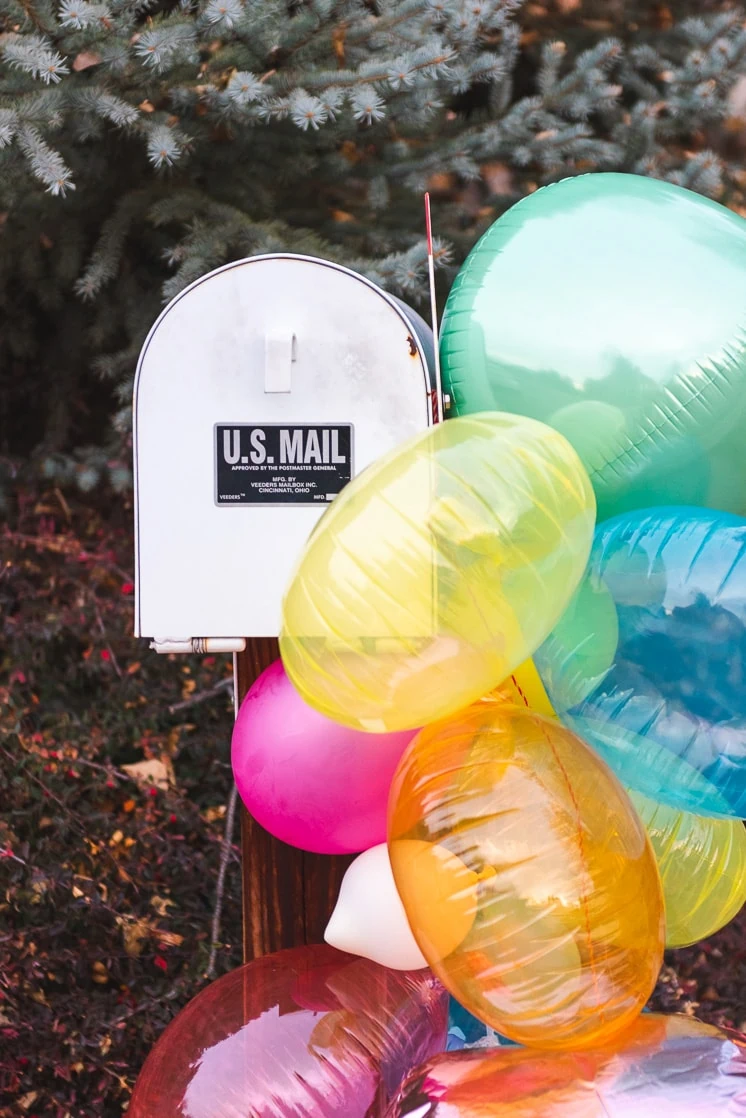
And, of course, balloons on the mailbox, for a classic “the party is here” statement.
BABY SHOWER BALLOON ARCH
- Anagram Foil balloons (we used roughly 150, in a variation of colors and sizes)
- Latex balloons (for fillers spaces and embellishment)
- Packing Tape
- Balloon Pump (this guys makes all the difference, trust us you are going to want this)
- Ballon Arch Tape
- Non-Permanent Outdoor Hooks (use to attach the balloon arch to your house)
You can find all the materials HERE.
Directions:
- Decide how long you want your balloon arch, it doesn’t have to be exact, an estimate will do just fine.
- Blow up all the balloons you think you’ll need plus some more, it always takes a bit extra.
- Start adding balloons to your balloon tape strip by pulling the end where you blow it up through. Gently fold the balloon tail over itself and tape secure. (for latex balloons you can just pull the know through and it will stay.
- Add all of your balloons to the tape in random but thoughtful order to create fullness and variation of color.
- To create a very full portion of the arch take another strip of balloon arch tape and fill it with additional balloons. Using fishing line, attach the two pieces together.
- Repeat step 6 to create even more fullness.
- Once you have your balloon arch just as you would like it, attach a non-permanent hanging device (we used 3M Command hooks) to your house and attach the tail of the balloon arch tape to the hook.
- Use additional hooks and fishing line to shape your balloon arch as you would like it by tying the line around the balloons and pulling toward the hook.
- Once you have shaped your arch it’s complete!
- Taking it down is a cinch! Gently remove the tape off the balloons and pull them out of the balloon arch tape.
- Deflate the balloons.
- Store for your next masterpiece!
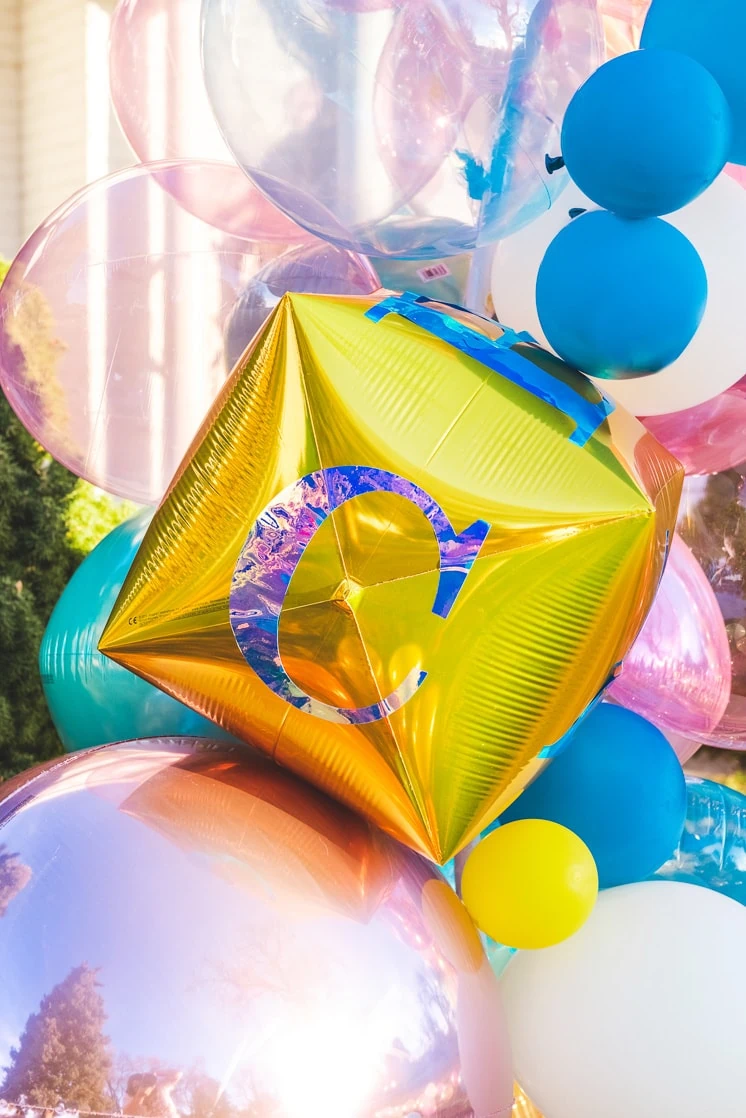
Baby Block Square Balloon
We turned some of the cube Anagram balloons into baby blocks and added them into the arch.
Materials:
- Sticky vinyl
- Craft cutting machine (we love our Cricut machine! On sale now!)
Instructions:
- Cut out a letter on your Cricut. We sized ours to 8” and cut them out.
- Stick it on the balloon.
- That’s it!
So, thanks to Anagram’s foil balloons, we created one of our favorite balloon arches yet and can’t wait to create more! Be sure to tag us with #LarsBalloonArch
This post is sponsored by Anagram. We love our sponsors who allow us to create beautiful, original content for you.


