Fall seems to arrive overnight while everyone is dreaming of their last summer day on the lake. Every year I think I’ll be ready, but the chill and the winds come so quickly. Ah well, the colder weather just means we’re that much closer to Halloween!
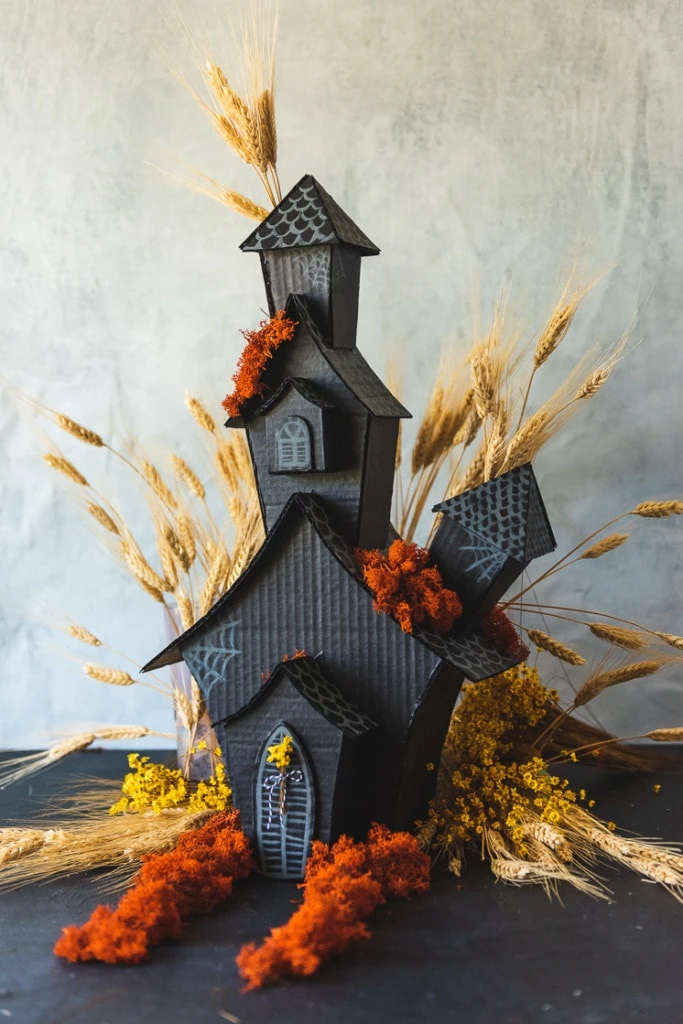
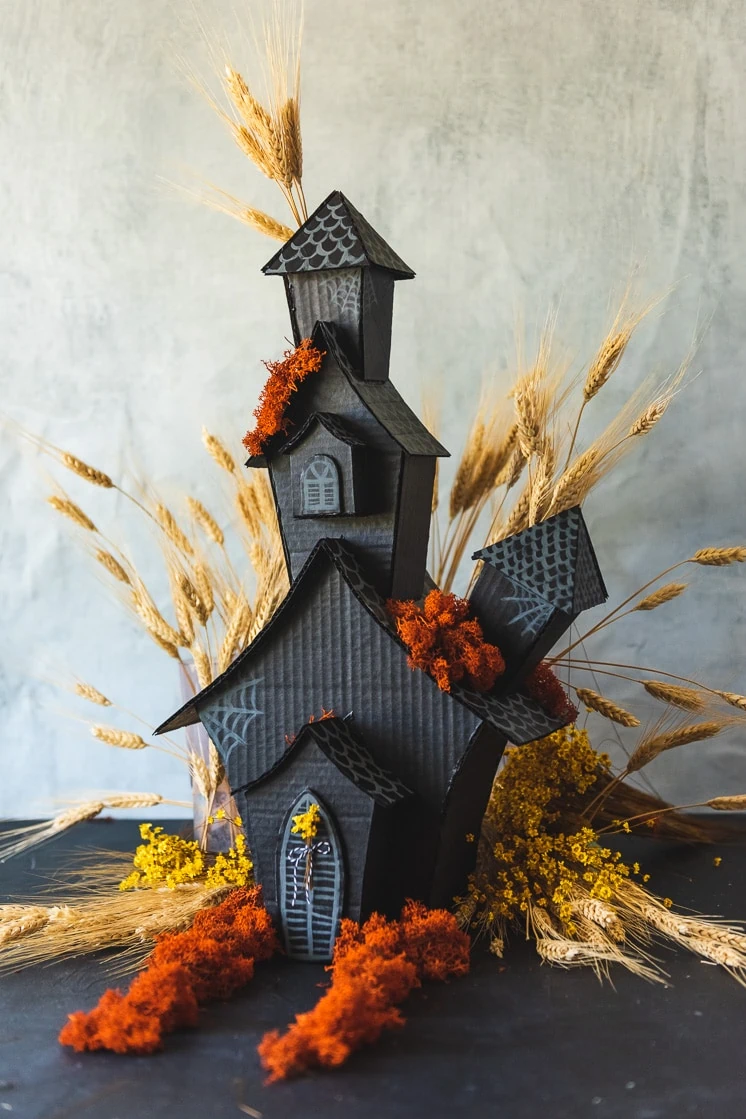
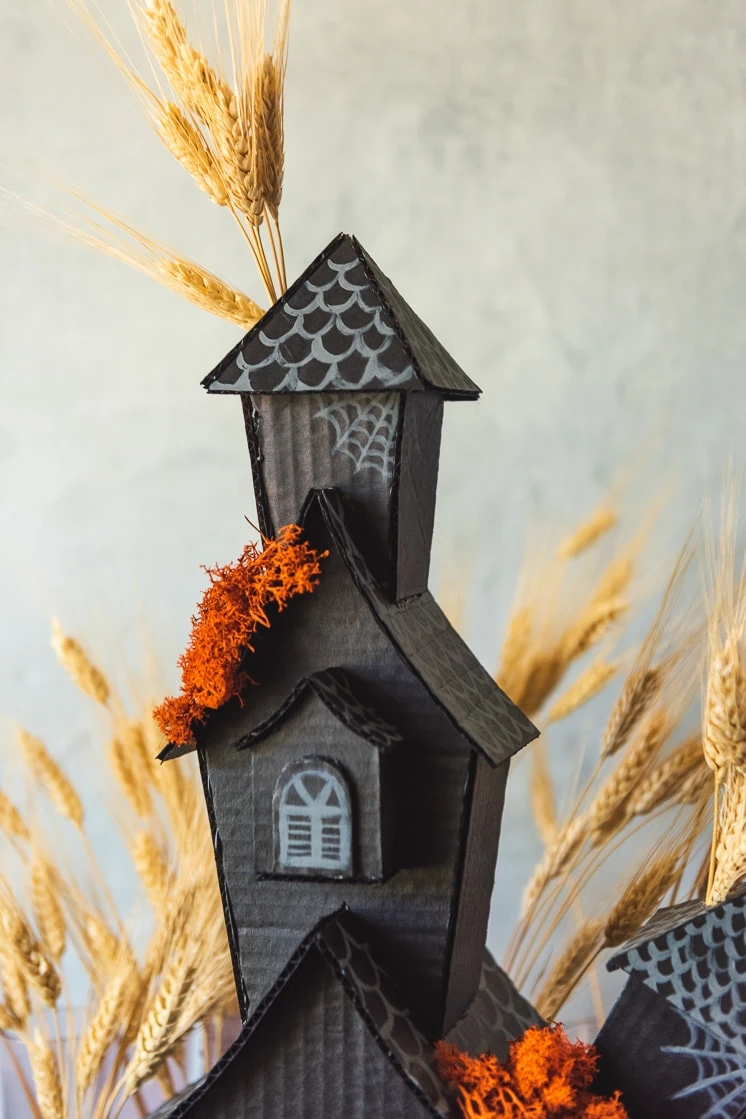
Today we’re bringing you a fun sustainable craft — a Cardboard Haunted House made from items sitting around your house. Especially after Prime Day, you probably have more cardboard boxes than ever sitting around. Put them to a crafty use! So gather your supplies and let’s get started.
Materials:
This year, the holidays look a little different, but in my opinion, that gives us even more excuses to be creative! This spooky holiday decor made out of recycled items can even be re-used next year.
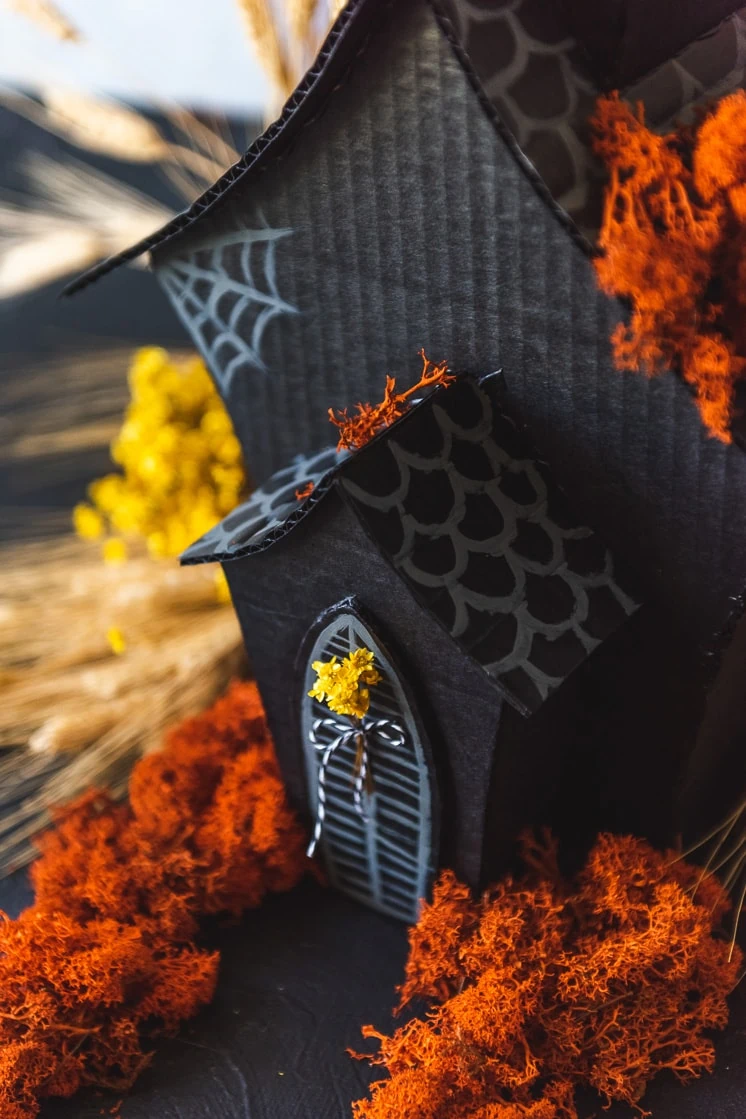
This cardboard haunted house was inspired by our DIY Gingerbread Houses from a few years ago, but you can choose to yours them big or small. Set them on your porch or mantle on All Hallow’s Eve, where they can cast a spooky glow. And—a big plus—they are a super sneaky hiding place for the candy you told your kids went missing. Your secret is safe with us!
You probably already have most of the supplies in your recycle bin or overflowing craft closet (don’t worry…we all have one.)
How to make your cardboard haunted house
Materials:
- Template
- Cardboard
- TapeBox cutter or crafting knife
- Pencil
- Hot glue gun
- Black and gray paint
- Paint brush
Instructions:
1. Start by cutting out the pieces from the template. The large pieces called “Base front”
and “Base back” are each split onto two pieces of paper. You’ll need to cut them both
out and then tape them together, so you have one “Base front” and one “Base back”.
2. Place the template pieces flat on the cardboard and trace them with a pencil (you might
want to label each piece before you cut them out).
3. Cut out all the tracings with a box cutter or a crafting knife.
4. All the structures are labeled, so start with #1 and glue together the front, two sides,
and back piece. (See labeled diagram at the end of these instructions)
5. For structure #2, start by gluing the door to the “front door structure”, then glue the
two sides to the “front door structure”. Once that dries, glue the sides to the center of
structure #1.
6. Now you’re going to put the roofs on both structure #1 & #2. To bend each roof piece,
place the cardboard against the edge of a table and gently press down with your hand
to get a curve. Move the piece up and down on the table edge until the whole piece has
a slight curve. Then glue the roof pieces onto the top of structures #1 & #2.
7. Next take the pieces for structure #3, and glue together the front, sides, and back. Place
this structure on the roof of #1, make sure it fits, and then glue #3 to the roof of #1.
8. Now for structure #4, glue the window piece to the front piece. Then glue the sides and
bottom to the front piece. After that dries, glue #4 to the center of structure #3.
9. For the roof pieces of #3 & #4, repeat the same process as Step 6 to get the curved effect. Then glue the roof pieces onto the two structures.
10. For structure #5, take 4 of the rectangle “side” pieces and glue them together with all
the shortest edges at the bottom (these pieces are all labeled (top) on the upper edge,
make sure that is facing up and not upside down). Then glue #5 on the right side of the
roof on structure #1.
11. Now for structure #6, take the two pieces called “#6 front” and “#6 back” and the last
two side pieces and glue them together. It should look similar to structure #5, but the cuts will allow it to fit on top of structure #3.
12. Glue structure #6 onto the roof of the #3.
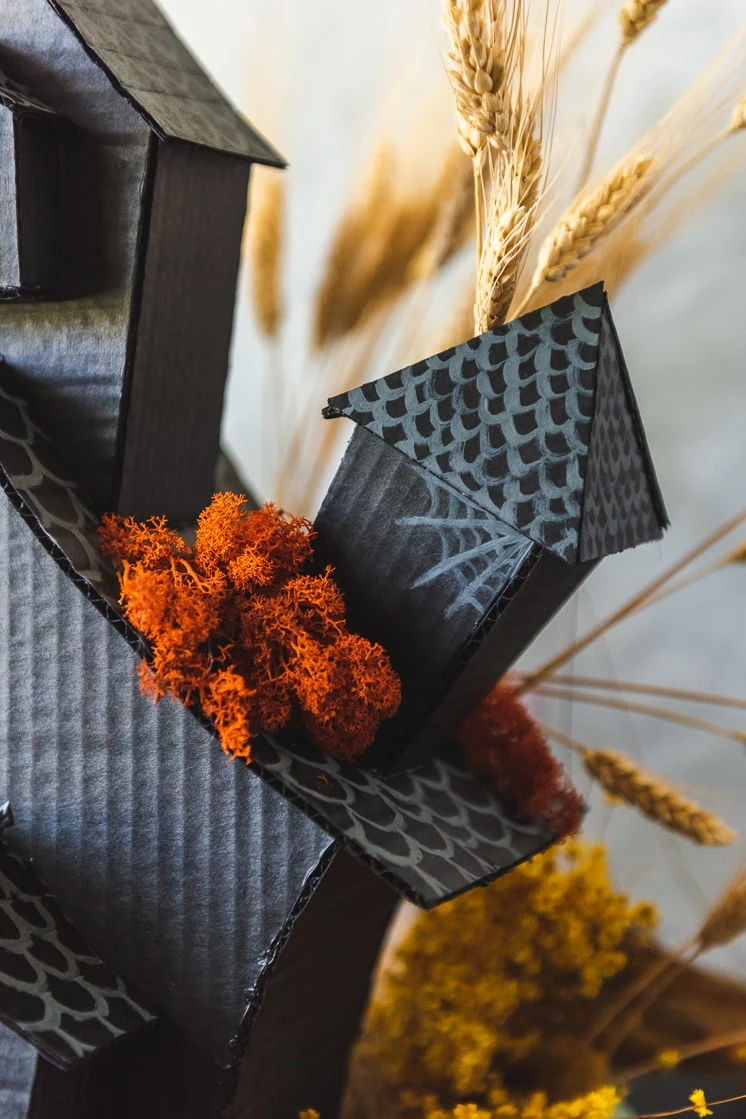
13. For the roofs of #5 #6, take 4 of the triangle roof pieces and glue all the sides together
so it looks like a pyramid. Put glue on the top of structure #5 and then place the roof
down onto the glue (the edges of the roof will overlap the top edges of structure #5.
14. Repeat Step 13 for structure #6.
15. After your house is completely dry, cover the entire house in black paint.
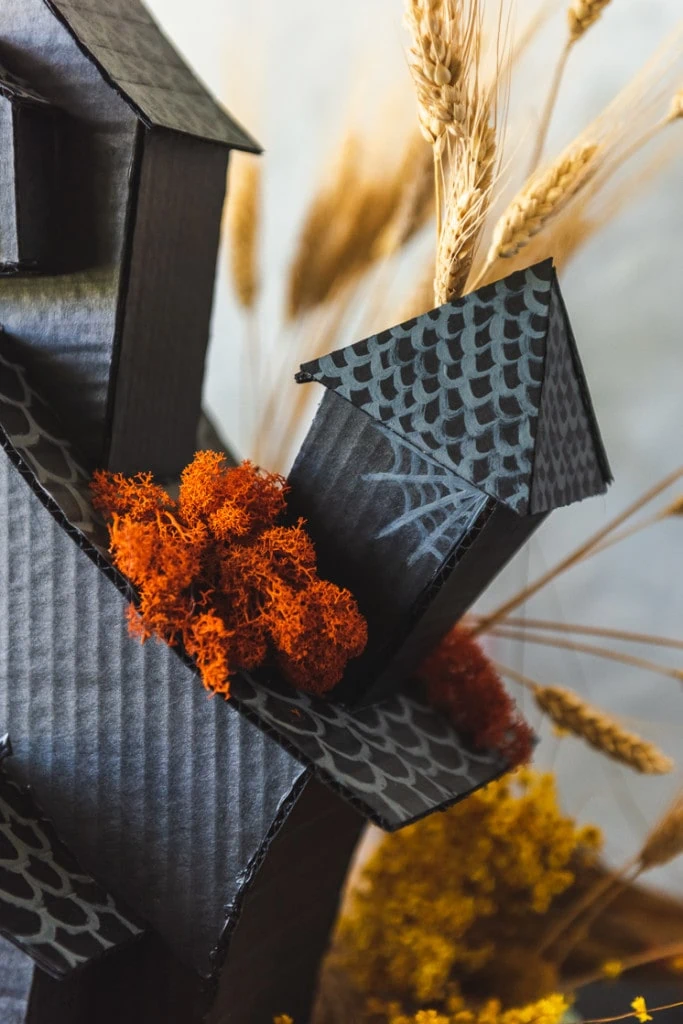
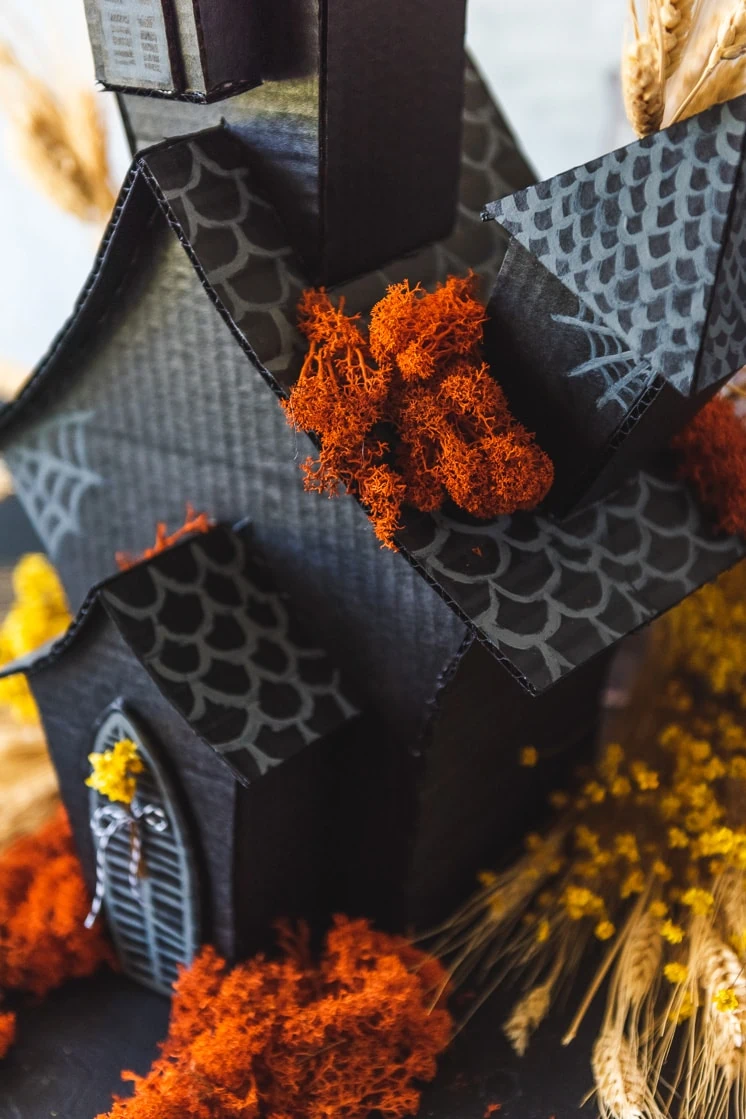
16. Then take the gray paint and a smaller paint brush (if you have one) and draw details on the window, door, roofs, and wherever else you want. You can add cobwebs to the
corners.
17. Have fun! Your recycled holiday decor is now complete.
After you’ve made your haunted cardboard house, style it on your mantle, porch, or entryway table. If you want to cut some windows, try placing electric tea lights inside, which will cast eerie shadows on the wall (don’t use regular candles inside the cardboard, though.) If you’re setting up your recycled holiday decor for a Halloween Party, you could even use the houses as party favors! Fill them with candy and send your trick-or-treaters on their way.
If you liked this project, you might also like:
DIY Rainbow Pumpkins
How to Decorate Pumpkins with Succulents
Pumpkin Leaf Favors


Comments