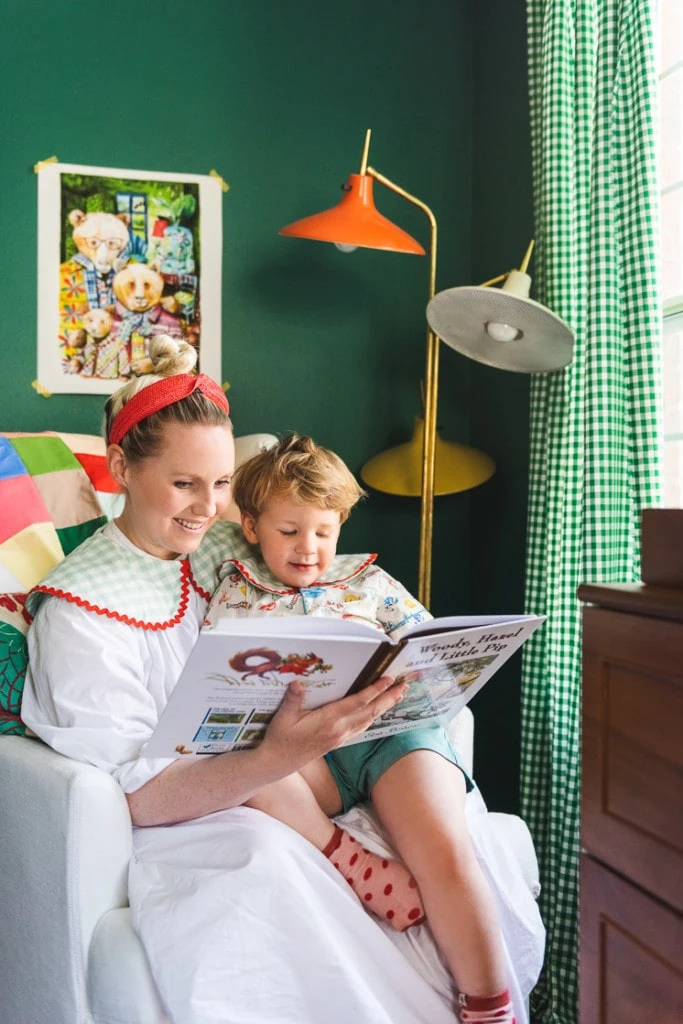
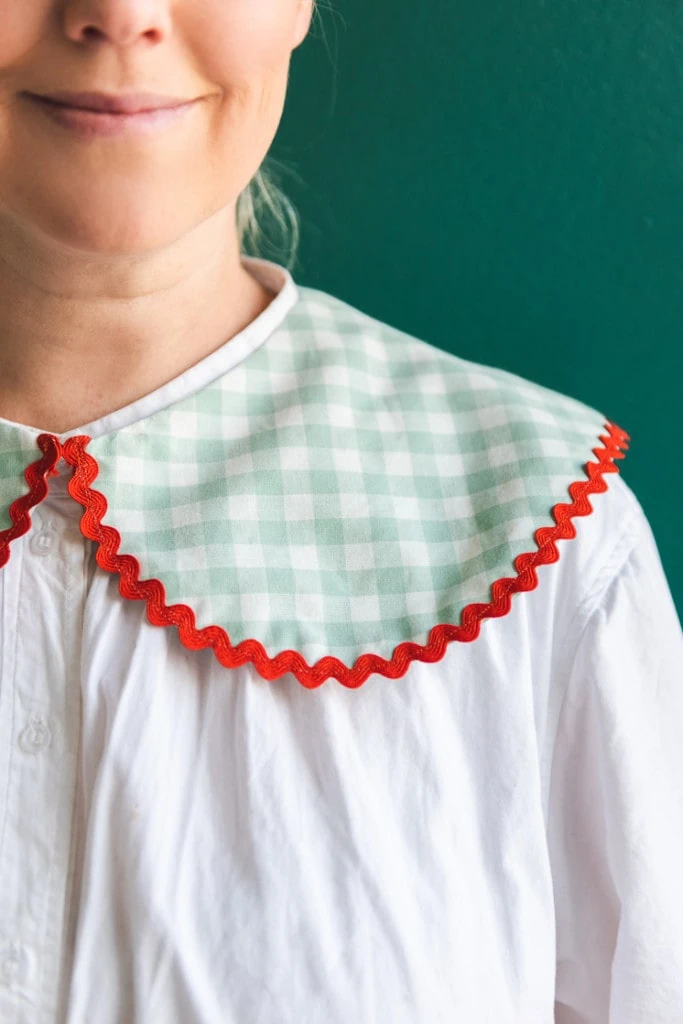
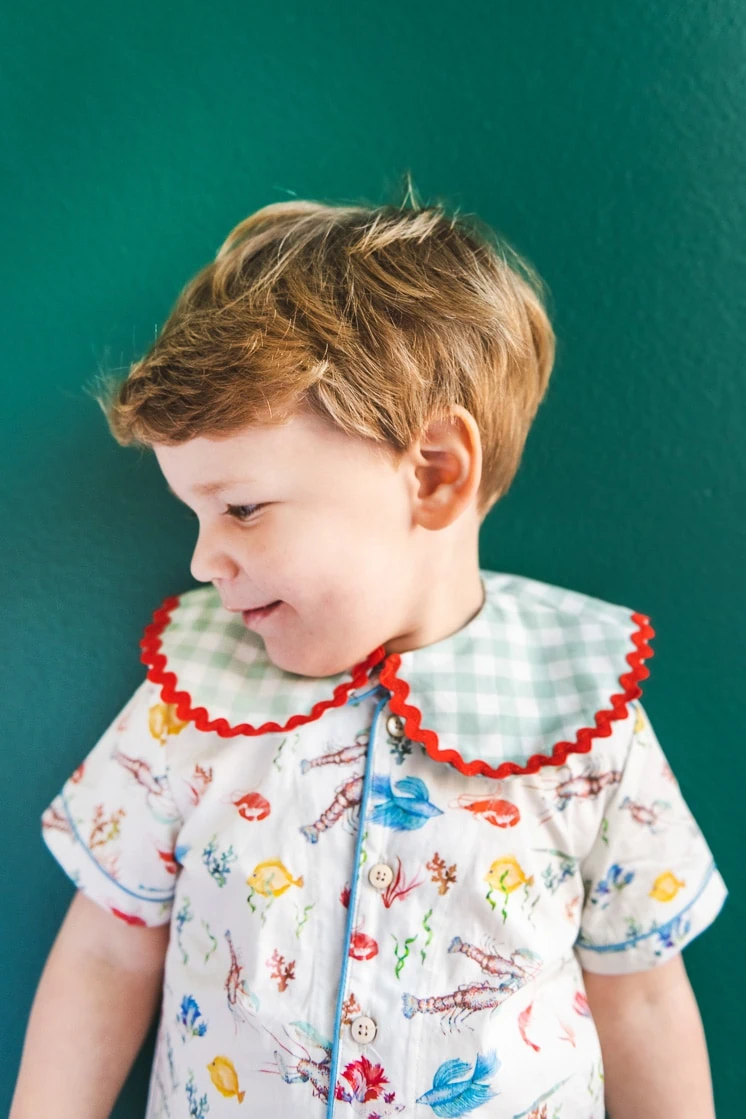
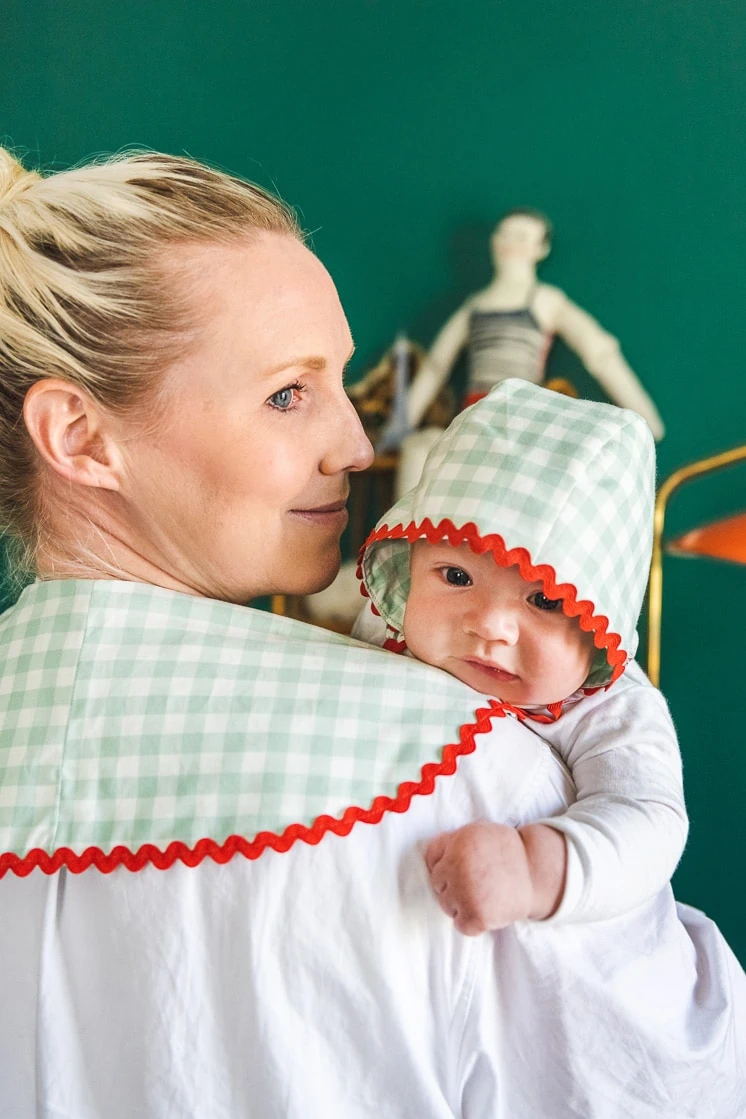
When we posted our baby bonnet pattern back in early March, we knew we had to extend the line and include matching accessories for the whole family. This time we created a rickrack collar for anyone to wear and in my case, mommy and me. The project uses the same materials as the baby bonnet so you can use the same materials to make something for everyone!
Materials:

I LOVE a collar on kids too, though admittedly, I think I’d probably put it on a girl if I had one more than my boys. But, who cares?! They’re so fun! Almost like a necklace.
Rickrack is the braided trimming in a zigzag pattern often used as decoration on clothes. In the past, we used them to embellish blouses, and most recently, we used them in our baby bonnet pattern. We love the trimming so much, we wanted to use it in creating other matching accessories for the whole family. Starting with mom and child, make a rickrack collar that you can attach and detach to any outfit. Because rickrack has such a nostalgic appeal, they will maintain its classic look and feel for years to come. Read on to find out how to make one for yourself using our rickrack collar pattern.
Materials:
Kid and Adult matching collar pattern, 1 yard cotton fabric (we used this gingham by Robert Kaufman), medium rick rack, matching thread, hooks and eyes, scissors, hand sewing needle, sewing pins, iron, sewing machine. A sewing machine isn’t strictly necessary, but it sure speeds things up!
Instructions:
- Download, print, and cut out the matching collar pattern. If you’re making a collar for a kid, hold up the patterns to one of their shirts to decide which size will fit best.
- Cut out your fabric. Make sure that you cut the collar back pieces on the fold!
- Pin the collar front pieces to the collar back along the shoulder seam. If your fabric is printed, the right sides should be together.
- Sew along the shoulder seams.
- Press the seams open.
- Repeat steps 3-6 with the other collar back and front pieces so that you have two identical pieces.
- With the right sides together, pin the two pieces together.
- Sew around the perimeter of the collar, but leave a gap about three inches long where you don’t stitch at the bottom of the collar back.
- Through the unsewn gap, turn the whole thing right side out. Press all the seams so that they’re nice and tidy. Make sure that you press the corners where the collar meets in the front so that you see the point. It can help to push the corner out with a pencil or a skewer.
- Starting at the top corners (where the collar will meet just below the neck), pin your rick rack to the edge of the collar.
- Topstitch all along the edge of the collar, securing the rick rack down. This will also close up the gap you used to flip the collar right side out.
- You’re almost done! To finish your collar, hand sew the hook and eye on at the top corners.
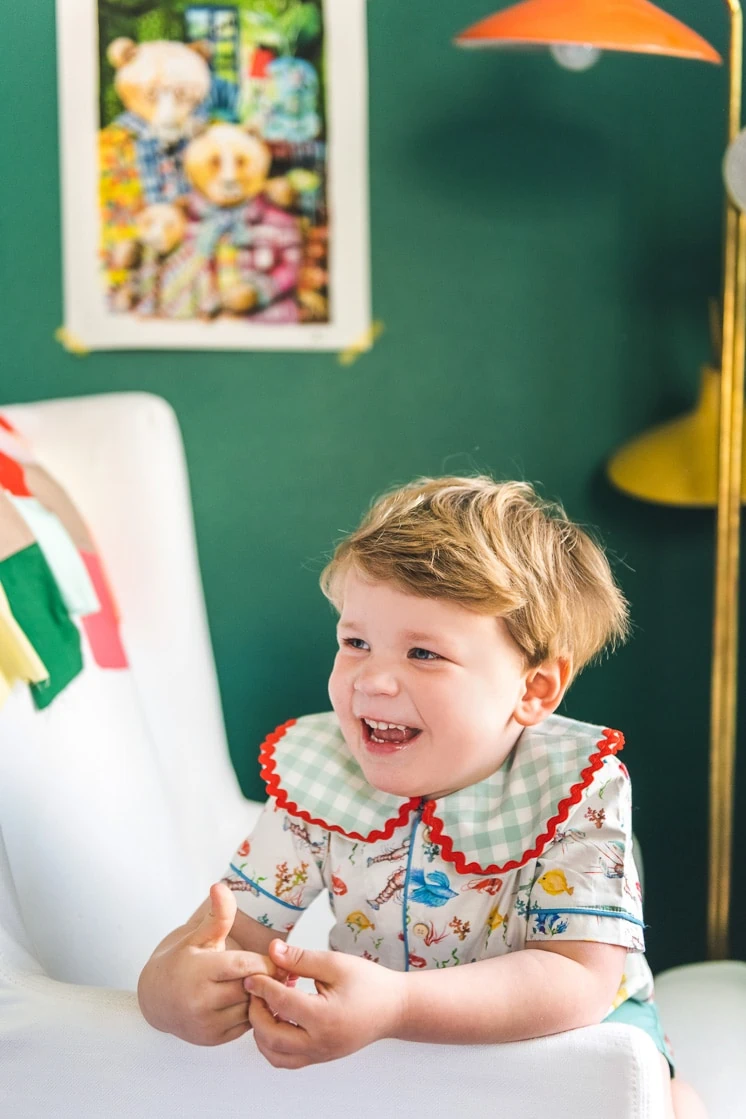
If you make this collar we would love to see it! Use #LittleLars to show us. Bonus points if you make two and match with your little one!


