Don’t hate me for this, but I’ve always loved going back to school. The promise of cooler days, the excitement of choosing classes and comparing schedules with friends, the potential for new friends and skills–I love it all.
Even though my own school days are long gone and my kids are too young to go to school, I can’t resist school supplies. When I see an aisle of fresh notebooks and binders at the store I get a glint in my eye and I can’t resist at least browsing. There’s just something about a crisp notebook that hasn’t yet encountered a chaotic, tossed-together backpack on the way to the bus stop or a sad, neglected apple at the back of a locker that makes me happy. Am I indicting my messy schoolchild habits too much?
Materials:
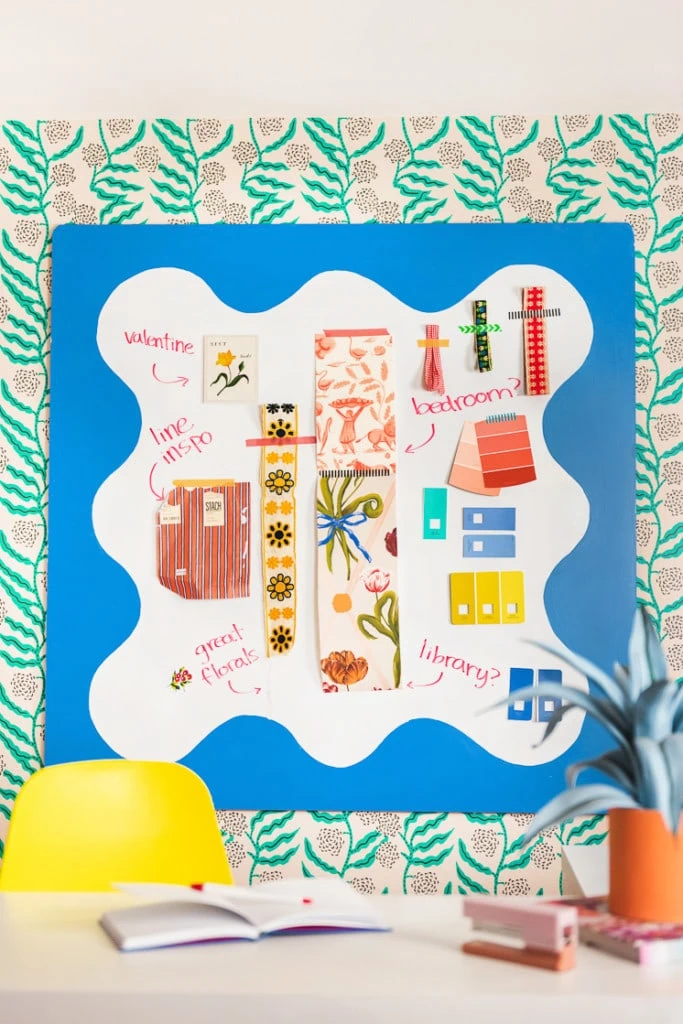
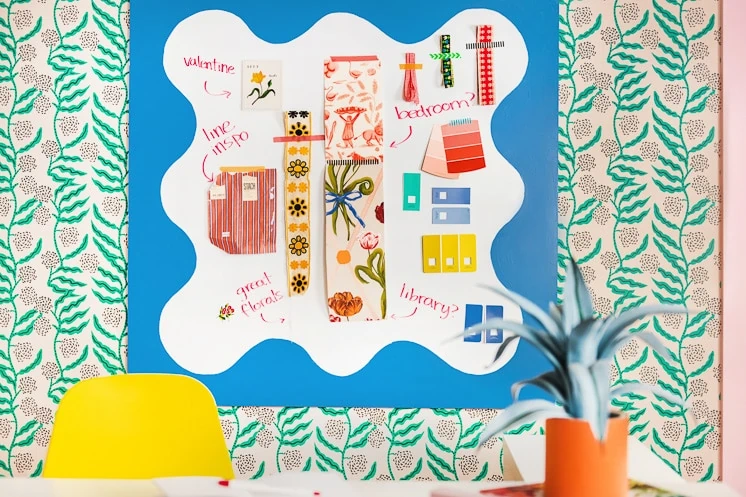
Because my love of pretty school supplies runs deep, making a DIY Whiteboard felt like a natural step. This would be a great teacher project (can you imagine how cute in your classroom??) or it would also look great in your home office, study space, or bedroom. If you’re a homeschool family, making this whiteboard would be a great project because it integrates math and design. Then you get a great, useful whiteboard in the end! Win win!
Make Your Own DIY Whiteboard
Materials
You’ll need a whiteboard, a ruler, a dry-erase marker, acrylic craft paint, and a paintbrush.
Instructions
You can make this DIY whiteboard with whatever size of square whiteboard that you have. It will take a little bit of math, but hey! It’s back to school time! You can handle it!
(If your whiteboard is *almost* a square, just proceed as written below and fudge the numbers a bit. You’ll make the squiggle with dry erase marker, so it will be easy to modify. Good news: no one’s grading this!)
- Measure the sides of your whiteboard. Divide the length of your whiteboard by six. We’ll call this new number “x” in honor of all the algebra classes we sat through.
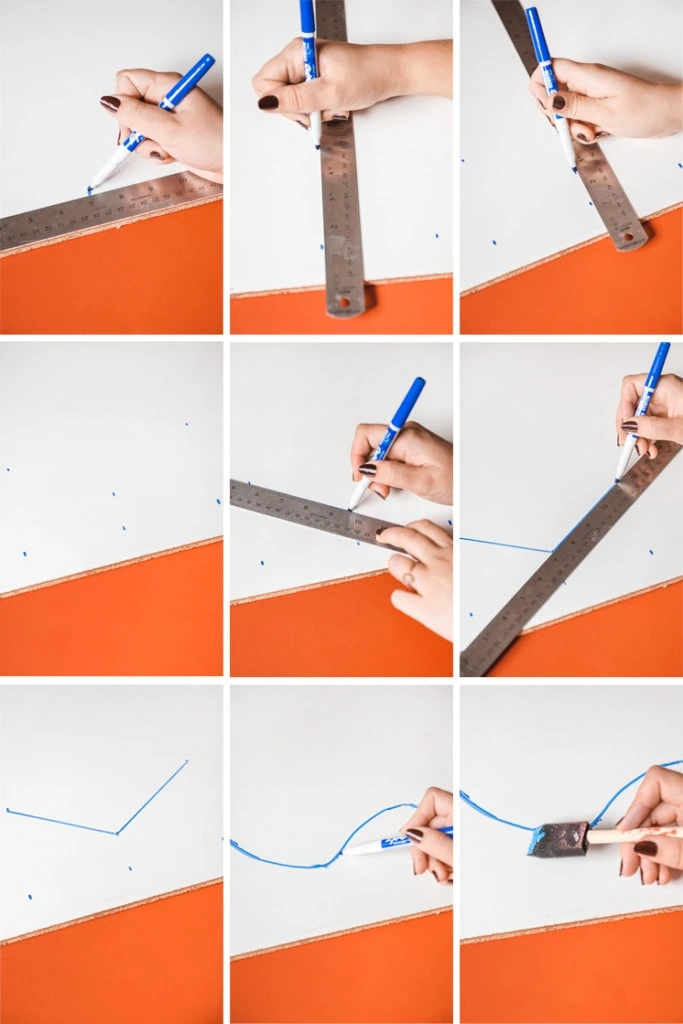
- With a dry erase marker, make a mark around the board’s perimeter every “x” inches, starting in a corner and going all the way around.
- Starting at the first mark you made (x inches from the corner), mark a point half the length of x perpendicular to the edge of the whiteboard towards the center of the board and mark. Wait, what? Too much math? Let me break it down. If x is 7 inches, then you’ll mark a point 7 inches away from the corner of the whiteboard and 3.5 inches in toward the center. You’ve got this.
- Go to the next mark you made on the whiteboard’s perimeter. From here, mark another point x inches in toward the center of the board. In our example, this point would be 14 inches away from corner and 7 inches toward the center.
- Go all the way around the whiteboard marking points. Alternate them half of x inches (3.5 in our example) and x inches (7 in our example) all the way around.
- The hard part is over! Look at you, you mathematician! Connect all the new alternating marks by making a zig zag all the way around the board. At this point you’re still using the dry erase marker.
- Round the zig zag out and erase any previous markings. Now you have a nice even squiggle around your whole whiteboard.
- With acrylic paint, paint the outline of your squiggle design.
- Fill in the squiggle design with more paint.
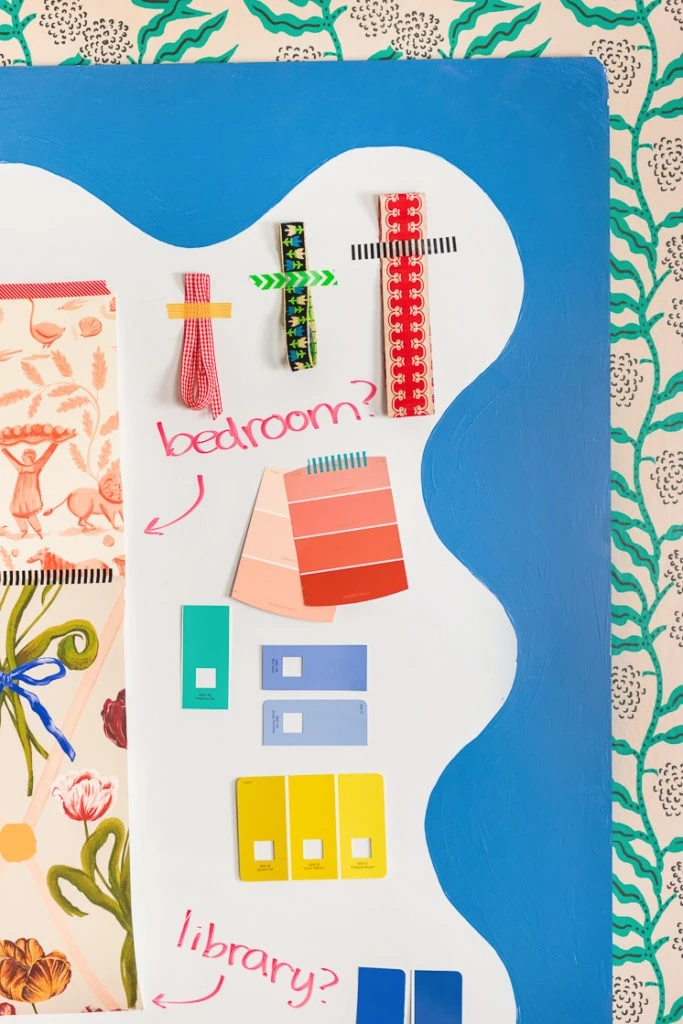
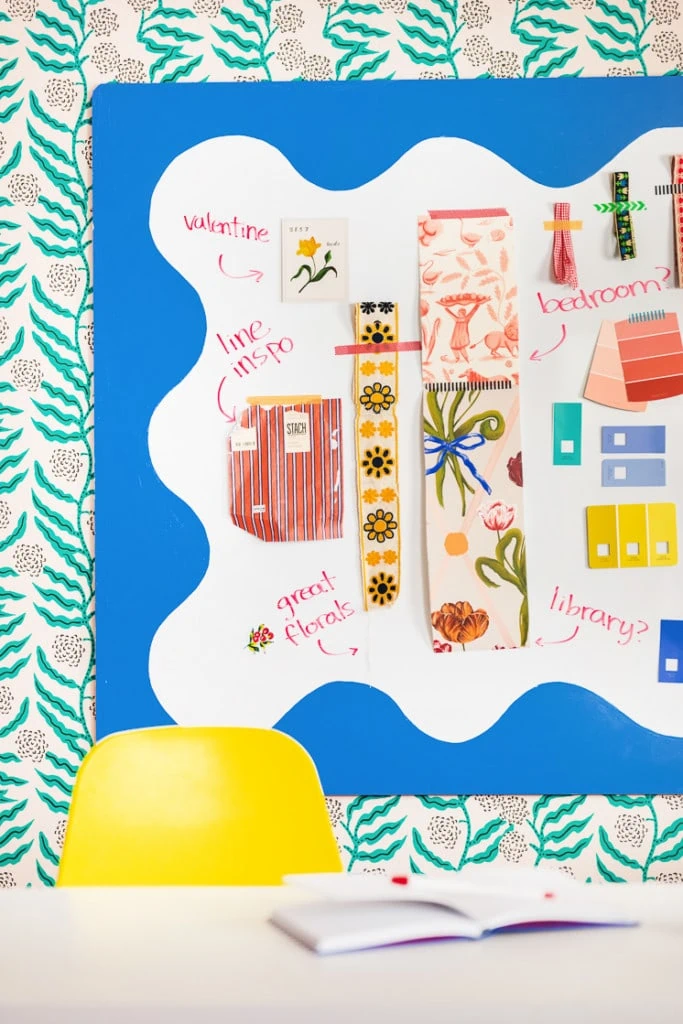
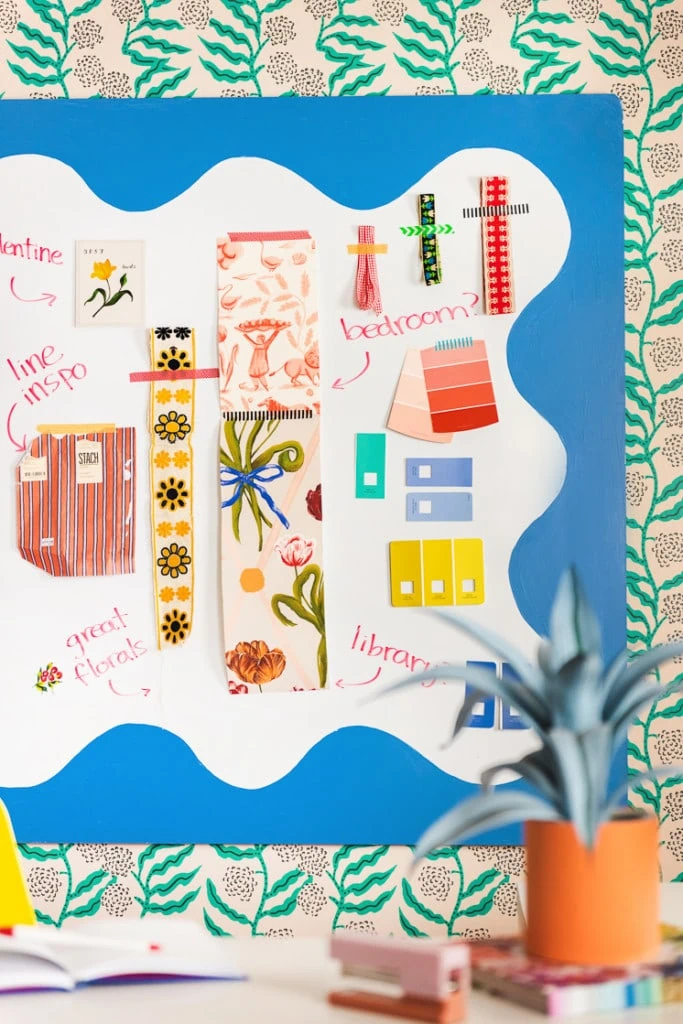
- If you need to, do a second coat of paint on your whiteboard. Tadaa! You’re all done and ready for a fantastic school year!
Troubleshooting a Rectangle
If you have a rectangular whiteboard that’s very much longer than it is wide or vice versa, you can still make this DIY whiteboard but you’ll need to do a bit more math (and maybe some troubleshooting). Here’s my advice:
- Measure the short side of your whiteboard and divide that number by 6 to get x.
- Now measure the long side of your whiteboard and divide that number by x. If it’s close to a whole number, just go with that x value and proceed as above. Your long side will have more squiggles than your short side and it will look great.
- If you divide the long side of your whiteboard by x and it’s not close to a whole number, then find another number that divides neatly into your board’s length and width measurements. Just make sure that it goes into those numbers an even number of times, or else your squiggles won’t work.
Wow, have you had enough math for today? I think it’s time for a snack, then recess or reading time. Happy crafting!
More Back to School Inspiration
I made these paper lunch sacks with apples painted on them and I think they’re such a cute way to reimagine the classic apple motif. I also put together some creative quarantine homeschool activities for kids, so wherever the pandemic takes us you can be ready.
And don’t forget The School that Lars Built! We have art and art history classes for kids, a flower drawing course for people of all ages, and more coming soon. Keep your eyes peeled!


Comments