Growing up, one of my favorite Valentine’s Day activities was designing and decorating valentine boxes. Those boxes were such treasures for me! Usually they were made out of cardboard, with various embellishments cut out of magazines and colored paper. Unfortunately, because of the materials, they didn’t hold up very well. Eventually they got buried and crushed under an assortment of odds and ends in storage.
I’m guessing my story may sound familiar to many of you. Valentine boxes are full of personality and character, so it’s sad that they’re only used for one day! After that, most of the time they go into storage or the trash. Today, we have the perfect solution: meet our DIY painted valentine box!
Materials:
From Valentines to Tissues
We’re obsessed with this tissue box hack to make a sweet and durable valentine box! From valentines to tissues, this DIY painted valentine box basically does it all. Made with an unfinished wooden tissue box as a base, this valentine box is more sturdy than its average cardboard counterparts, not to mention more versatile. Use it for Valentine’s Day, then save it as a keepsake box for other special items throughout the year. And okay, let’s cut to the chase. Maybe you should just use it for its intended purpose: a tissue box?! It’s the perfect solution if you want to keep your lovely valentine box around a bit longer.
We also love that this is a great DIY craft to do with your kids in prep for their school Valentine’s Day celebrations. The designs are simple enough that your older kids should be able to tackle them just fine, and you can let you little ones go to town painting however they’d like! It’s a fun family activity for adults and kids alike.
Our DIY Painted Valentine Box
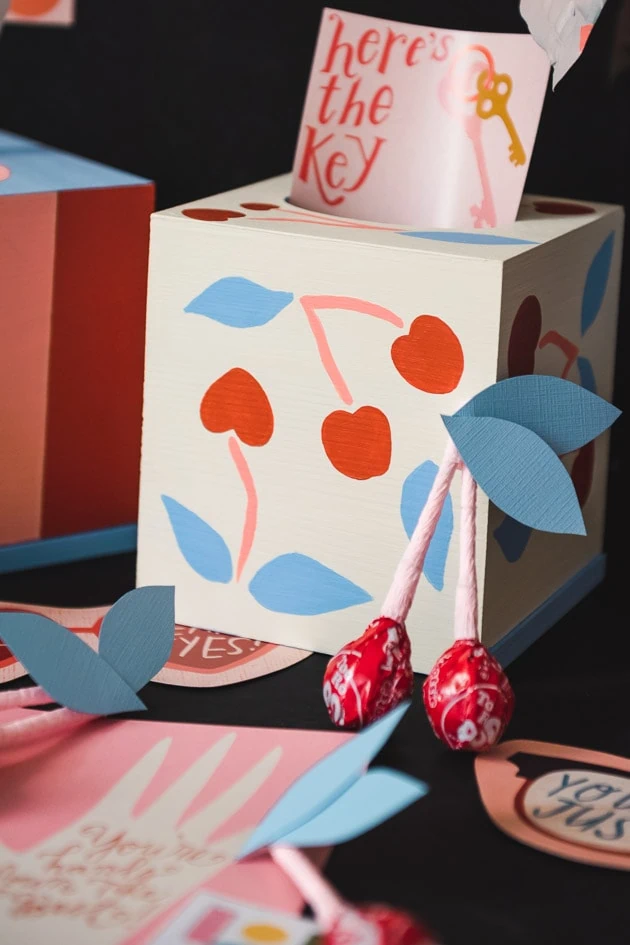
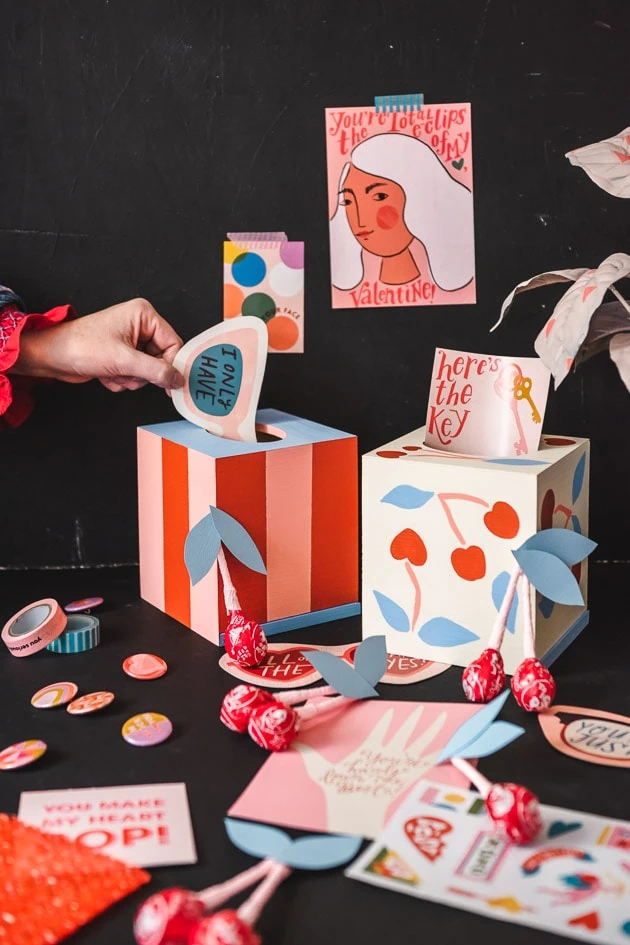
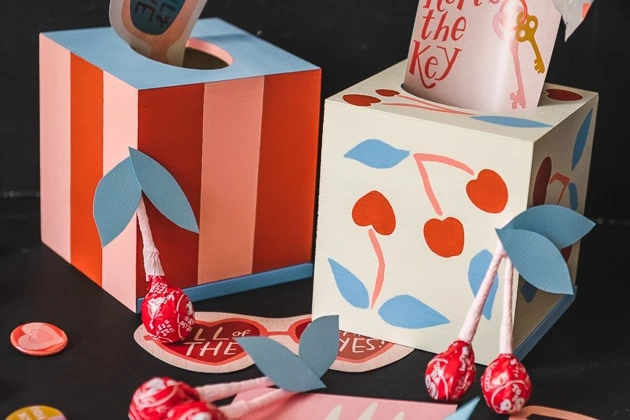
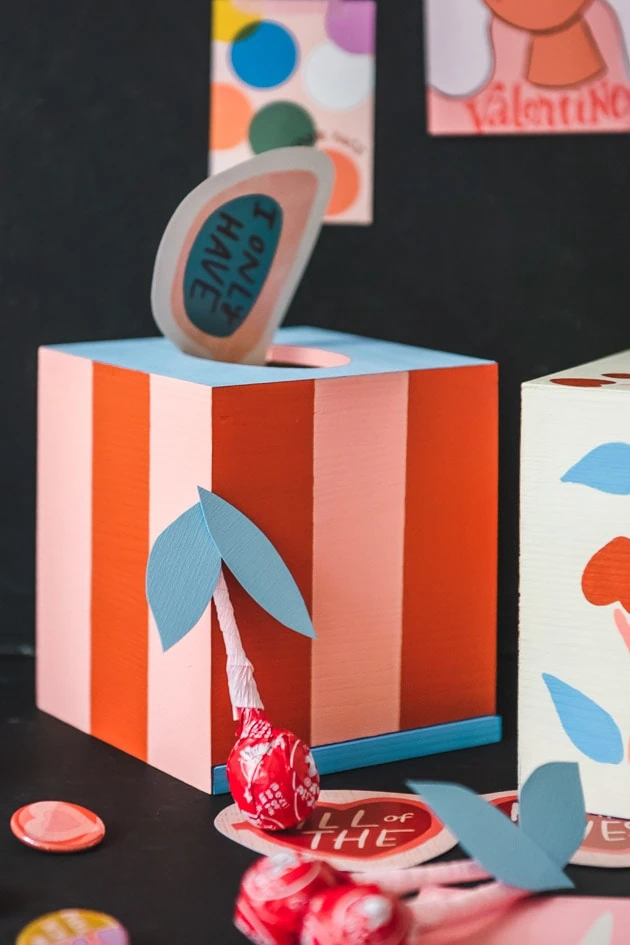
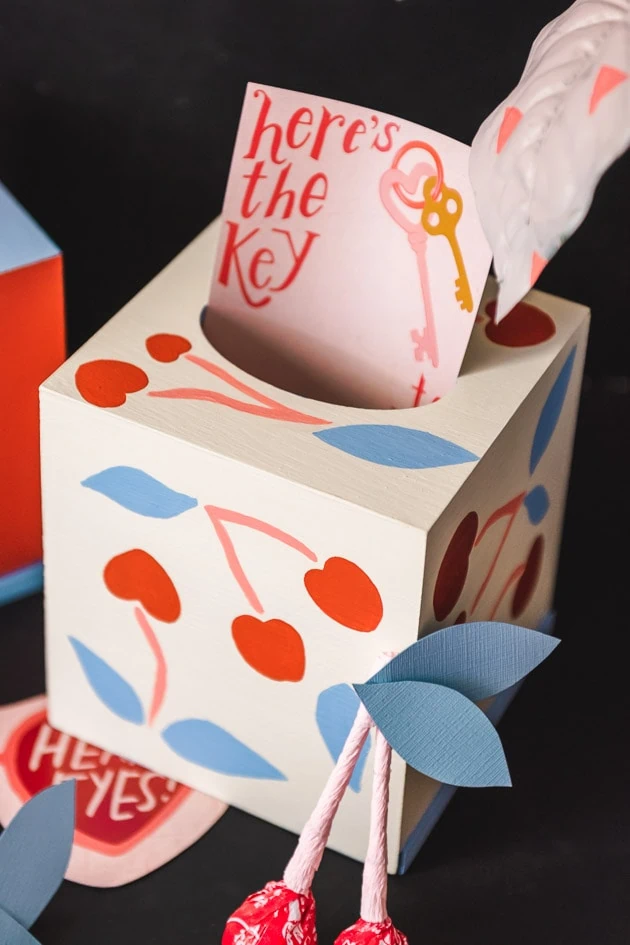
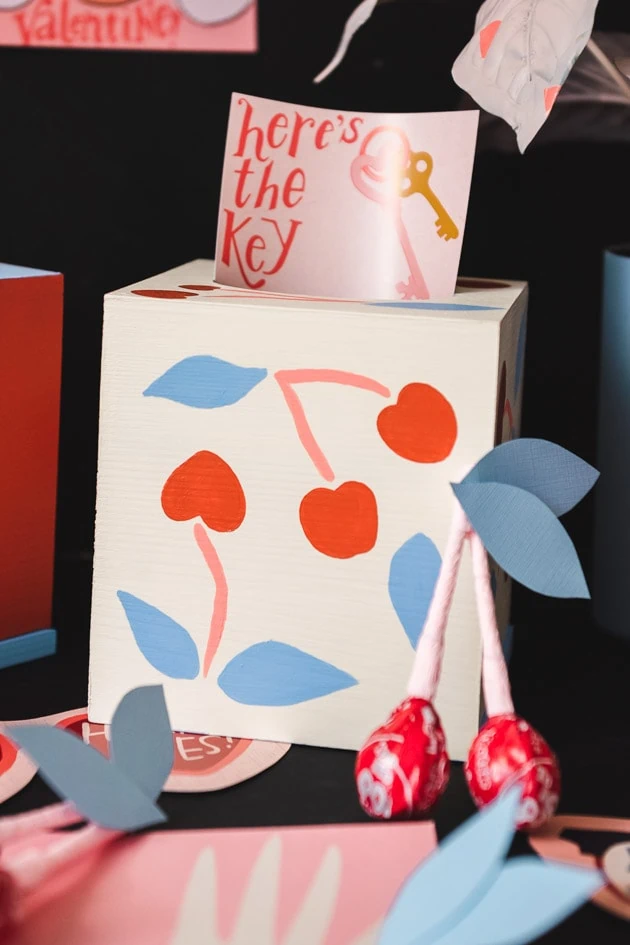
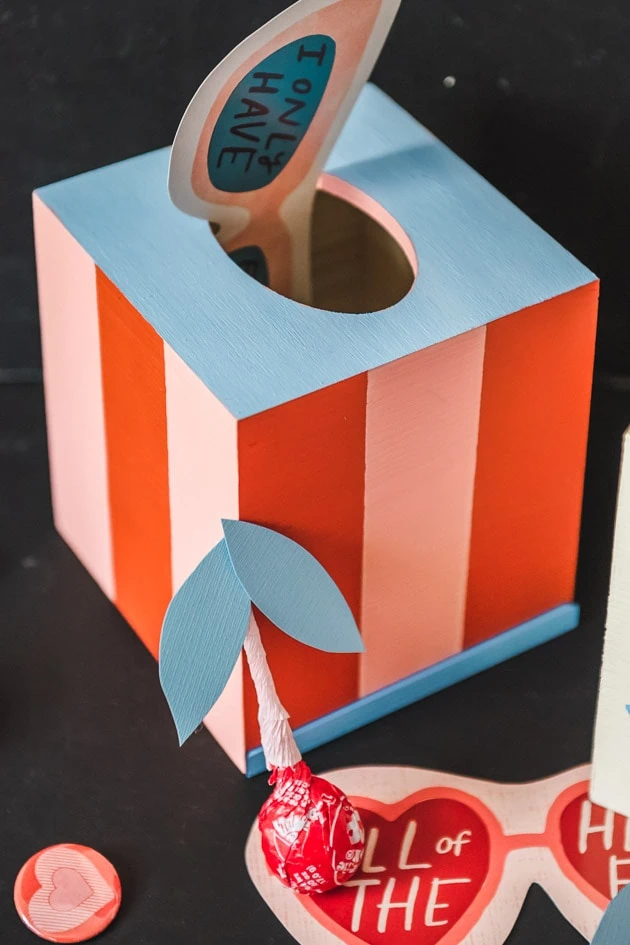
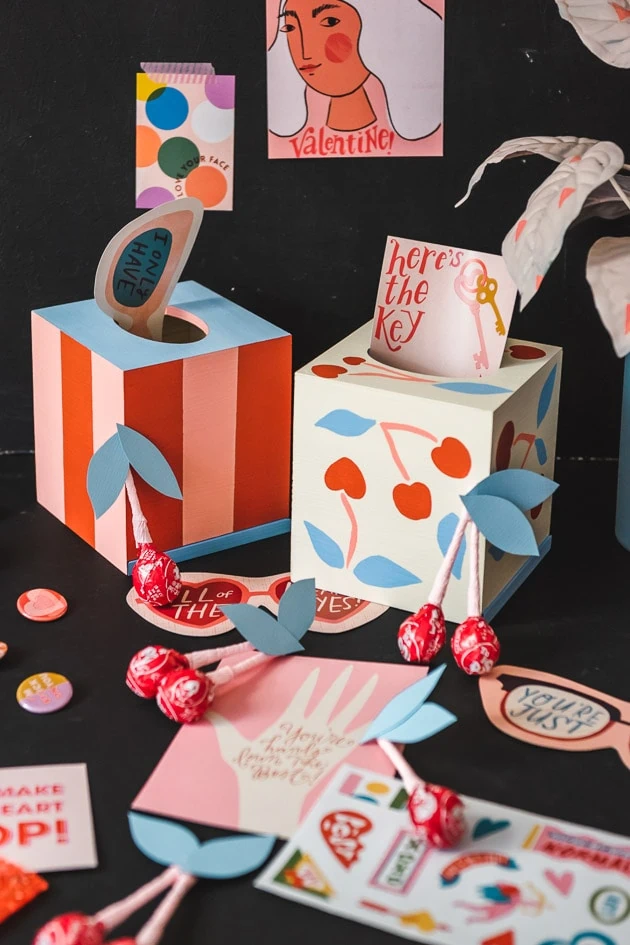
For our DIY painted valentine box, we made two variations: one featuring an adorable cherry pattern, and the other in big, bold stripes with blue accents. Lately we’ve been loving blue accents. We thought it was the perfect choice for the boxes! It serves as a great alternative to the greenery that’s often paired with Valentine’s Day decor. We also wanted our designs to be versatile enough to use after Valentine’s day, so we didn’t want something that felt too tied to the love day alone. We loved the result!
A couple features about these boxes I just have to mention. One, that handy hole in the top! Intended to be a hole to pull tissues out of, it doubles as a convenient hole to drop valentines into. It’s big enough to accommodate a variety of valentine sizes, but small enough that they’re contained. The other feature I have to mention is the handy pull-out bottom of these babies! You don’t have to stick your hand in through the hole to pull out the valentines (or insert a new box of tissues), you can just slide the bottom out for easy access.
How To Make Your Own DIY Painted Valentine Box
For the materials to make these simple DIY painted valentine boxes, see our materials list above! Once you have your materials collected, you’re ready to start.
Prepping Your Work Station
You’ll want to prep your work station before you begin, especially if you’re doing this with kids.
- First, lay out newspaper on your work surface (you don’t want to get paint on everything)! Feel free to tape it down if you’d like.
- Gather your supplies and lay them out.
- Get a cup of water and some paper towels. You’ll use them for your paintbrushes.
Prepping Your Boxes
- To prep your boxes, pull the bottom sections out of both boxes. You’ll want these separated while you’re painting.
- For the striped box, divide each side of the box in thirds and mark with thin pencil lines. Tape off every other stripe (so you can start by painting all the red stripes at once) and you’ll be ready to start on your first color! (Note: it helps if you’re extra precise with the lines here, as it makes painting so much easier.
Painting The Bases
- This part is simple. Paint both bases fully blue using the foam brush (try to match the color we used if you’d like, or pick a color of your choosing). Wait until one coat is dry, then do another coat so the color is nice and full.
Painting Your Cherry Box
- For the cherry box, start by painting the thin blue strip around the inside of the opening. Try to be as precise as you can, but if you mess up, you can paint over it with the cream.
- Next, when the blue paint is dry, paint the entire box in a cream base coat with a foam brush. Careful not to mess up the blue around the inside rim!
- Then, when the paint is dry, use our box as a reference to pencil in the cherry pattern on all sides. We painted the very bottom blue to match the blue bottom panel insert.
- When you’re happy with the placement of your design, go ahead and start painting the pattern in! Use the smaller brushes so you can be more precise with your details. We’d recommend doing the cherries first, then the stems, then leaves. (Note: it helps to wait until the paint is dry before starting a new color, so you don’t accidentally smudge your masterpiece).
- When the paint is fully dry, you can insert the bottom panel back in.
- You’re done!
Painting the Striped Box
- For the striped box, you should have already taped off every other stripe, so you should be ready to go painting the first color. We started with red and did a couple coats.
- When you’re done with the red, let it dry, then pull the tape off and put tape on top of the red sections so you can paint the pink. Again, we did two coats. While we were painting the pink stripes, we also painted the pink rim around the top opening. Do a couple of coats here, and as precisely as you can. Don’t fret, though–whatever you mess up on can be painted over when you do the blue on top.
- When the pink paint is dry, you can pull off the tape and tape a line around the top of the box, making sure it’s even with the top edges.
- Now you can paint the blue on the top section without worrying about it bleeding over the sides! Be careful not to paint over the pink rim you just painted.
- Next, paint the bottom of the box blue, taping the bottom edges so you don’t mess up the stripes you already painted. Now, when you insert the bottom panel, the entire bottom side of the box should be blue.
- You’re all done!
Please, keep us in the loop: we would love to see what you do with your valentine boxes!
More Inspiration
If you had fun with this tutorial on how to make your own DIY Painted Valentine Box, we have plenty of other sweet Valentine’s Day crafts to get you prepped and in the mood! If you want ideas for easy valentines to give to loved ones, check out this post on our favorite printable valentines. And if you’re looking for some other DIY Valentine’s Day activities, you’ll love our Easy DIY valentines!


