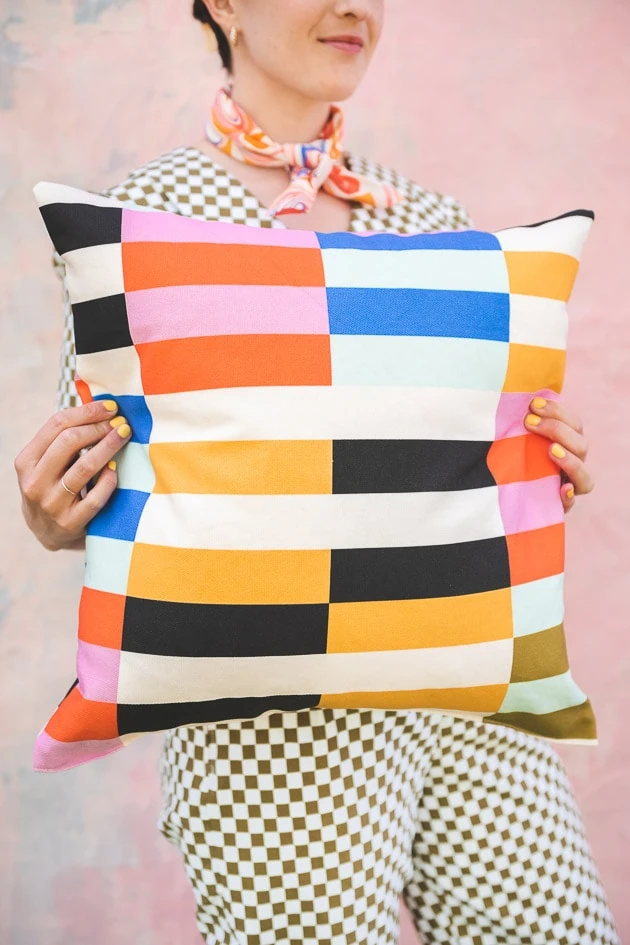
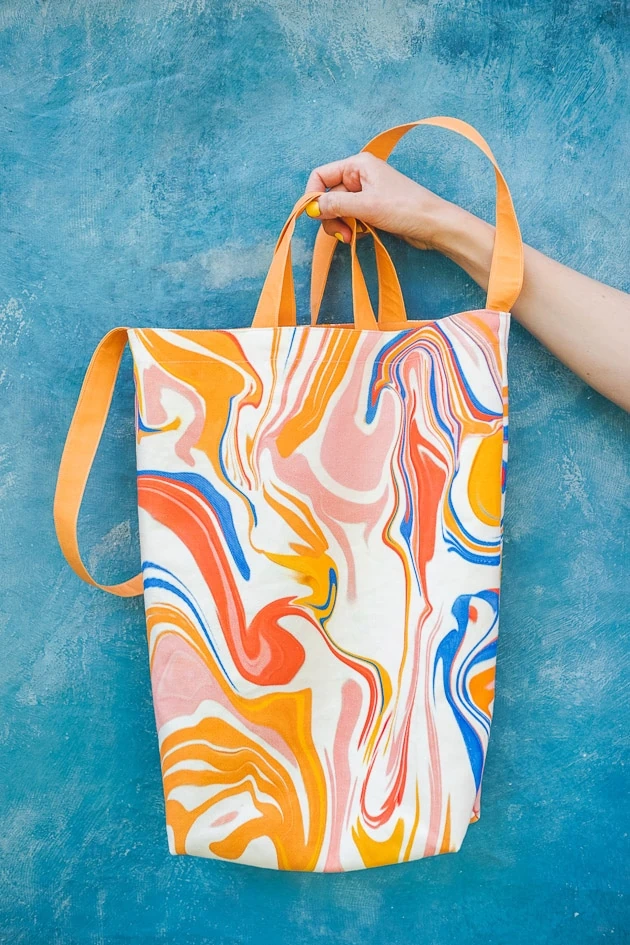
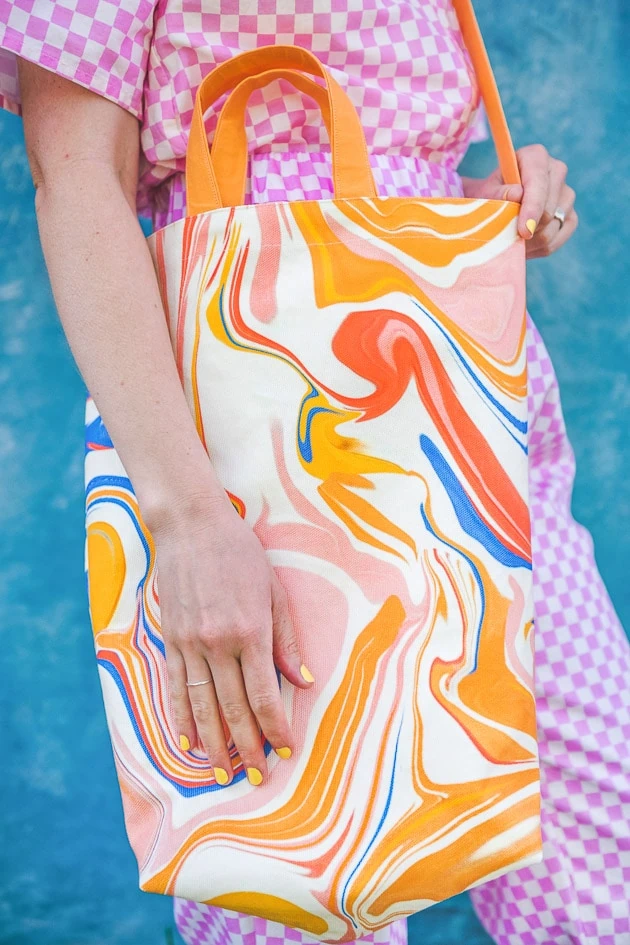
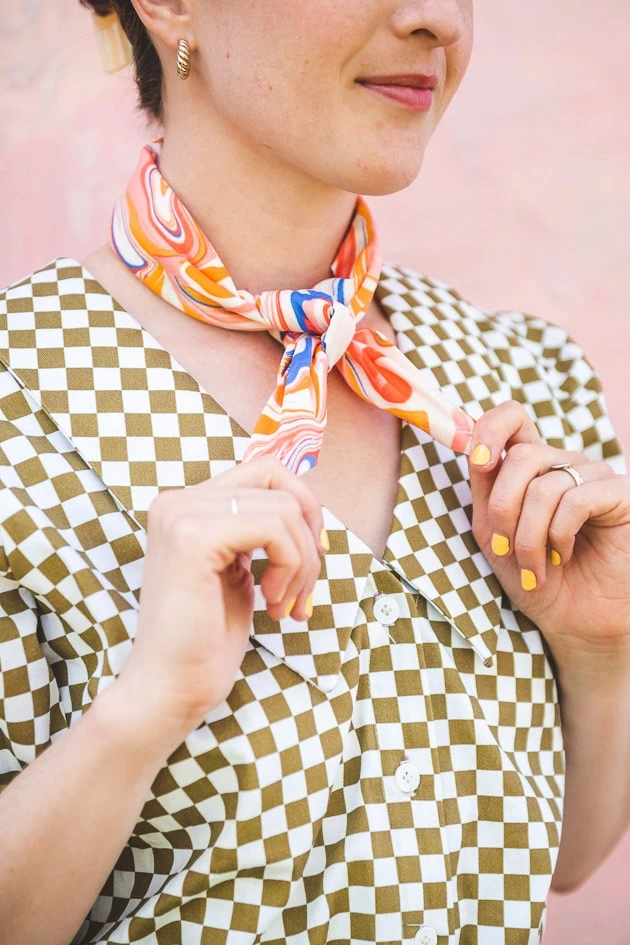
We are thrilled to announce the official release of our new fabric collection, Funky Town! We’ve been so inspired by the designs for our Casetify phone cases that we decided to make them into fabric (and add some designs that are exclusively fabric as well). We’ve been releasing small sneak peeks, like our Easter outfits, apron, or this retro florals dress. Now we’re bursting at the seams for the full reveal, featuring our Casetify inspired fabric projects.
We have three perfect sewing projects to get you started with the new Funky Town fabric collection. Scroll down to learn how to make all three!
Materials:
Funky Town Fabric Projects
The best thing about the projects we picked to feature our funky town fabrics is that they are all so simple. Seriously. If you consider yourself a beginner, you don’t need to feel intimidated by any of these projects. Just follow along with us to learn how to make these easy staples to add to your wardrobe and home!
Tip#1: before starting any of your projects, make sure you’ve pre-washed your fabric first!
Tip#2: when cutting out square or rectangle pieces, it’s much easier to be precise when you use a cutting mat, rotary cutter, and clear gridded ruler.
Bandana/Kerchief
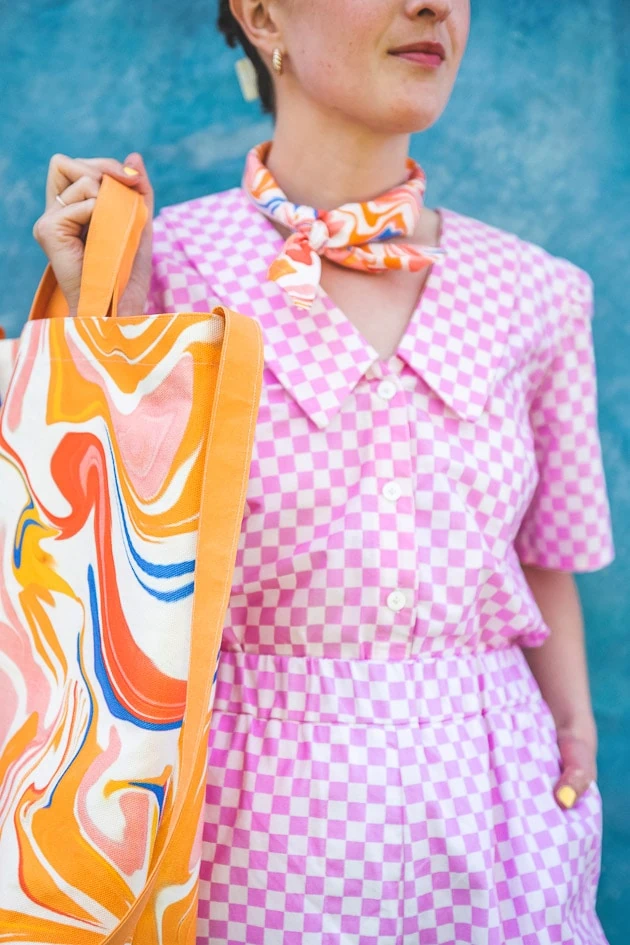
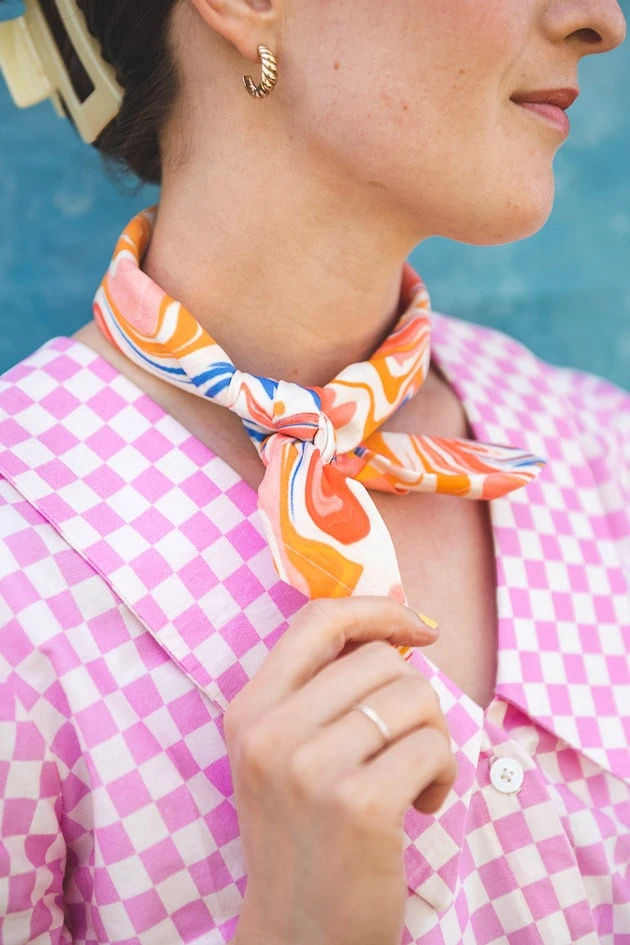
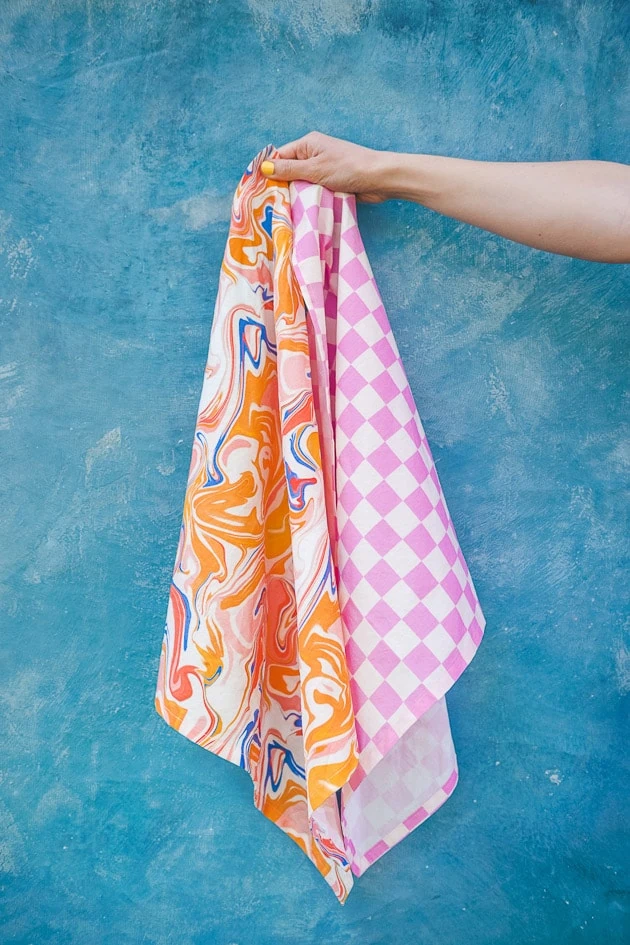
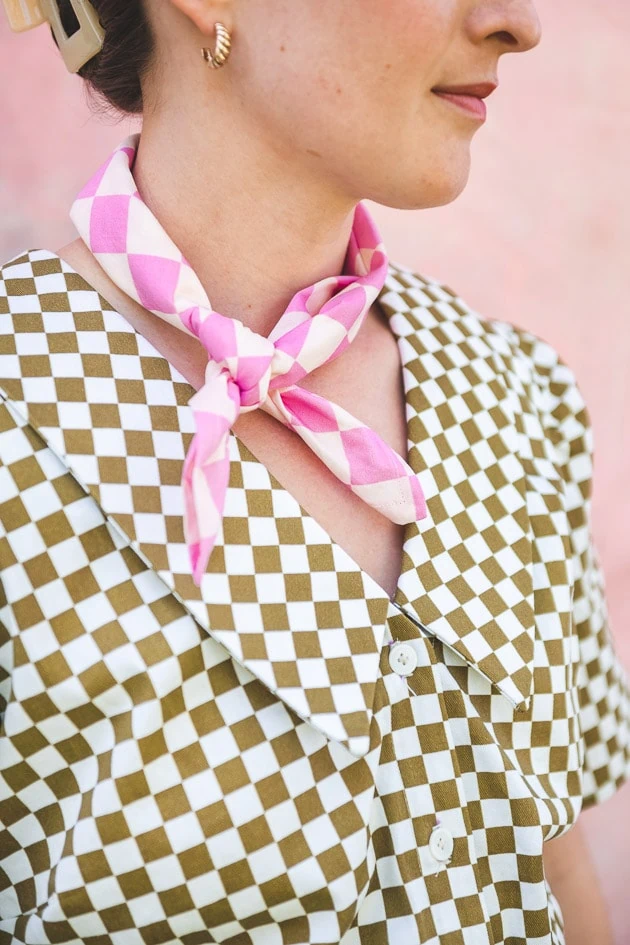
Simplest of our Casetify inspired fabric projects, this bandana is the perfect accessory to your outfit. If you’re lacking a little color, the bandana will give you that pop you were looking for! For ours, we chose the small marbled and lilac checkers fabrics.
Here’s how to make your own:
How to Make a Bandana/Kerchief
Prepping the Fabric
- First, order your favorite fabric from our new Funky Town collection! For fabric type, we’d recommend cotton poplin, as it’s soft, light and breathable. Remember to prewash!
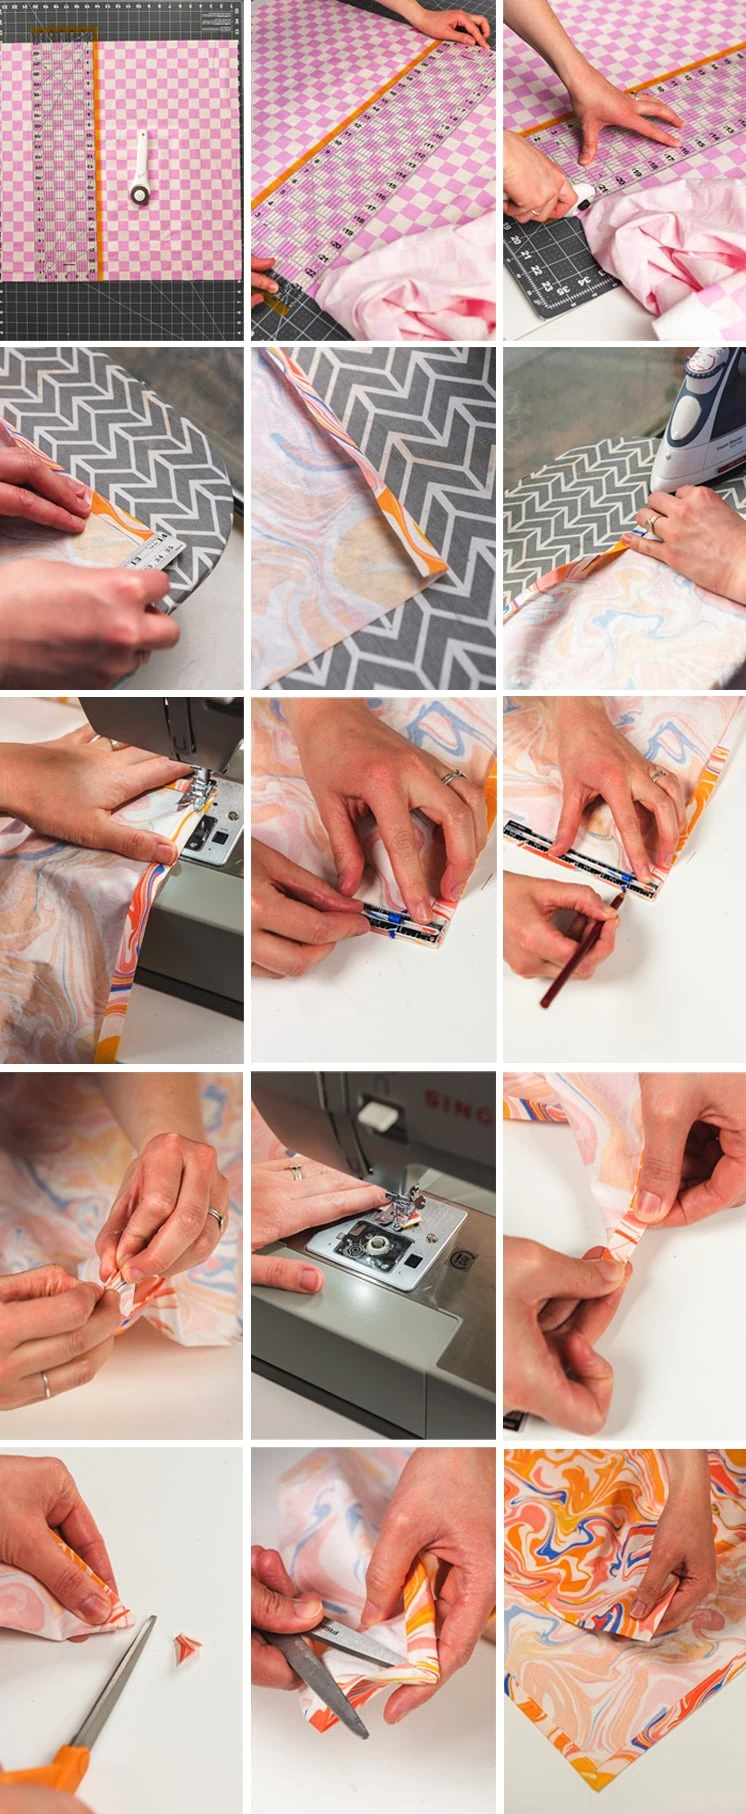
- Next, for each bandana, cut out a square that’s 23″x 23″, or adjust the size as necessary for your neck size (smaller bandanas can be as small as 17″ or 18″, and larger closer to 28″ square).
Sewing the Mitered Corners
Now you’re ready to sew the mitered corners. This is the neat diagonal finish to the corners that eliminates some of the bulk caused by traditional hemming. It looks neat and is easy to do!
- First, fold over and press each edge by a 1/4″, then a second time to cover the raw edge.
- Next, unfold the second fold and measure double the width of the hem from the edge of the fabric down. Mark the spot on each side of the corner with a fabric marker, then connect the two sides with a line across.
- Now fold the corner on itself with right sides together, pin, and sew along the line you drew.
- Last, clip the excess fabric, press open and flip the corner to the right side to reveal your finished corner.
- Repeat steps 2-4 for the remaining corners.
Finishing Touches
- To finish up, simply topstitch along the edge of the folded over sides to complete your hems. Press so it’s nice and flat.
- Done! Lay it out and admire.
Simple Throw Pillow
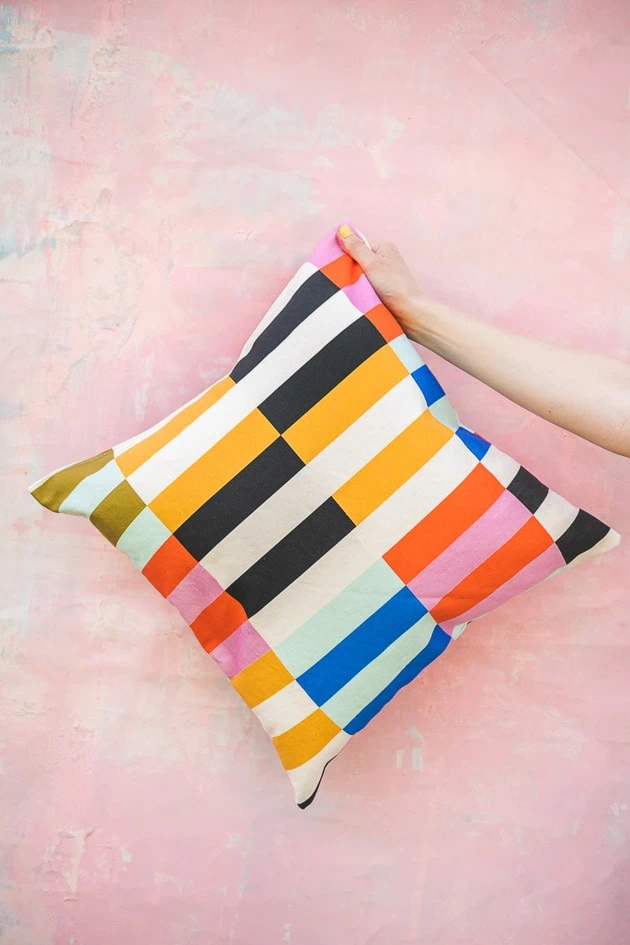
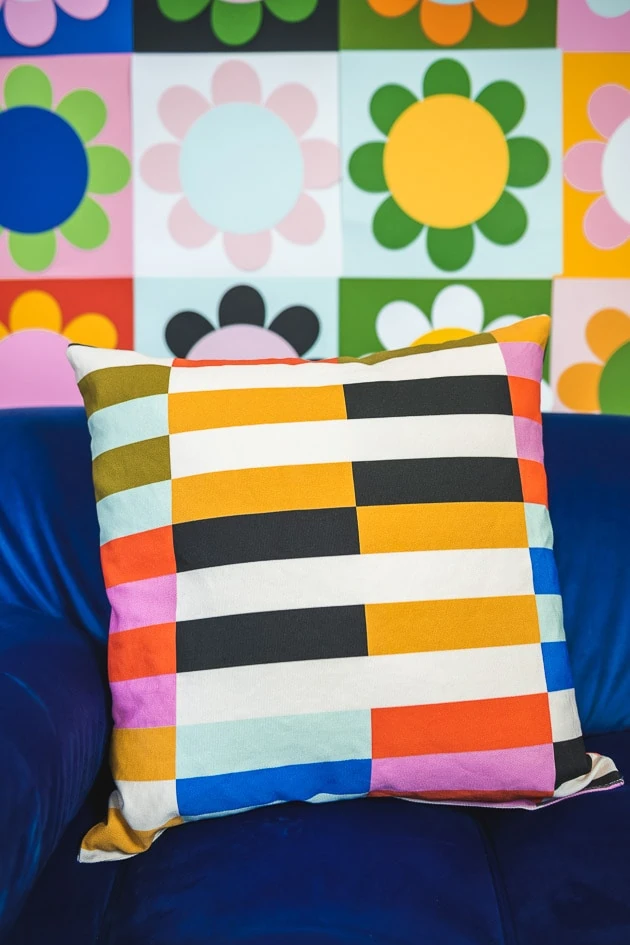
Our next Casetify inspired fabric project is a simple throw pillow. This is the simplest technique to make a throw pillow. No piping or zippers, so there’s not much to be intimidated by. The great thing is it looks lovely when done and takes less than an hour to finish! For ours, we used the retro rainbow stripe in cypress cotton canvas.
Prepping your Fabric
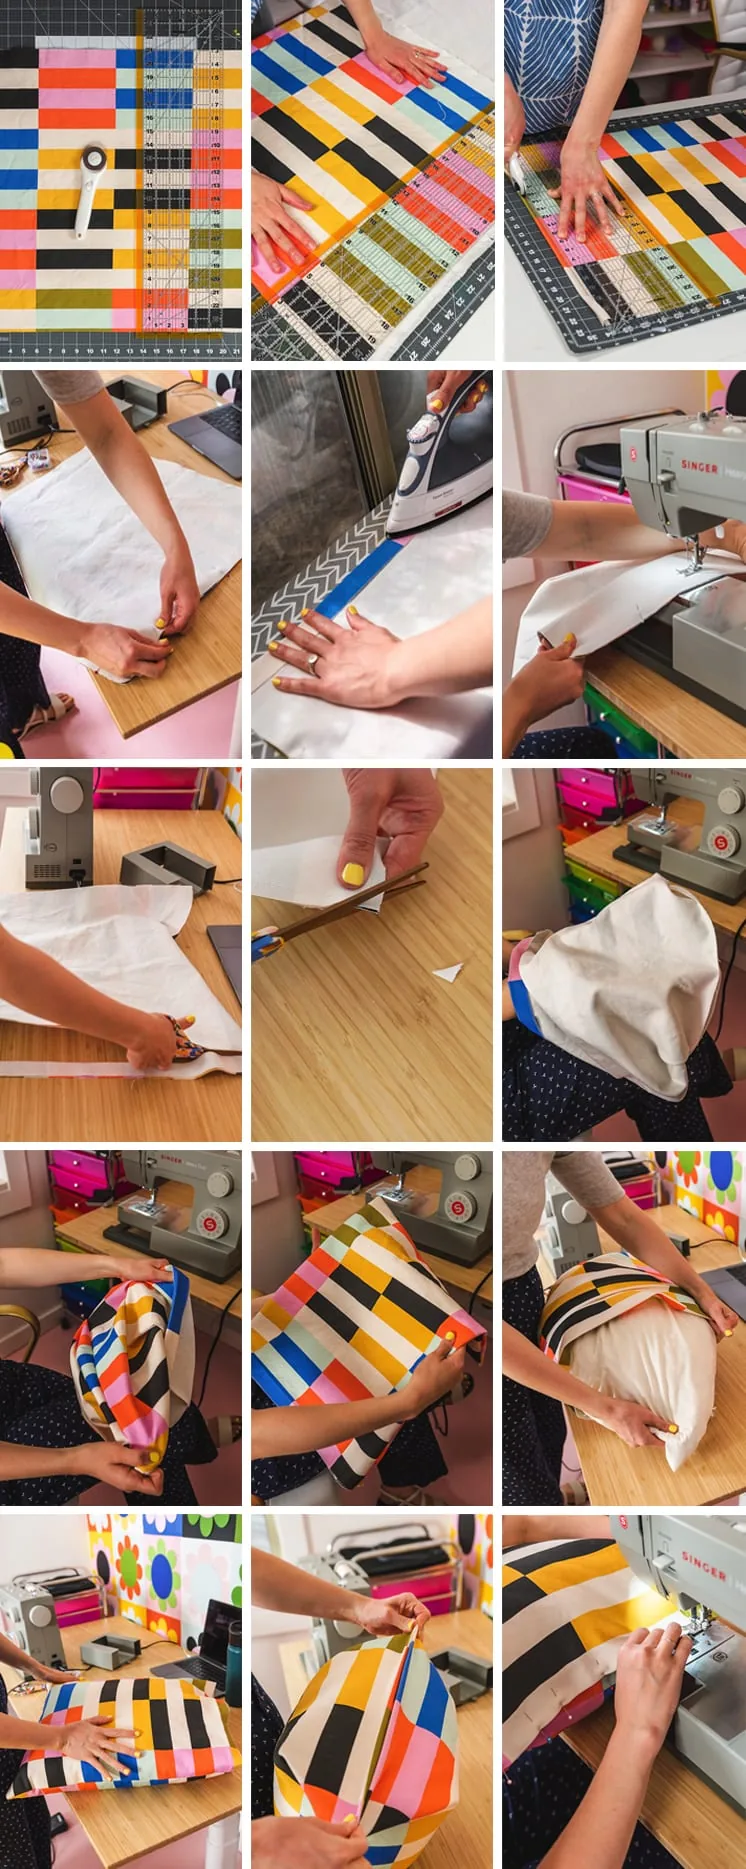
- Once your fabric is prewashed and ironed, lay it out and cut out two squares that are 19″x19″. These are the dimensions you’ll need for a standard 20″x20″ throw pillow.
- Now lay the two pieces out on top of each other with right sides together.
- Next, fold over and press both sides of one edge of each fabric square over to the wrong side by 1/2″.
- Pin the three sides you did not press down to prep for sewing.
Sewing the Pillow
- Now that your pillow pieces are pinned, sew around the three un-pressed edges. Backstitch at beginning and end.
- Clip corners and flip your pillow to the right side.
- Next, stuff the pillow insert into the pillow cover you just made and sew up the opening close to the edge. Make sure the pressed edge you created is tucked neatly inside.
- Done!
Tote Bag
The tote bag is a bit more advanced than the other two Casetify inspired fabric projects, but we promise you can do it! For this one we used the large retro rainbow marble in cypress cotton canvas, with golden accent handles and strap.
- Print off our tote bag template found here.
- Cut your bag pieces out of the fabric using the bag template. Note which part of the fabric you want to highlight on your bag and which direction it will face when complete.
Main Bag Piece
- With right sides together, sew the front and back of the main bag pieces together at the side seams. Use a single stitch and then finish off with a zig zag to prevent fraying.
- Next, pull the edges of the notched part of the cut fabric together (the two bottom corners) to form the flat bottom of the bag. Use a straight stitch, trim the excess down to 1/4″, then finish the edge with a zig zag.
- Now turn your main bag piece right side out to prep for future steps. Now to move on to the handle straps!
Handle Straps
- First, hem under each long edge by 1/4″. Then fold both of the handle straps in half so the folded edges meet.
- Next, pin and sew a single stitch down both long sides of each strap.
Shoulder Strap
- For the shoulder strap, fold the shoulder strap piece in half with wrong sides together lengthwise.
- Next, unfold, then fold each side into the center seam, pressing as you go.
- Now you can fold the strap back along the center crease you made. Make sure the two folded edges line up evenly.
- Lastly, pin and sew a single stitch down both long sides of each strap.
Attaching the Straps
Now to attach the straps to the main bag piece. For this, make sure your bag piece is turned right side out.
- First, position the handle straps in the center of the bag opening on each side. Align the raw edges with the top opening of the bag. Pin, then sew in place with a 1/4″ seam allowance.
- Now attach the ends of the shoulder strap piece to both side seams of the bag. Position them the same way you did with the handle straps and sew in place.
Finishing Touches
- Now it’s time for the facing. For this, take both facing pieces with right sides together and sew along both short edges by 1/4″. You should now have a tube that’s the same size as the opening of your bag. If it’s too big, make the seam allowance larger to adjust.
- Next, fold one edge under (wrong sides together) by 1/4″ and press.
- Now, with right sides together, align the raw edge of the facing tube around the opening of the bag.
- Next, sew a single stitch around the top opening edge of the bag, with a 1/2″ seam allowance.
- To finish up, turn the facing to the inside of the bag, press, and pin in place. Make sure the sewn edge of the facing/bag is creased neatly along the top edge of the bag. It shouldn’t show on the outside.
- Last, edge stitch along the creased edge of the facing to hold it in place.
- Done!
Styling Your Funky Town Projects
You can have a lot of fun styling your Funky Town Casetify inspired fabric projects! The great thing about these fabrics is that they can be mixed and matched in so many different ways. Try a marbled with a checkered, like we did, or add a solid pop of color to a busy pattern as an accent. The options are endless.
We’re excited to see what you make! Let us know in the comments!
More Inspiration
Loved these simple Casetify inspired fabric projects? Check out the first post in our sewing basics series, how to thread a sewing machine! You’ll probably also love these other easy sewing projects. Try our Mother’s Day apron or our Easter outfits (not limited to use on Mother’s Day or Easter). If you want more home decor sewing projects, try our shaped throw pillows or quilted shower curtain.


