If you’re familiar with my book, Craft the Rainbow, then you’ve probably seen our tutorial on cyanotype sun prints. If not, this post is for you! Since summer is on its way in and the sun is finally sticking around a little longer and hotter each day, we thought it would be the perfect time to take advantage of the extra rays.
All you need to make this project with us is a sunny day, some cyanotype paper, and some foliage or pressed flowers. Follow along to see how to make this easy and lovely art project!
Materials:
What is a Cyanotype?
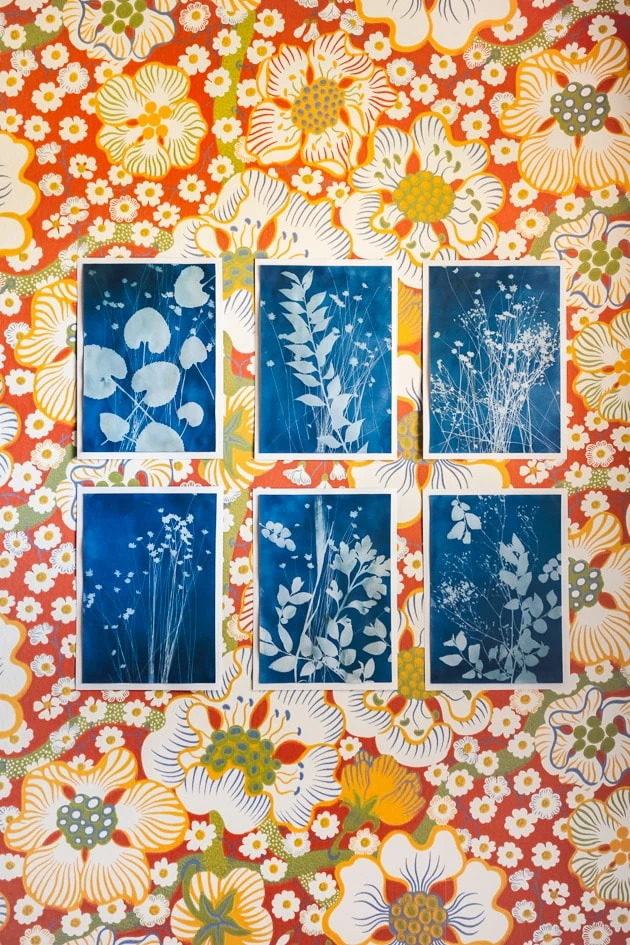
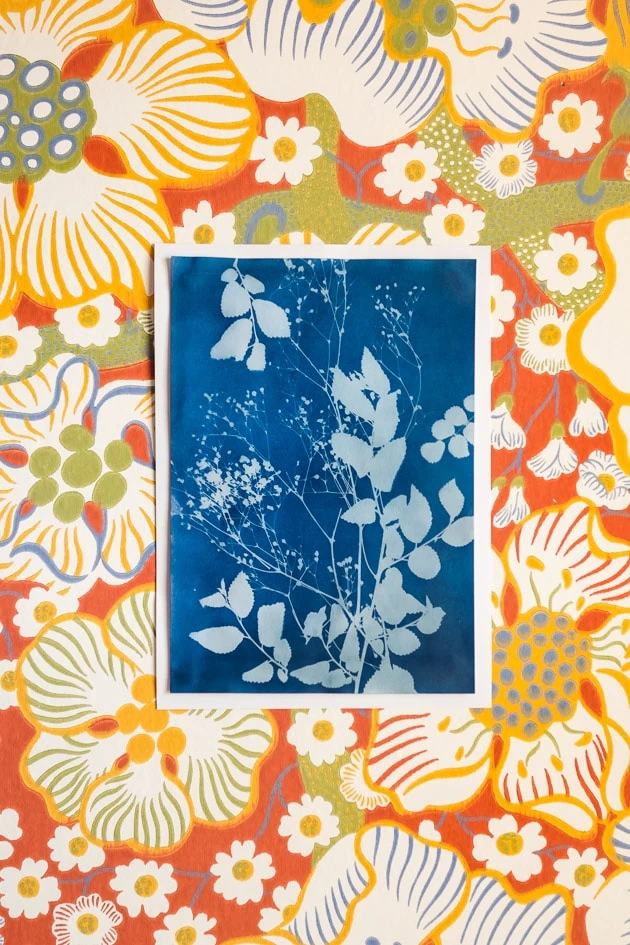
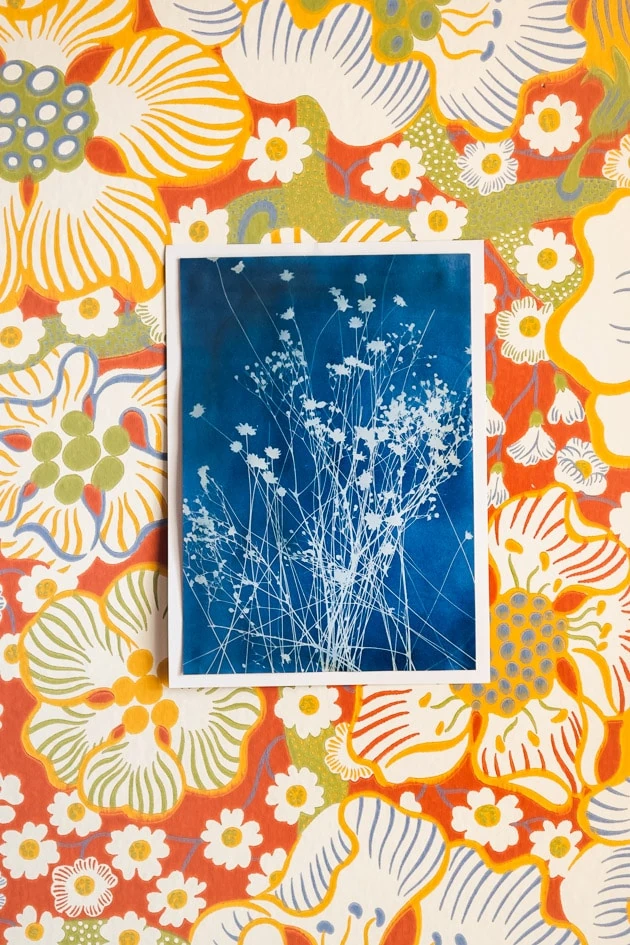
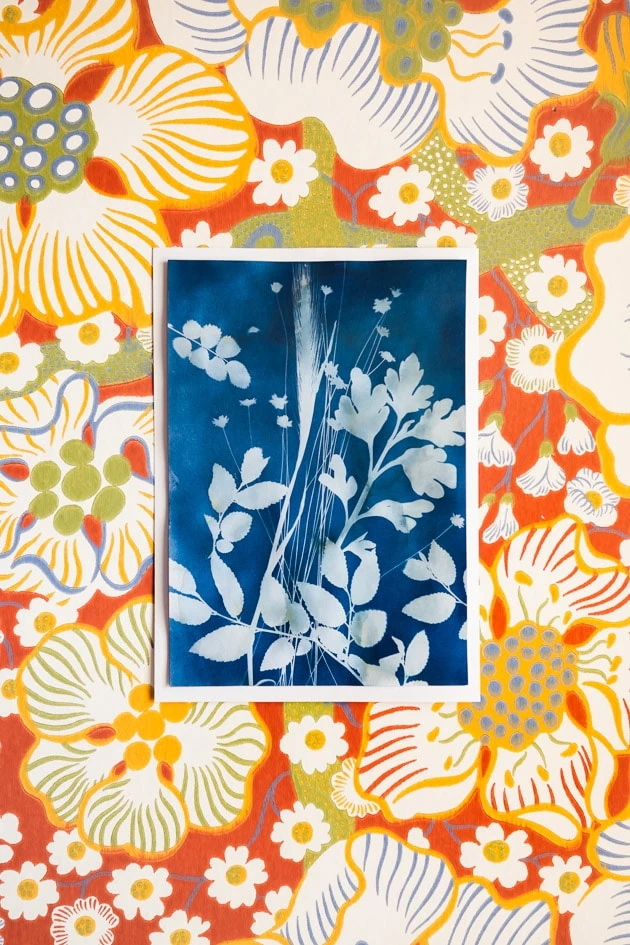
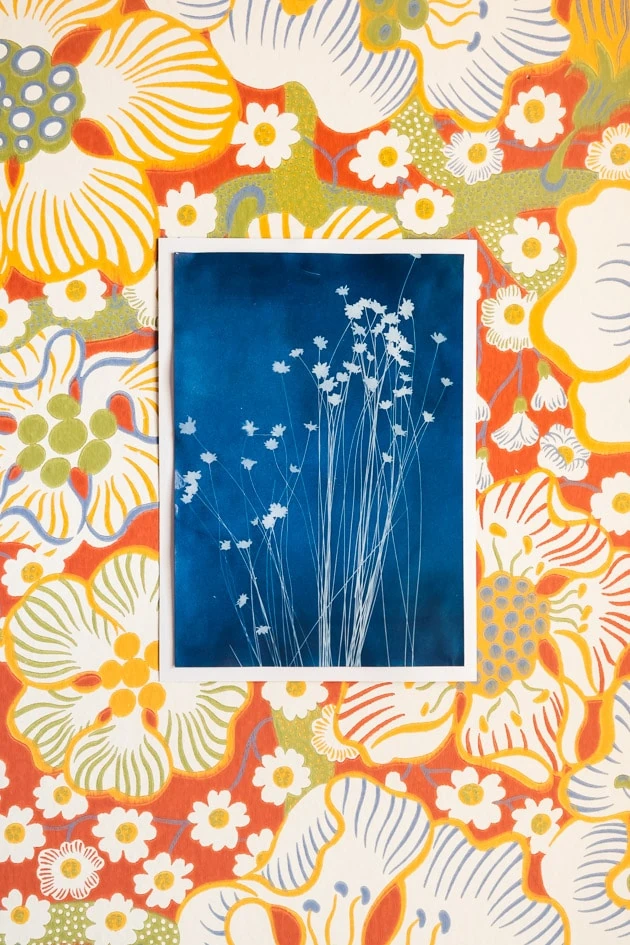
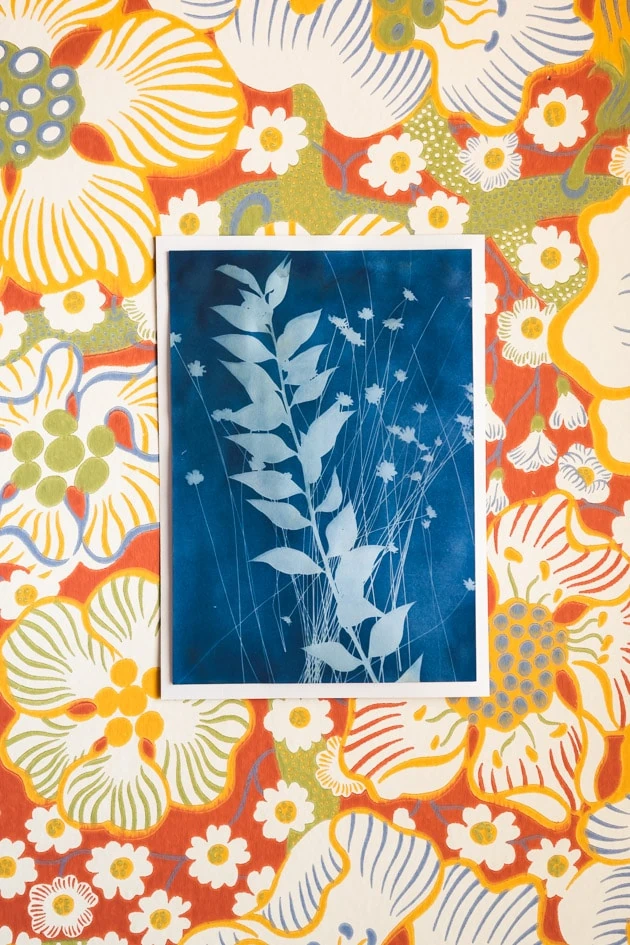
Ever seen those iconic blue and white photographs and wondered how they were made? If cyanotypes are new to you, here’s a little background. Did you know that cyanotypes are where architects and engineers picked up the term “blueprint”? They are literal blue prints! That’s because of the traditional blue and white color of an exposed cyanotype. A cyanotype is a photo process where specially treated paper reacts to UV light (the sun’s rays) and exposes the paper. Specifically, our method involves placing foliage on cyanotype paper that turns blue when exposed to the sun, leaving beautiful white shapes of foliage behind.
Pressed Flowers
Remember this post on how to press flowers in three methods? Cyanotypes are a perfect way to repurpose your beautiful pressed flowers again and again! We love the delicate designs the pressed flowers make in a cyanotype.
In our cyanotype method, we use a simple sheet of clear acrylic to make our design first, then set it on top of the cyanotype paper. That way your design is set in place and you won’t damage your precious cyanotype paper trying to get the glue dots off.
How to Make Your Own Cyanotype Sun Prints
- First, create your pattern by arranging pressed flowers on one side of the acrylic. Make sure the design fits. Secure the flowers with glue dots (this is helpful to keep your design in place, especially if there is wind).
- Next, lay the cyanotype paper flat on the ground in a spot that gets direct sunlight.
- Now, position the acrylic on the cyanotype paper and set it in place.
- Leave in the sun for about 20 minutes, or until the design has set. Our paper was quicker than 20 minutes (closer to 5 or 10), but the time varies depending on the specific brand of paper you use.
- Last step is to rinse the cyanotype paper with water, and let it fully dry on a clean surface. Done!
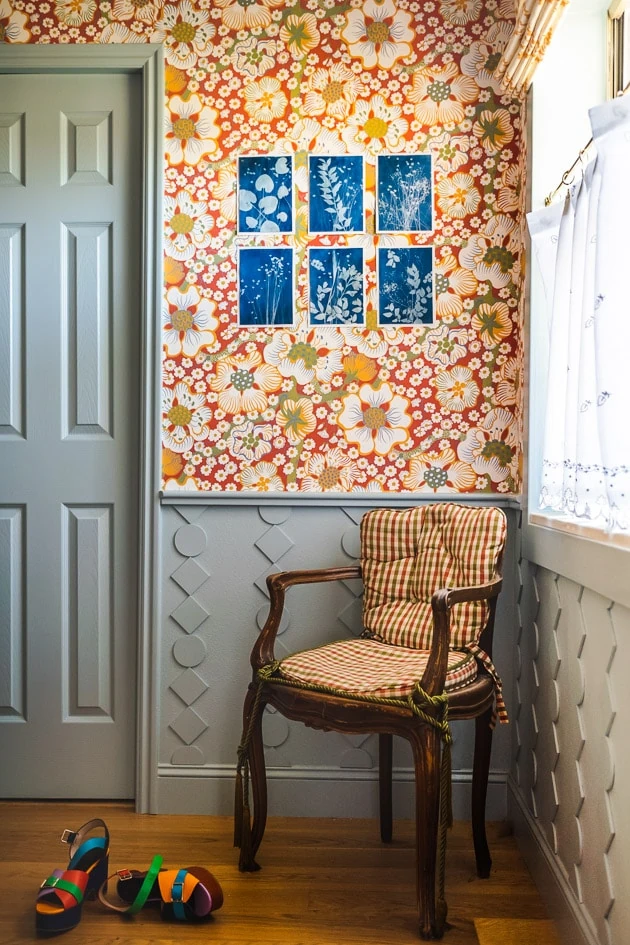
If you’d like, you can frame your beautiful print or leave it on its own, whichever you prefer. Add it to your collection of art and put it somewhere that makes you happy!
More Inspiration
Loved this tutorial on cyanotype sun prints? Remember to check out our post on how to press flowers in three methods! Also see this post, where we compiled all our paper flower tutorials all in one place.


Comments