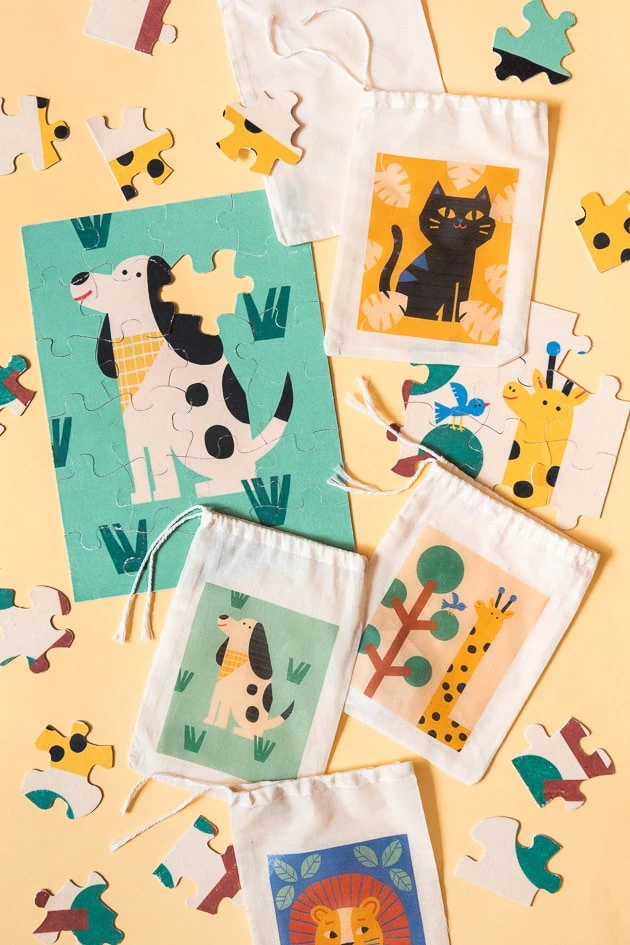
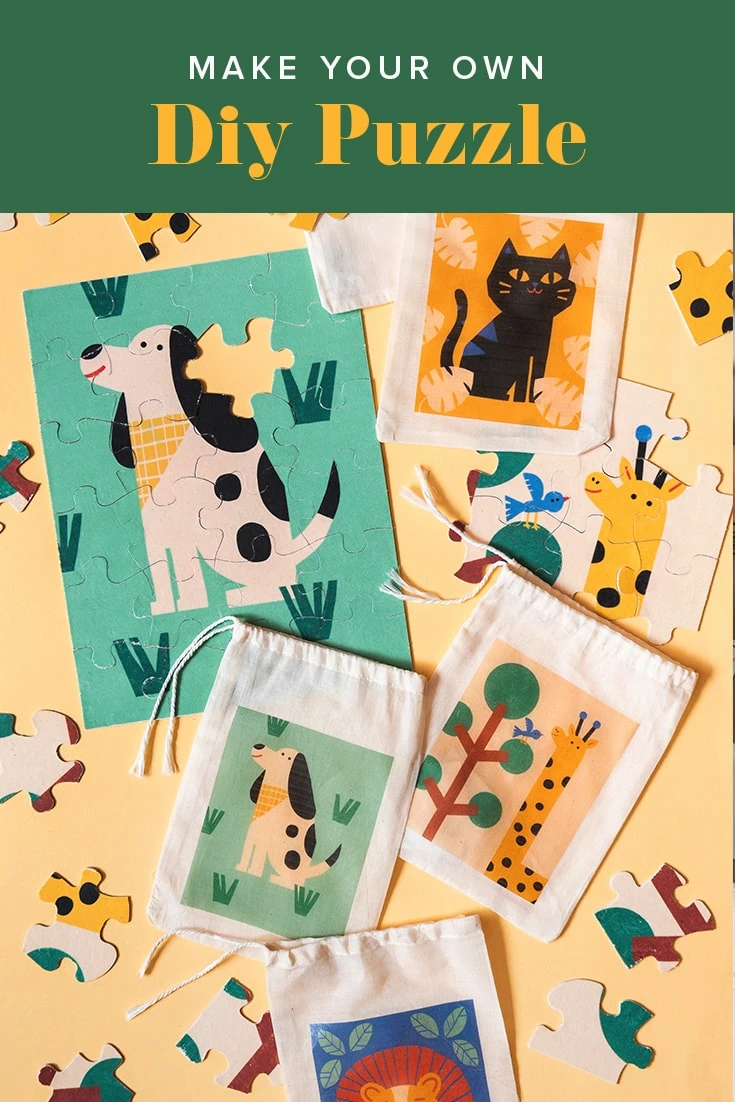
It’s Camp Lars week! What is that, you might ask? Well just consider it your very own at-home summer camp, courtesy of us here at The House that Lars Built. We know how hard it can be to find things to keep your kids entertained on those long summer days, so we’ve been dreaming up ways to help. In honor of Camp Lars this week, we wanted to give you some fun, new craft ideas to keep your kids busy this summer. Which is why we were thrilled when we discovered the perfect way to make your own DIY custom puzzle! All you have to do is pick an image, print it out, and transfer it to the puzzle. It’s as easy as that!
Materials:
Nufun Transfer Paper Puzzle
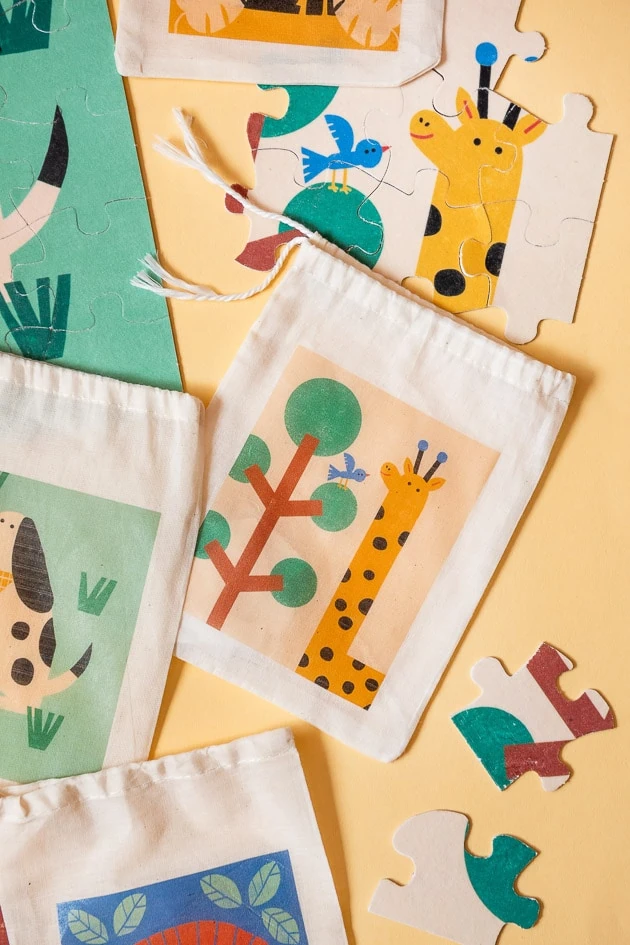
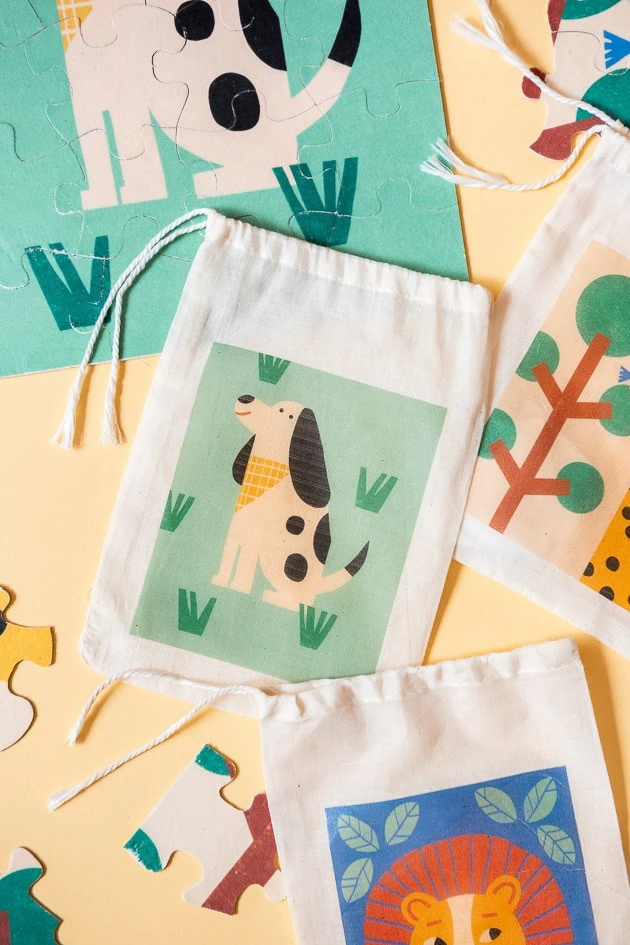
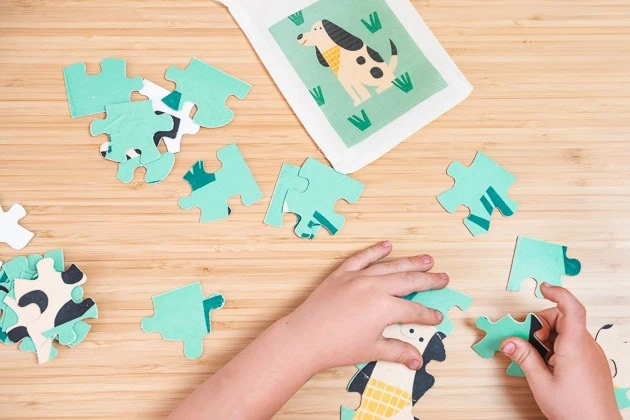
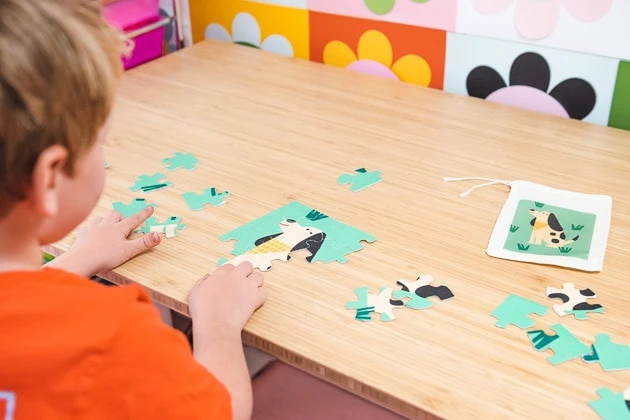
This Nufun transfer paper puzzle is such a fun way to make a custom puzzle. That’s right! With the right materials, you can pick the image of your choice (there are so many cute prints from our shop to choose from!), print it out, and transfer it to your blank puzzle with an iron or heat press. You can even make a matching bag to go with it! I love how surprisingly easy it is to do this. It’s a great craft you can make with your kids that then becomes a cute activity they can do to stave off the boredom.
Here’s what to do:
How to Make a Custom Puzzle
Printing Your Image
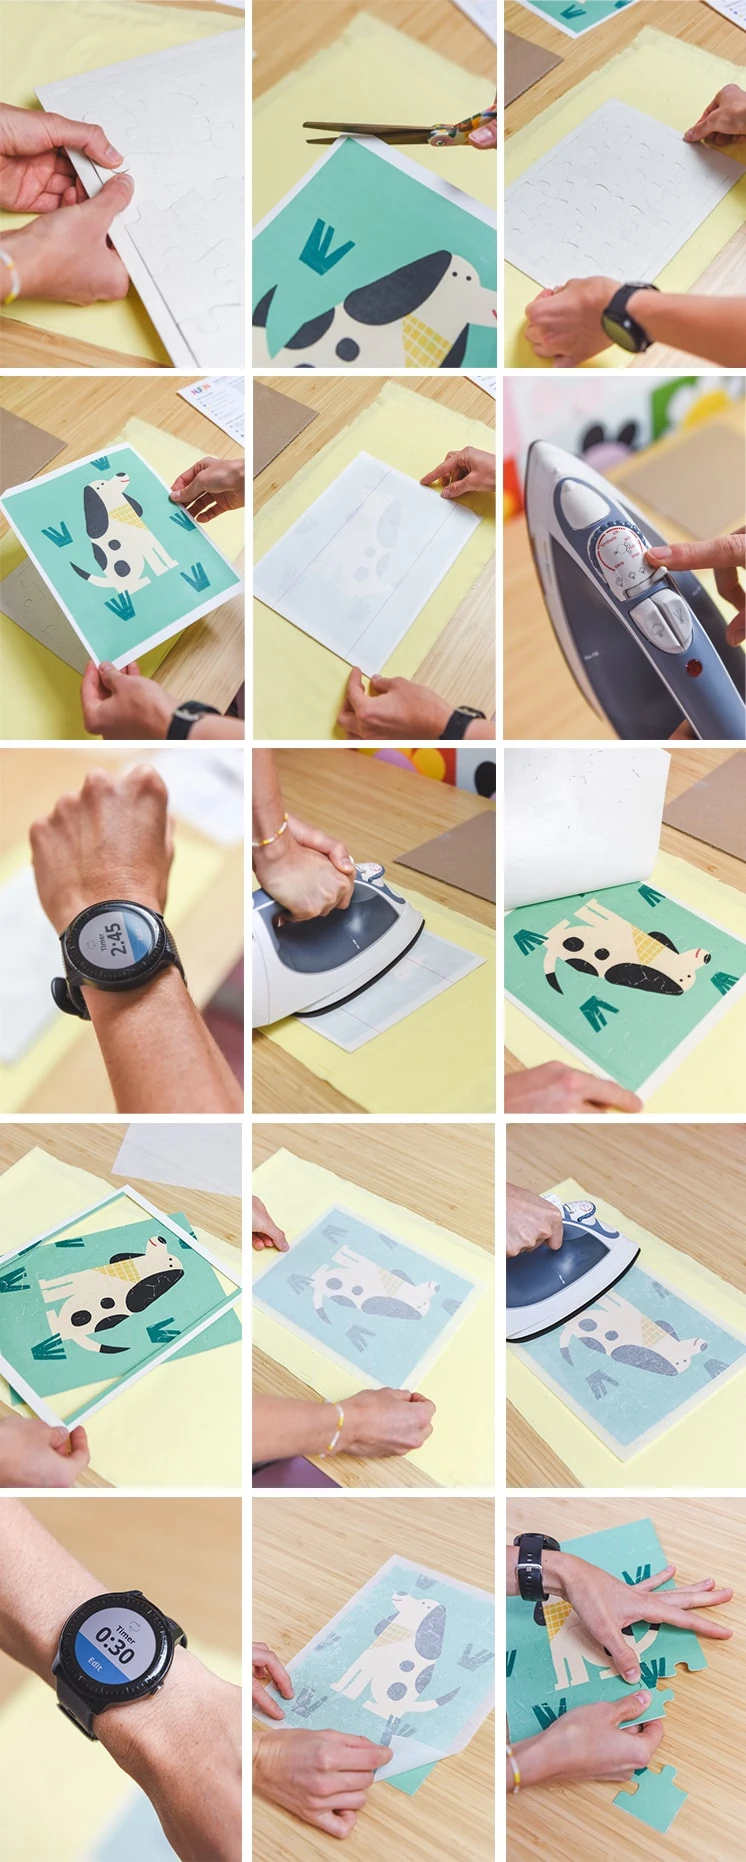
- First, choose a design (see our print shop for some great options). Make sure to mirror the image before printing.
- Load the transfer sheets into your printer so the image is printed on the non-glossy (unlined) side.
- Now print the image! Use the following settings: HP: Iron on Transfer, normal mode; Epson: Plain paper, photo mode; Canon: inkjet paper, standard on high mode.
Preparing for Transfer
- Keeping the puzzle intact, hold the puzzle and cardboard sheet together. Slightly bend the puzzle sheets to loosen the pieces so they break cleanly after ironing.
- Now cut a small corner (about 1cm) of the transfer paper to aid in the peeling process.
Transferring your Image
There are two options for transferring the image of your custom puzzle. The first is with a heat press machine, and the second is with an iron. Here’s what to do for each:
Heat Press
- First, preheat the press to 350 degrees Fahrenheit.
- Next, place the puzzle with fabric side up on the press.
- Now place the printed image face down on the puzzle (the lined side should be face up).
- Press for 25 seconds.
- For best results, peel immediately (while it’s still hot). Wait 5 seconds, then remove the backing paper from the transfer using a smooth, even motion. That’s how to make your custom puzzle with a heat press!
Iron
- First, preheat the iron to the highest “Linen” setting. Lay a pillowcase on the ironing surface. We’d recommend not using an ironing board for this!
- Next, place the printed transfer sheet face down on the felt puzzle.
- Using firm, steady pressure, hold the iron with both hands and apply your body weight. Iron for a total of 2 minutes 45 seconds. As you iron, slowly glide the iron across the puzzle in a left to right pattern. Pick the iron up to return to the left to right pattern and repeat to cover the entire sheet. Make sure to also cover all the edges and corners.
- As with the heat press, wait 5 seconds, then remove the backing paper with a smooth, even motion while still hot. You now have your very own custom puzzle!
Breaking the Puzzle Apart
- To separate the puzzle pieces, hold the puzzle sheet with both hands. Carefully and gently snap apart the edge pieces on all four sides of the puzzle until the border is separated. Discard the border. Tip: for a crisper look, use the iron set to the hottest setting and repress with the parchment paper for 30 seconds with the same left to right pattern. Make sure the border is removed and the parchment paper covers the entire puzzle as direct exposure with iron and transfer could damage your masterpiece! Wait to peel the parchment paper until the puzzle is completely cool.
- Now, one vertical row at a time, loosen and separate the rest of the puzzle. Carefully separate each puzzle piece by pulling apart gently. Repeat with each row until all pieces are separated. Done!
How to Make a Matching Bag
- Follow the steps in the “Printing Your Image” section above to print your image.
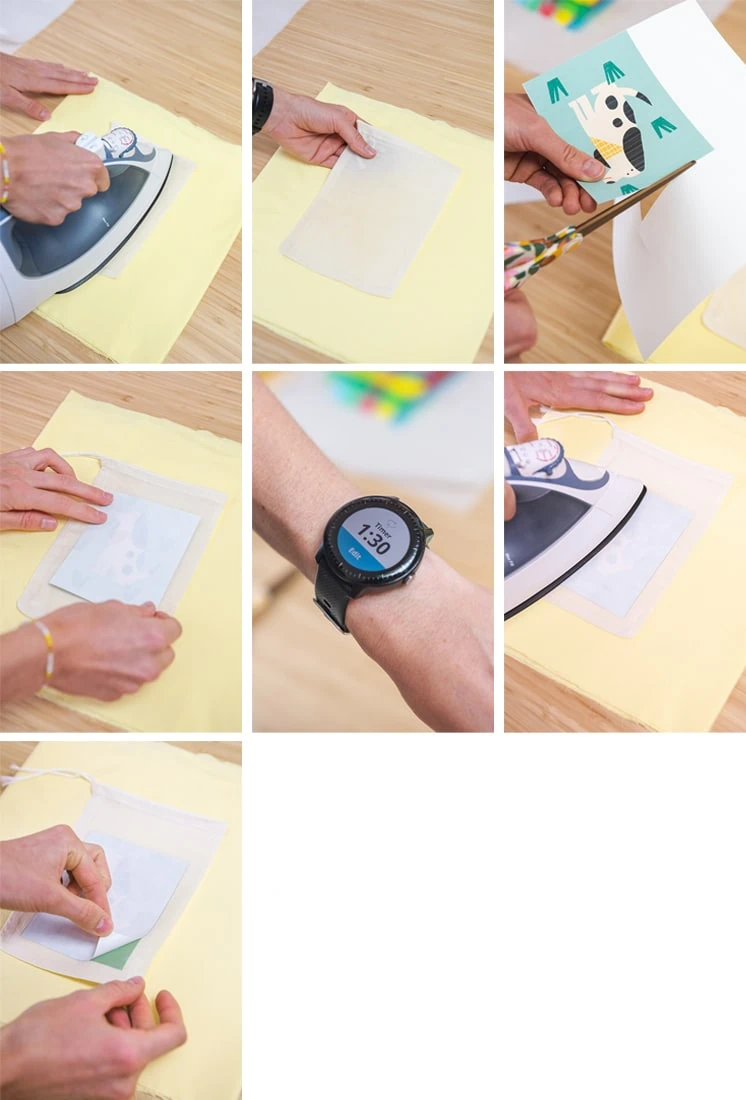
- After printing, trim your image from the transfer sheet to remove excess area. Round all sharp edges. This will make transferring the image easier!
Transferring the Image
As with the puzzle, you can use either a heat press or iron to transfer the image. Here’s how to do both:
Heat Press
- First, preheat the heat press to 375 degrees Fahrenheit.
- Now press the fabric to release moisture and remove wrinkles.
- Next, place the printed image face down on the garment with the lined side face up. Set to 40-60 PSI or use firm pressure for best results.
- Press for 25 seconds, then peel immediately for best results. Wait 3 seconds and remove the backing paper from the transfer using a smooth, even motion while the transfer is still hot.
Iron
- First, preheat the iron to the highest “Linen” setting for 50-100% cotton blends, and “Cotton” setting for fabrics less than 50% cotton or stretch fabrics like Lycra. Lay a pillowcase down on ironing surface. Remember, we’d recommend against using an ironing board.
- Now pre-iron the fabric to release moisture and remove wrinkles.
- Next, place the printed image face down on the garment (lined side face up).
- Now use firm, steady pressure to glide the iron in a circular motion over the entire transfer for the following time durations: ¼ sheet: 1.5 mins, ½ sheet: 2.5 minutes, full sheet: 3.5 minutes.
- After ironing each section of the transfer, glide the iron once more over the entire surface to heat evenly.
- Once that’s done, peel immediately for best results. Wait 3 seconds and remove the backing paper from the transfer using a smooth, even motion while the transfer is still hot.
- If any image lifting is observed while peeling, stop immediately and glide iron over the transfer to heat evenly while focusing on the areas that have lifted. Then repeat step 6.
Washing Instructions
Turn the bag inside out and wash in cold water separately from other clothes using a delicate cycle. Dry on low temperature or hang to dry. If drying in the dryer, take it out quickly when it’s done.
When you’re not using your puzzle, store it in the adorable matching bag you just made!
More Inspiration
Loved this tutorial on how to make a DIY custom puzzle and matching bag? Check out this post where we’ve compiled other great kids activities to keep them busy all summer!


