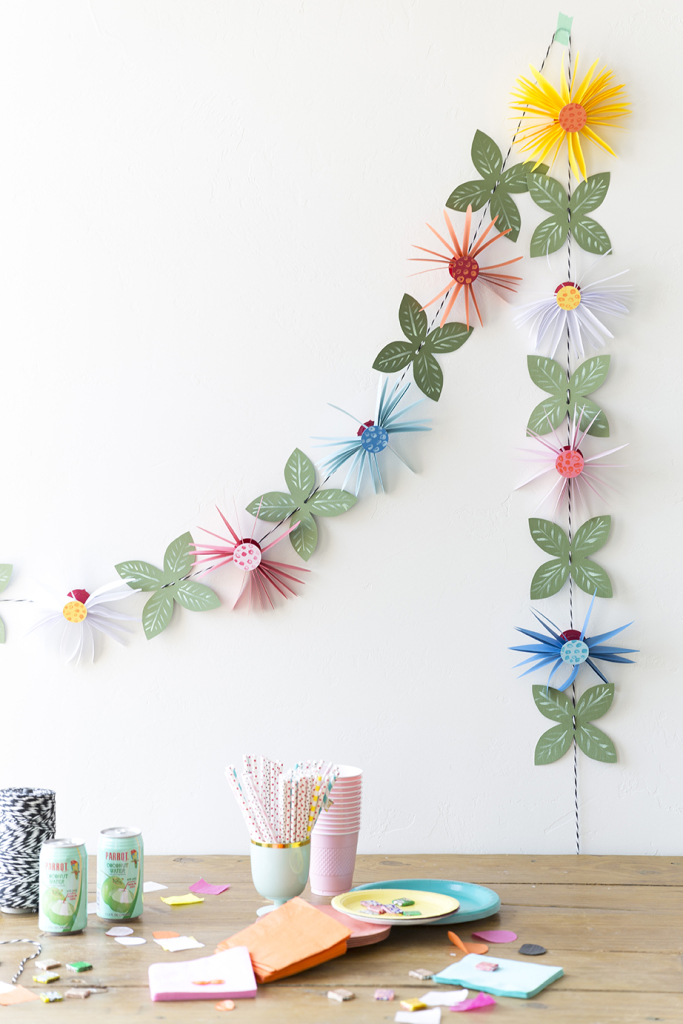
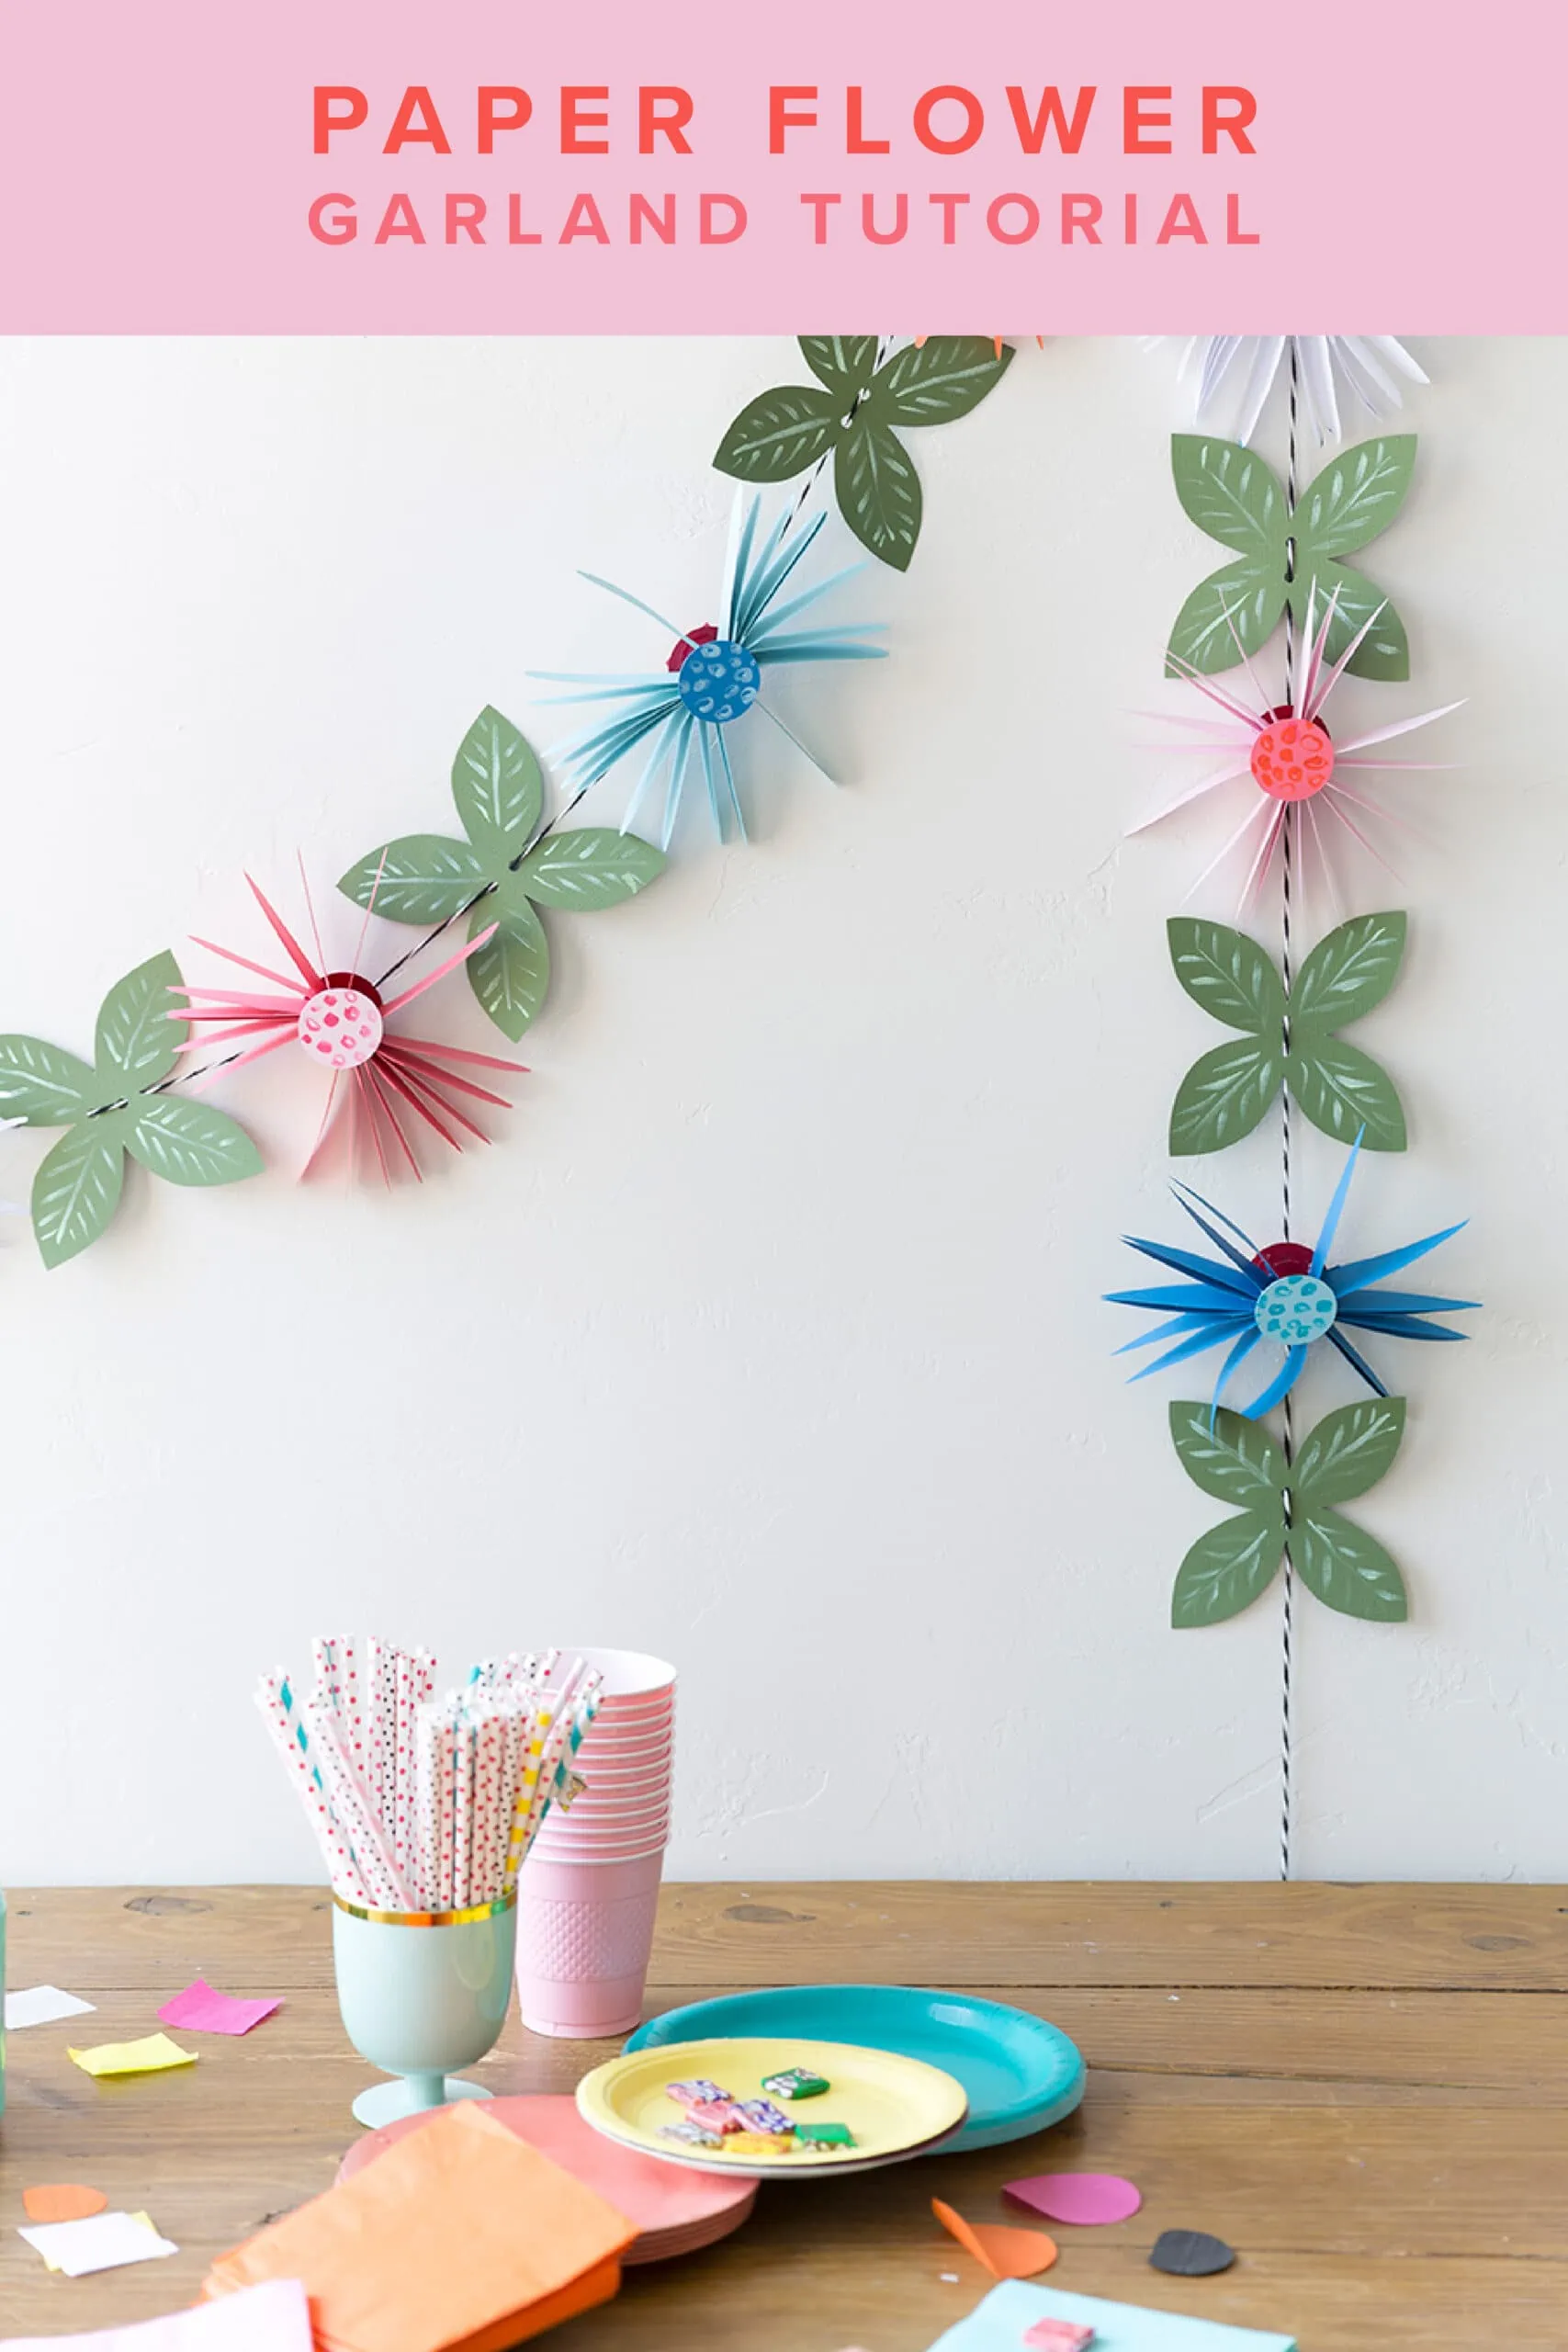
It’s getting so hot these days that the plants are dying! This Utah drought is not helping much. I don’t feel great about watering my flowers so they stay alive if it means we won’t have drinking water later. Anyone relate?? That’s where this classic paper flower garland comes in. It’s the perfect solution to your lack of water woes! Make it once and use it year after year, even if you live in a place like Utah where the norm is brown, patchy lawns and dying flowers by the end of July. Scroll down to see how to make your own!
Materials:
Flowers Forever
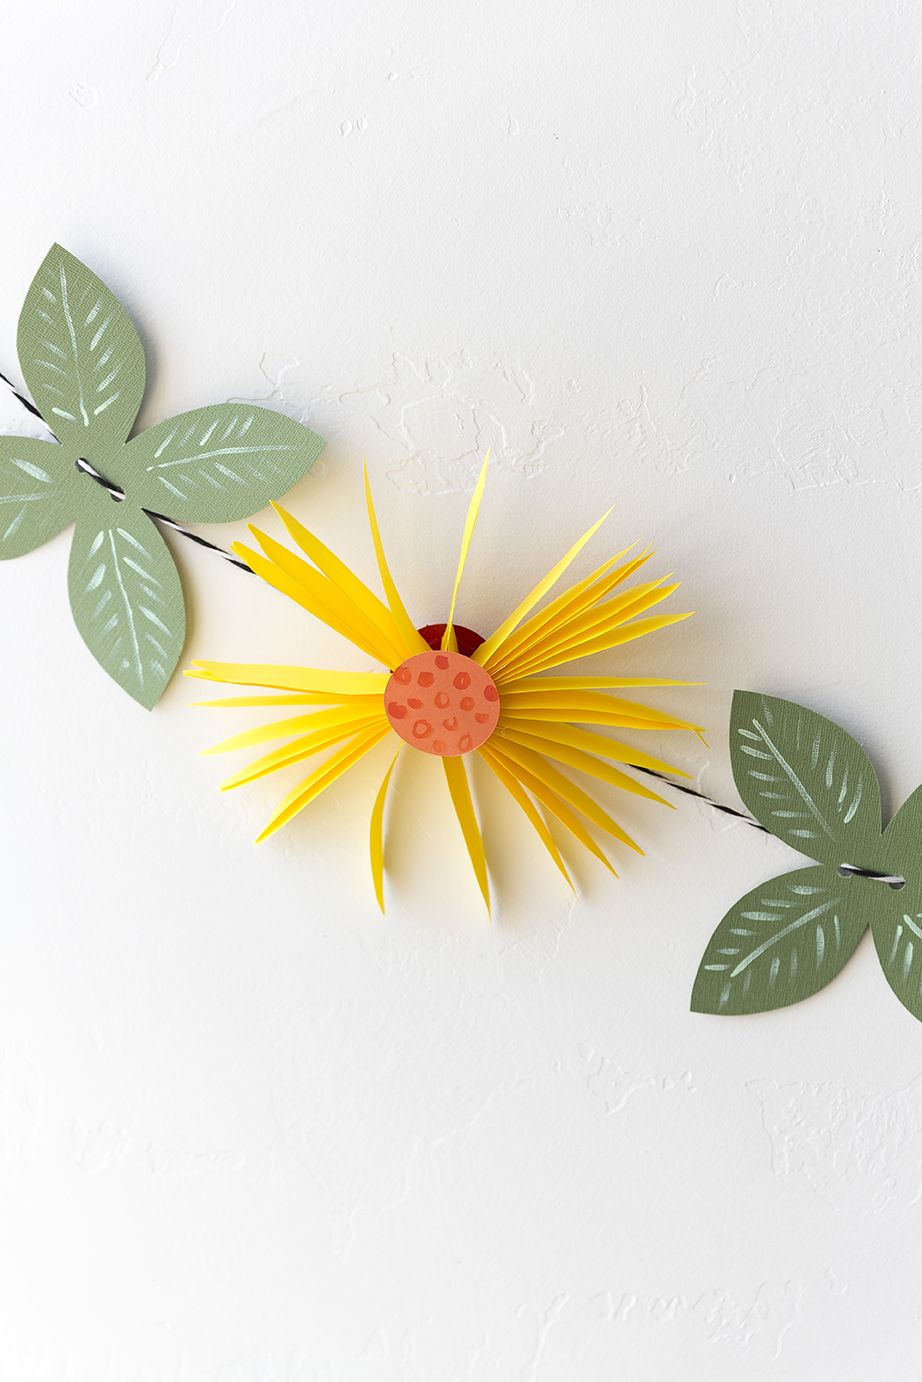
Flowers can/should never go out of season, right?! Well, that’s my personal motto anyway. I came up with this paper flower garland tutorial and loved how it turned out. And you may not have noticed, but the technique is pretty much a riff off of a paper fan, so it’s easy! It’d be perfect for a birthday or garden party. I love having a supply of garlands on hand just in case I need to throw a party or shower someone with love for a day. It seems to happen more often than I expect.
How to Make a Paper Flower Garland
Making the Flowers
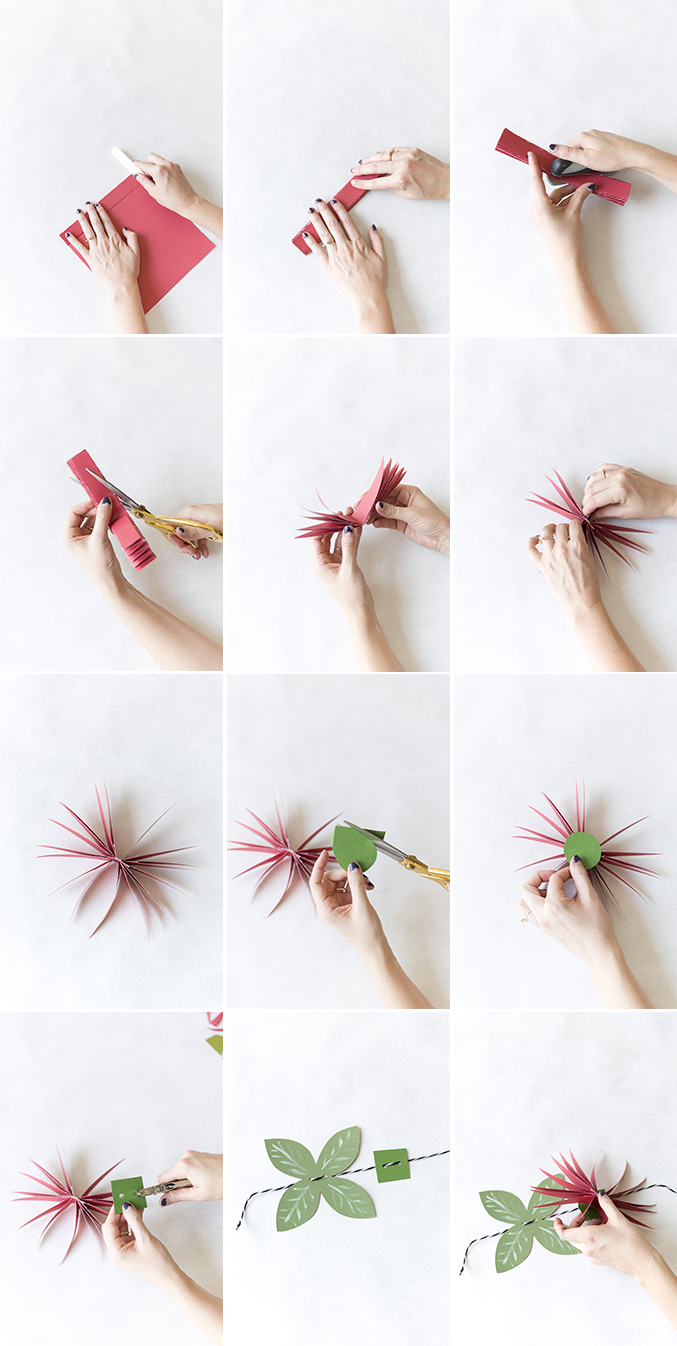
- First, do a 3/4″ accordion fold with an 8.5×11″ piece of paper. Cut off any excess paper.
- Next, fold the folded paper in half (use this fan tutorial to see how it’s done), then staple the mid point of the folded paper.
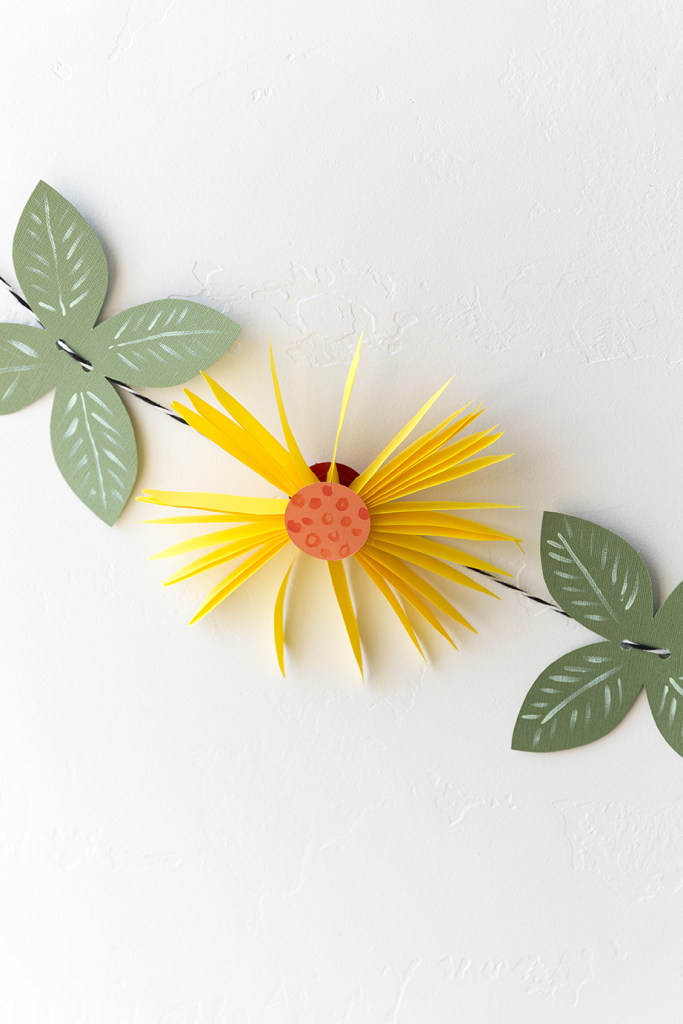
- To form the petal design, cut the edges of the paper so that it forms a fun design (kind of like making a paper snowflake).
- Repeat steps 1-4 to create a second one, then glue them together to form a circle.
Adding the Flower Centers
- Cut 1 1/2″ circles for the center of the flowers. You’ll need three per flower.
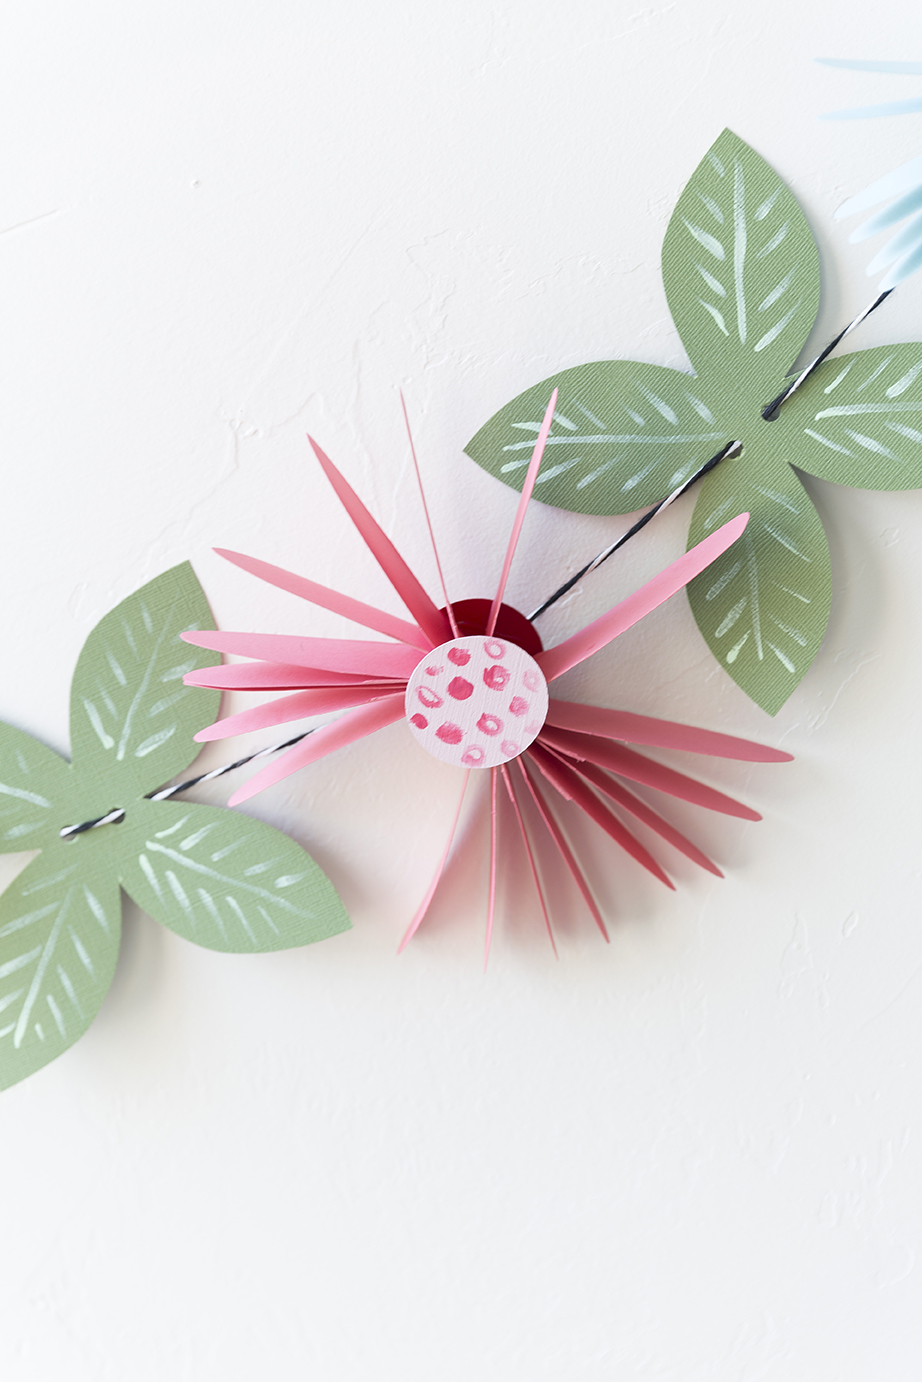
- Paint a fun design onto the circles if desired for the center of the flower.
- Glue the front circles onto your flowers, but leave the back circle off for now.
- In the circles you haven’t attached yet, use your hole punch to punch two holes about 1/4″ apart in the center of your circle.
Making the Leaves
- First, cut out your leaves using a Cricut maker or scissors, if you don’t have a Cricut maker (template here).
- Now paint a fun design on them as shown.
- After you’re happy with your design, cut two holes about 1/4″ apart in the center of the leaf with a hole punch.
Assembling your Garland
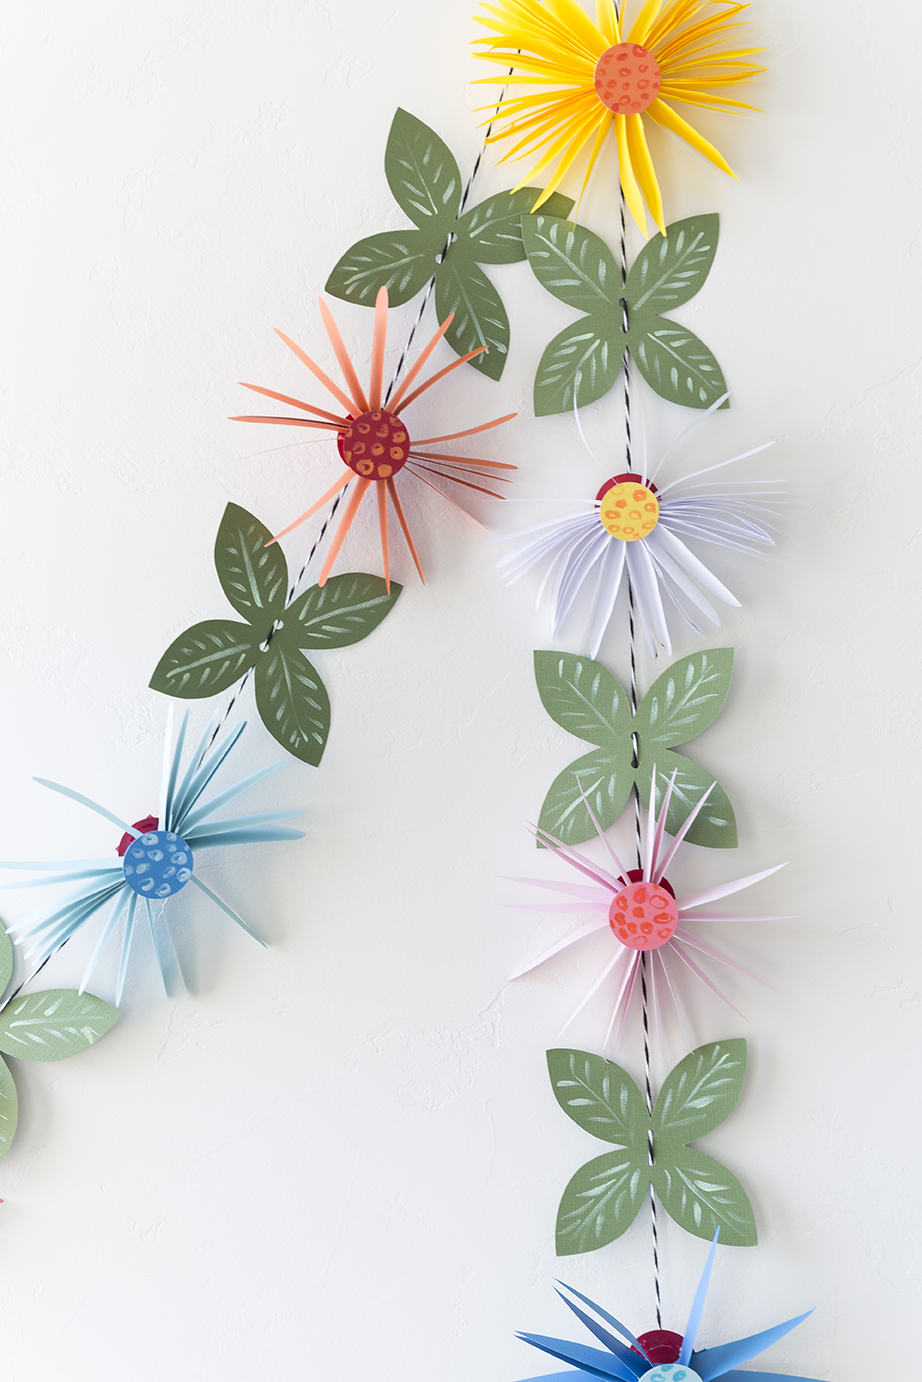
- First, thread the string through the two holes in one of the leaves and pull the extra through.
- Now thread the string through the two holes in one of the circles. Keep alternating, threading leaf, then circle, then leaf, until the whole garland is threaded through the string.
- Once all the circles and leaves are in place on the string, go ahead and hot glue the flowers to the circles, so the circles you already glued on are facing towards the front.
- Now all that’s left to do is pick somewhere to hang up your finished paper flower garland and you’re done!
Styling your garland
This is one of my all time favorite paper flower garlands. One of my favorite things about garlands, in general, is how versatile they are. Make them as short or long as you like, and hang them pretty much anywhere. My favorite places are around doorways or entryways, relaxed and drapey against a wall or over a table, on a mantlepiece, along bannisters, and so much more.
Enjoy! And drop any questions or comments below!
More Inspiration
Loved this paper flower garland and want more where that came from? Try this lovely summer flower garland, our tea stained flower garland, or this eucalyptus garland if you’re feeling a little more leafy. Want more flower content? You won’t want to miss this compilation of all our paper flower tutorials, or our learn to draw: flowers course.



Comments