

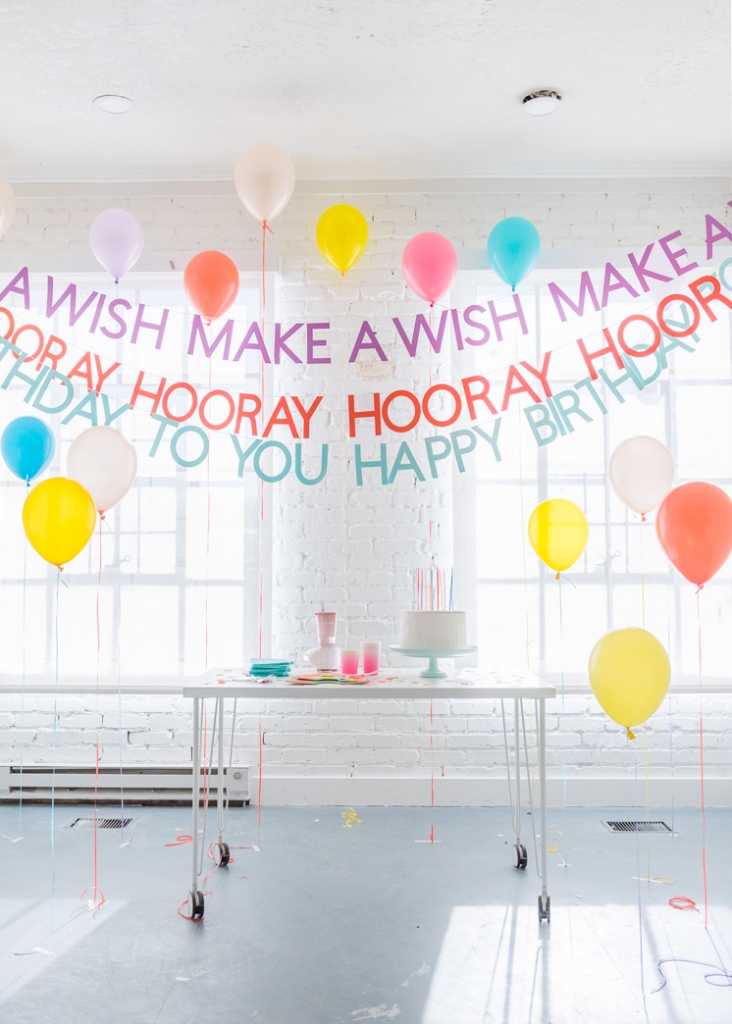

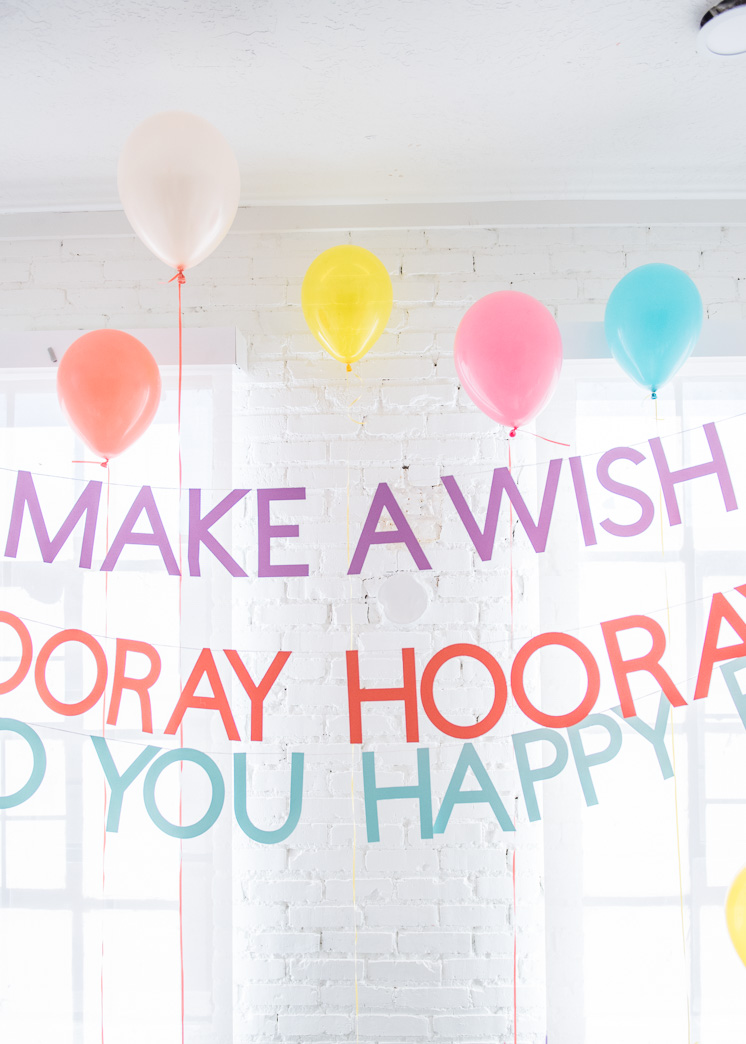
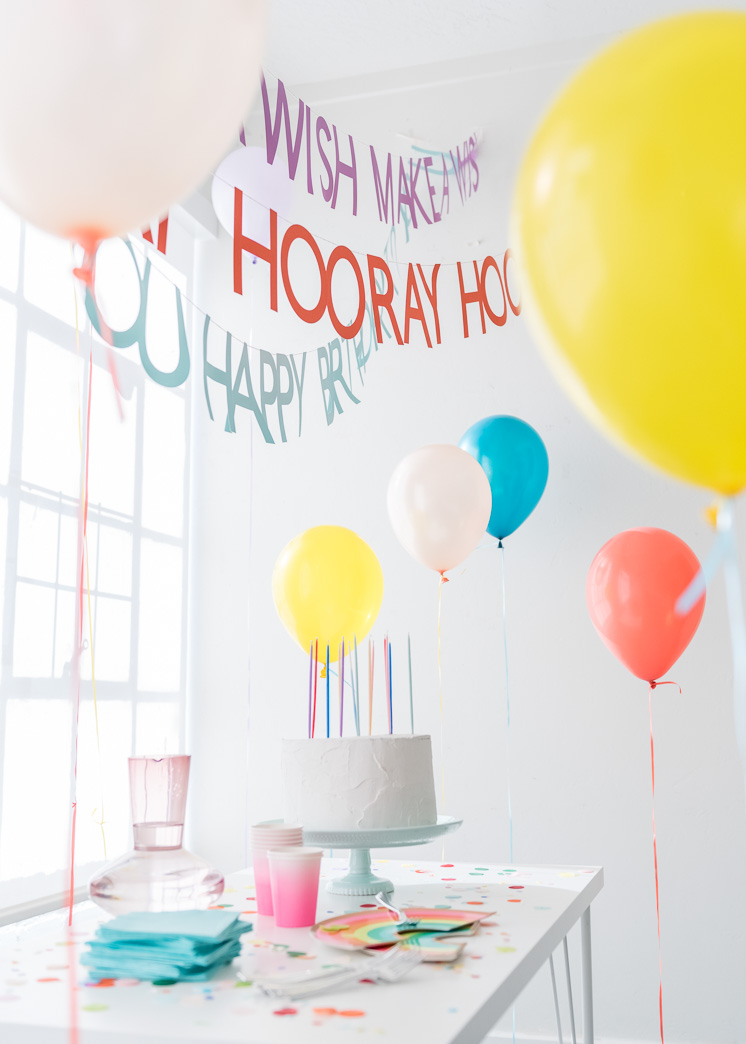
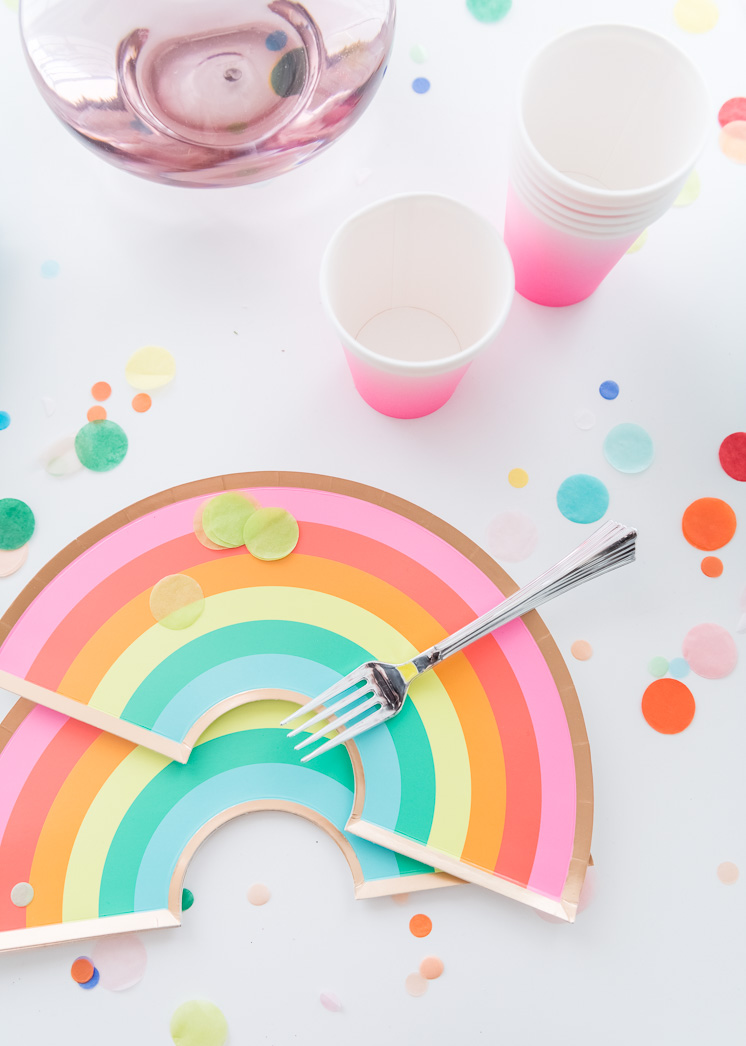
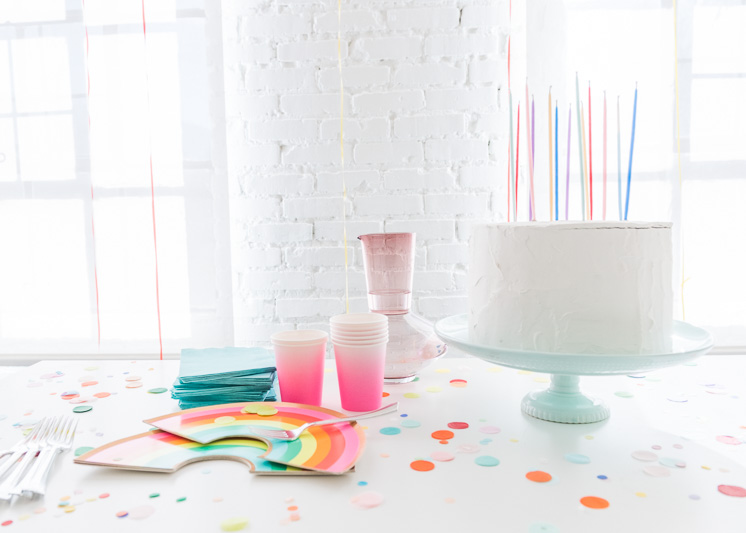
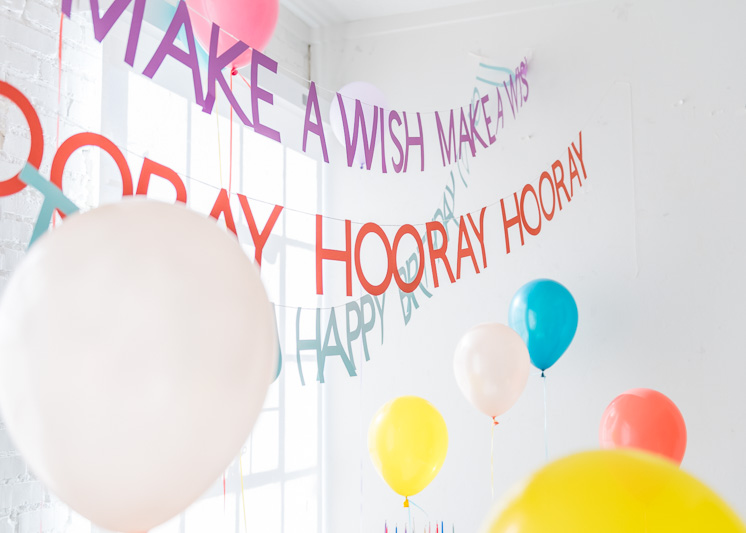
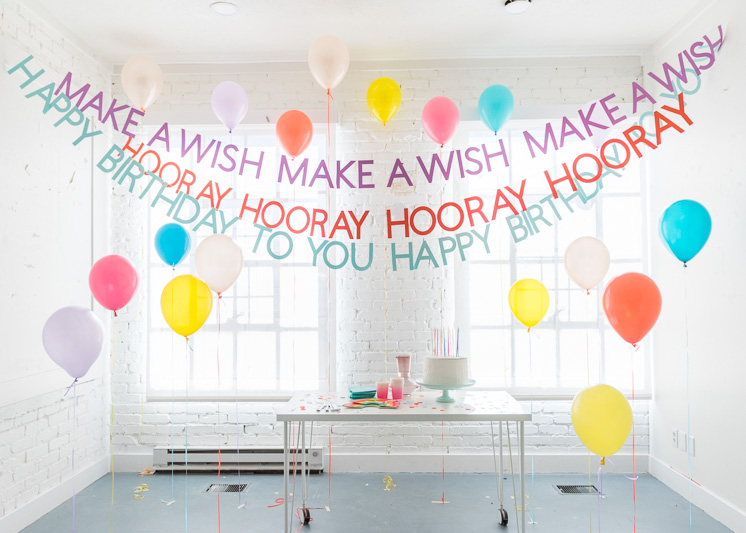
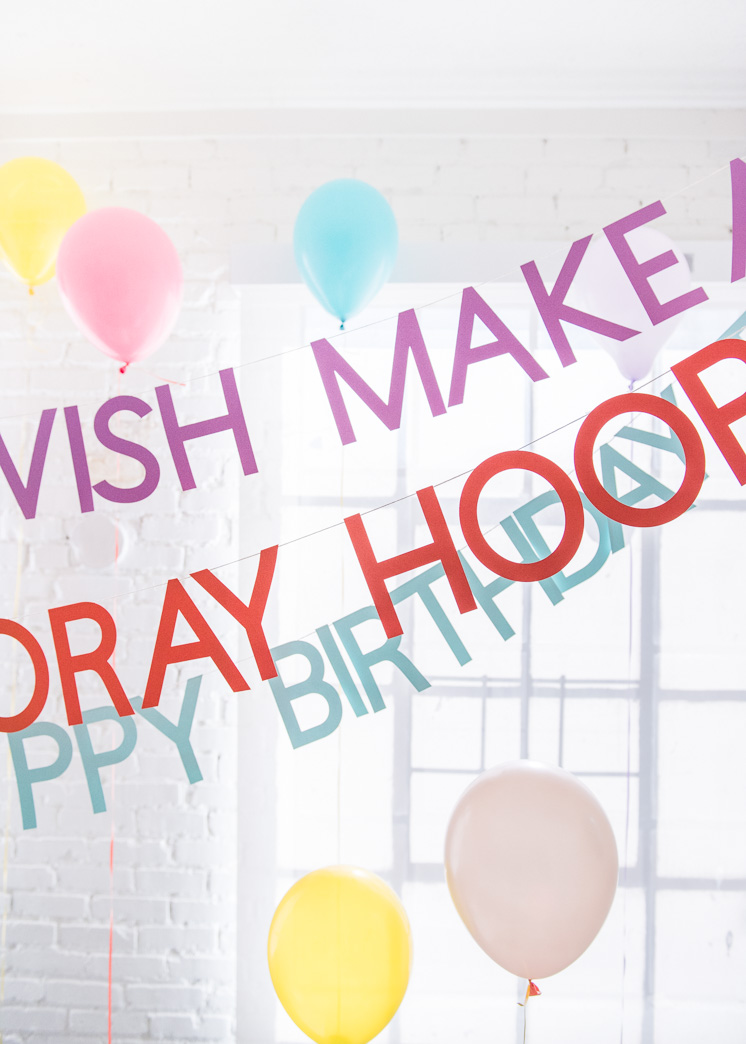
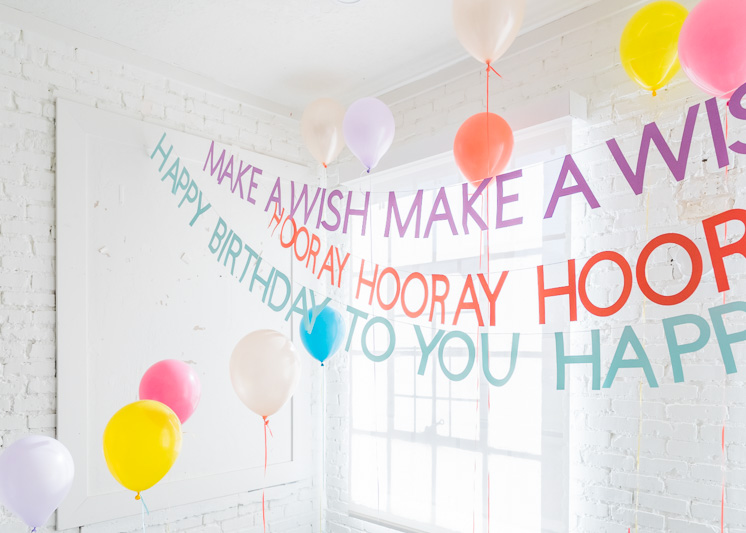
A new year means another birthday is on the horizon! I know a lot of people who get to a point in their life when they don’t want to draw any attention to their birthdays. Those people and I don’t get along very well. There is always reason to celebrate your birthday! Plus, who would pass up an opportunity to throw a party or eat cake? Not to mention the balloons! So whether you’re planning your own birthday party or you’re planning a party for a friend, we have the perfect party decor for you! These DIY Happy Birthday Banners are bright and bold and say it all! Print off these quintessential birthday phrases in whatever colors you want, and you’ve got a celebration!
Materials:

Download the letter templates to make your own DIY Happy Birthday Banners!
DIY Happy Birthday Banners
Materials:
- 12×12-inch card stock in 3 colors, about 15-20 pages of each color depending on how long you want your garland to be
- Natural Twine
- Hot Glue gun
- Die-cut machine (This will make this project a breeze!) or scissors (this one is our favorite!)
- Ribbon
- Glitter
- Hole punch
Instructions:
- If you have a Cricut machine, use font “Cricut Sans” at size 450. Each letter should be 6.25 inches tall. We used the phrases: “Happy Birthday To You,” “Make A Wish,” and “Hooray” in all caps. Cut out all letters with Cricut.
- If you don’t have a Cricut Machine, you can use a similar font in Adobe Illustrator or Word and size them so they’re 6.25 inches tall for a similar look. Hand cut out all letters.
- Choose one color for each phrase or mix it up!
- Once you have all the letters cut out, spell out all your phrases to get everything in order
- On the backside of each letter, hot glue a continuous piece of twine along the top edge of the letter.
- Glue each letter quite close to each other for each word, and leave a bigger space in between words. Then repeat the phrase until you have the desired length you want.
- Leave excess twine on each end to allow for some wiggle room when hanging your garlands.
- Repeat for additional phrases.
- Hang up all the birthday phrases, varying the garlands so you can see all the phrases clearly.
It’s party time!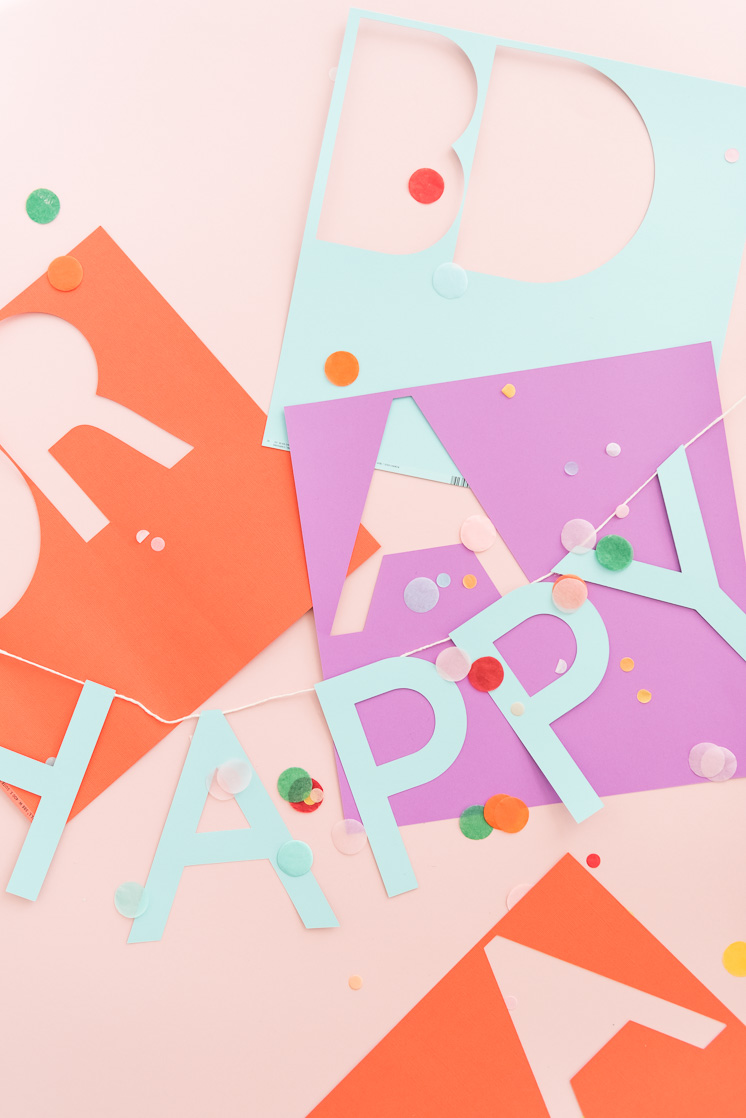

Photography by Jane Merritt | Crafting by Rebecca Hansen