

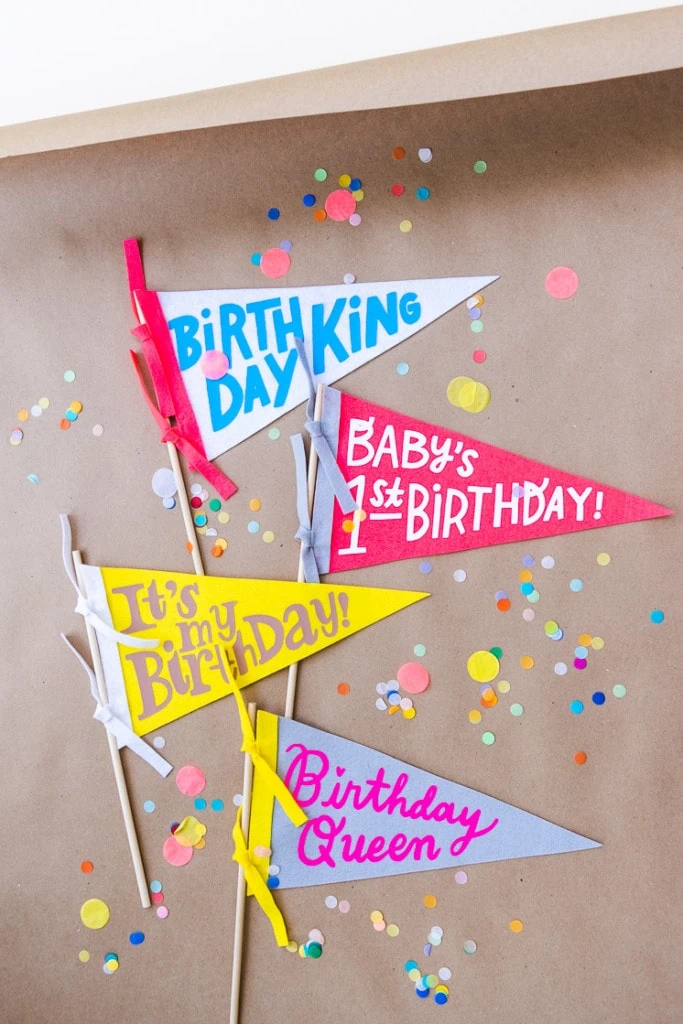
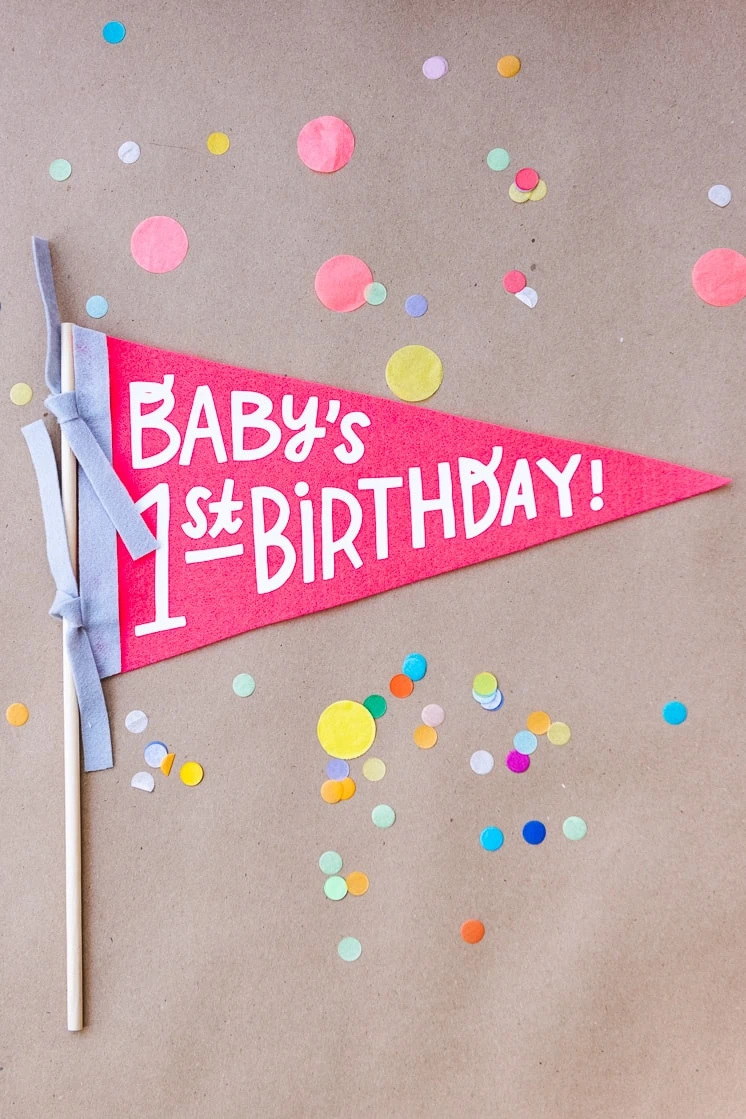
I’m convinced this summer isn’t real. Or rather, time is not real. How is it possible that it is July already?? I thought #birthdaymonth had just started. Since time is clearly not acting like it usually does, I will continue to celebrate birthday month. Truthfully, it’s much more fun to spread out the celebration anyways. In celebration of the summer, we’re dropping the instructions for these adorable DIY birthday felt pennants with the templates in the shop.
Materials:
 Why decorate?
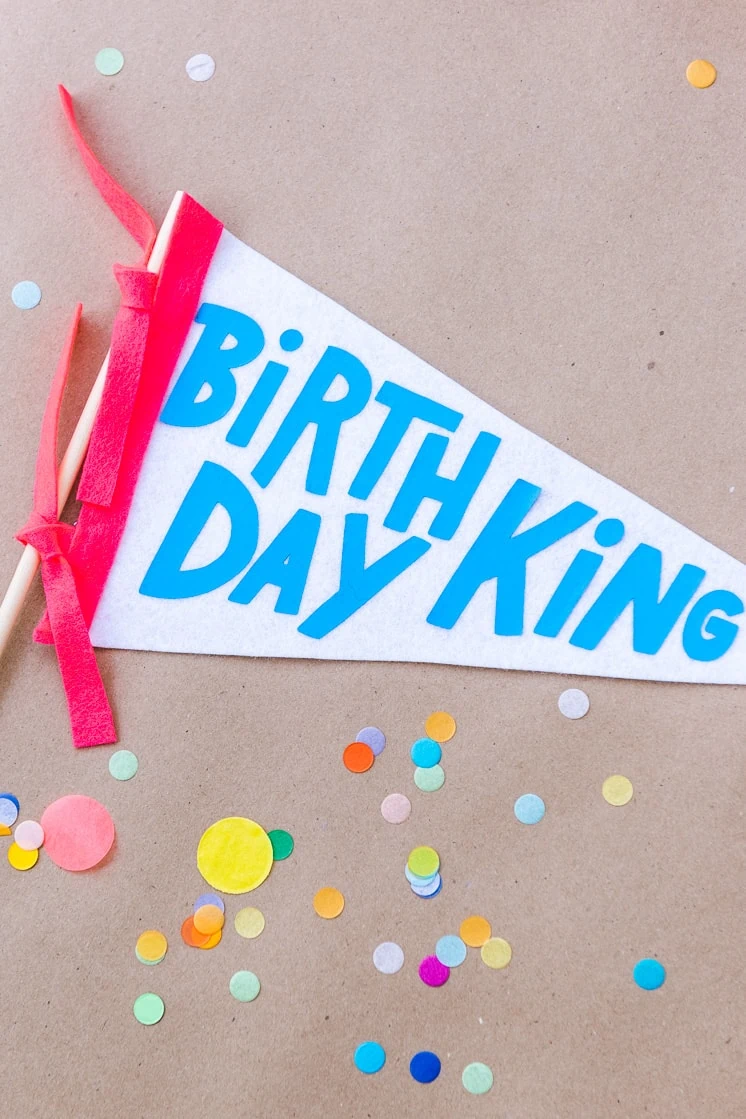
Birthday decor is just too fun. And since birthdays are so rare, celebrate longer by crafting in advance! You can print off felt pennant patterns and phrases from our shop, then iron them onto felt. These make for perfect props in photo shoots, mini-celebrations, and they’re cute enough to leave up long past the birthday.

How to make DIY Birthday Pennants
Materials
- Felt (8×12″. We used the beautiful colors here at Purl Soho)
- Iron-on Vinyl (we used these from Cricut)
- Scissors or Craft Cutting Machine (we love our Cricut Maker!)
- Iron or Easy Press from Cricut
- wooden dowels
- Handwritten birthday phrases (you can find the ones we made here)
- Pennant shape (you can find the SVG and PDF templates here)
- Glue gun
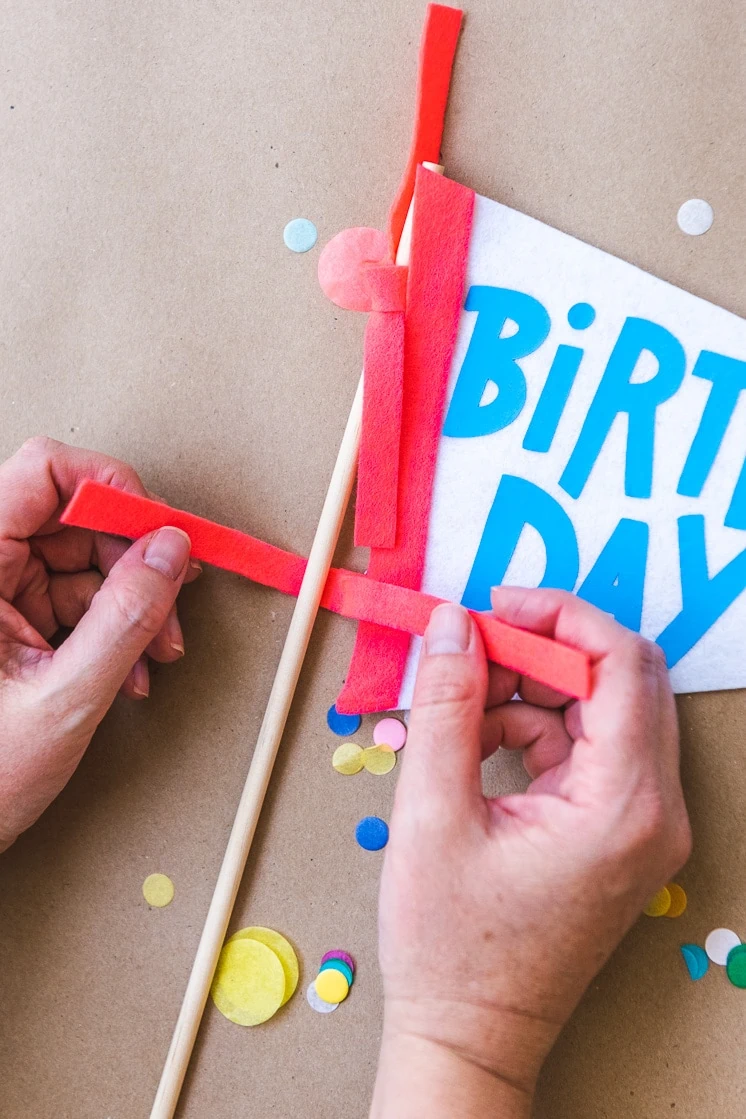
Instructions
7. Hold an iron set to 280 degrees F. on the pennant for 30 seconds. Wait for the iron-on to cool completely before removing the clear layer. (Check the Cricut website for information on heat & time to hold the iron or Cricut Easy Press on your fabric, depending on fabric type and iron-on type.)
Go celebrate!
I’m sure I’m like you right now– you probably miss spending time with certain people right now. While I am glad to be safe, I miss people. So! I’ve decided to start birthday researching and planning for different people in my life ~in advance.~ It’s something to keep me busy, and it’s a way I can feel and share love. One easy place to start is to make a DIY felt pennant! This piece of decor is cute, classic, and personal. And you can send it to a friend in the mail if you can’t celebrate together.