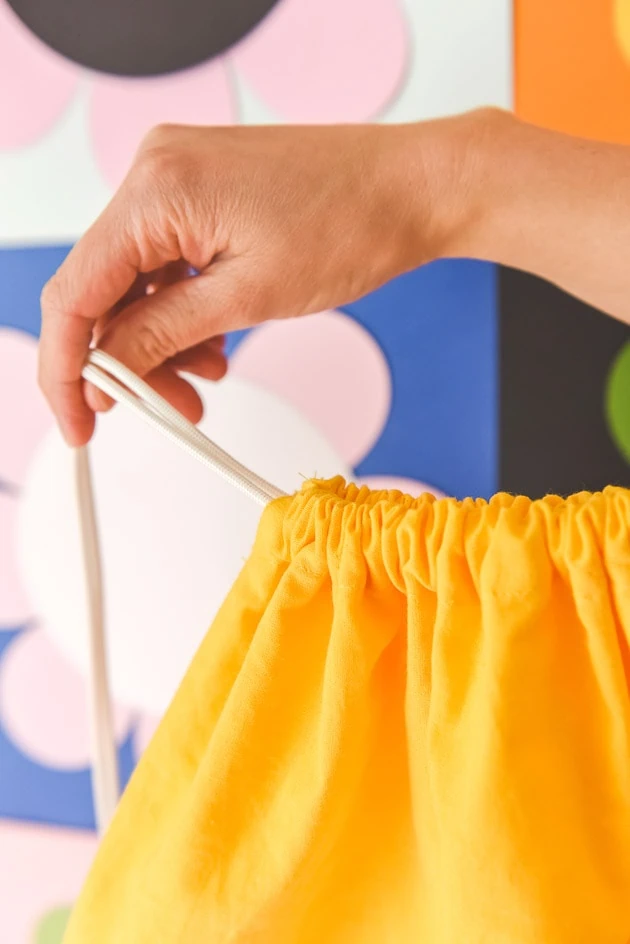
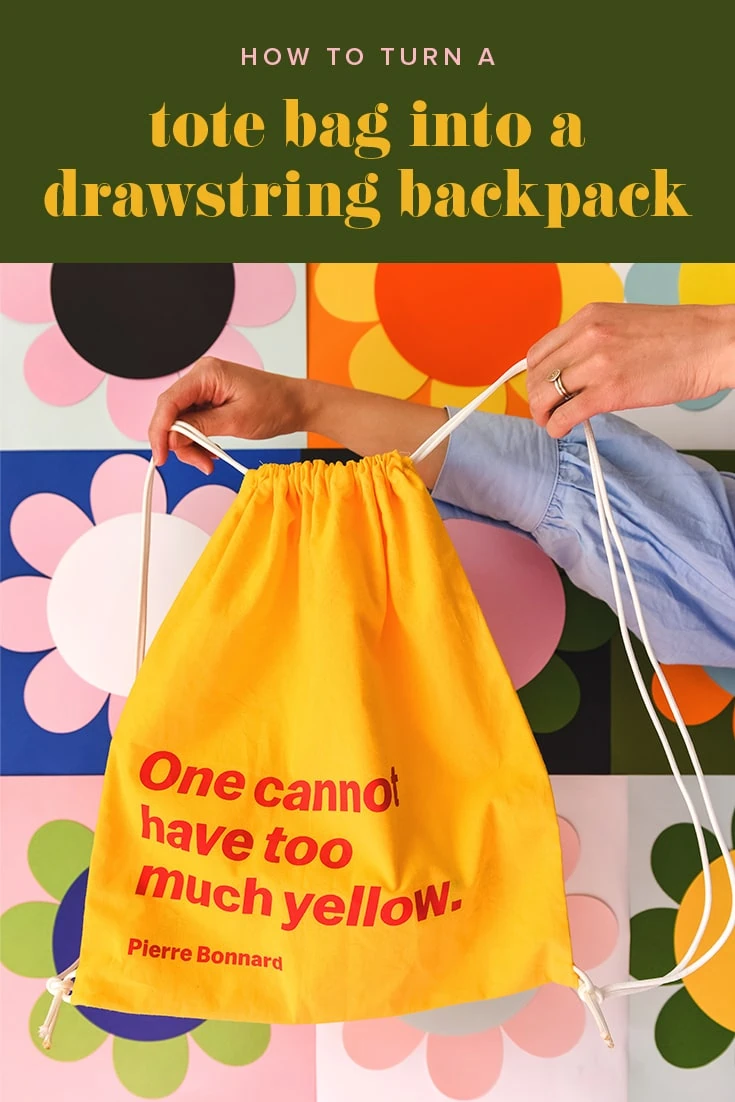
I went through my closet recently and discovered that I have way too many tote bags! Anyone else in the same boat? I mean, they’re cute and I love them, but they just end up gathering dust in my closet instead of being used. Then I thought: what if I turned a tote into a drawstring backpack?! I have this amazing tote I got from the MoMA a while back and I couldn’t bring myself to throw it away. Making the tote into a drawstring backpack seemed like the perfect solution. I could repurpose it without having to trash it completely, and, bonus, turn it into something I would use! So if you’re like me and want to save your totes and give them a new life, this tutorial on how to turn a tote into a drawstring backpack is for you.
Materials:
From Tote to Backpack
I don’t know if you’re ever observed, but your basic tote bag is practically asking to be turned into a drawstring backpack. The casing around the top is already in place, all you have to do is a bit of unpicking, rearranging/sewing the seams, and adding some drawstring. Here’s how to do it:
How to Turn a Tote into a Drawstring Backpack
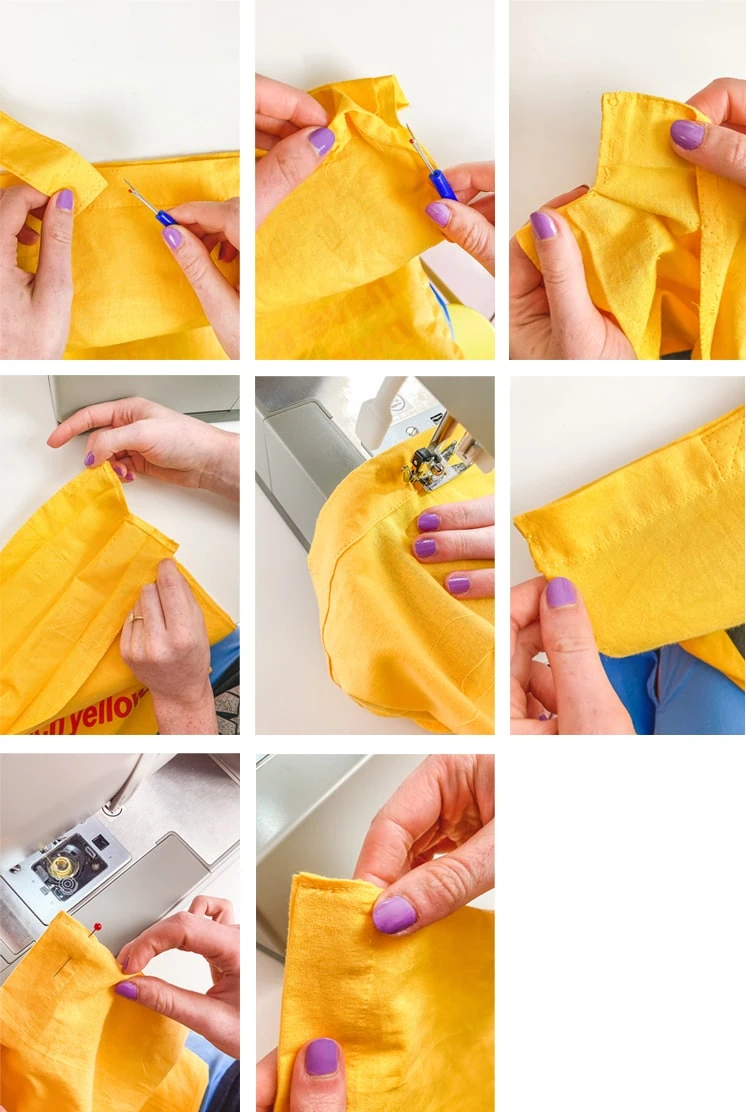
The first thing you’ll need to do is prep the casing. The top hem is what you’ll use as the casing, so all you’ll need to do is make openings on each side seam so you can feed the drawstring through. Here’s what to do:
Prepping the Casing
- First, unpick the handles and remove.
- Next, unpick the top casing/hem a little (just enough so you have fabric to work with) and side seams from the top down about an inch. Backstitch at the end of the unpicked section so the rest of the seam doesn’t come undone.
- Now unfold the hems on each side and sew each folded over edge separately.
- Once the hems are sewn, go ahead and fold the casing back over and sew the same stitch line to close up the casing. Make sure to leave the sides open on each side so the drawstring can slide in.
- Last, tack the tops of both sides together so the two sides don’t come apart. Just make sure to only tack down a few millimeters so you can fit two cords of drawstring in.
Adding the Drawstring
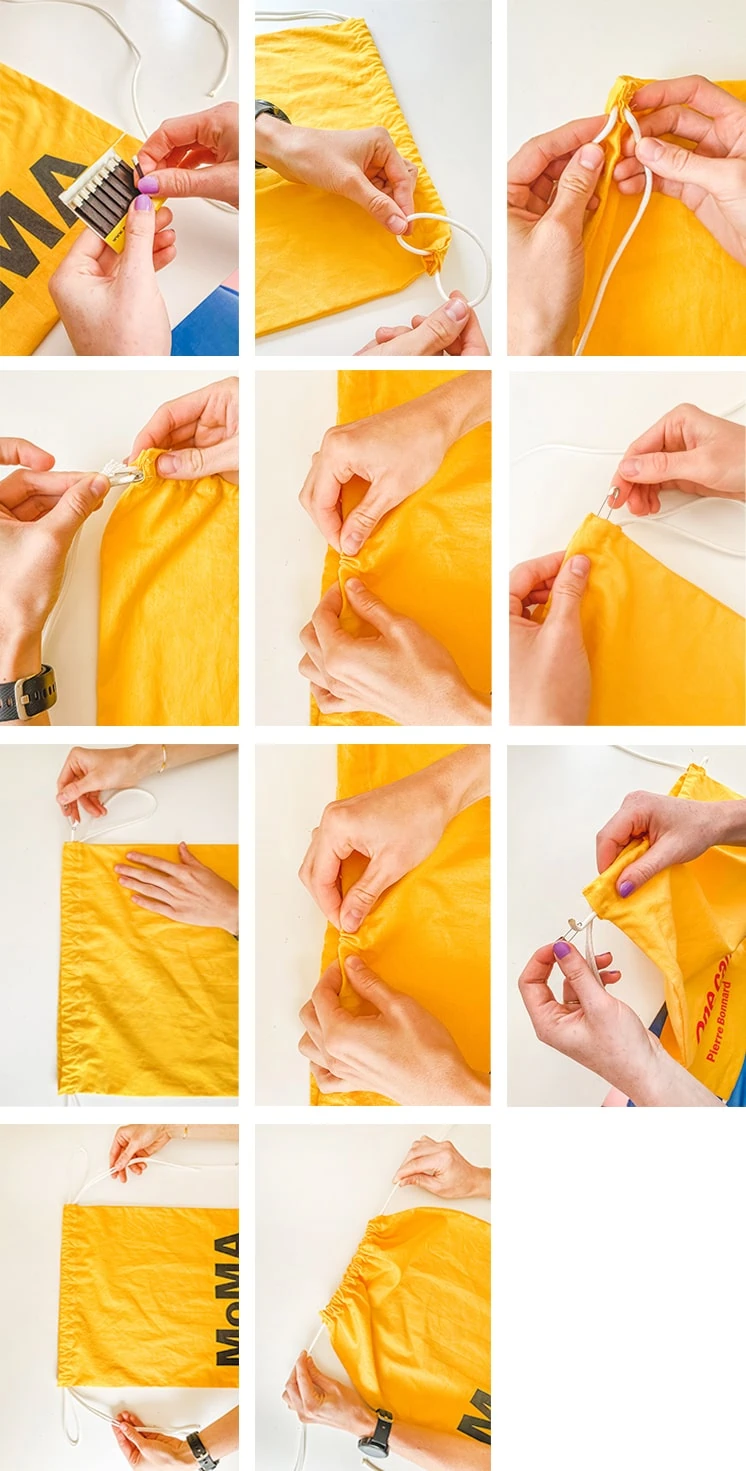
- Now for the drawstring! For this, attach a safety pin to the end of the drawstring and feed it all the way through both sides of the casing and back out next to the hole you started with. Pull so there’s a lot of extra drawstring–there should be enough to reach the bottom corner of the bag when the drawstring isn’t cinched tight.
- Repeat for the opposite side. When you’re done, you should have two cord ends coming out one side, and two coming out the other.
Click here for more detailed graphics on how to add the drawstring.
Making the Bottom Corner Loops and Finishing Touches
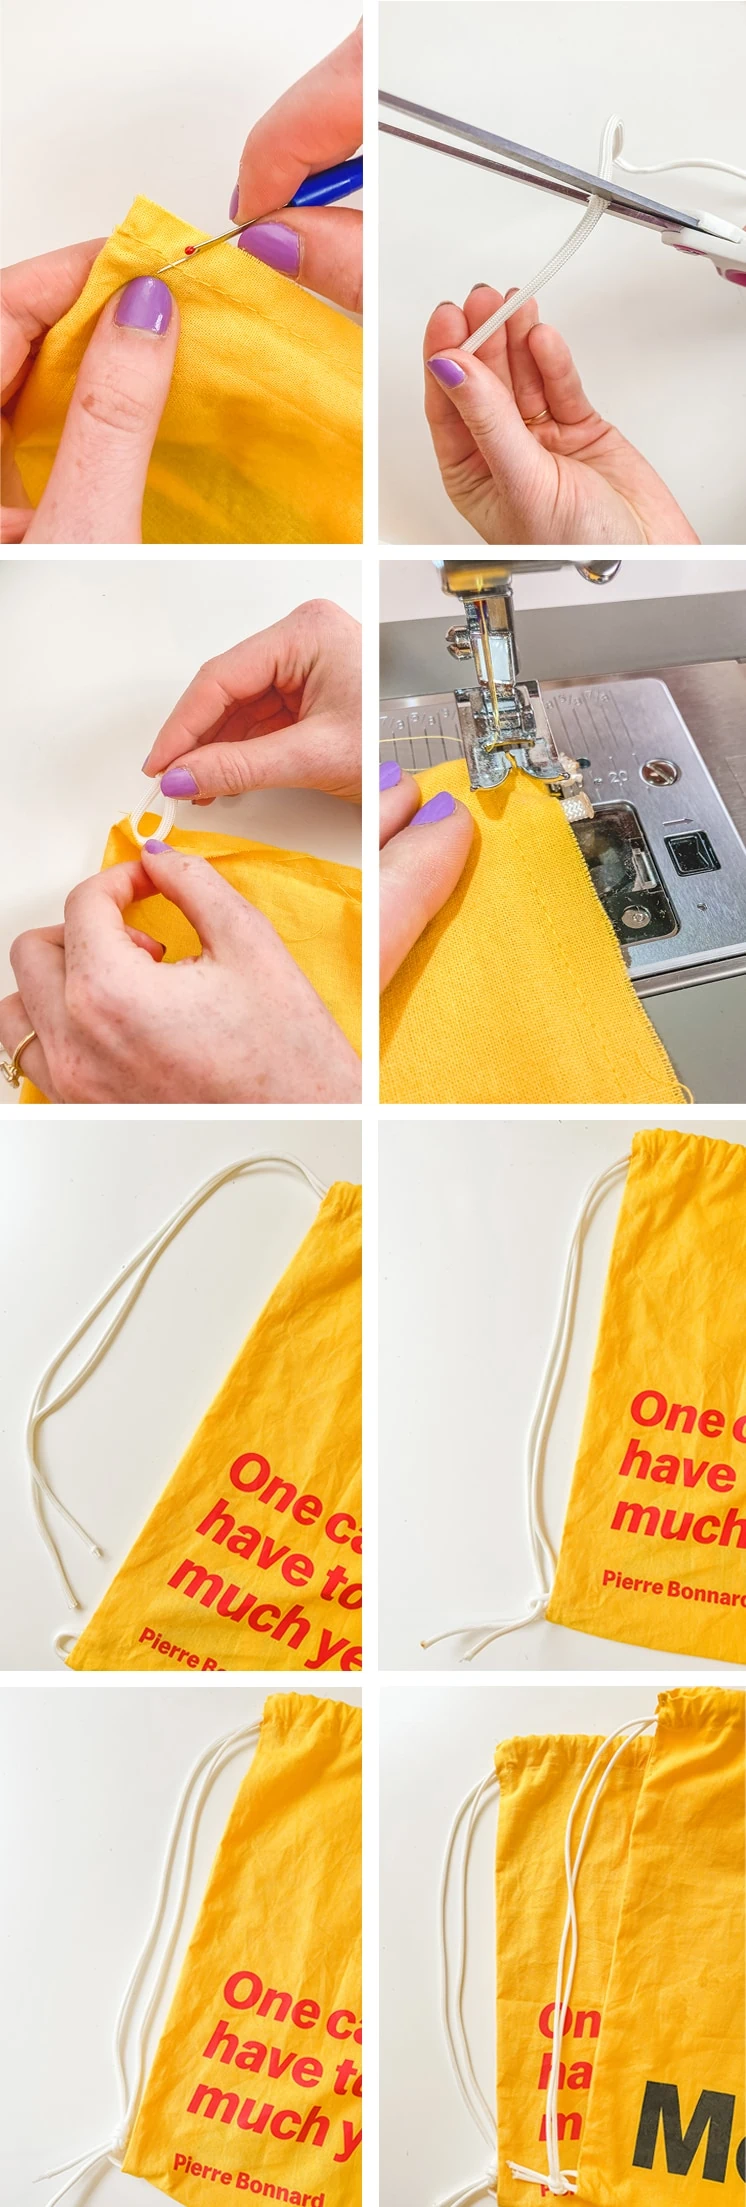
All that’s left now are the loops in the bottom corners of the bag. These are what you’ll tie the cords to in order to keep them in place. If you’d prefer, you can also use grommets, but for this tutorial, we’ll be making simple loops with cording.
- First, unpick the bottom inch of both side seams and flip the bag so it’s inside out.
- Next, cut two pieces of drawstring that are two inches long.
- Now fold one of the drawstring pieces in half and slide the loop into one of the holes you just made so the two ends are even with the edge of the fabric. Sew in place, closing up the opening you unpicked. Backstitch a few times to reinforce the seam on top of the loop.
- Repeat for the other side, then flip the bag so it’s right side out. You should now have a loop poking out on each bottom corner!
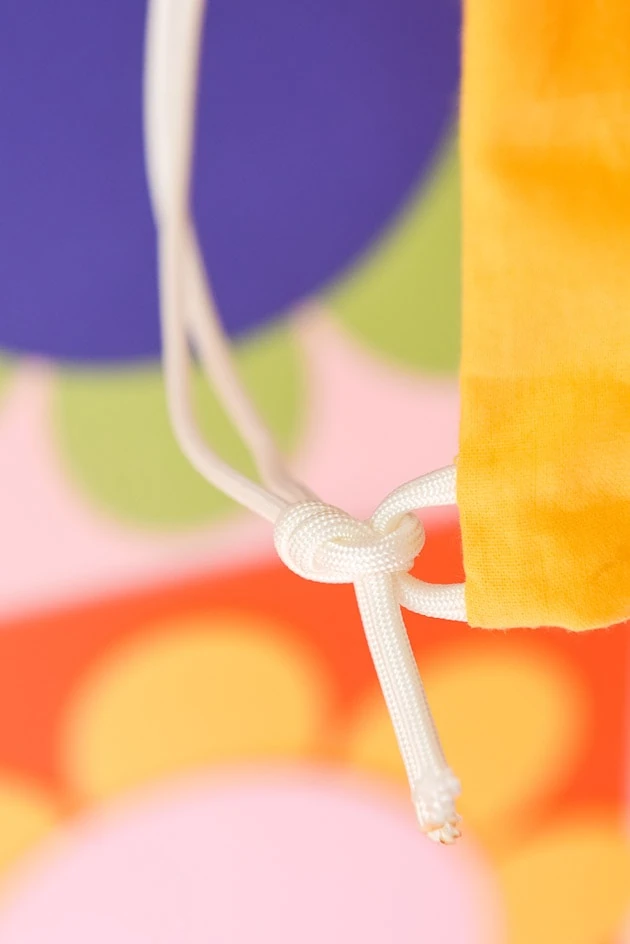
- Last but not least, tie the drawstring cords to the loops on each side and you’re done!
TIP: To avoid fraying drawstring ends, you can burn the ends with a match. They should melt just enough to hold the end and keep it from fraying.
What to Do with Your Drawstring Backpack
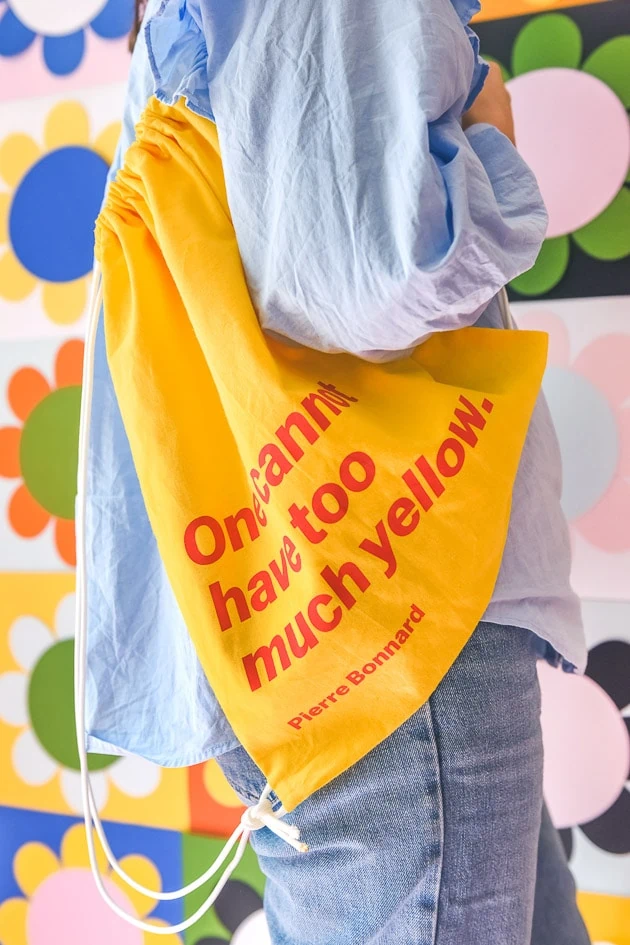
This drawstring backpack is so versatile! I love that it’s the perfect little lightweight backpack for day hikes and times when you don’t have pockets. It can also be a nice size for the times when you want a tote but want the versatility of backpack straps instead of shoulder straps. I’ve learned a lot as a mom, but one thing especially: when dealing with toddlers and babies, I like to have my hands free as much as possible and this is the perfect solution.
More Inspiration
Looking for other simple, DIY hacks? Head to our blog! Try these two easy quilt hacks, this fun DIY whiteboard hack, or these Casetify inspired projects. Also see our sewing basics series for all you need to know to get sewing. And don’t forget about our shop! Head there for lots of new ideas, home decor, quick and easy gifts, and much more.


